How to Join Yarn in Knitting (4 Methods: Spit Splice, Russian Join & More)

KnittingEasy6:496 steps

By CraftingStepByStepPublished Updated

Based on a video by VeryPink Knits.

Running out of yarn is part of every knitting project. So is wanting to change colors for stripes. Both situations need the same thing: a clean way to join a new strand without leaving a hole, a lump, or a knot you can see from across the room.

Staci Perry of VeryPink Knits demos four different joins on the same swatch so you can compare them. Each method has a job. Spit splice for solid-color wool. Russian join for any fiber when the color change matters. A simple end-of-row knot for cotton and acrylic. And a rescue technique for the times you only realize you need a new ball halfway through a row.

If you've already mastered the basics, this slots in right after knit and purl and casting on - it's the technique that lets you actually finish anything bigger than a dishcloth.

Step-by-Step Guide

1

Step 1: Pick the Right Join for Your Project

3:35
Step 1: Step 1: Pick the Right Join for Your Project

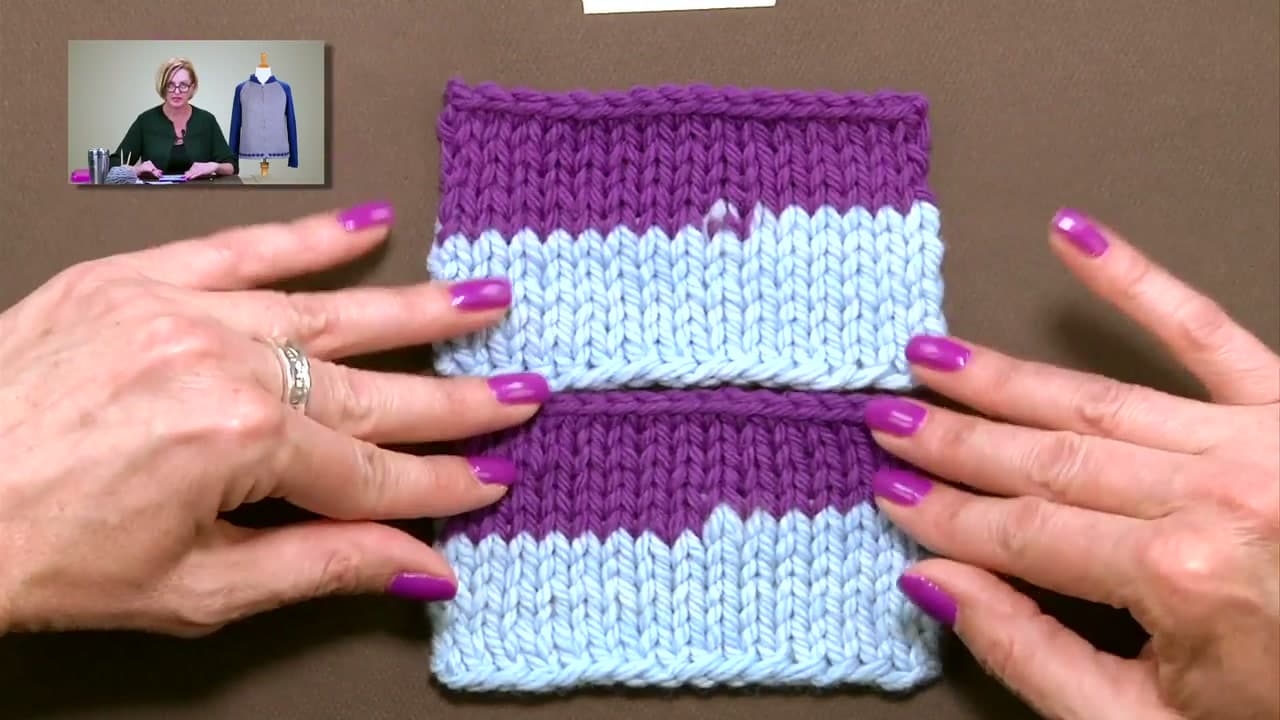
Two questions decide which join you'll use. First: are you staying in the same color or changing colors for stripes? Second: what fiber are you working with - animal (wool, alpaca, mohair), or plant/synthetic (cotton, linen, acrylic, bamboo)?

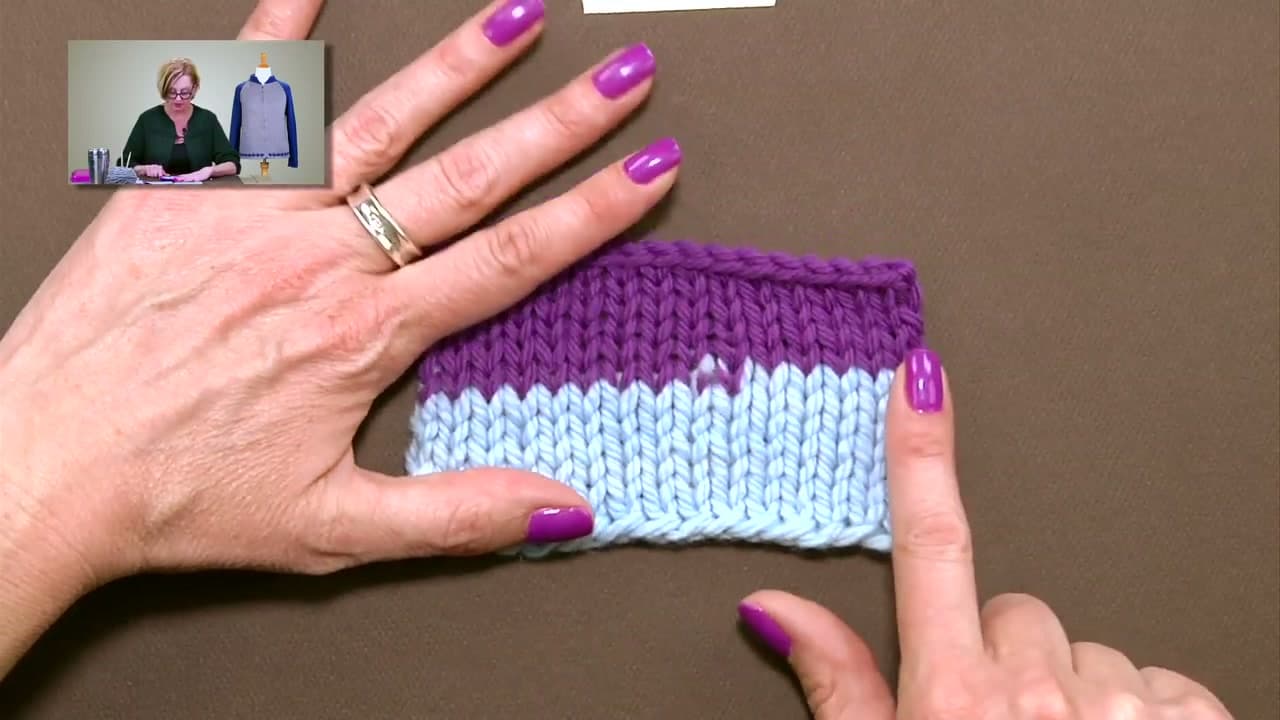
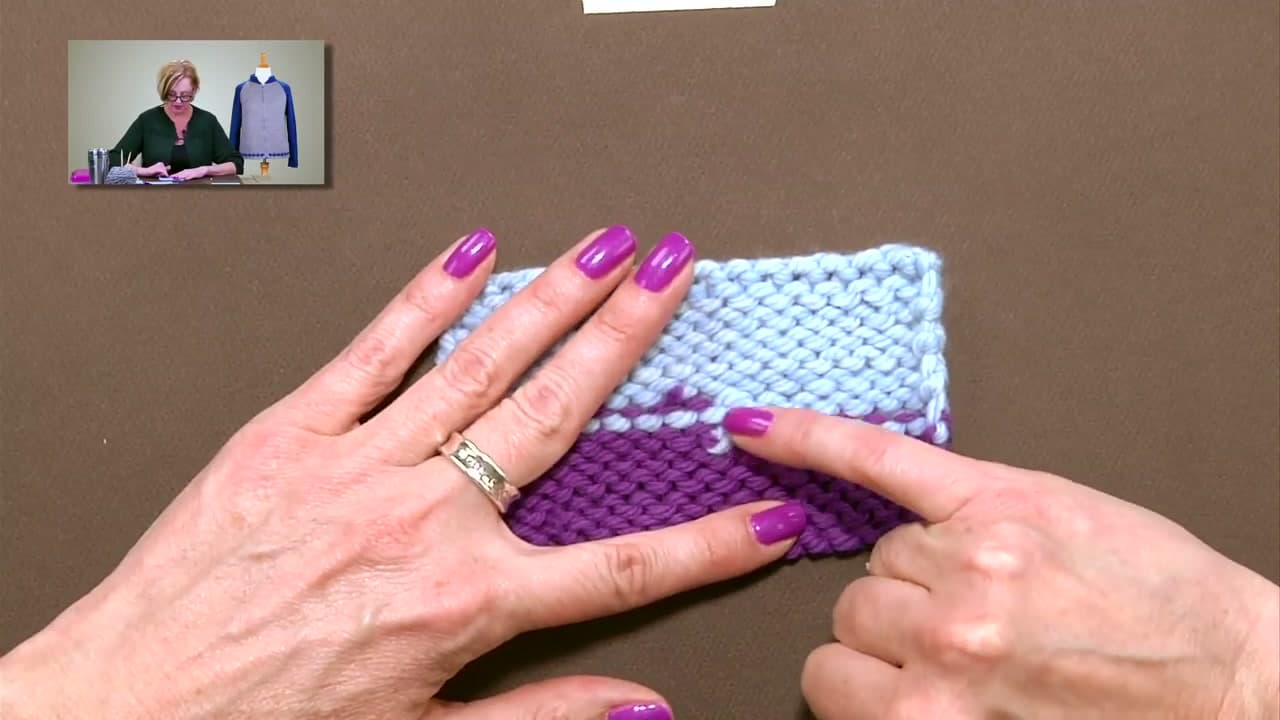
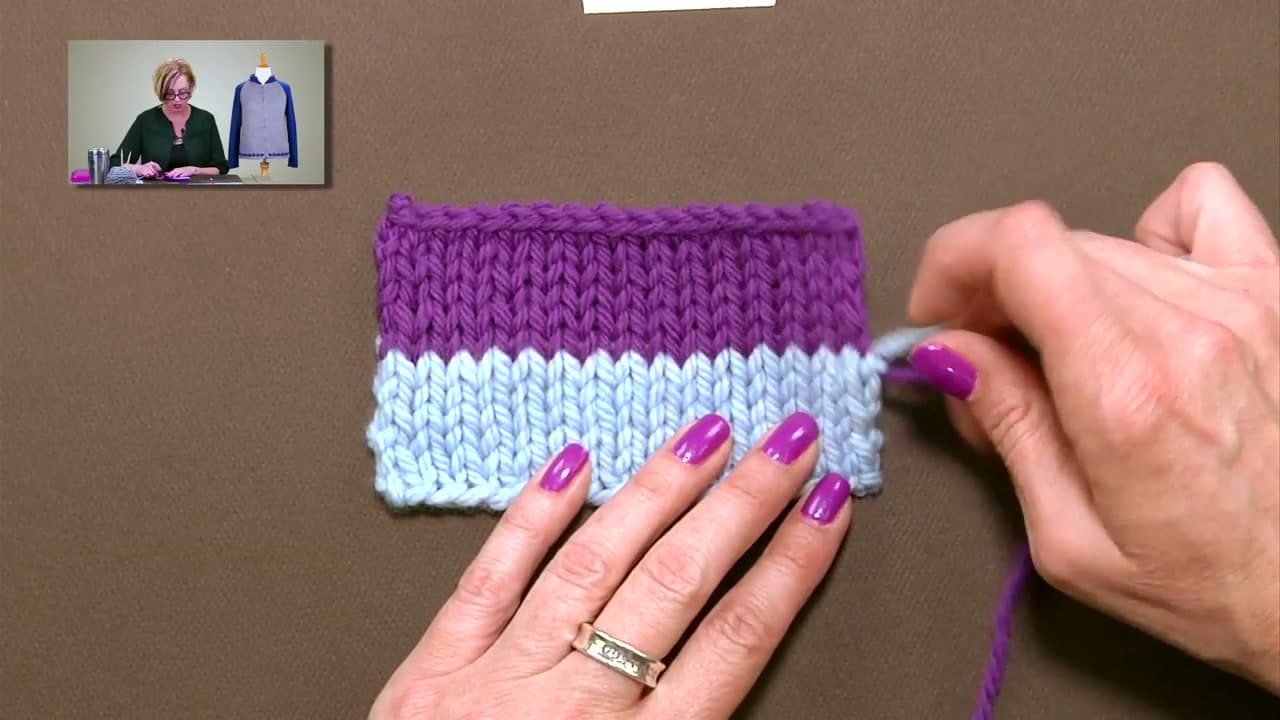
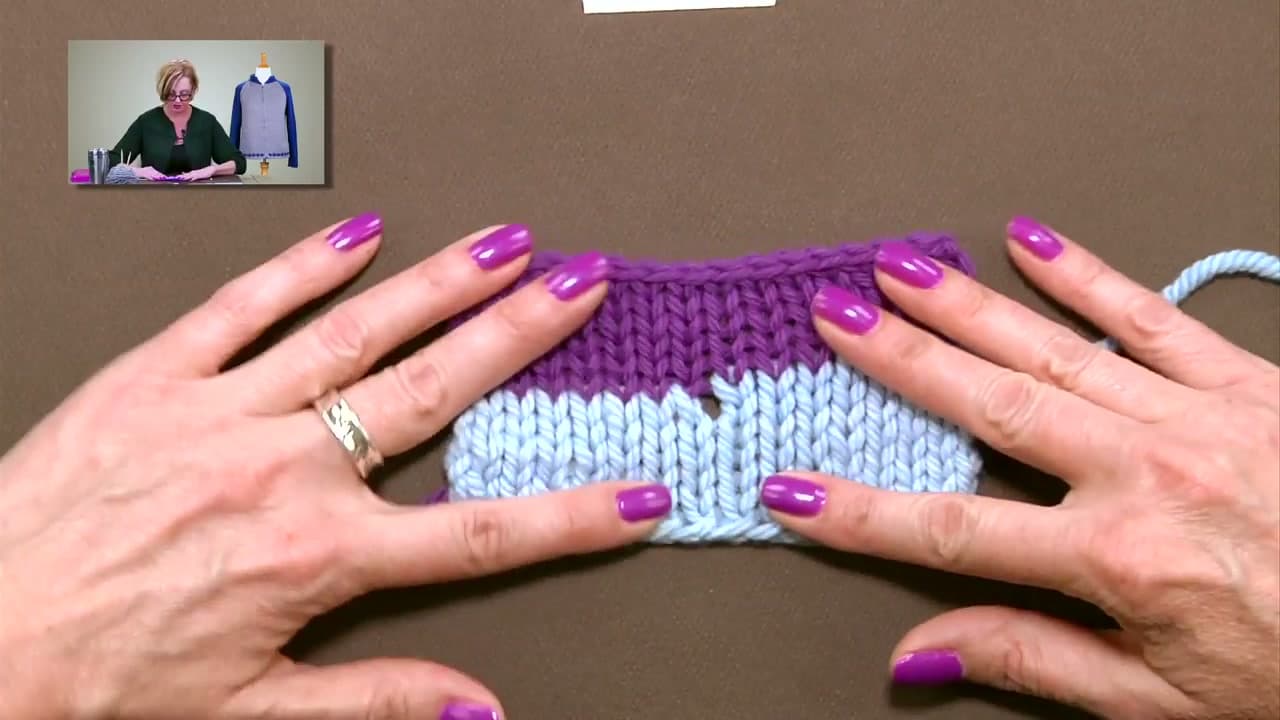
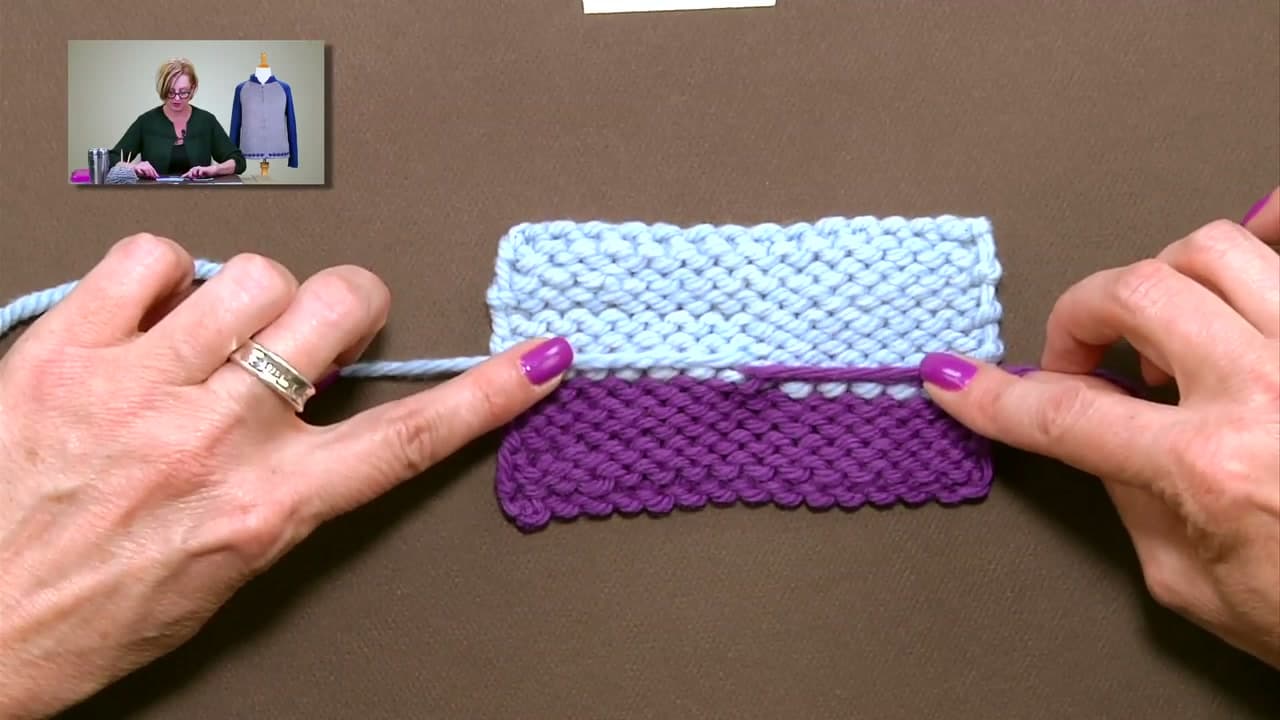
Staci knits her sample swatch in chunky wool with a purple-to-blue color change so every join is easy to see. The four methods coming up cover every combination of those two questions. Read through all four first, then pick the one that fits.

Tip

If you're not sure what fiber your yarn is, check the ball band. Anything labeled wool, alpaca, mohair, or merino is an animal fiber and works with spit splice. Cotton, acrylic, bamboo, and rayon do not.

2

Step 2: Method 1 - Spit Splice (Wool, Same Color)

1:45
Step 2: Step 2: Method 1 - Spit Splice (Wool, Same Color)

Spit splice felts the old yarn end to the new yarn end so they become one continuous strand. Wet about an inch of each yarn end, overlap them in your palm, and rub vigorously between your hands for about thirty seconds. The friction and moisture mat the wool fibers together. When you tug the join, it holds.

This only works with animal fibers - wool, alpaca, merino, mohair. Cotton and acrylic won't felt no matter how hard you rub. It also leaves a slightly muddy zone where the two colors blend, so use it for same-color joins, not stripes. The fabric feels a touch stiffer for about a stitch and a half, but on a finished sweater nobody will ever notice.

Tip

Water works fine if spit makes you squeamish, but real spit has enzymes that help the felting along. Either way, do it before you start knitting again so the yarn has a moment to dry as you work.

3

Step 3: Method 2 - Russian Join (Any Fiber, Clean Color Change)

3:00
Step 3: Step 3: Method 2 - Russian Join (Any Fiber, Clean Color Change)

The Russian join works with any fiber and gives you a crisp color change with no muddy zone. Thread the tail of the old yarn onto a tapestry needle and weave it back through the plies of its own strand for about an inch. Pull through, leaving a small loop. Repeat with the new yarn, threading it back through itself. The two strands lock together where the loops cross.

The trade-off is a couple of tiny pokey ends that may work their way to the front of the fabric and need trimming as you wear the piece. On 100% wool they tend to felt in and disappear over time. Use this for stripes, for cotton and acrylic, or any time the color change has to be visible and clean.

Tip

A blunt tapestry needle with a large eye works best. The needle splits the yarn ply instead of piercing it, which is what locks the join. A sharp sewing needle will just pierce through and pull right out.

4

Step 4: Method 3 - End-of-Row Knot (Stripes, Cotton, Acrylic)

4:00
Step 4: Step 4: Method 3 - End-of-Row Knot (Stripes, Cotton, Acrylic)

This is the everyday method for stripes and for any fiber you can't spit splice. Knit the last stitch of your row with the old yarn, then drop it. Pick up the new yarn, leaving a six-inch tail, and start the next row with it. Tie a double knot with the two short tails and pull it tight against the edge of the work.

Once you weave the ends in later, the knot vanishes into the seam allowance or the edge stitches. Staci recommends this method specifically for slippery cotton, where a snug double knot is the only thing that keeps the join from working itself loose over time.

Tip

Always change colors at the start of a row, never in the middle, when you can. The edge of the work hides the join, and weaving in the tails along the seam is far easier than burying them in the middle of a row.

5

Step 5: Method 4 - Fixing a Mid-Row Join

5:00
Step 5: Step 5: Method 4 - Fixing a Mid-Row Join

Sometimes you run out of yarn ten stitches into a row. If you just drop the old ball and start with a new one, you get a big V-shaped hole exactly where the join lives. Here's how to close it.

Option A: tie a small single knot with the two tails, watching your tension so the fabric doesn't pucker. The knot pulls the gap closed. Option B (animal fibers only): skip the knot and weave the tails in opposite directions through the stitches - send the purple tail to the right and the blue tail to the left. As you weave, the natural pull of the stitches closes the hole. Either way, your worst-case mid-row join becomes nearly invisible.

Tip

Mid-row joins are the one place where a small knot is your friend, not an enemy. Don't worry about hiding the knot perfectly - it sits inside the fabric and nobody will ever feel it through a sweater.

6

Step 6: Compare and Choose

5:45
Step 6: Step 6: Compare and Choose

Quick decision guide for any project you start.

  • Wool sweater, staying in the same color? Spit splice every time. It vanishes.
  • Wool stripes or a clean color change? Russian join. Crisp line, no muddy patch.
  • Cotton or acrylic, any reason? End-of-row knot. The fiber won't felt and the knot is your only secure option.
  • Ran out mid-row by accident? Tie a small knot, or weave the tails in opposite directions on wool.

Once you have all four in your toolkit, you'll never see another join you can't make disappear. From here, the natural next stop is weaving in ends - the technique that finishes every join for good.

Tip

Knit a short reference swatch with all four joins side by side. Label them with stitch markers. The next time a pattern calls for a new ball of yarn, you'll know at a glance which method fits the fiber.

Products Used

☐ The Checklist

How to Join Yarn in Knitting (4 Methods: Spit Splice, Russian Join & More)

Tools
3
Materials
2
Steps
6
Video
7 min

Your Guide

VeryPink Knits

As an Amazon Associate we earn from qualifying purchases. Links on this page may be affiliate links - clicking them and buying doesn't change your price, but helps support ShowMeStepByStep.

Tags

Related Tutorials