Mittens are the wearable that finally proves crochet is a real wardrobe skill. Once you can make one, you can make a matched pair, gift them, and start eyeing a beanie or a pair of fingerless gloves next.
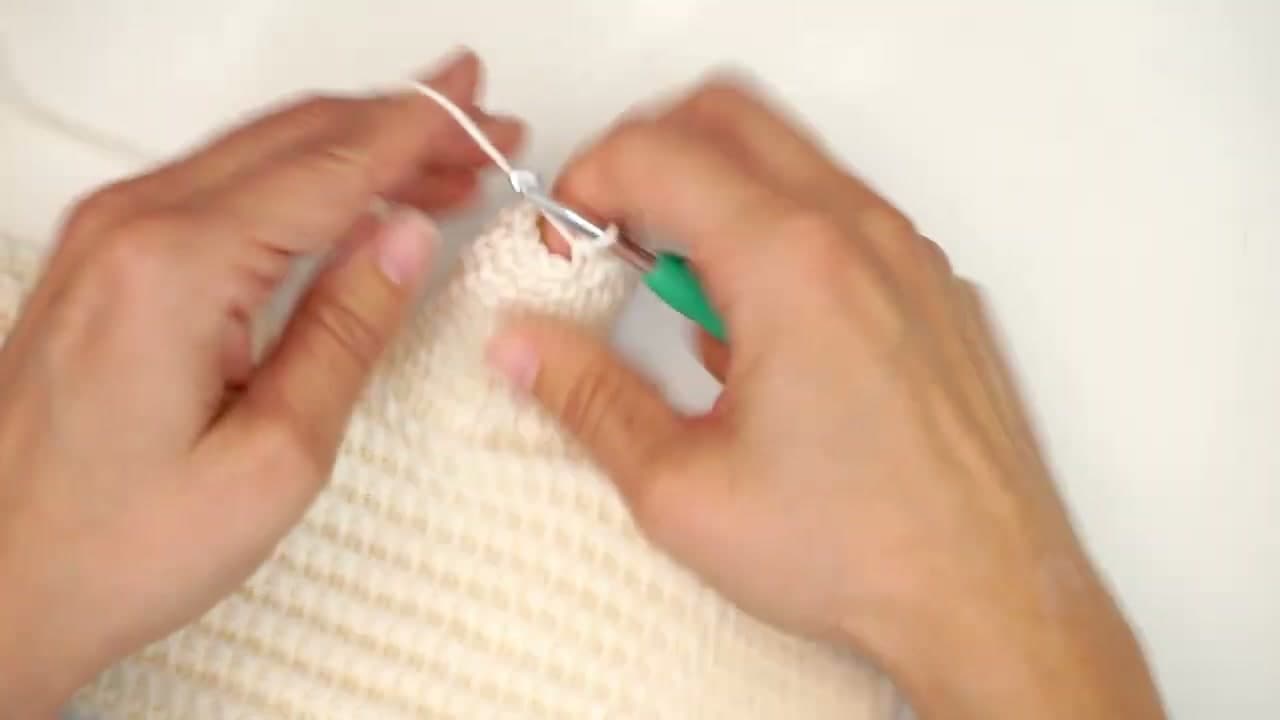
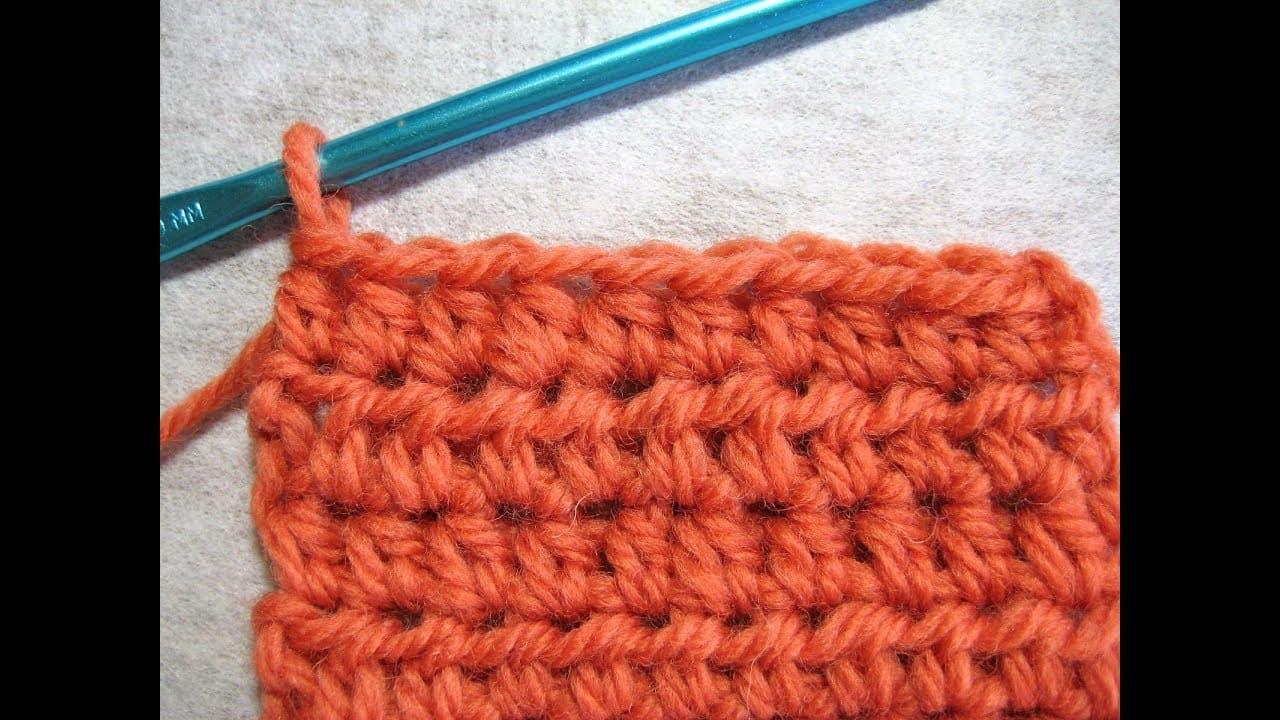
This pattern from Diving Ducks Crochet is genuinely beginner-friendly. You work a flat rectangle of back-loop slip stitch and single crochet, fold it in half, then sew up the long side leaving a gap for the thumb. The ribbed texture stretches around your wrist and keeps the cuff snug. The thumb is added at the end by picking up stitches around the gap and spiraling them into a small tube.
You will need one ball of worsted-weight yarn, a 4.5mm crochet hook, scissors, a tapestry needle, and a few stitch markers to keep your place. If you already know how to half double crochet or have made a magic ring, you are more than ready for this. The only new technique is back-loop ribbing, and you will pick that up by the third row. By the end of the video you will have one finished mitten - the second one is exactly the same.
Mitten sizes: hand circumference and length
Measure around the knuckles with the thumb tucked in, then from the wrist crease to the tip of the middle finger. In this pattern the starting chain sets the length from cuff to fingertip, and the number of rows sets how far the fabric wraps around the hand.
| Size | Hand around | Wrist to fingertip |
|---|
| Child (4-8) | 6 - 6.5 in | 5 - 6 in |
| Women | 7 - 7.5 in | 6.5 - 7.5 in |
| Men | 8 - 9 in | 7.5 - 8.5 in |
Add about 2 inches of length for the cuff. Ribbing stretches, so skip extra ease.
Yarn for warm mittens
Wool wins for warmth. It holds heat even when damp from snow and it bounces back after a season of wear. Merino is soft enough for people who find regular wool itchy. Acrylic is cheaper, machine washable and fine for kids who lose one mitten a week, but it feels colder on a windy day. Stick to worsted weight for this pattern.
How the thumb opening works
There is no thumb shaping in the body. You leave a 2-inch gap in the side seam, about a third of the way down from the top, and build the thumb from that gap later. Try the mitten on before you close the seam and slide the gap up or down to match where your thumb really sits.
Making a matching pair
The second mitten is where pairs go wrong. Write down your chain count, your row count, where the thumb gap starts and how many thumb stitches you picked up. Make the second mitten the same day if you can, before your tension drifts.
Cuffs that stay snug
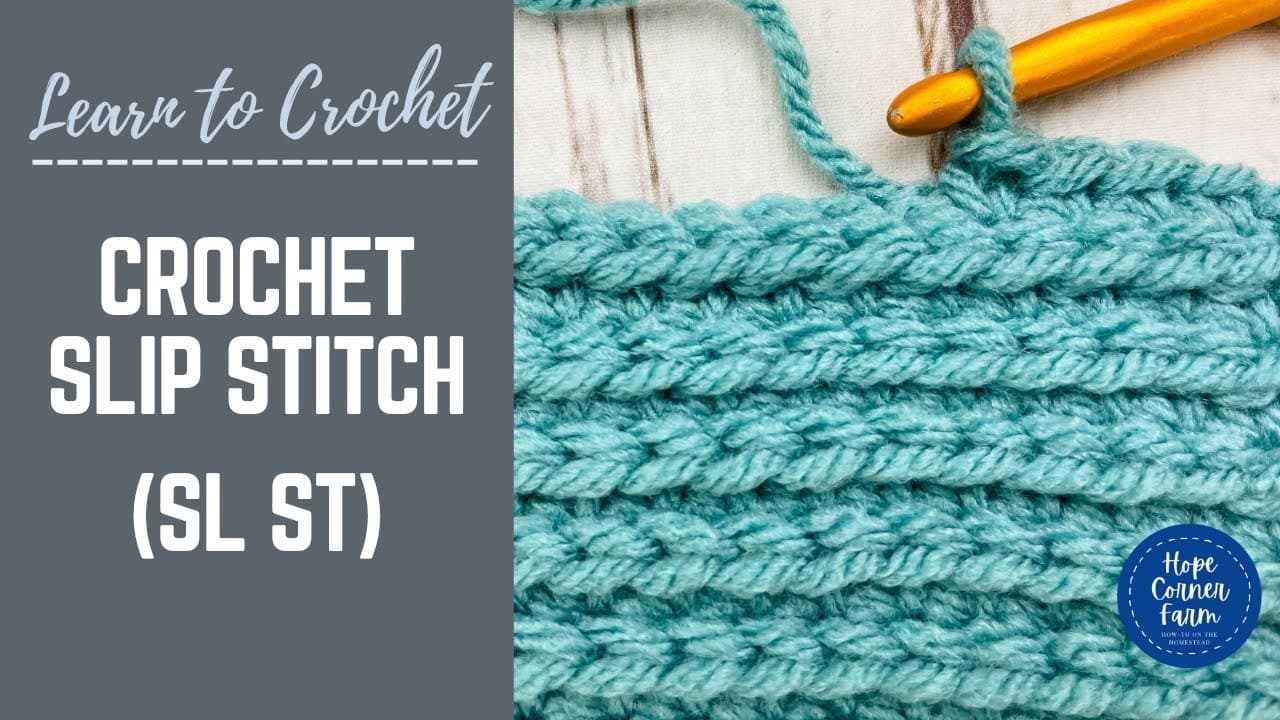
The back-loop ribbing does the work here. Working only the back loop makes ridges that stretch sideways and pull back in, so the cuff hugs the wrist and keeps snow out. The 10 slip stitches at the cuff end are firmer than the single crochet above, so the wrist grips a little tighter.
Gifting mittens
A pair takes two evenings for most people. Pair them with a matching crochet beanie or a bow headband from the same yarn and you have a set that looks planned. Ask for a hand measurement, or trace the person's hand on paper if the gift is a surprise.
Common mistakes
- Thumb in the wrong place. A gap too close to the cuff makes the thumb sit on the wrist. Try it on before sewing the seam shut.
- Too tight to pull on. Ribbing hides a tight fit until the cuff will not go over the knuckles. Add two rows or go up to a 5mm hook.
- Mismatched pair. One mitten a row wider than the other shows. Count both.
- Pointy or holey thumb tip. Close it with even crochet decreases all the way around, then cinch the last loops with the tail.