How to Crochet a Strawberry - 7-Step Amigurumi Tutorial

CrochetEasy6:577 steps
Also in:Crafts

By CraftingStepByStepPublished Updated

Based on a video by Small Serenity Studio.

The crochet strawberry is one of the most satisfying first amigurumi projects. The shape is forgiving (it's just a sphere with a slight cone at the bottom), the seeds are embroidered after the body is finished (so a wobbly stitch count won't ruin the look), and the green leaf cap is fast - four small leaves crocheted from a tiny magic circle.

Small Serenity Studio's video uses on-screen captions throughout ("Round 3: sc, sc, inc x 3" and so on), which makes following along much easier than tracking pattern notes off-screen. The finished strawberry is about the size of a walnut and lives nicely as a keychain charm, a fridge magnet (with a magnet glued inside the stuffing), or a tiny pincushion.

The trick to a strawberry that looks like a strawberry is the embroidered seeds. Beginners want to skip them or place them randomly - don't. Staggering the seeds in alternating rows is what reads as "strawberry" instead of "red ball." Twenty-two seeds total, across four rows, take about ten minutes and make the whole project.

Step-by-Step Guide

1

Step 1: Gather Supplies and Make a Magic Ring

0:25
Step 1: Step 1: Gather Supplies and Make a Magic Ring

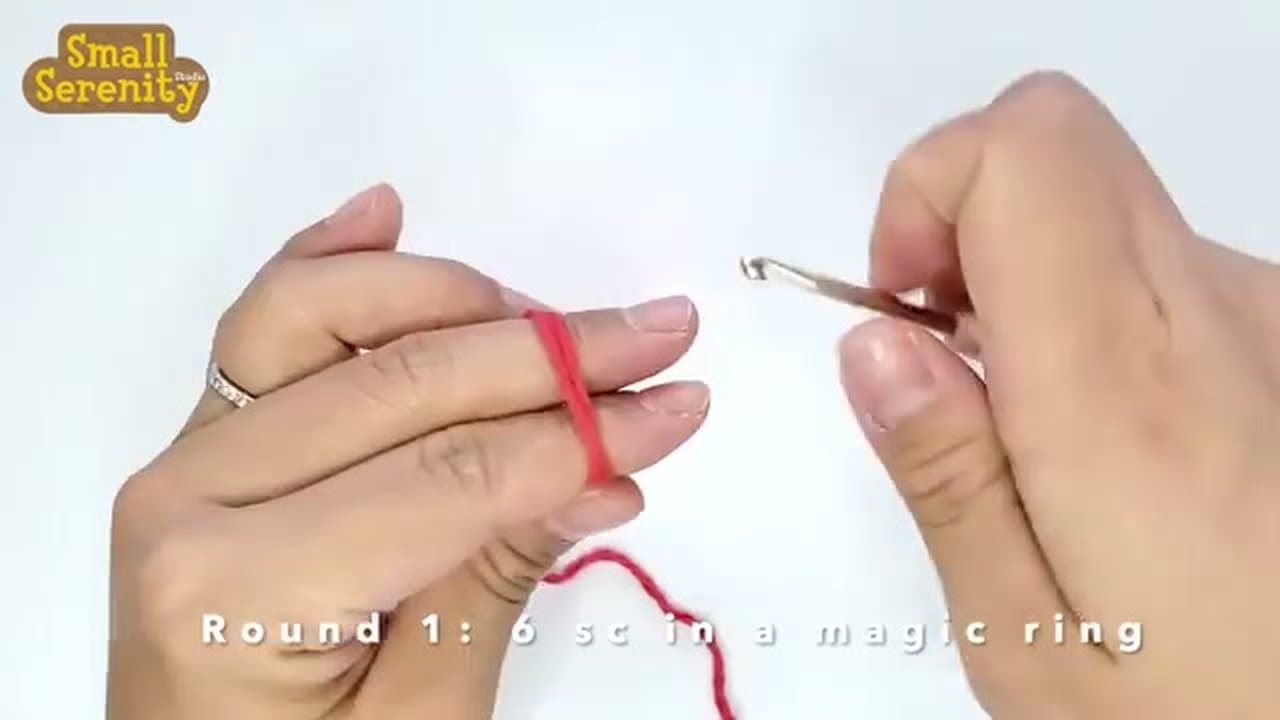
Lay out a 3.5 mm crochet hook, a small ball of red worsted yarn, a small ball of green yarn for the leaves, a scrap of cream yarn for the seeds, a yarn needle, scissors, and polyester fiberfill.

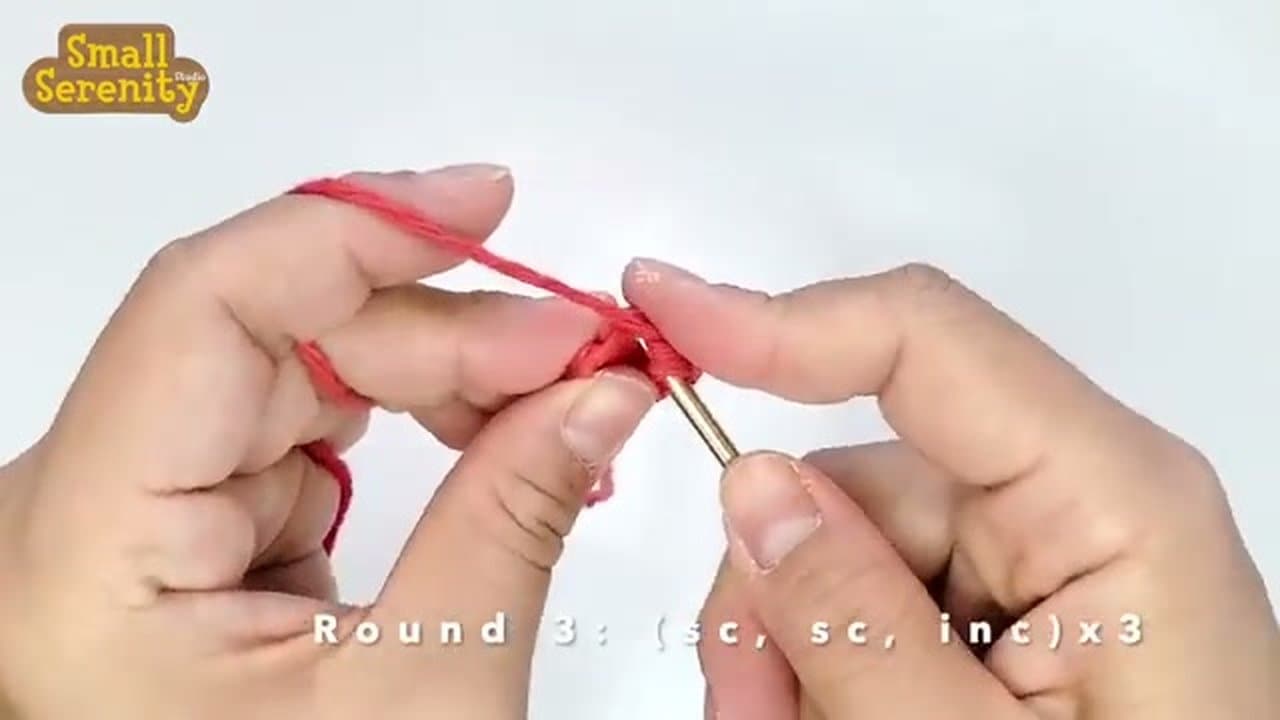
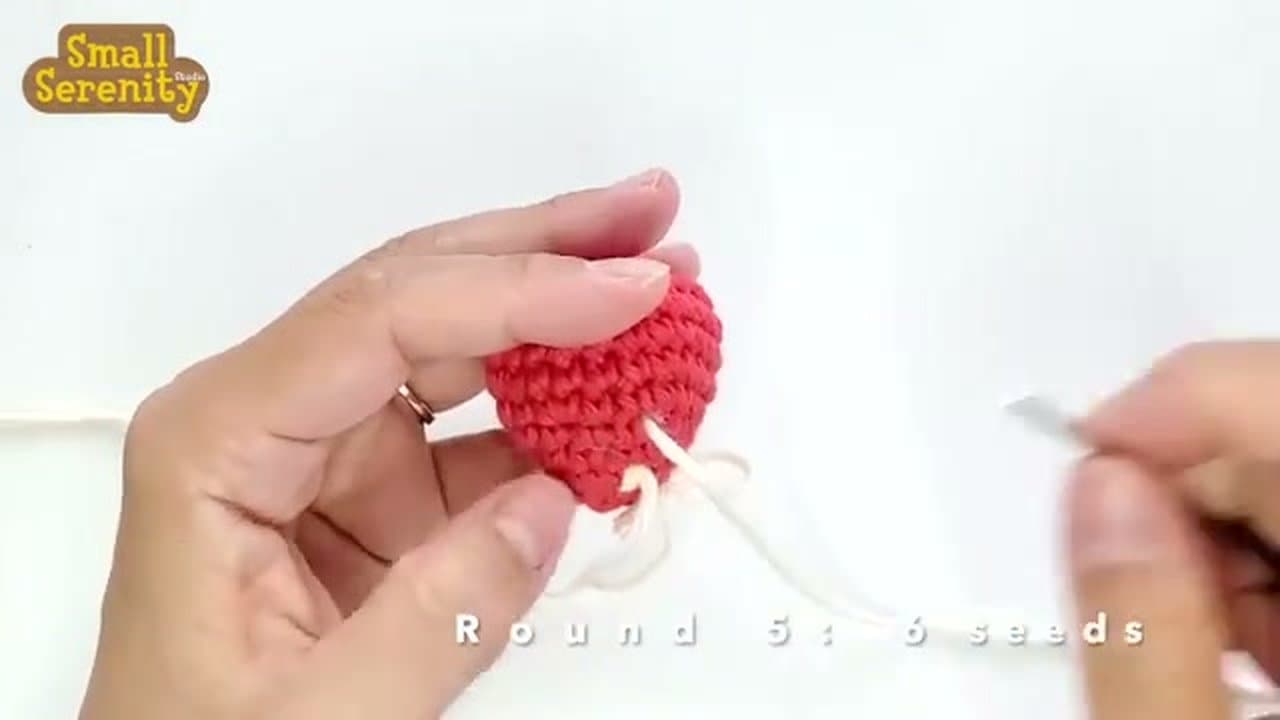
Form a magic ring with the red yarn (wrap the yarn around your finger, slide the loop off, insert the hook, yarn over and pull a loop through) and work 6 single crochets into the ring. Pull the loose tail to tighten the ring closed. This becomes the bottom point of the strawberry.

Tip

If you've never done a magic ring, slow it down: it's wrap, hook through the loop, yarn over, pull through. The magic ring is the cleanest way to start a sphere because there's no hole at the center to close later.

2

Step 2: Three Increase Rounds to 15 Stitches

1:00
Step 2: Step 2: Three Increase Rounds to 15 Stitches

Begin shaping the strawberry. Round 2: single crochet 1, then increase (2 single crochets in next stitch). Repeat that pattern all the way around (9 stitches at end of round).

Round 3: single crochet 2, then increase, around (12 stitches). Round 4: single crochet 3, then increase, around (15 stitches). Each round adds 3 stitches and gently widens the cone, which is what gives the strawberry its tapered bottom.

Tip

An increase in single crochet is just two single crochets worked into the same stitch. Practice it a few times on scrap yarn before starting if it's new - it's the foundation of every amigurumi shape.

3

Step 3: Reach 24 Stitches and Work Two Even Rounds

2:25
Step 3: Step 3: Reach 24 Stitches and Work Two Even Rounds

Two more increase rounds and you're at the widest point. Round 5: single crochet 4, then increase, around (18 stitches). Round 6: single crochet 2, then increase, around (24 stitches).

Now work 2 rounds of plain single crochet with no increases - just one single crochet in each stitch around. This is what gives the strawberry its barrel shape at the widest point. The body should look unmistakably strawberry-like by now.

Tip

If the strawberry looks pointed instead of plump, your tension is too tight - the increase rounds aren't flaring enough. Loosen up and try again on the plain rounds.

4

Step 4: Decrease Rounds to Curve the Top

2:55
Step 4: Step 4: Decrease Rounds to Curve the Top

Now reverse direction and start narrowing the body. Round 9: single crochet 2, then single-crochet-2-together (a decrease), repeated around. That drops the count from 24 to 18 stitches.

Round 10: single crochet 1, then decrease, around. That drops it from 18 to 12. The fabric curves inward, beginning to close the top of the strawberry.

Tip

A single-crochet-2-together decrease combines two stitches into one. Insert the hook in the first stitch, pull up a loop, then immediately insert the hook in the next stitch and pull up a loop. Yarn over and pull through all three loops on the hook. That's one decrease.

5

Step 5: Stuff the Body and Close the Top

3:20
Step 5: Step 5: Stuff the Body and Close the Top

Stuff the strawberry firmly with polyester fiberfill before the hole gets too small to fit your fingers through. Pack it tightly - amigurumi looks deflated when under-stuffed.

Continue decreasing all the way around for the final round. Then cut the yarn leaving an 8-inch tail. Thread the tail onto your yarn needle and weave it through the front loops of each remaining stitch. Pull tight to cinch the top closed, then sink the needle through the body to hide the tail end.

Tip

If the top doesn't cinch fully closed, take another pass with the yarn needle - just thread back through the remaining stitches and pull again. There's no rule that says one pass is enough.

6

Step 6: Embroider the Cream Seeds in Staggered Rows

4:40
Step 6: Step 6: Embroider the Cream Seeds in Staggered Rows

Thread cream-colored yarn onto the yarn needle. The seeds go across four rows of the strawberry body, with the rows alternating in seed count and offset.

Start on the third row up from the bottom: make a single straight stitch every 3 stitches around for 4 seeds. Move up to row 5 and add 6 seeds, spaced every 3 stitches. Row 7 gets 6 seeds spaced every 4 stitches. Row 9 (the highest) gets 6 more on every 3 stitches.

Stagger the seed positions between rows so they don't line up vertically - this is what makes the seed pattern read as a real strawberry instead of a striped pattern.

Tip

If a seed flies off when you pull the yarn through (it happens), don't panic - just thread the tail back through and re-set it. Each seed is independent.

7

Step 7: Crochet and Attach the Green Leaf Cap

6:10
Step 7: Step 7: Crochet and Attach the Green Leaf Cap

Switch to green yarn. Form a small magic circle and work 6 single crochets into it. Join with a slip stitch.

Chain 4. Starting in the 2nd chain from the hook, work 3 single crochets along the chain. Slip stitch into the next stitch on the green ring to anchor the leaf. That's leaf one. Repeat "chain 4, 3 single crochets back, slip stitch" three or four more times around the green ring to make a full cap of 4-5 pointed leaves.

Cut the yarn leaving a long tail. Center the leaves over the top of the strawberry and whip-stitch the green cap onto the body with the yarn needle. Weave in all loose ends.

Tip

If the cap won't sit flat, the ring shrank when you joined it. Stretch it gently with your fingers before sewing it on - cotton has memory and will hold the new shape.

Products Used

☐ The Checklist

How to Crochet a Strawberry - 7-Step Amigurumi Tutorial

Tools
3
Materials
4
Steps
7
Video
7 min

Your Guide

Small Serenity Studio

As an Amazon Associate we earn from qualifying purchases. Links on this page may be affiliate links - clicking them and buying doesn't change your price, but helps support ShowMeStepByStep.

Tags

Related Tutorials