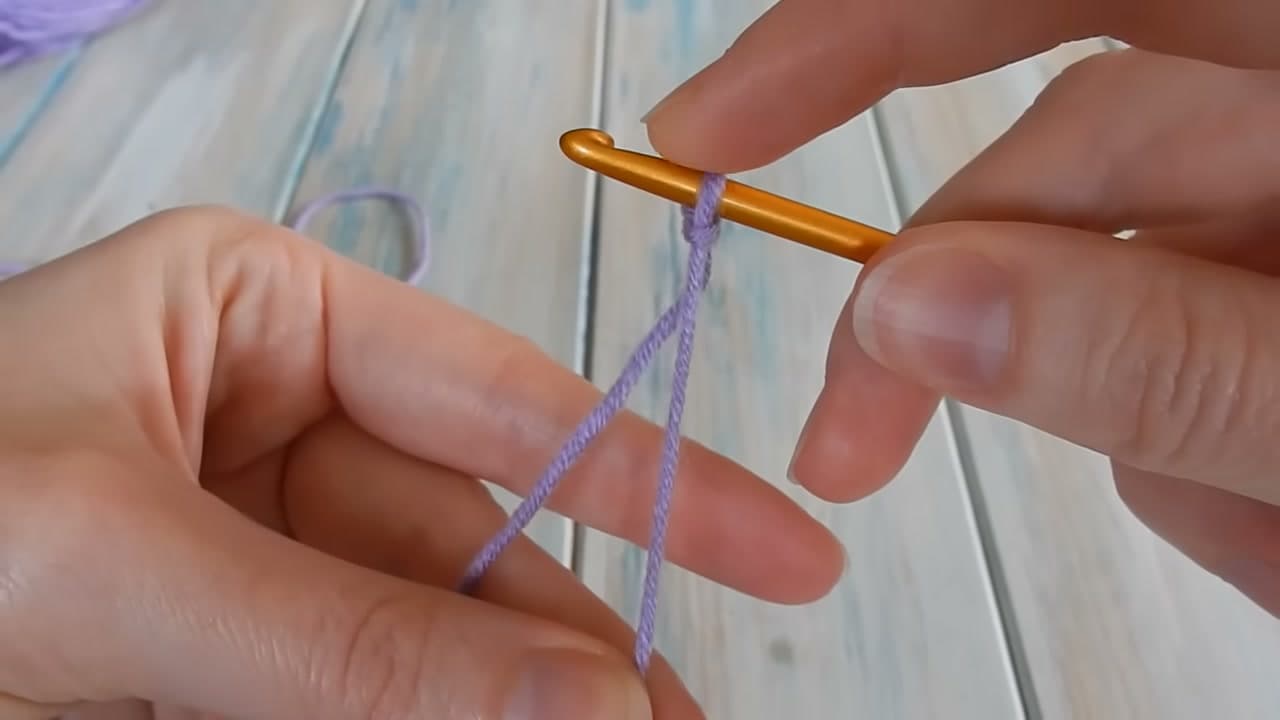
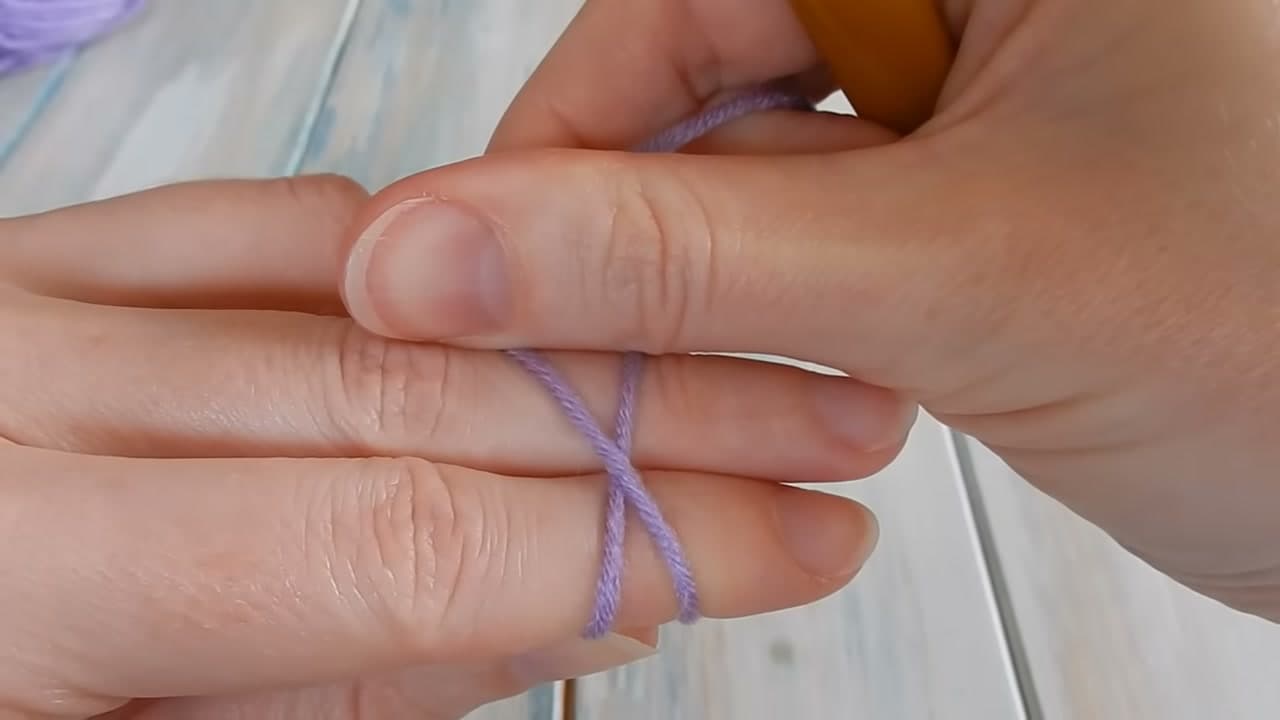
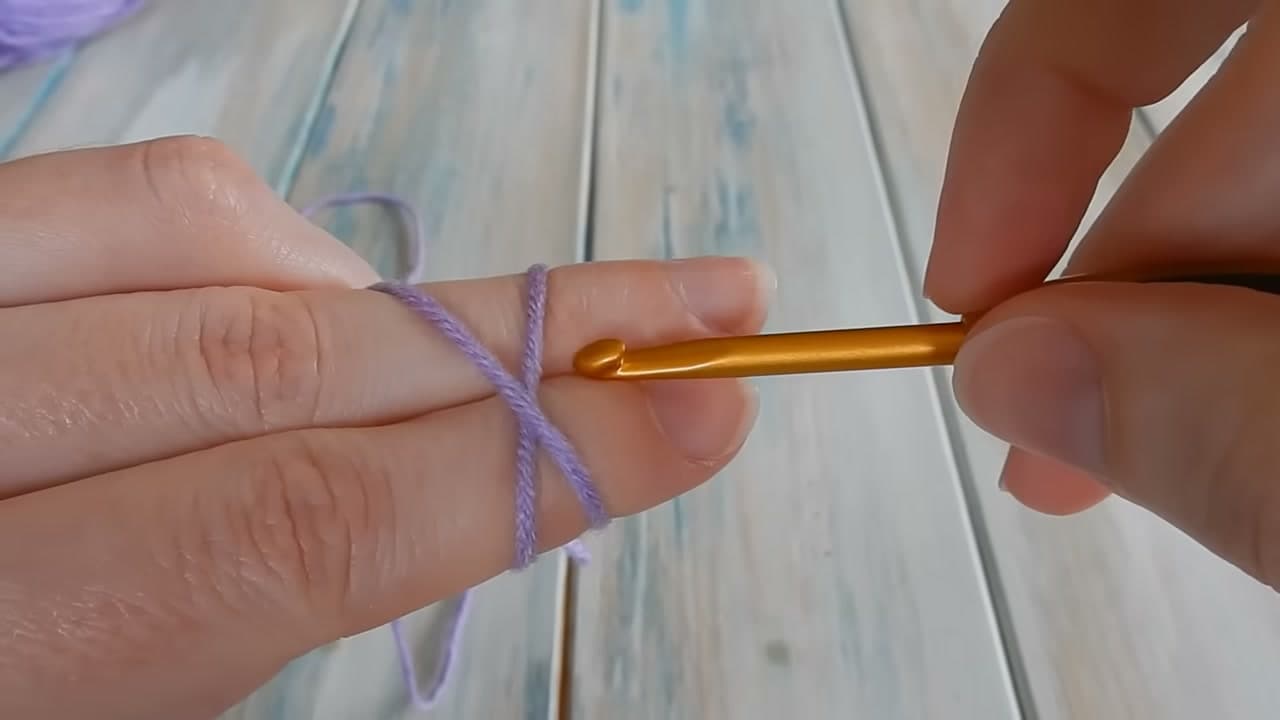
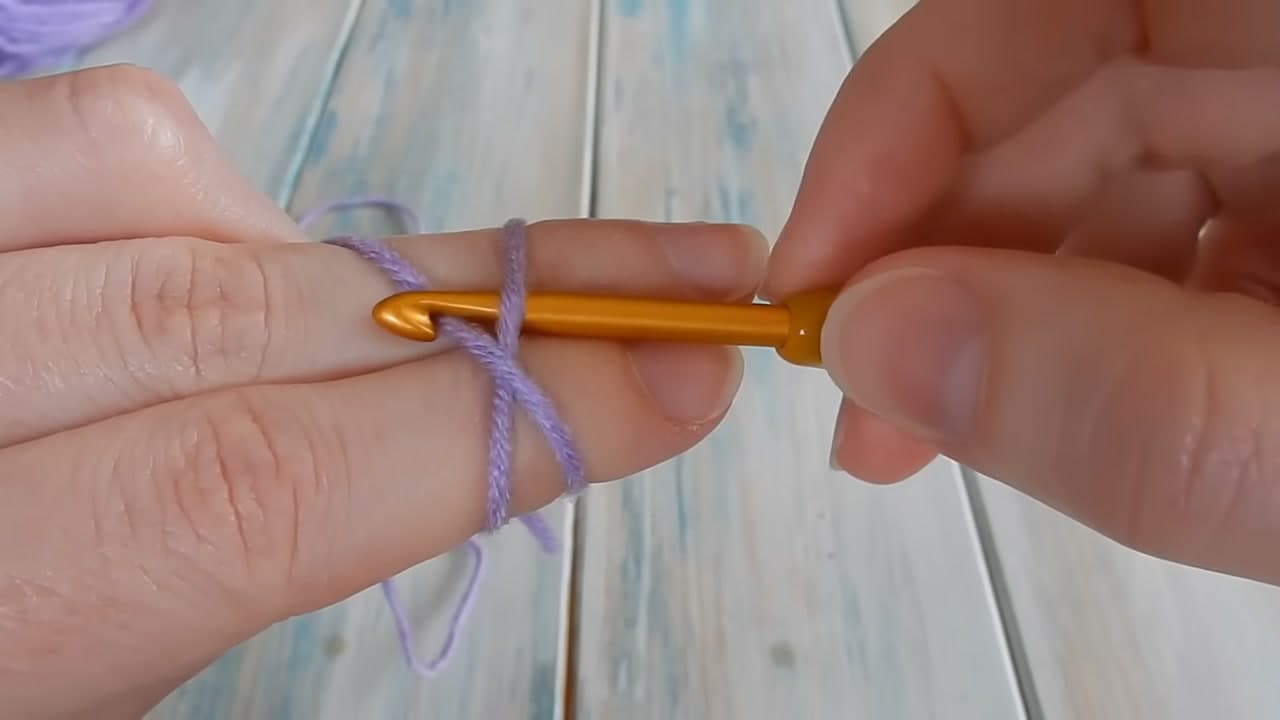
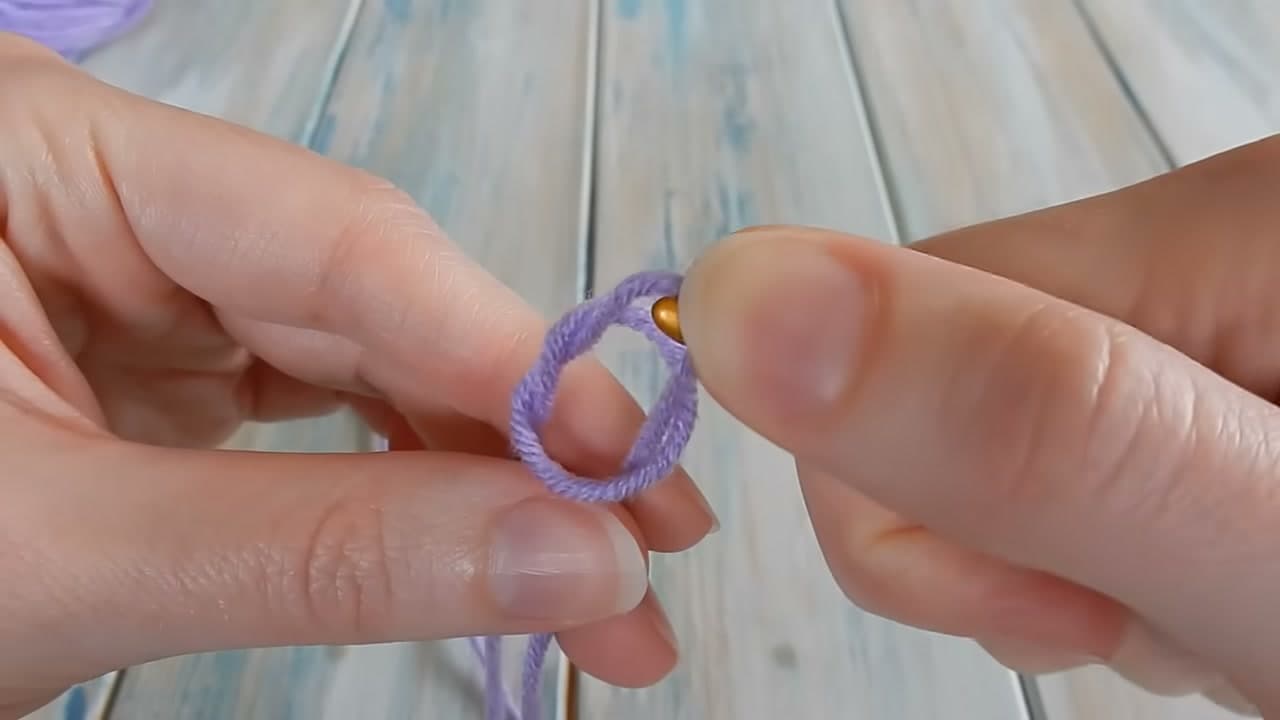
Every crochet project starts with a slip knot. It is the first loop that goes on your hook, and it is the one that lets you tighten the whole thing down afterwards by pulling the tail.
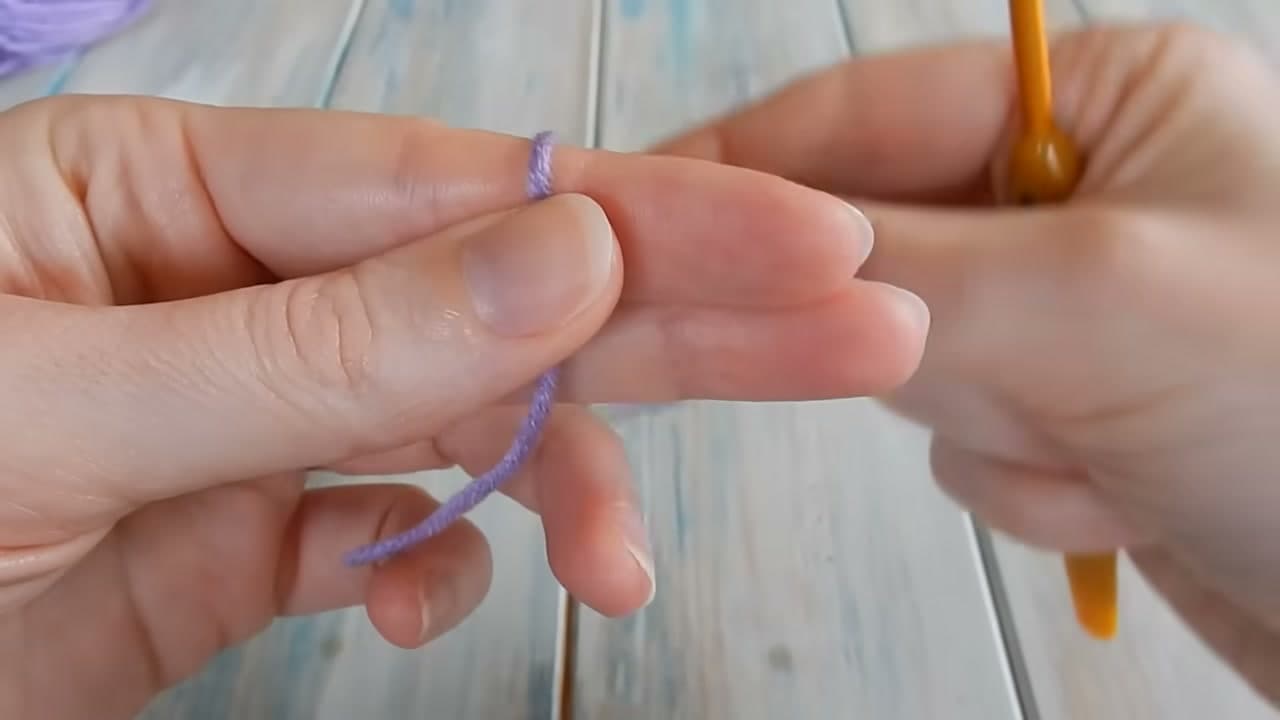
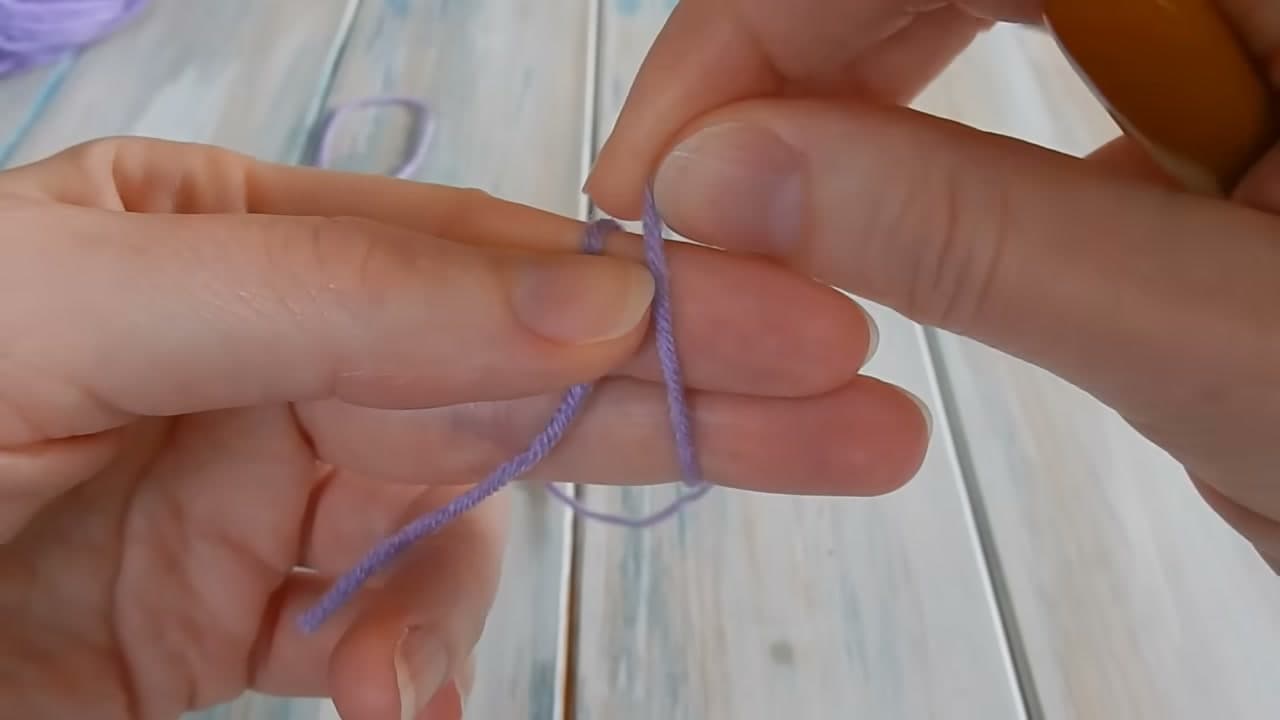
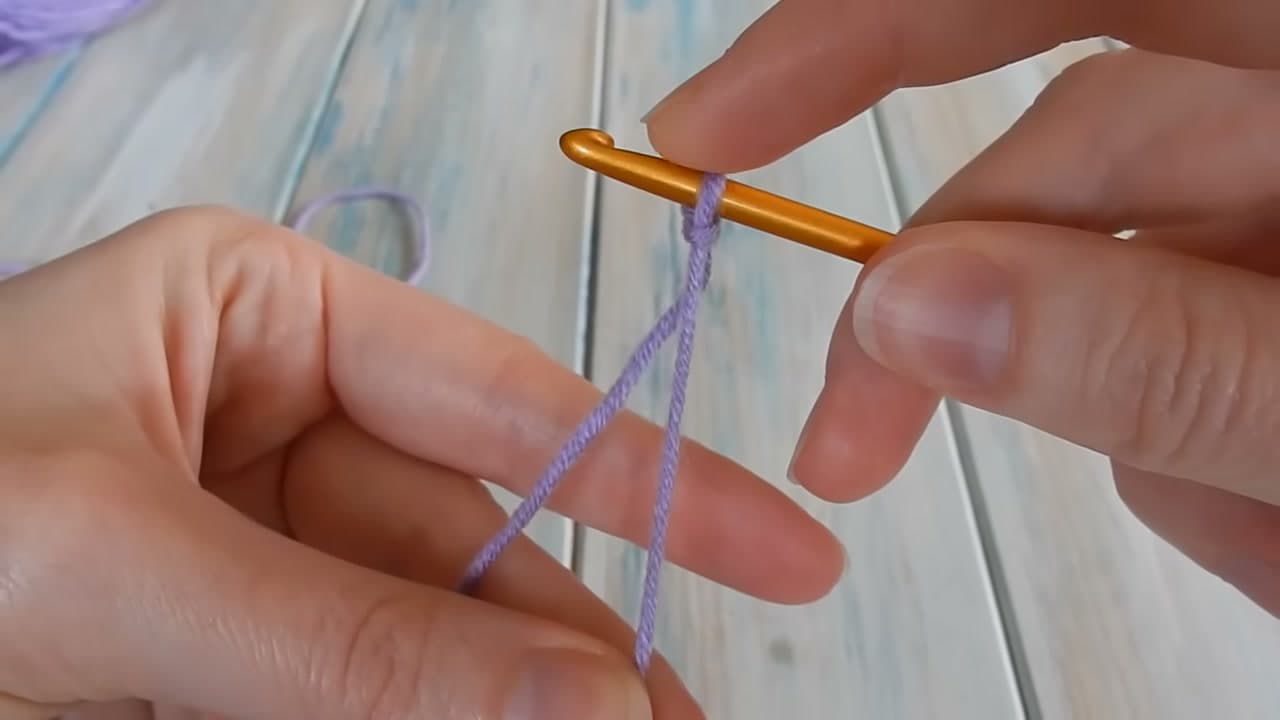
Jane from HappyBerry Crochet teaches it as lesson one of her absolute-beginner series, and her method is the one worth learning. You wrap the yarn over two fingers, cross it, and let the hook do the work. No fiddling with a loop you made in mid-air.
It takes about thirty seconds once your hands know it. Give it a few tries before you move on, because you will make a slip knot at the start of every project from here.
What You Need
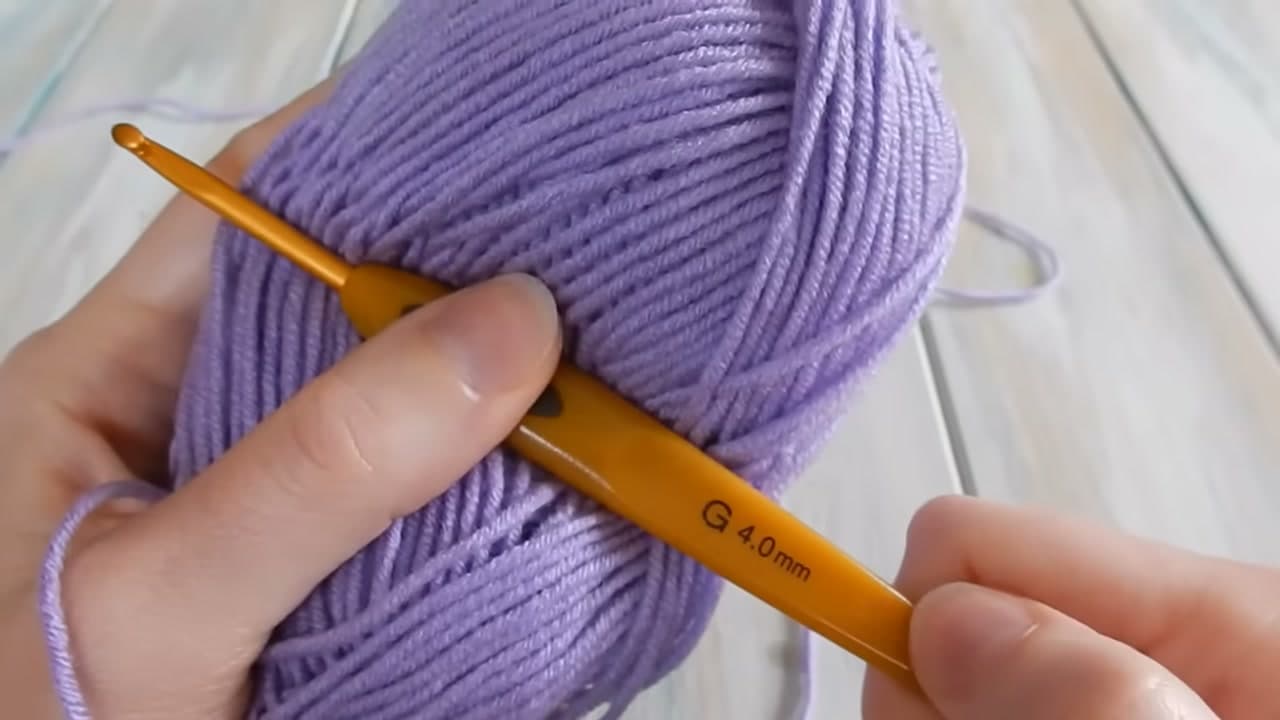
- A 4mm (G) crochet hook
- DK or light worsted yarn, weight 3, in a light colour
- Scissors
Smooth light yarn shows the two strands of the cross, which is the part you need to see while you learn.
How to Tie a Slip Knot for Crochet
The eight steps above take it slowly. The short version is three moves: wrap the yarn around two fingers so it crosses the tail, slide the hook under the near strand of that cross and catch the far one, then pull that strand back underneath and tug the tail to close the wraps into a knot. Once you have done a hundred you will tie one with no hook at all.
Why Crochet Starts With a Slip Knot
A crochet slip knot anchors the yarn to the hook so there is something to pull the first chain through. It is adjustable, which is why this knot and not a fixed one: pull the tail at the end and it releases instead of leaving a lump.
It is not a stitch. Patterns rarely say so, and it is where a lot of first rows go wrong. Chain 20 means tie the slip knot, then make 20 chains on top of it. Count the knot as one and every row after runs a stitch short. The live loop on the hook is never counted either.
Which End Tightens the Loop
Two strands hang out of the bottom of the knot. The tail is the short cut end. The working yarn runs back to the ball.
Pull the tail and the knot closes up. Pull the working yarn and the loop shrinks, sliding the knot up under the hook. That is the order the steps use: tail first to set the knot, working yarn second to size the loop. Pull them the wrong way round before the knot has closed and the wraps slide back out of each other.
The Knitting Version Is the Same Knot
A knitting cast-on opens with a slip knot too, and it is the same knot. Same wrap, same cross, same pull. It goes on a needle rather than a hook, and there it does count as the first stitch of the cast-on row. See how to cast on knitting for what follows it.
How to Tell It Is a Slip Knot
Take the loop off your hook and pull the yarn. A real slip knot pops straight open. That is the whole point of it: it holds while you work, then releases when you want it to. If yours locks up instead, the hook went under the wrong strand of the cross.
Common Slip Knot Problems
Too tight to work into. Stop pulling the working yarn once the loop sits snug on the shaft. If it will not slide along the shaft it is too tight and the first chain will fight you. Ease it open by pulling the loop itself.
It keeps popping undone. The hook caught both strands of the cross. One goes under the hook, the other gets pulled through it.
You are working in the round. Amigurumi and most circular pieces skip this start and use a magic ring, which pulls the centre closed. A slip knot joined into a chain ring leaves a hole you can see through.
What Comes Next
With the slip knot on your hook you are ready to chain, the foundation row for almost every pattern. See how to crochet a foundation chain next, then how to single crochet for the first stitch. Starting from nothing, how to crochet for beginners puts the sequence in order.