How to Crochet a Beanie (Beginner-Friendly Textured Hat)

CrochetEasy6:297 steps

By CraftingStepByStepPublished Updated

Based on a video by naztazia.

This easy winter beanie from Donna Wolfe of Naztazia is a great first hat. If you can chain, slip stitch, single crochet, and half double crochet, you have every skill you need to finish it. The whole thing works flat as a rectangle, then you seam it up and cinch the top - no working in the round, no decreases.

The texture comes from the crunch stitch (hdc, sl st, hdc, sl st), which gives the body of the hat a gorgeous scrunched look. The ribbed brim is plain sc worked in back loops only, which keeps the brim stretchy enough to pull on without losing its shape. One skein of worsted weight yarn and a size H 5mm hook will do it, and a pompom on top is optional but cute.

The pattern below is sized for a woman's head (about 63 rows). Donna's written pattern on Naztazia.com has child, teen, and men's sizes if you want to adjust. Grab your yarn and let's get started.

Step-by-Step Guide

1

Step 1: Chain 41 Loosely

0:00
Step 1: Step 1: Chain 41 Loosely

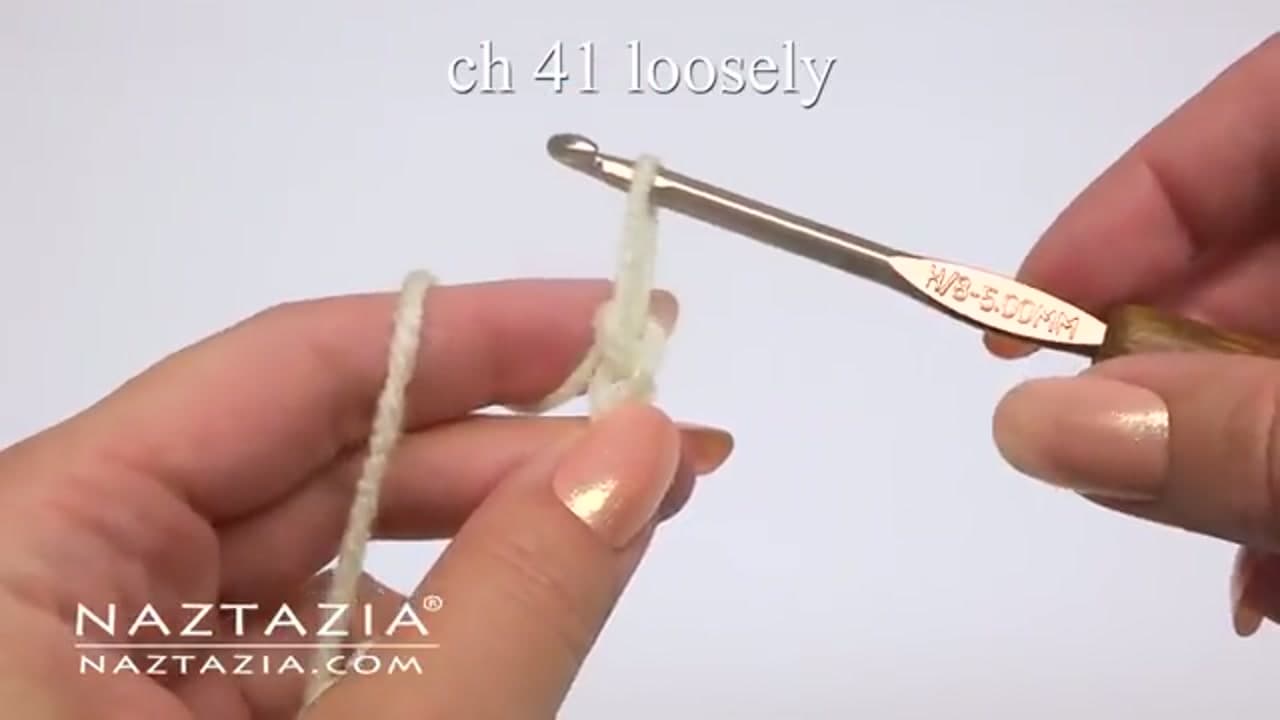
Grab one skein of worsted weight yarn (Donna uses Red Heart Heat Wave) and a size H 5mm hook. Make a slip knot, then chain 41 loosely. Loose chains are the whole game here, so if your chains feel tight, bump up to a larger hook for the foundation row and switch back to the H for everything after.

A tight foundation will fight you for every row, so take your time and keep tension easy.

Tip

Count your chains twice before moving on. It's much easier to fix a miscount now than to discover it three rows in.

2

Step 2: Work 12 Single Crochet and Place a Marker

0:00
Step 2: Step 2: Work 12 Single Crochet and Place a Marker

For Row 1, skip the first chain and work one sc into each of the next 12 chains. These 12 stitches become the ribbed brim and they stay sc the entire hat. Once you finish stitch 12, slip a stitch marker into that loop so you always know where the ribbing ends and the textured top begins.

The marker saves you from counting on every row, and you'll thank yourself by row 20.

Tip

Use a brightly colored stitch marker or a small safety pin so it pops against your yarn. Donna uses a green paperclip in the video.

Products used in this step

3

Step 3: Start the Crunch Stitch (hdc + sl st)

0:00
Step 3: Step 3: Start the Crunch Stitch (hdc + sl st)

Time for the crunch stitch, the textured top of the hat. In the next chain, work one hdc, then a sl st into the chain after that. Keep going hdc, sl st, hdc, sl st all the way to the end of the row.

The hdc puffs up and the sl st pulls in tight, which is what gives the fabric that scrunched texture. Don't worry if it looks bumpy and weird at first - that's the stitch doing its job.

Tip

Keep your slip stitches loose. Tight sl sts make the next row almost impossible to work into.

4

Step 4: Row 2 - Crunch Stitch + Ribbing in Back Loops

0:00
Step 4: Step 4: Row 2 - Crunch Stitch + Ribbing in Back Loops

Row 2: ch 1, turn. You're now on the textured side again, so work the same crunch pattern across - hdc, sl st, hdc, sl st - stopping right before your stitch marker. At the marker, swap to sc and work 12 sc into the back loops only.

Back loops only is what gives the brim that real ribbed look and the stretch you need to pull the hat on. Move the marker up to your new stitch 12 before you finish the row.

Tip

The back loop is the loop farther from you when you look at the top of the stitch. Tilt the work toward you and you'll see two loops - go into the back one only.

5

Step 5: Repeat Rows 2 and 3 Until You Hit 63 Rows

0:00
Step 5: Step 5: Repeat Rows 2 and 3 Until You Hit 63 Rows

Repeat Rows 2 and 3 over and over: one row of crunch stitch with sc ribbing on one side, then ch 1, turn, and do it again with the ribbing on the opposite side. Always work the 12 sc in back loops only and keep the ribbing stacked on the ribbing side.

For a woman's size, Donna works 63 rows total. Lay the piece flat every 10 rows or so and aim for about 19 inches of unstretched ribbed edge.

Tip

If your ribbed edge measures short, the hat won't stretch around your head. Switch to a larger hook and rip back rather than push through - you'll be happier with the fit.

Products used in this step

6

Step 6: Seam the Rectangle into a Tube

0:00
Step 6: Step 6: Seam the Rectangle into a Tube

Once you hit 63 rows, leave a long tail (at least 24 inches) for seaming. Fold the rectangle so Row 1 lines up with your last row, ribbing edge to ribbing edge. Thread the tail onto a yarn needle and sew the two short ends together to form a tube.

Whip stitch or mattress stitch both work fine here - whatever you're comfortable with. When the seam is closed, weave in that tail and any other loose ends so nothing pops out later.

Tip

Use a blunt yarn needle (also called a tapestry needle) so you don't split the yarn fibers as you sew through them.

7

Step 7: Cinch the Top and Attach a Pompom

0:00
Step 7: Step 7: Cinch the Top and Attach a Pompom

Cut a fresh 20-inch strand of yarn, double it for strength, and thread it onto your needle. Run the needle in and out along the top edge of the hat, then pull both ends to cinch the crown closed like a drawstring. Tie several tight knots, and if you want extra insurance, dab a tiny bit of clear nail polish on the knot.

Push the tail ends through a pompom, knot it to the crown, and your beanie is done. Fold up the brim and try it on.

Tip

Faux fur pompoms come with a built-in snap loop, which makes them easy to swap between hats if you want to wash one.

Products Used

☐ The Checklist

How to Crochet a Beanie (Beginner-Friendly Textured Hat)

Tools
4
Materials
2
Steps
7
Video
6 min

Your Guide

naztazia

As an Amazon Associate we earn from qualifying purchases. Links on this page may be affiliate links - clicking them and buying doesn't change your price, but helps support ShowMeStepByStep.

Tags

Related Tutorials