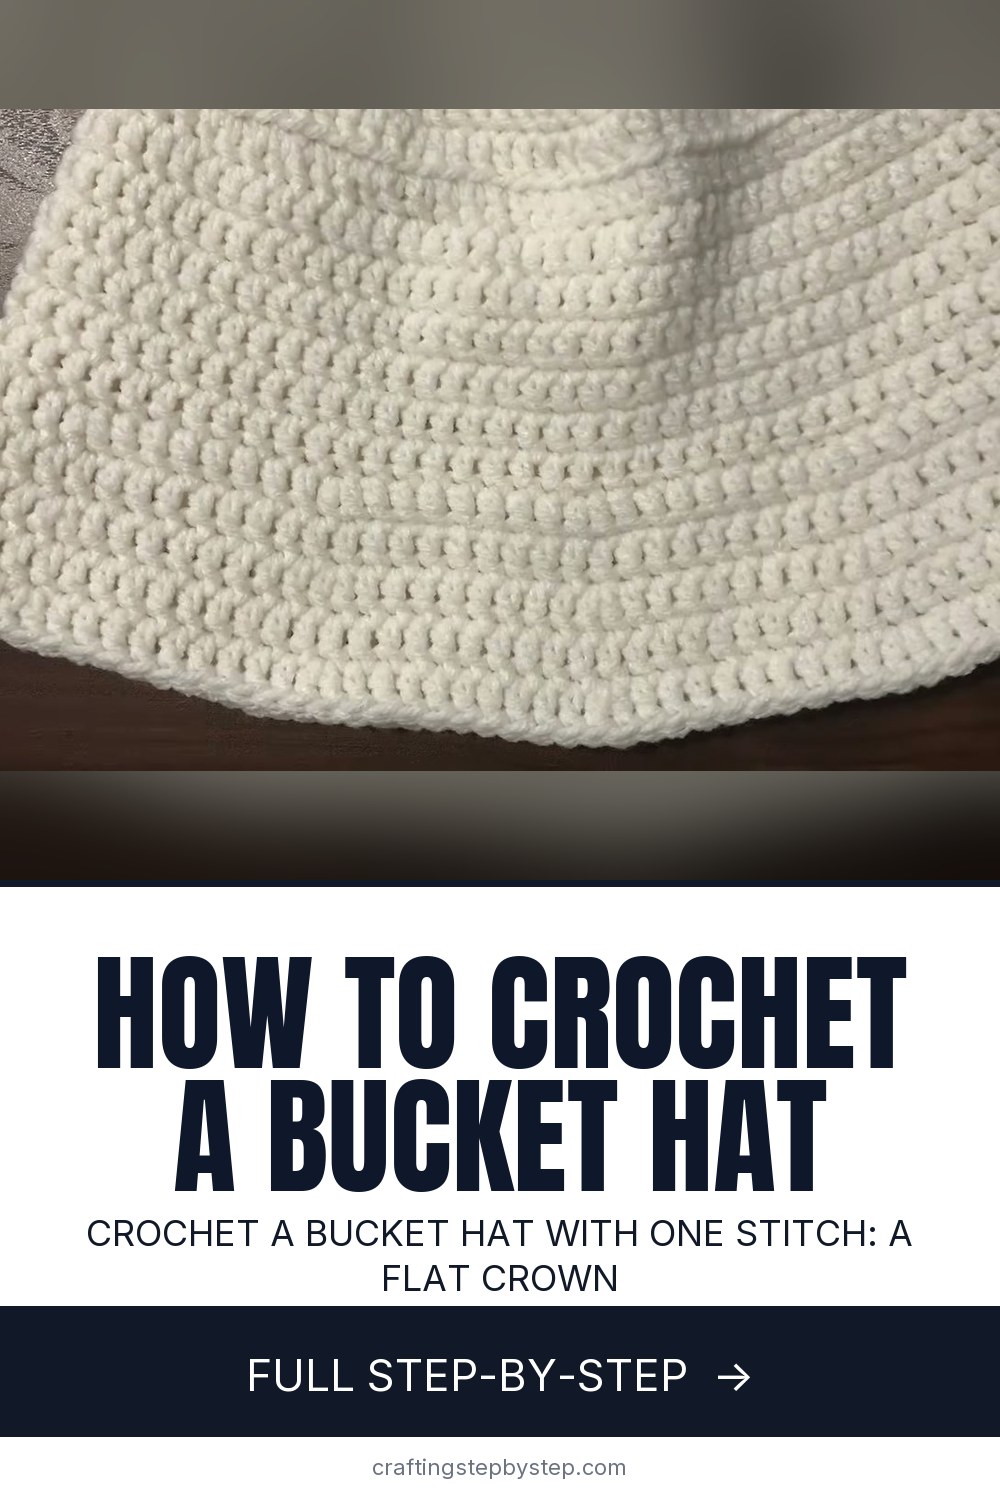
A bucket hat is one of the friendliest first hat projects in crochet. It uses one stitch, the double crochet, worked round and round. Viv of the VivCrochets channel on YouTube shows the whole hat in about 14 minutes, from the magic ring to the last woven end. She has a free written pattern on her blog, and she later filmed an updated version too. This page follows her original video.
The hat has three parts. The crown is a flat circle that grows by 10 stitches every round. The sides are plain rounds with no increases. The brim flares out with a few gentle increase rounds. Two small tricks make the corners. One round in the back loops folds the sides down, and one round in the front loops pops the brim out. If the basics are new, see how to crochet a magic ring and how to double crochet.
Yarn weight and hook size
Viv uses Red Heart Super Saver in white, a worsted weight (number 4) acrylic, with a 5 mm hook. For a spring or summer hat, swap in a 100% cotton worsted yarn. Cotton breathes, holds its shape and softens with washing. Any number 4 yarn from your stash will work. Crochet a small swatch first. If it feels stiff, go up half a millimetre. If it looks holey, go down.
Sizing and how much yarn you need
Measure around the head over the tops of the ears. Most adults fall between 21 and 23 inches. In Viv's video, 7 crown rounds gives a small, 8 a medium and 9 a large. Lay the crown flat and check it against a hat that fits. For a child, stop the crown a round or two early. For a longer hat, add side rounds. She uses about 150 yards for a medium. A beginner can plan on two or three relaxed evenings.
Gift ideas and a make-now plan
Make one this winter and you have a ready gift for the first warm weekend. A small cotton bucket hat in a bright colour is a sweet beach hat for a grandchild. Make a matching pair for you and a grown daughter. Plain white or cream hats are welcome at summer camps and charity drives, too. For a cosy winter partner, pair it with a crochet beanie, and tuck in a card with the washing notes below.
Washing and shaping the finished hat
Acrylic and cotton both go in a gentle machine wash inside a mesh bag. Lay the hat flat to dry and never hang it, or the sides will stretch. To set a floppy brim, mist it with water, shape it over a bowl and let it dry overnight. A cotton hat holds a crisp brim better than acrylic does.
Easy variations
Troubleshooting
- Crown cups or ruffles. Count your stitches. Each round should be 10 more than the last and end on an increase.
- Hat too tight or too loose. Add or remove a crown round, or change hook size.
- Visible seam line. The joins drift a little each round. Join into the true first stitch, not the chain 2.
- Brim curls in. End the brim on an increase round, as Viv does.