How to Crochet a Bucket Hat
Source: VivCrochets • Full tutorial: www.craftingstepbystep.com/crochet/how-to-crochet-a-bucket-hat
- Difficulty
- Easy

Tools
- 5mm (H) crochet hook
- large eye yarn needle
- scissors
- stitch markers
- flexible measuring tape
Materials
- worsted weight acrylic yarn, white (about 150 yards for a medium)
- or 100% cotton worsted weight yarn for a summer hat
Steps
1. Make a Magic Ring to Start the Bucket Hat Crown
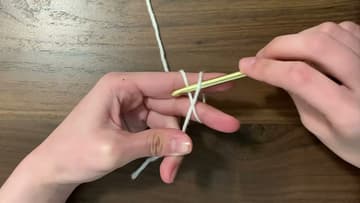
Hold the yarn tail at the bottom of your hand, leaving a few inches to weave in later. Wrap the working yarn over two fingers so it forms an X.
Tip: Leave a tail of about 5 inches. You will use it to close the centre tight at the end.
2. Work 10 Double Crochets Into the Bucket Hat Magic Ring
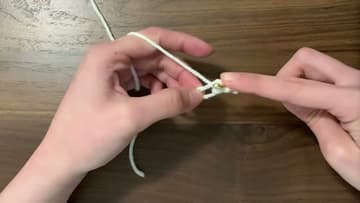
Yarn over, put your hook into the centre of the ring, yarn over and pull up a loop. Yarn over and pull through two loops, then yarn over and pull through the last two.
Tip: Count all 10 before you close the ring. Adding a missed stitch later is much harder.
3. Close the Ring and Join the First Round of the Bucket Hat
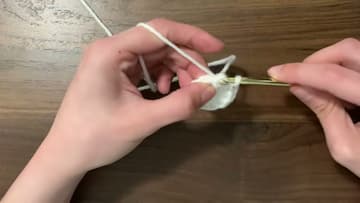
Pull the tail firmly so the centre hole closes up. You will knot it later so it stays shut.
Tip: Pop a stitch marker in the first stitch of each round so you can find it again.
4. Increase in Every Stitch for Round 2 of the Bucket Hat
Chain 2. In this round you work two double crochets into every stitch.
Tip: Two stitches in one spot is all an increase is. Say it out loud as you go: two, two, two.
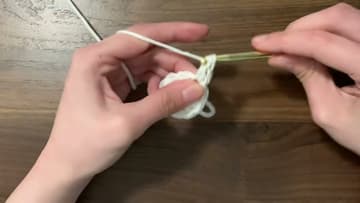
5. Keep Increasing to Grow the Flat Bucket Hat Crown
Each round adds 10 stitches. Round 3 increases in every second stitch, round 4 in every third, and so on.
Tip: If the last stitch of a round is not an increase, you have miscounted somewhere. Count back before you join.
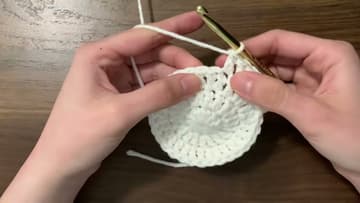
6. Check the Bucket Hat Crown Size Against Your Head
Lay the circle flat on the table and smooth it out. It should not cup or ruffle.
Tip: Measure the head before you start, and jot the number down. It saves pulling out rounds.
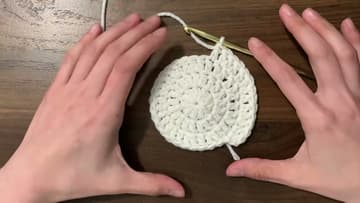
7. Crochet the Back Loop Round and Sides of the Bucket Hat
Stop increasing now. Chain 2 and work one double crochet in every stitch, but only in the back loops.
Tip: Only the first side round uses the back loops. Go back to both loops for the rest.
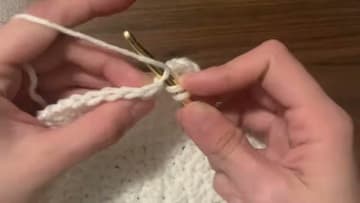
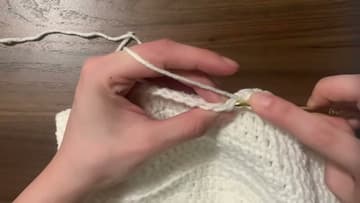
8. Start the Bucket Hat Brim in the Front Loops Only
The first brim round goes into the front loops only, the loop nearest you. That makes the brim pop outward instead of folding in.
Tip: Front loop for the brim, back loop for the sides. Write it on a sticky note if it helps.
9. Finish the Bucket Hat Brim Rounds and Fasten Off
From here, alternate a plain round with an increase round, going under both loops. Each increase round spaces its increases one stitch farther apart than the last.
Tip: An odd number of brim rounds means you finish on an increase. That keeps the brim flaring.
10. Weave In the Ends Inside the Bucket Hat
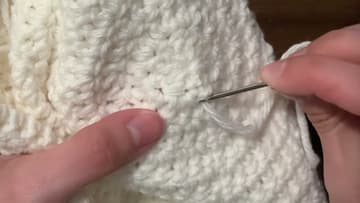
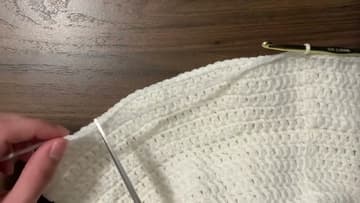
Turn the hat inside out so the ends hide on the inside. Pull the crown tail tight, thread it on a yarn needle and tie a small knot so the centre stays closed.
Tip: Going back and forth in two directions locks the end, so it will not work loose in the wash.