1
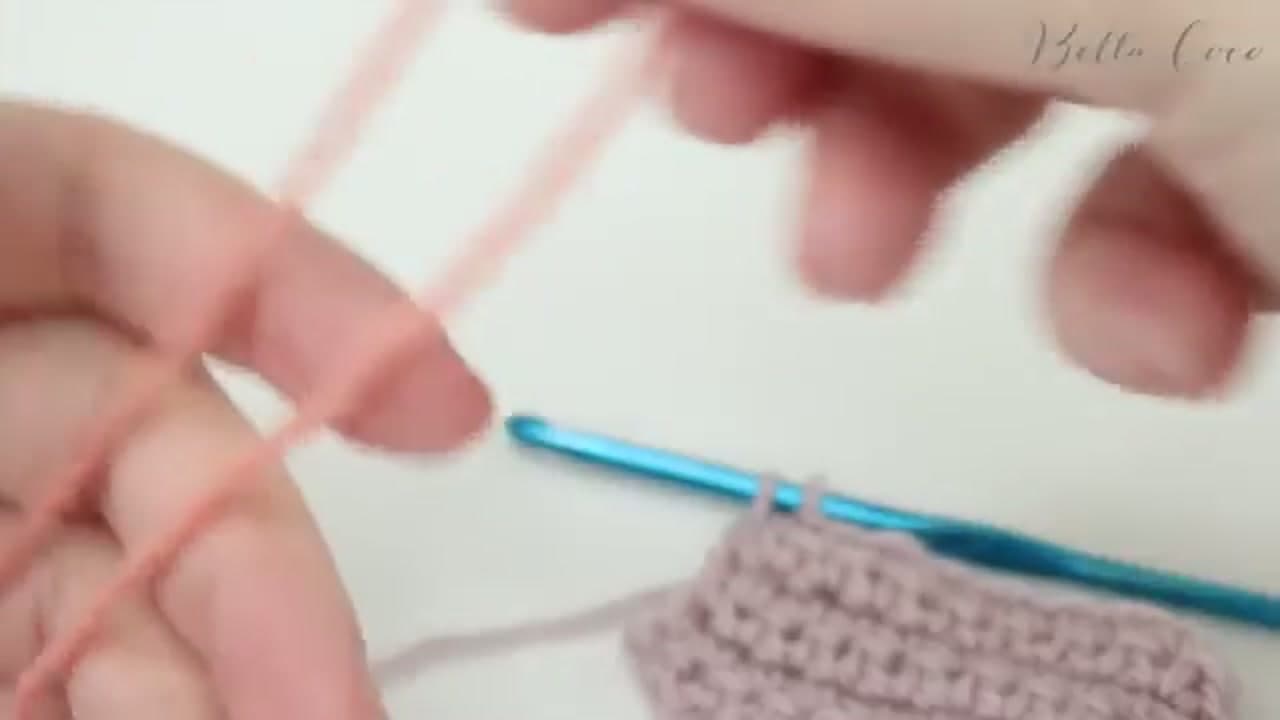
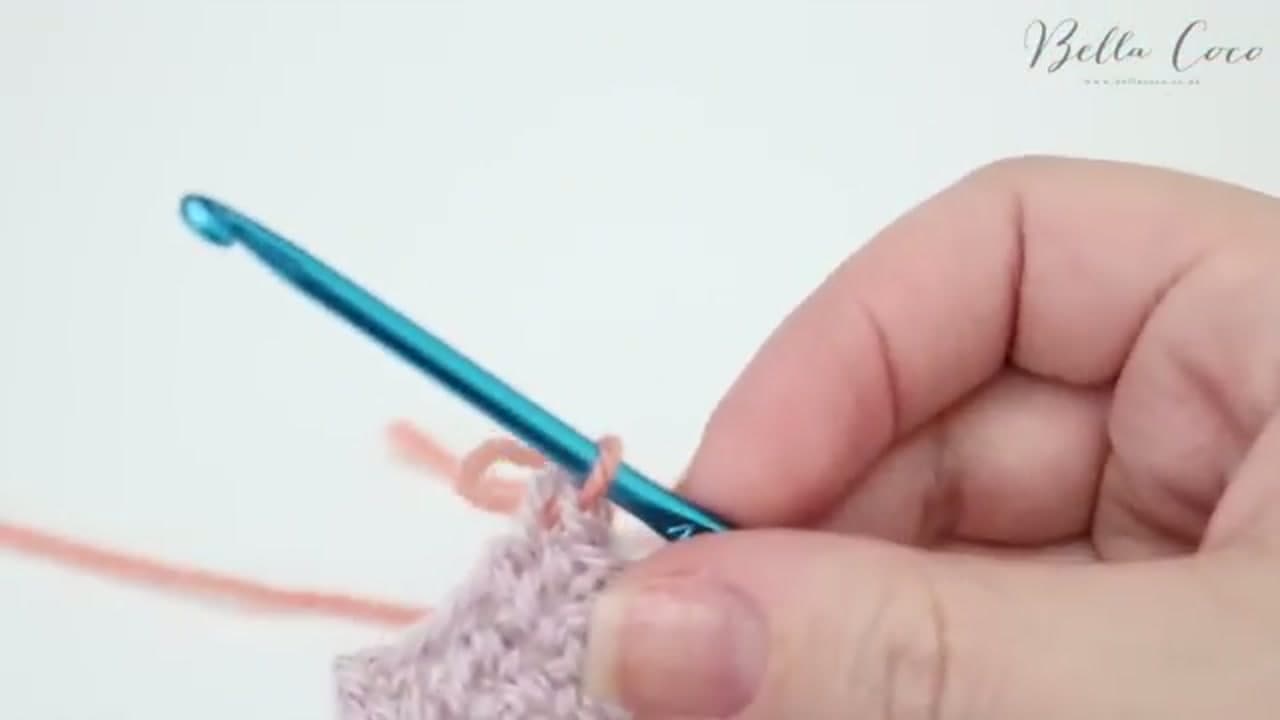
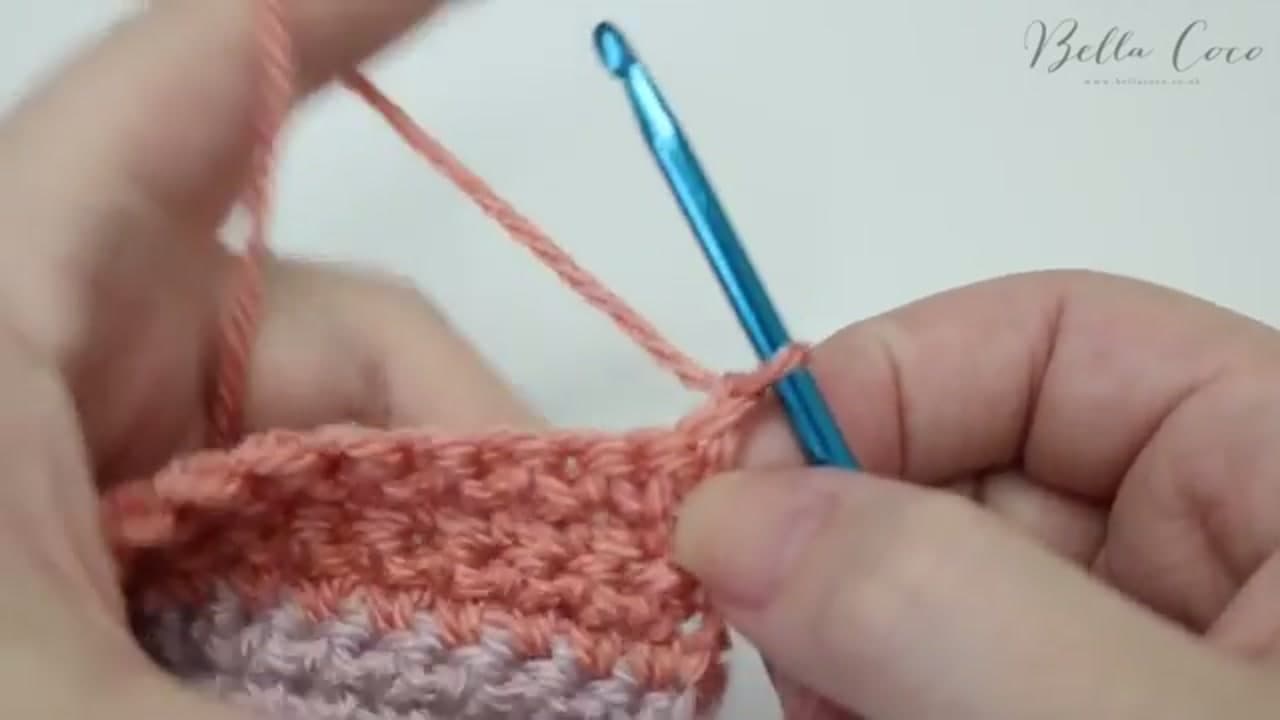
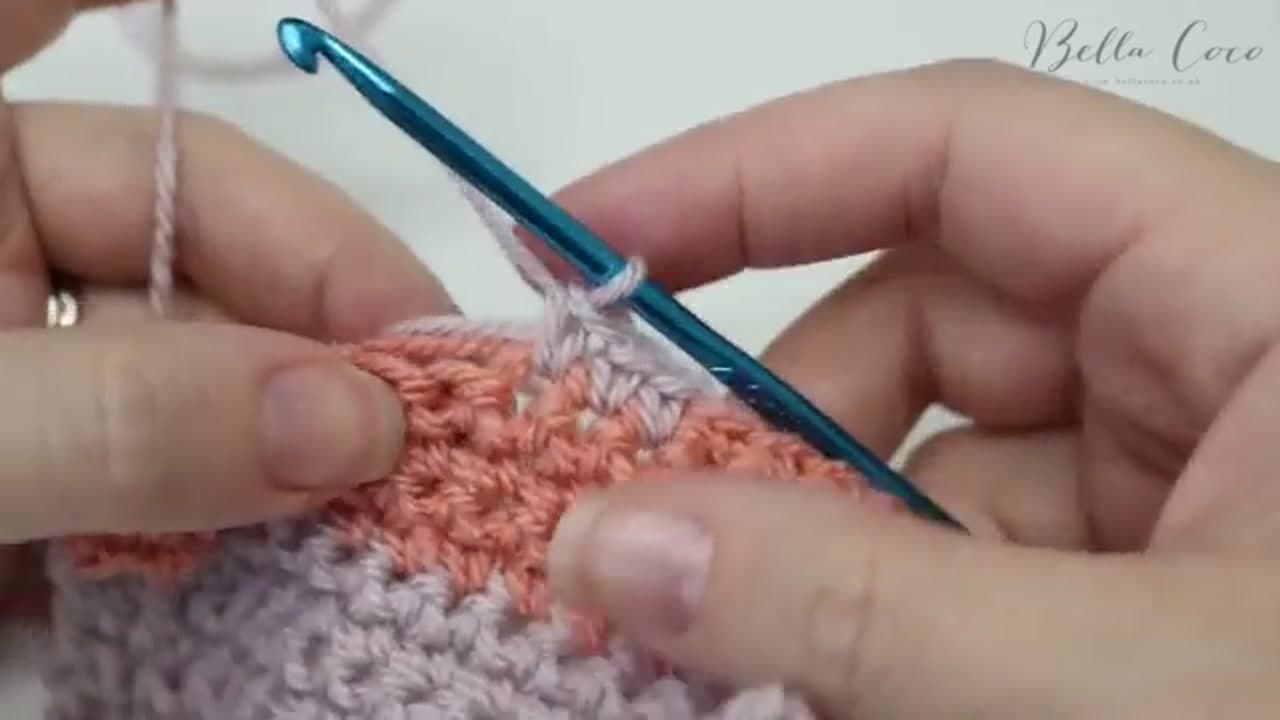
Stop at Two Loops on Your Last Stitch
1:05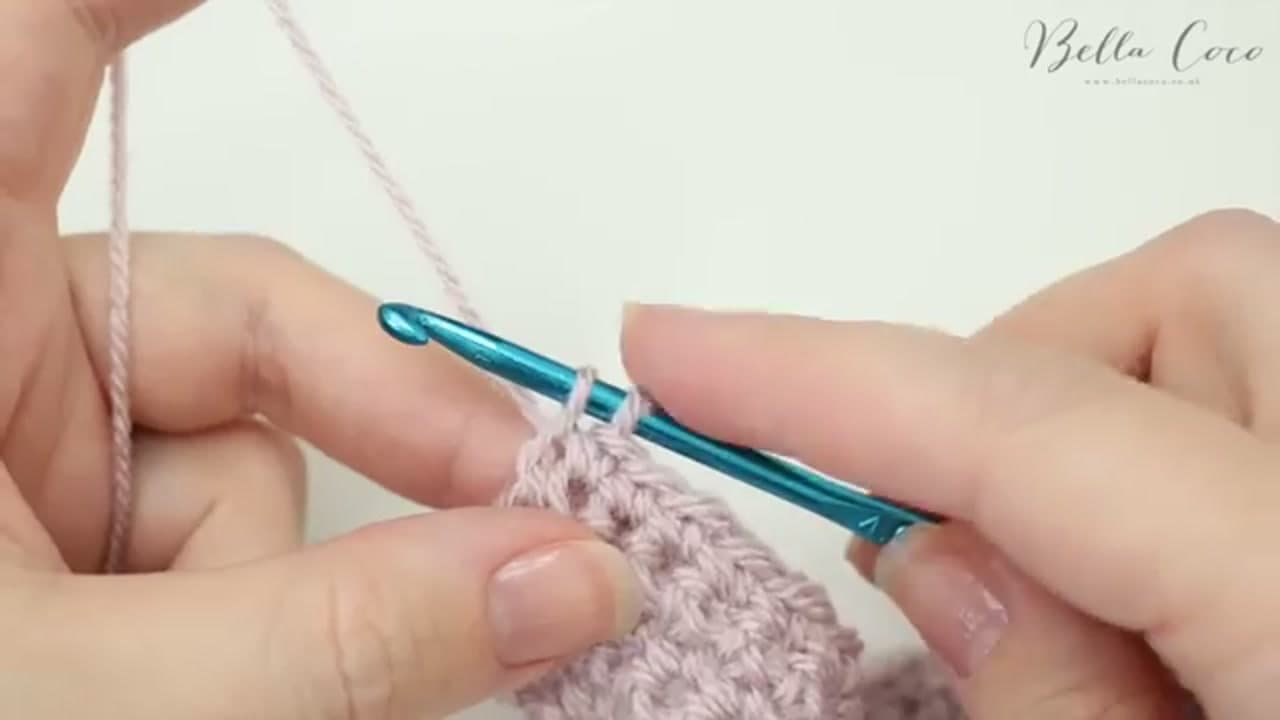
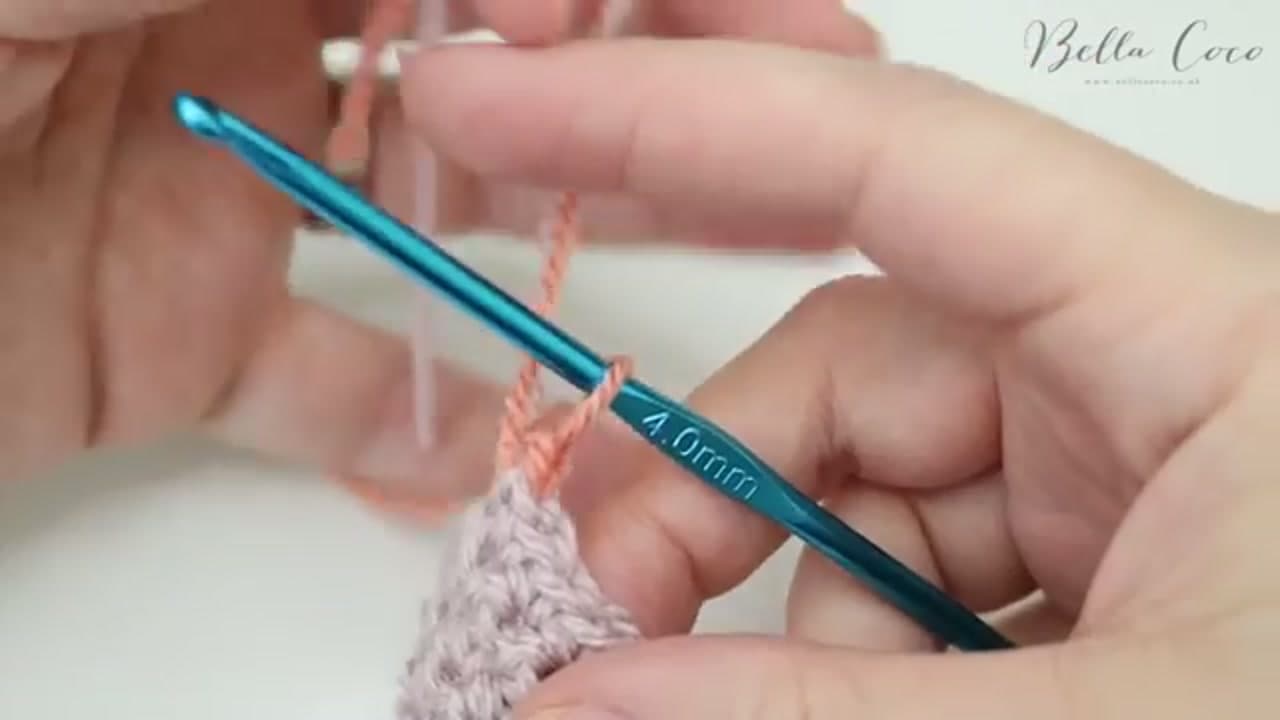
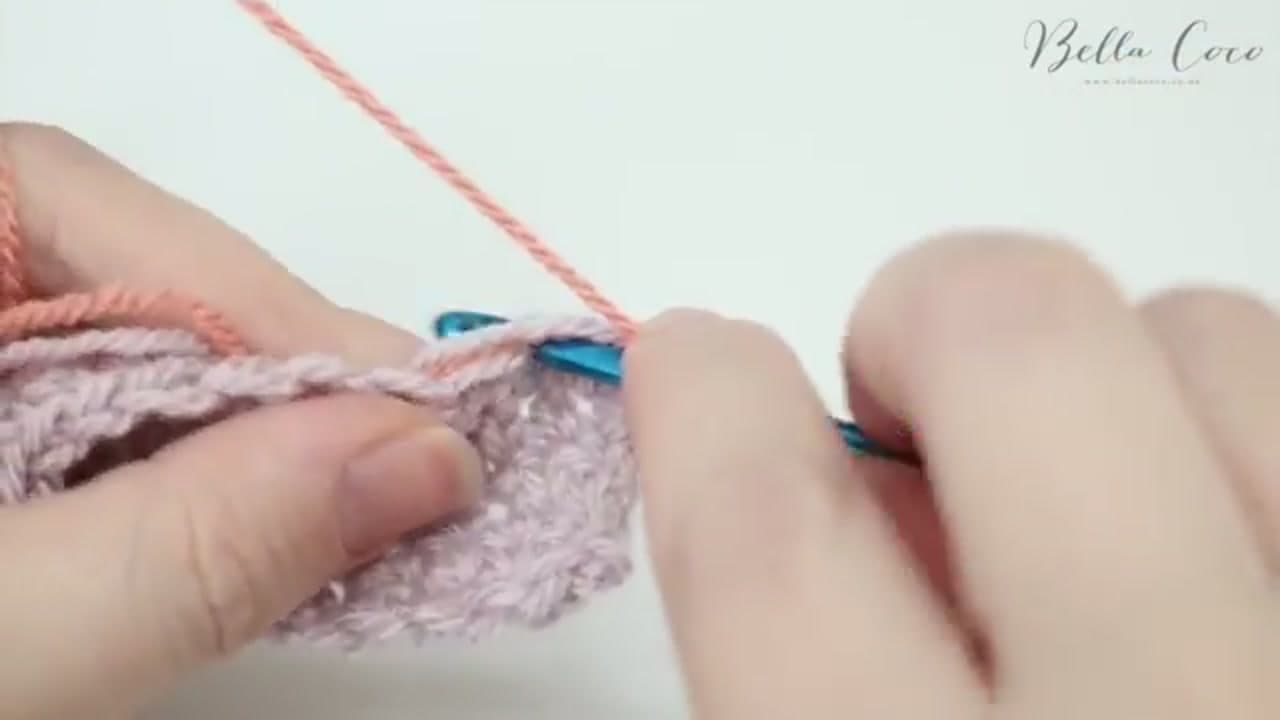
The whole technique rests on one rule: never finish the stitch in the old color. Work your last stitch until you have two loops left on the hook. For a UK dc (US sc) that means insert, yarn over, pull through, and stop. For a treble (US dc) you keep going until only two loops remain. That final yarn-over is what locks the next stitch in place, so whatever color sits on the hook at that moment is the color you'll see going forward.
Tip
This rule holds for every stitch: half treble, treble, double treble. Stop at two loops, no matter how tall the stitch is.