How to Make a Concrete Soap Dish (Modern DIY, Step by Step)

CraftsEasy4:418 stepsBrowse more →

By CraftingStepByStepPublished

Based on a video by Julian Do It.

A concrete soap dish is one of those weekend projects that looks store-bought and costs almost nothing. Julian from Julian Do It made this one with hand tools only - no power saw, no fancy kit - using scrap wood for the mold and a bag of fast-setting concrete. The clever part is that he skips the usual raised walls and instead carves a grid of grooves into the base, so the finished dish drains on its own and the soap dries between uses.

The whole build breaks into two halves. The first half is the mold: cut a square base and four side strips, then chisel drainage ridges into the base so they cast into the concrete as raised lines. The second half is the concrete: oil the mold as a release, pour and level a fast-setting mix, let it cure, then pop it out and clean it up. If you have poured concrete before, this will feel familiar. If you have made a concrete planter, you already know the mix-and-demold rhythm here.

Two small details do a lot of the work: oiling the mold so it releases clean, and sealing the finished cast so bathroom water beads off instead of soaking in. Once you have the technique down, the same mold-and-pour approach scales to other bathroom and desk pieces - try a concrete trinket dish for rings and keys, or a matching set of concrete coasters to go with it.

Step-by-Step Guide

8 steps · about 5 minutes.Check off each step as you go and your progress saves automatically.

1

Step 1: Cut the Wood Mold Pieces

0:33
Step 1: Step 1: Cut the Wood Mold Pieces

Julian measures the packaging of his soap bar, marks a square on a piece of leftover wood, and cuts a base plus four side strips with a hand saw. His base ran about 8 by 8 cm, but any size that fits your soap works. The four strips become the walls of the mold.

Take your time squaring the cuts. The mold shape is exactly the shape your dish will be, so a wonky wall means a wonky dish. No power tools needed here - a basic hand saw does the whole job.

Tip

Watch this step Cut the four side strips a touch taller than your soap is thick. That gives the concrete room and leaves a comfortable lip around the finished dish.
2

Step 2: Chisel the Drainage Grooves

1:40
Step 2: Step 2: Chisel the Drainage Grooves

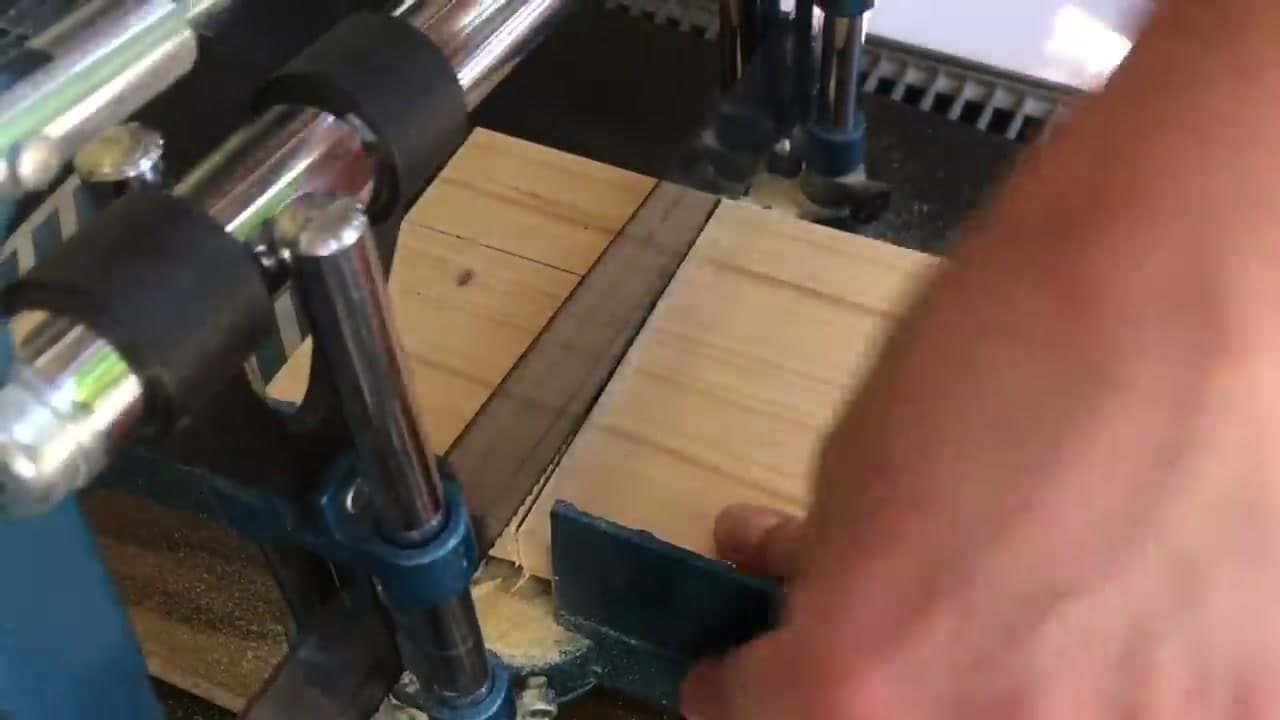
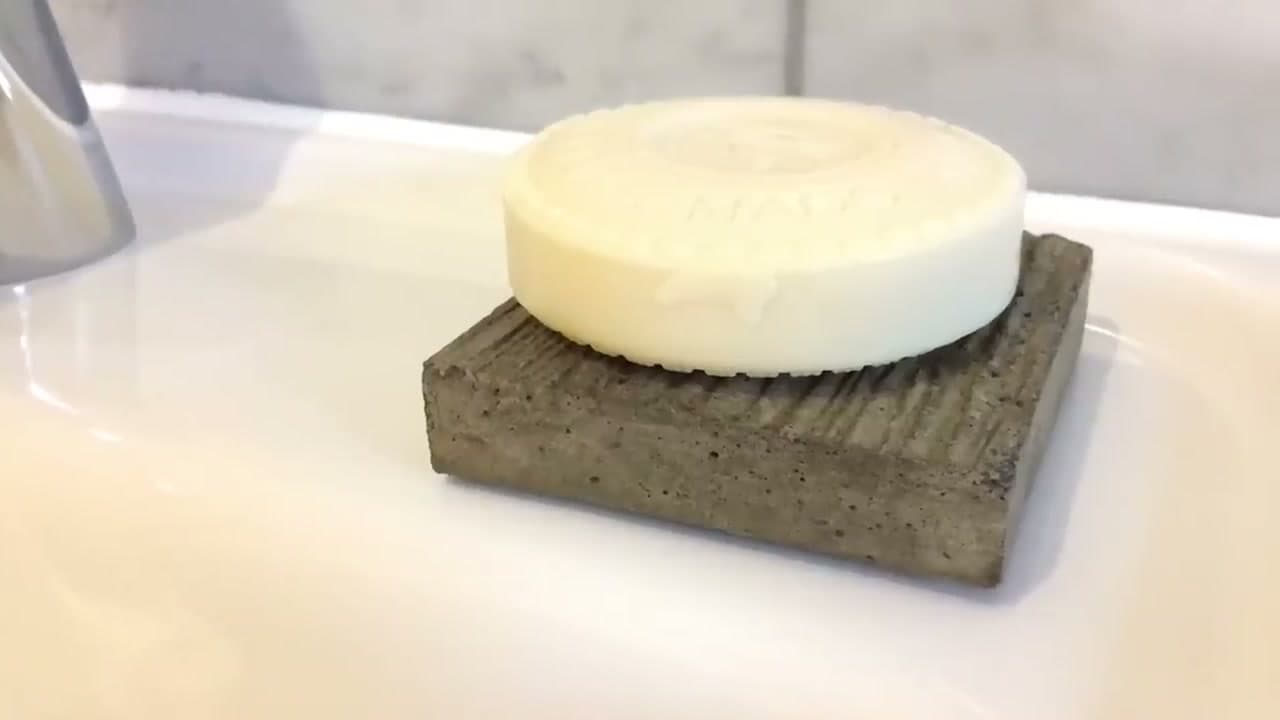
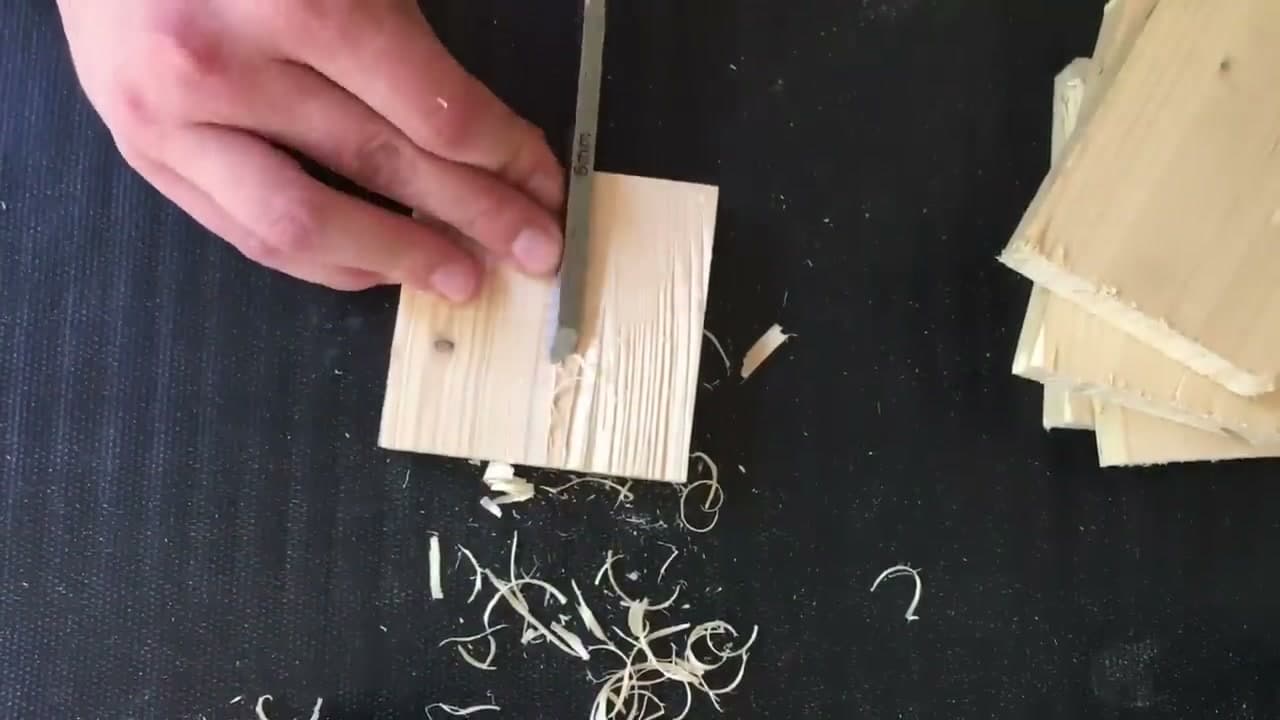
Here is the trick that gives this dish its look. Julian holds a sharp chisel at a low angle and shaves grooves along the grain of the base piece, working out the raised wood fibers. These carved lines press into the wet concrete and cast as ridges on the finished surface.

Those ridges are not just decoration. They lift the soap off the flat and let water run down into the low channels, so the bar dries out instead of turning to mush. Work with the grain and let the tool do the cutting.

Tip

Watch this step A freshly sharpened chisel makes clean grooves with far less force. If the wood tears instead of slicing, hone the edge before you carry on.

3

Step 3: Sand and Tape the Mold Together

2:40
Step 3: Step 3: Sand and Tape the Mold Together

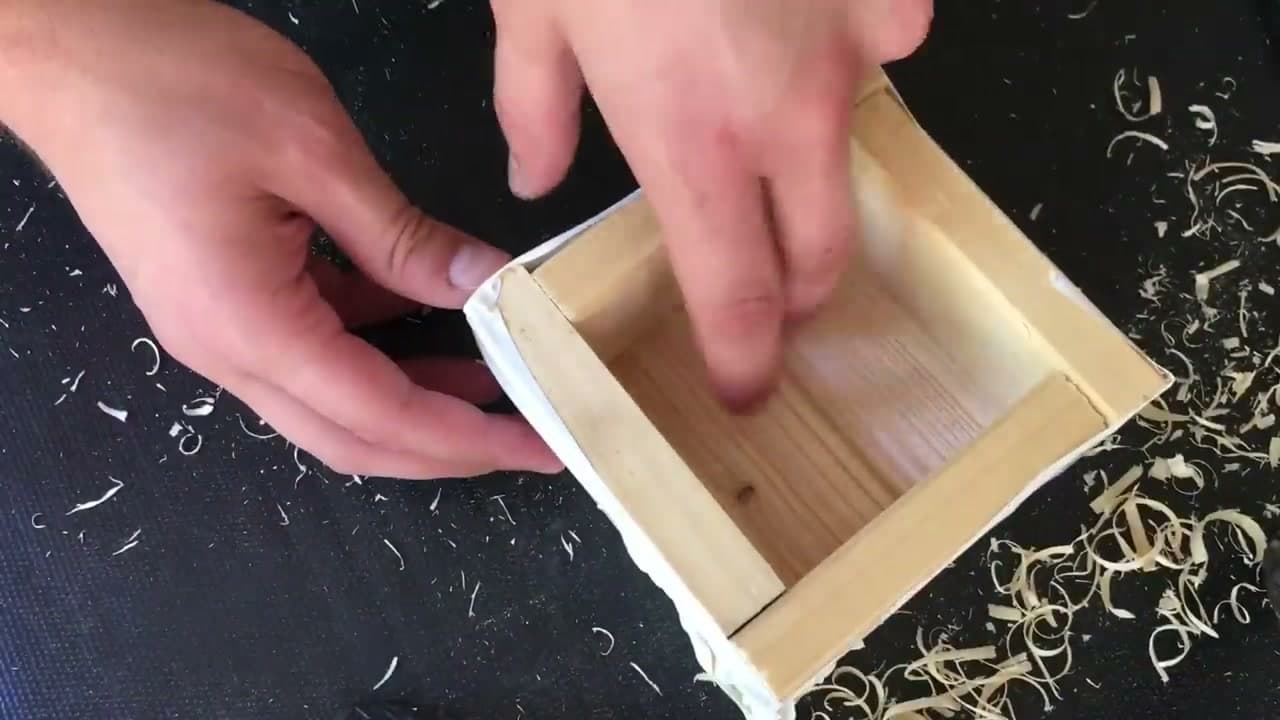
A quick rub with sandpaper knocks off the loose fibers the chisel left standing, so the grooves cast crisp. Then Julian stands the four side strips up around the carved base to build the open box.

He wraps the whole thing tightly in adhesive tape to hold the walls against the base. The tape is your clamp - pull it snug so the corners stay closed. Any gap here is a spot where wet concrete can seep out and leave a ragged edge.

Tip

Watch this step Run a couple of wraps of tape around the outside and press it hard into the corners. A tight mold now saves you a lot of edge cleanup later.

4

Step 4: Oil the Mold for a Clean Release

2:52
Step 4: Step 4: Oil the Mold for a Clean Release

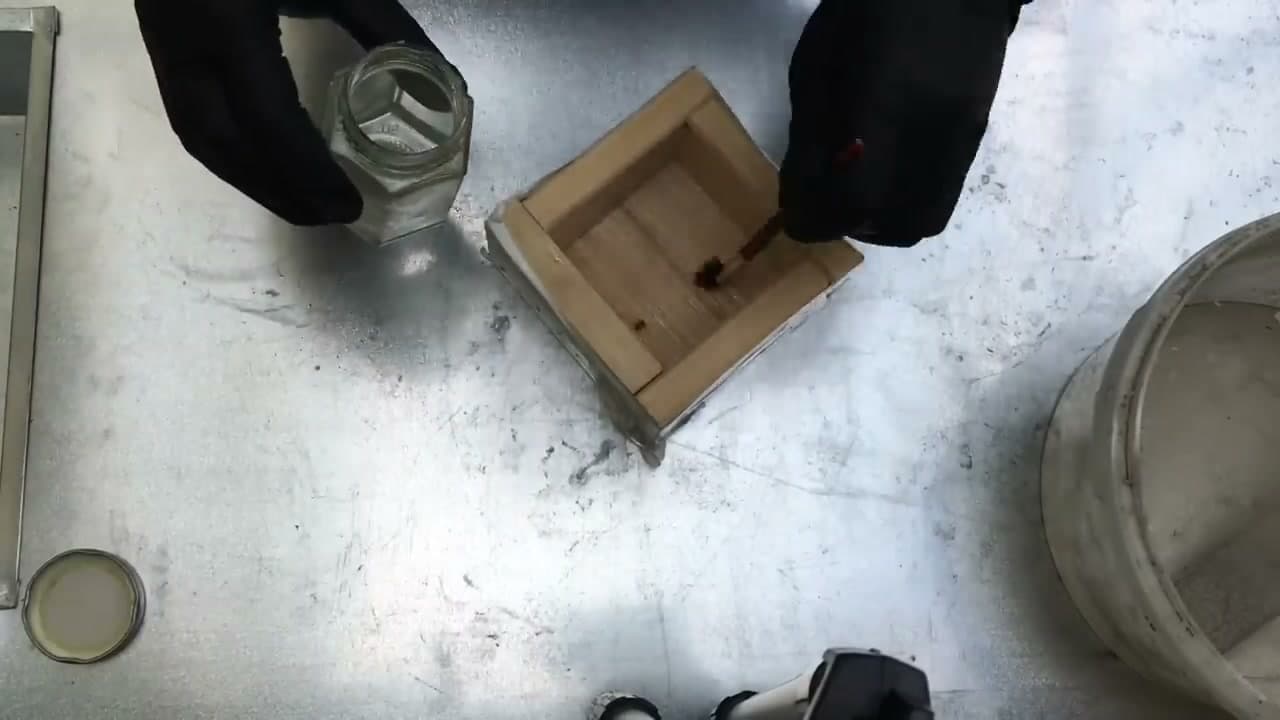
Before any concrete goes in, Julian brushes plain household oil over the inside of the wood mold. This is your release coat. It stops the concrete from bonding to the wood and to the carved grooves.

Get oil into every ridge and corner. When the concrete has cured, an oiled mold peels away clean and leaves the grain pattern sharp. Skip this and the wood can stick and tear chunks off the surface when you demold.

Tip

Watch this step Any cheap cooking oil or leftover vegetable oil works fine as a release. Brush it thin - you want a film, not a puddle sitting in the grooves.

5

Step 5: Mix and Pour the Concrete

3:08
Step 5: Step 5: Mix and Pour the Concrete

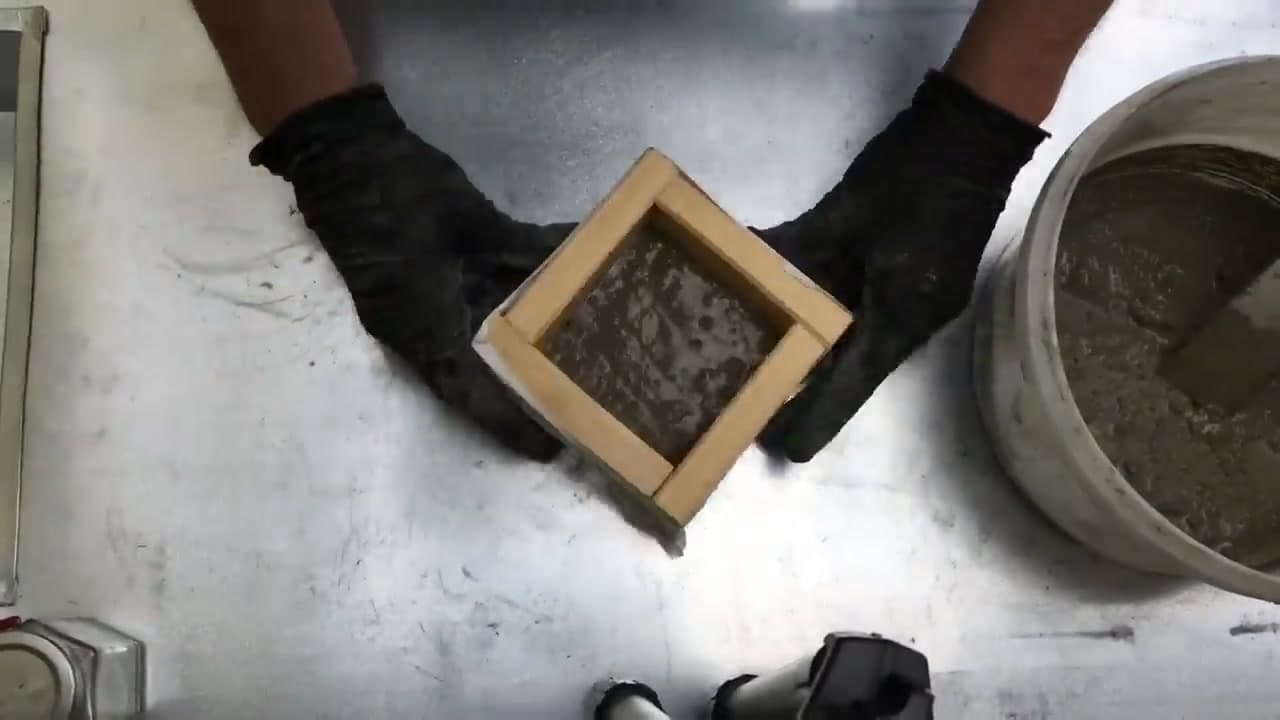
Julian mixes a fast-setting concrete in a bucket, shaking and stirring it well to work the air bubbles out. Then he fills the taped mold and levels the top with a stick.

Push the mix into the corners and over the carved grooves so it fills every line. Tap the sides of the mold a few times to bring trapped air to the surface - that gives you a denser cast with fewer pinholes. Then set it aside to cure.

Tip

Watch this step Wear gloves - wet concrete is caustic and dries out your skin fast. Mix to a thick milkshake, not soup, so it holds the grooves instead of slumping flat.

6

Step 6: Cure and Demold the Dish

3:30
Step 6: Step 6: Cure and Demold the Dish

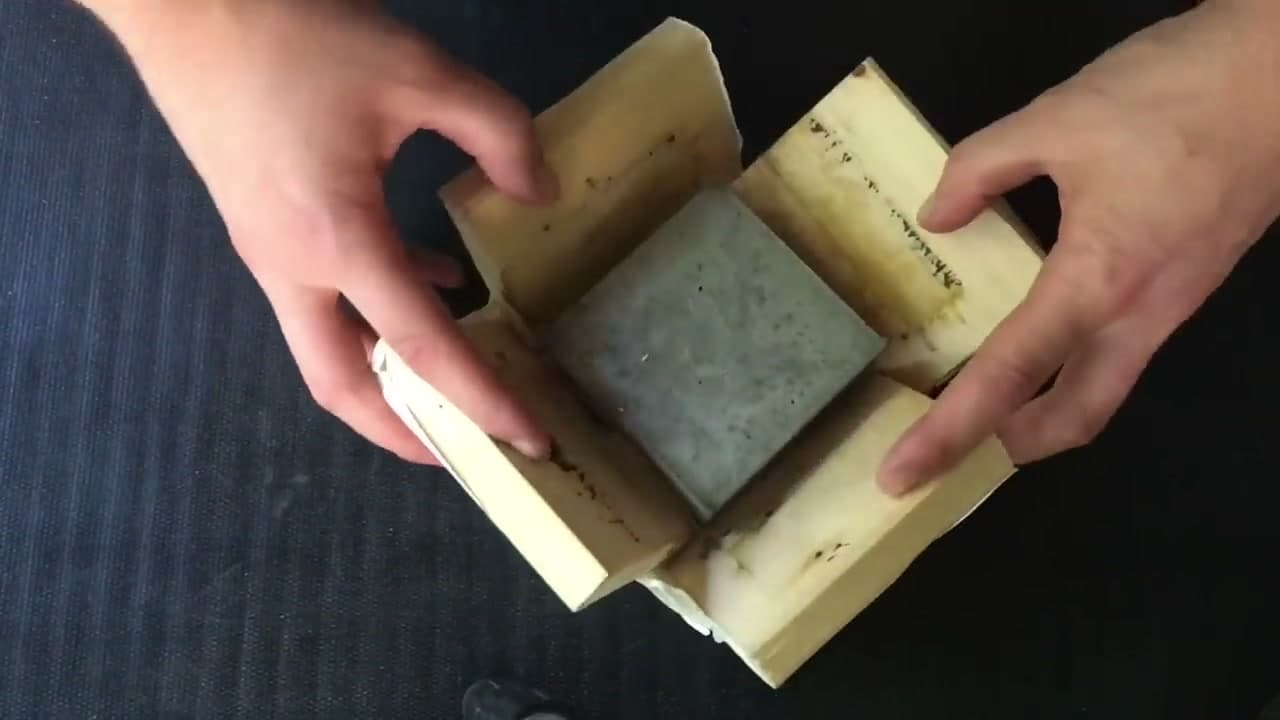
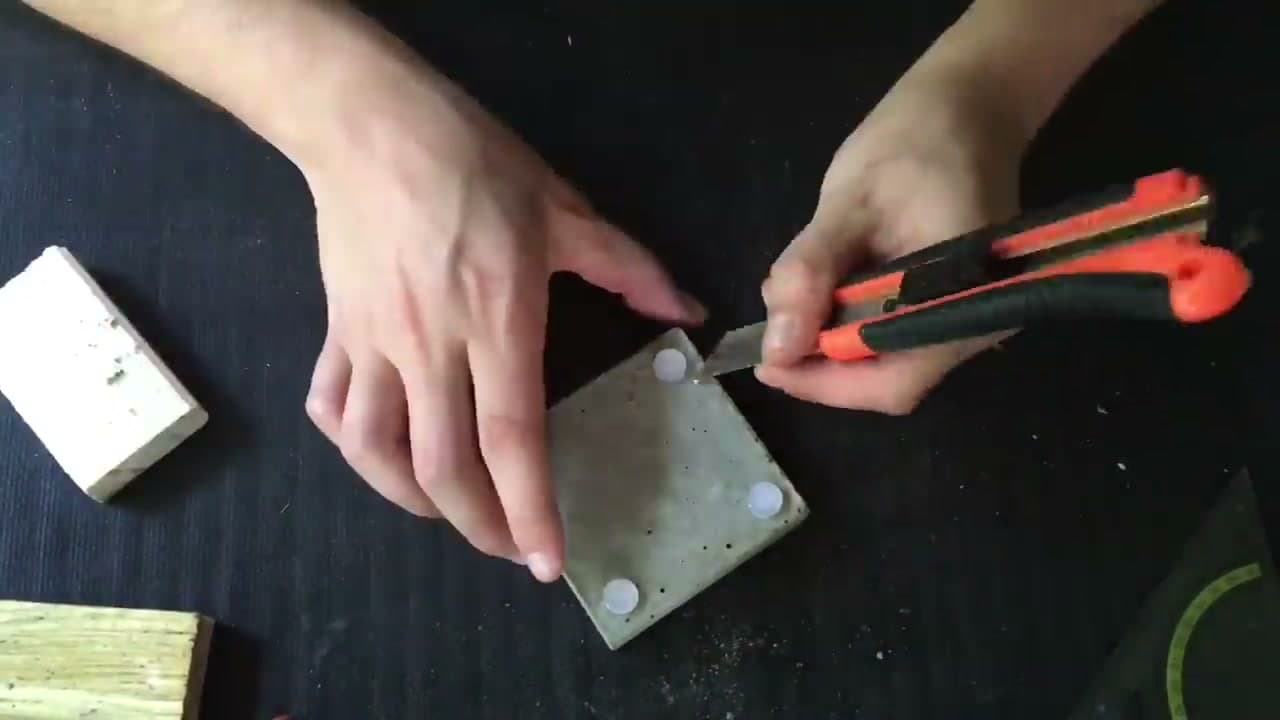
Julian covers the mold with plastic and parks it in a shady spot so it cures slowly and does not crack. Once it has set, he peels off the tape and runs a craft knife along each side strip to break it free.

The four walls lift off first. The base is the stubborn one, so a light tap with a small hammer releases it. Out drops a solid grey slab carrying the crisp grain pattern from the carved mold.

Tip

Watch this step Do not rush the cure. A full day under plastic gives a stronger cast than a fast dry, and a rushed pour is where hairline cracks show up.

7

Step 7: Add Feet and Seal the Concrete

4:10
Step 7: Step 7: Add Feet and Seal the Concrete

Raw concrete can scratch a sink or countertop, so Julian glues four small feet to the underside - he used cut-off pieces of hot-glue stick, but felt pads or rubber bumpers work too. He wipes away the squeezed-out glue for a clean bottom.

Then he brushes a coat of sealer over the whole dish. The sealer locks the surface, keeps water from soaking in, and makes the piece ready for daily bathroom use. Let it dry before you put soap on it.

Tip

Watch this step Sand the sharp cast edges lightly before sealing. A quick pass with fine sandpaper softens them so the dish feels finished, not raw.

8

Step 8: Style It in the Bathroom

4:28
Step 8: Step 8: Style It in the Bathroom

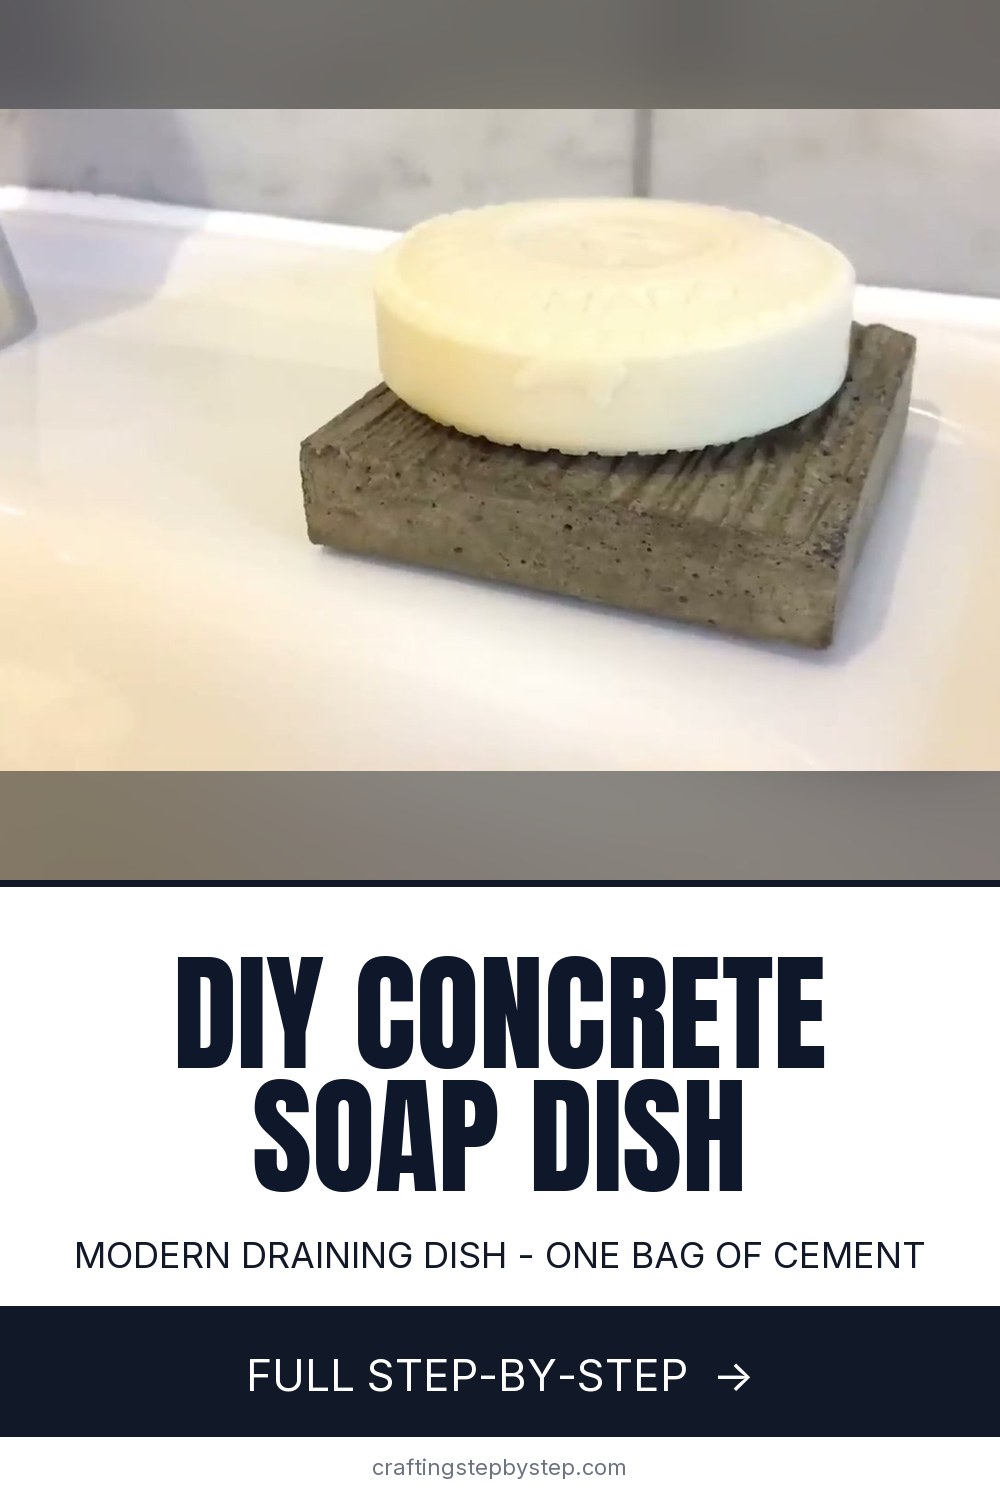
The dish goes on the sink with a fresh bar of soap set into the grooves. Those carved ridges hold the bar up off the flat so water drains into the channels and the soap dries out between washes.

That is the whole build - scrap wood, a bag of concrete, and a few hand tools turned into a solid modern piece for the counter. It also makes a genuinely good handmade gift, so consider casting a second one while the mold is still together.

Tip

Watch this step Give the finished dish a rinse and a re-seal every few months if it lives by a busy sink. It keeps the concrete looking fresh and stops soap scum from building up in the grooves.

Products Used

☐ The Checklist

How to Make a Concrete Soap Dish (Modern DIY, Step by Step)

Tools
10
Materials
8
Steps
8
Video
5 min

Tools we recommend

Your Guide

Julian Do It

As an Amazon Associate we earn from qualifying purchases. Links on this page may be affiliate links - clicking them and buying doesn't change your price, but helps support ShowMeStepByStep.

Tags

Sunday How-To

New crafts tutorials, every Sunday

One short email with the week's best step-by-step guides. Free, no spam, unsubscribe anytime.

Did this work for you?

What's next

Related collections

Curated theme pages that include this tutorial.

Weekly Digest

Liked this crafts tutorial?

Pick the categories you want to hear about. Weekly digest of new step-by-step tutorials. No spam, easy unsubscribe.

Send me tutorials about

We only email about new tutorials. Easy unsubscribe anytime.