How to Mix Concrete for Crafts - Perfect Consistency Every Time

CraftsEasy4:226 stepsBrowse more →

By CraftingStepByStepPublished

Based on a video by Paragon Gardens Port Angeles.

Getting concrete right starts well before you press it into a mold. Too wet and it slumps and cracks; too dry and it crumbles apart before it can set. This walkthrough from Paragon Gardens in Port Angeles covers mixing a small, craft-scale batch by hand, the kind you use for sculpting and hand-building rather than a driveway slab.

The channel's mix leans a little dry and crumbly on purpose, so it clings to a wire armature when you go vertical. That same feel presses cleanly into molds too. Once you can hit a consistent texture on demand, the projects open up: a concrete planter, a slim concrete vase, or a set of concrete coasters all begin with the exact batch you mix here.

Work somewhere with airflow, wear gloves and a dust mask, and keep a bucket of water close for rinsing. When your piece has fully cured, give it a protective coat - here is how to seal concrete crafts so they hold up indoors or outside.

Step-by-Step Guide

6 steps · about 4 minutes.Check off each step as you go and your progress saves automatically.

1

Step 1: Open the Bag the Right Way

0:26
Step 1: Step 1: Open the Bag the Right Way

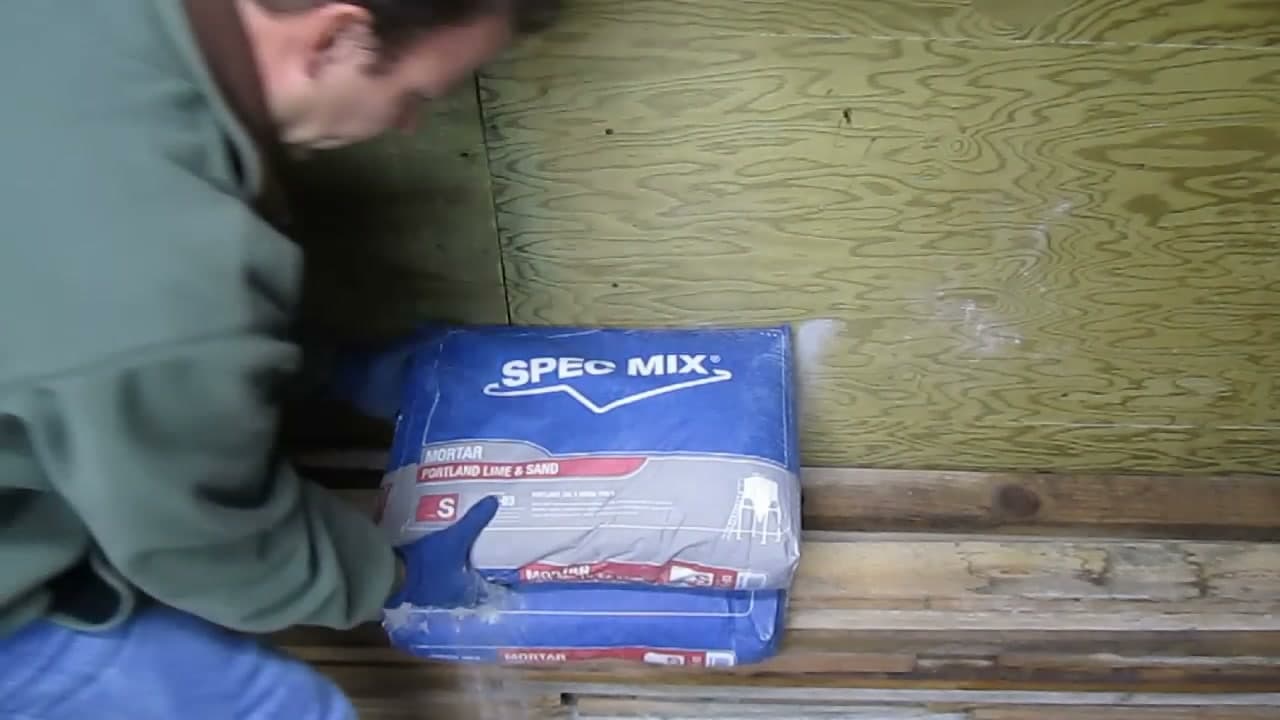
Cement mix hates moisture, so keep the bag up off a bare concrete or dirt floor. Left on the ground it can wick up damp and harden inside the bag before you even open it. A wood pallet or a scrap board keeps it dry and ready.

To open it, find the corner that was never glued shut and stand the bag upright. Give it a little drop on the floor to loosen the packed powder, then reach in and tear the top straight across. Now you have a clean mouth to pour from.

Tip

Watch this step Store whatever you don't use in a sealed tote or a doubled trash bag so the rest of the bag stays good for your next project.
2

Step 2: Portion Your Dry Mix Into the Tub

1:46
Step 2: Step 2: Portion Your Dry Mix Into the Tub

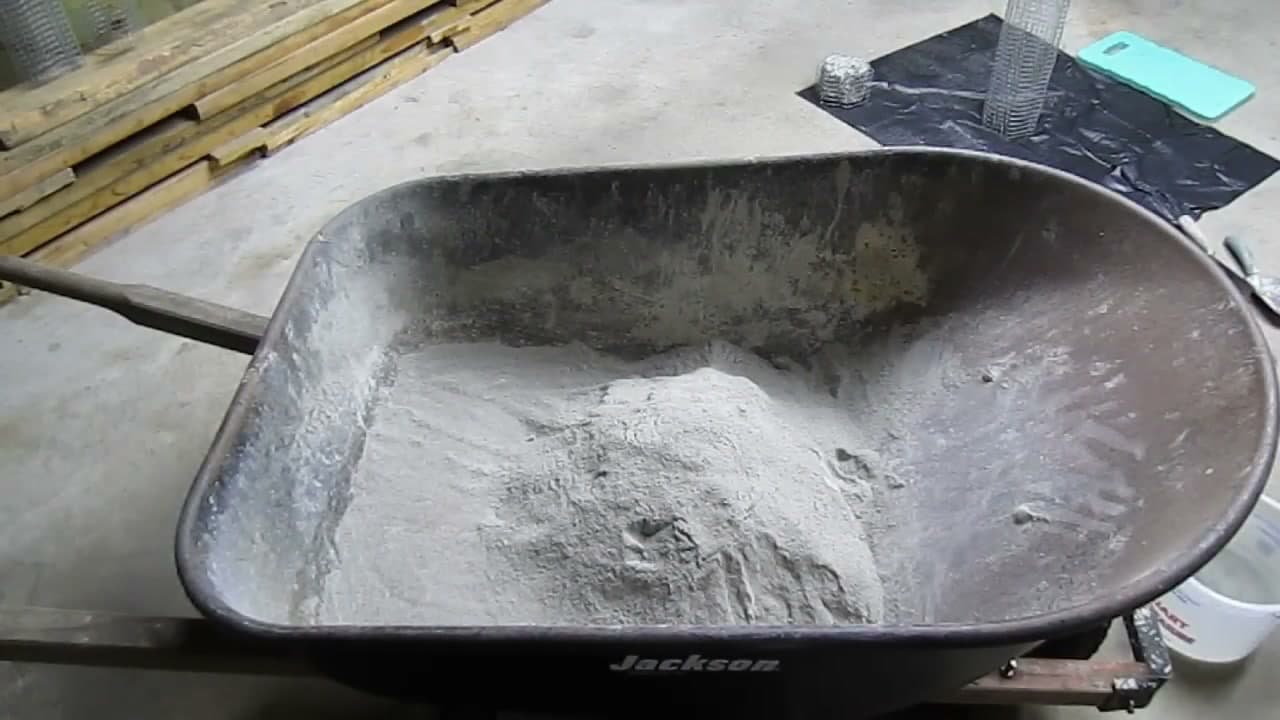
You rarely need a whole bag for a craft piece, so take out only what the project calls for. A cheap five-quart paint pail works as both a scoop and a rough measure. Tip the dry mix into a wheelbarrow or a wide tub where you have room to turn it over.

Judging the amount gets easier fast. After a couple of projects you'll know that a planter takes about this much and a small tray takes about that, and you can portion it by eye.

Tip

Watch this step Mix a little more than you think you need. Concrete waits for no one, and topping up a short batch mid-pour leaves a visible seam.

3

Step 3: Add Water a Little at a Time

1:54
Step 3: Step 3: Add Water a Little at a Time

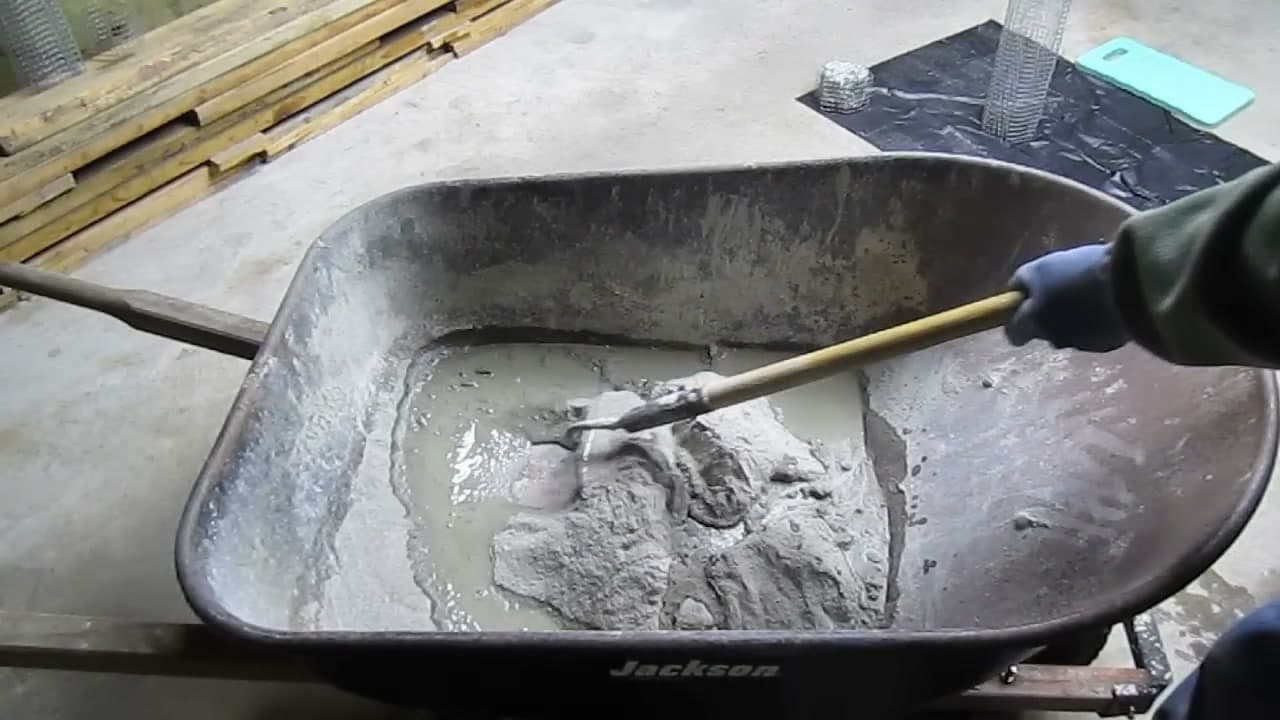
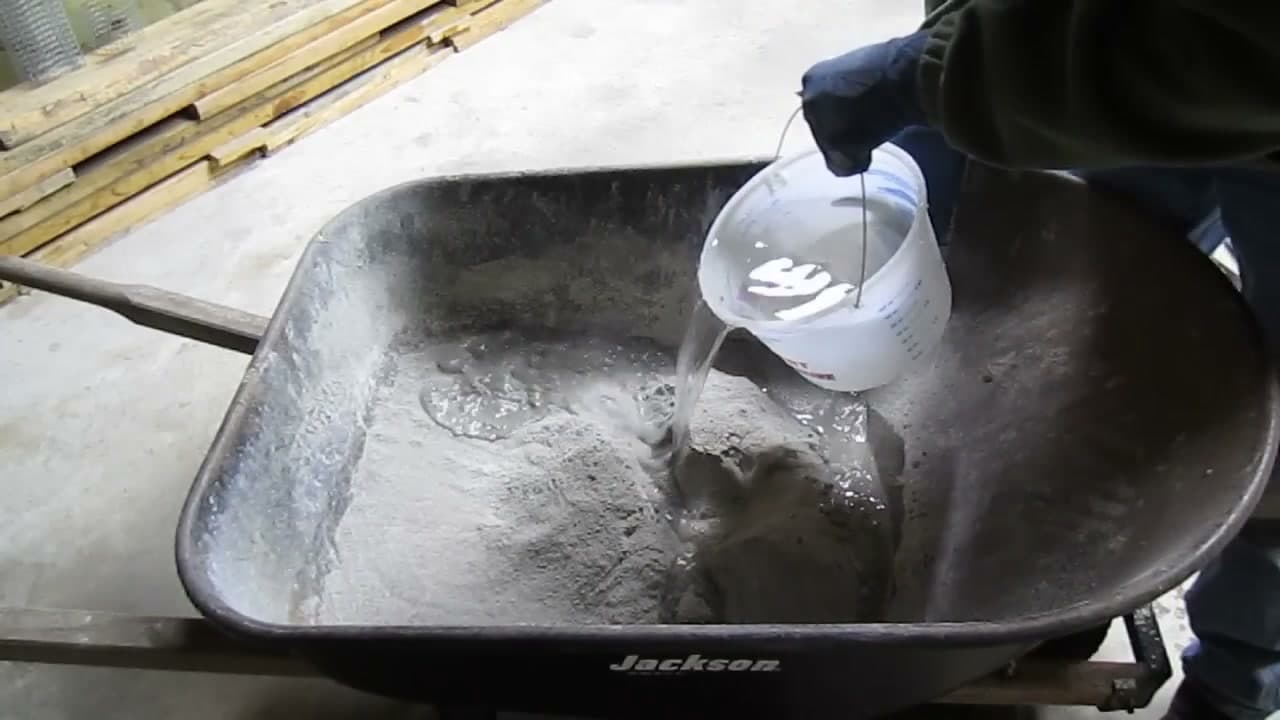
There is no single water-to-mix number that works everywhere. Heat, altitude, and even the day's humidity change how much the batch drinks. So add water in small pours from a measuring cup, work each one in, then look before you add more.

As the mix starts to come together, slow way down. It will read dry right up until one heavy splash tips it into soup. If you are coloring the batch, stir the pigment into the water first so it spreads evenly.

Tip

Watch this step Keep a rough note of how much water you used. Next batch you can get close faster and only fine-tune at the very end.

4

Step 4: Fold It Together With a Hoe

2:02
Step 4: Step 4: Fold It Together With a Hoe

Drag a mixing hoe or trowel through the batch, pulling the dry pockets from the edges into the wet center and folding the whole thing over on itself. Keep at it until the color is even and no dry lumps are hiding in the corners.

Stick to the rhythm of a little water, a lot of mixing. The more you turn it before reaching for more water, the more control you keep, and the less likely you are to overshoot the consistency you want.

Tip

Watch this step Scrape the corners and the bottom of the tub often. That is where dry mix hides and where weak, crumbly spots come from later.

5

Step 5: Finish the Mix By Hand

3:12
Step 5: Step 5: Finish the Mix By Hand

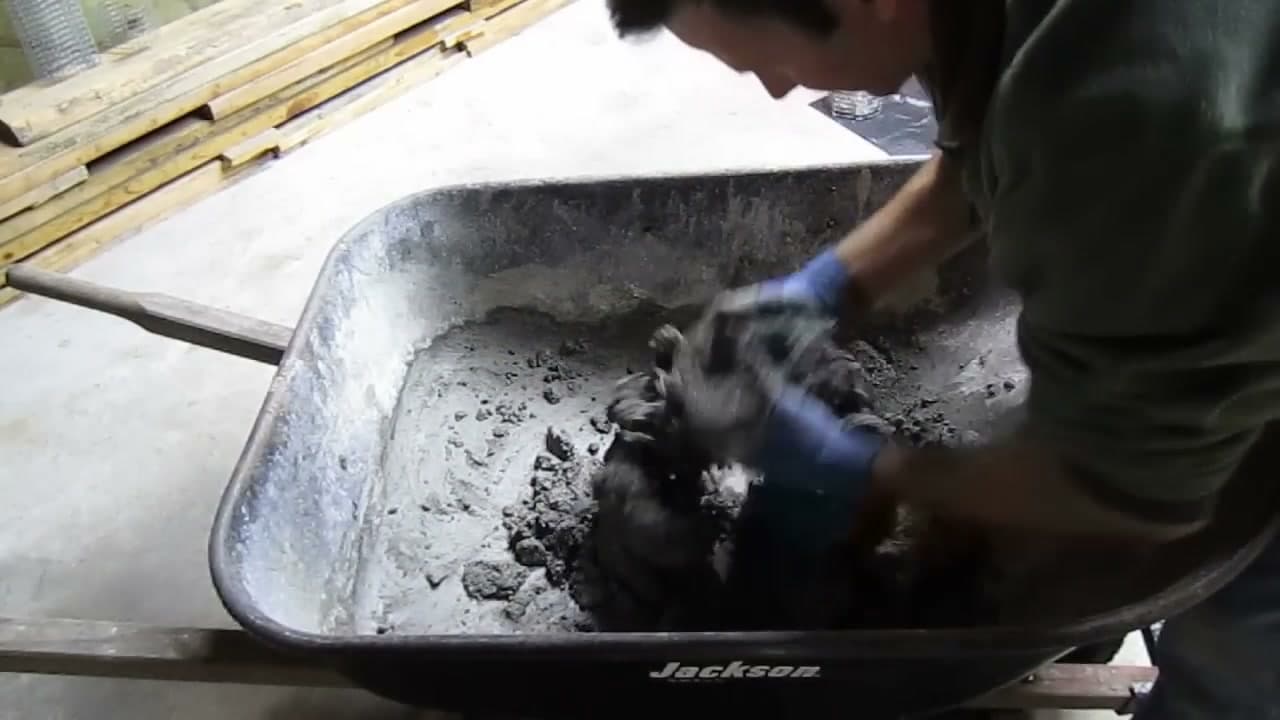
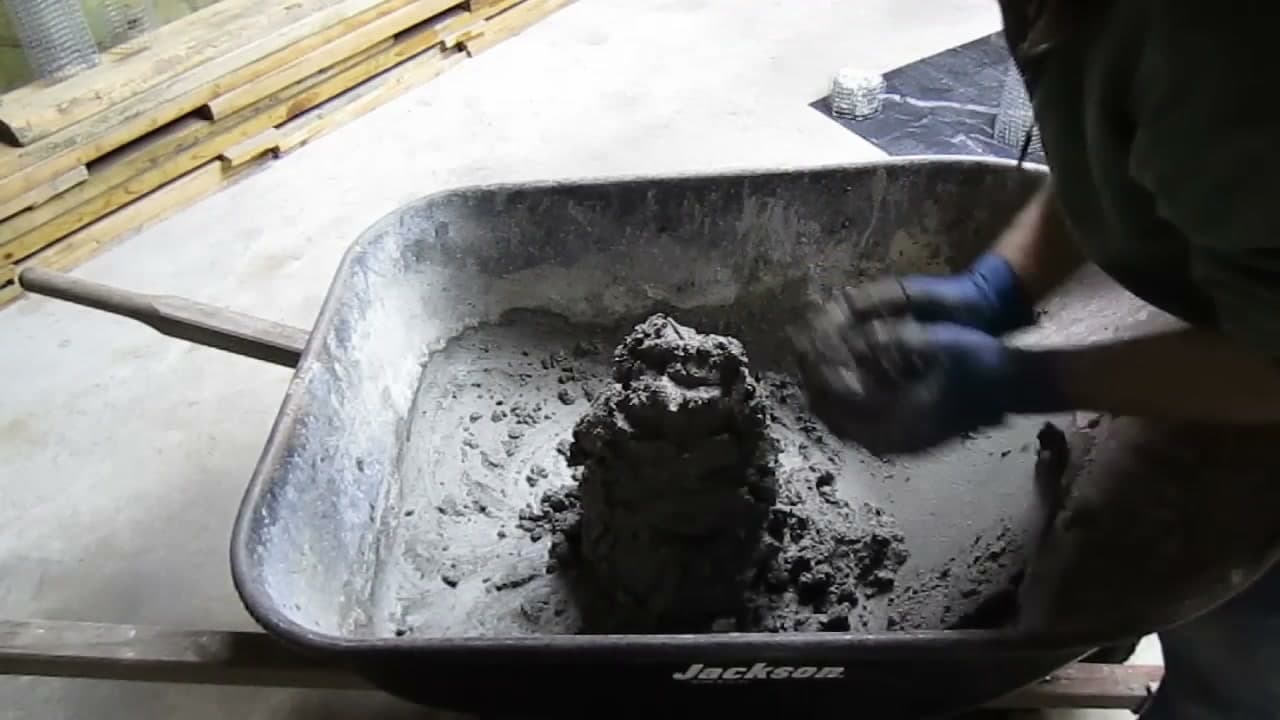
Once it is close, pull on gloves and work the last of it with your hands. Fingers find clumps a tool skips right over, and you can pinch them apart as you go. Lift the mix and drop it back down a few times to fold air through it.

That aeration matters for sculpting. A batch with air worked in goes lighter, fluffier, and stickier, so it grabs an armature or the wall of a mold instead of sliding off. Keep a bucket of water beside you to rinse your hands.

Tip

Watch this step Wear snug nitrile gloves under thicker rubber ones if the mix is cold. Wet cement is caustic and will dry and burn bare skin.

6

Step 6: Check the Consistency With the Ball Test

4:10
Step 6: Step 6: Check the Consistency With the Ball Test

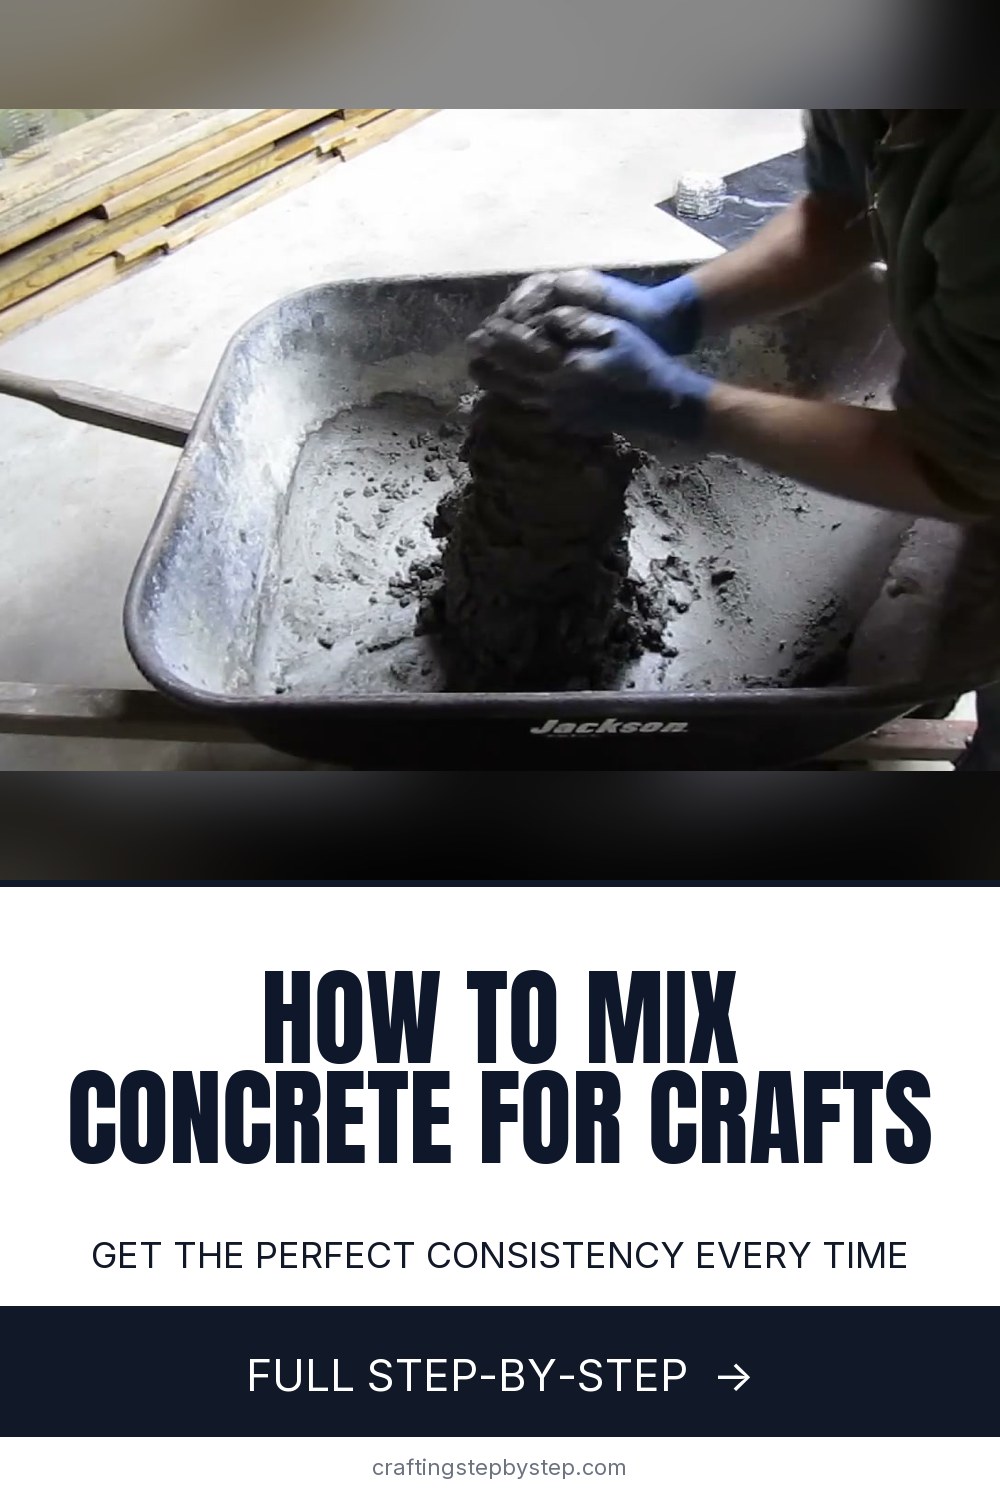
Aim for a mix that is a touch crumbly, not wet and shiny. To test it, squeeze a handful into a ball, then break the ball in half. If both halves hold their shape without slumping or falling apart, you are ready to build.

Too wet and the ball sags, so stir in a bit more dry mix. Too dry and it will not hold, so add a small splash of water. Once it passes, get it onto your project quickly and seal the piece after it has cured.

Tip

Watch this step If a batch gets away from you, dump it back in the tub and rebalance with a little more dry mix or water rather than tossing it.

Products Used

☐ The Checklist

How to Mix Concrete for Crafts - Perfect Consistency Every Time

Tools
6
Materials
4
Steps
6
Video
4 min

Tools we recommend

Your Guide

Paragon Gardens Port Angeles

As an Amazon Associate we earn from qualifying purchases. Links on this page may be affiliate links - clicking them and buying doesn't change your price, but helps support ShowMeStepByStep.

Tags

Sunday How-To

New crafts tutorials, every Sunday

One short email with the week's best step-by-step guides. Free, no spam, unsubscribe anytime.

Did this work for you?

What's next

Related collections

Curated theme pages that include this tutorial.

Weekly Digest

Liked this crafts tutorial?

Pick the categories you want to hear about. Weekly digest of new step-by-step tutorials. No spam, easy unsubscribe.

Send me tutorials about

We only email about new tutorials. Easy unsubscribe anytime.