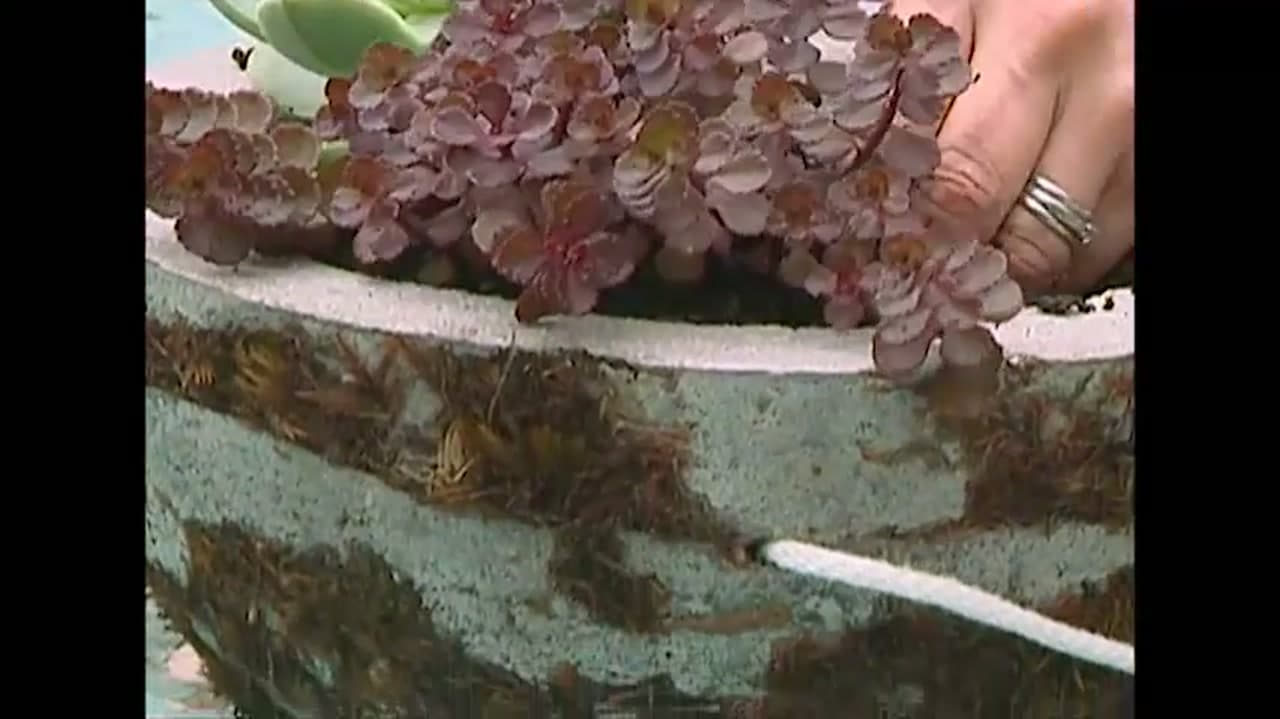
How to Make a Concrete Hanging Planter

CraftsMedium14:068 stepsBrowse more →
Also in:Gardening

By CraftingStepByStepPublished

Based on a video by Tanya Visser - The Gardener.

A concrete hanging planter looks like it belongs in a smart nursery, but it starts life as a plain mixing bowl and a bag of cement. In this project from Tanya Visser of The Gardener, the bowl is the mold, a dry floor-mix does the shaping, and a few clever extras turn it into something you can actually hang and plant.

Two details make this build stand out. Sphagnum moss pressed into the outside gives the finished planter a soft, organic crust instead of flat grey, and three short copper tubes set into the wall become the rope channels, so there is no drilling into cured concrete later. It is the same family of technique as a solid concrete planter, just built to swing from a hook.

New to working with cement? It helps to read up on mixing concrete for crafts first, and to plan on sealing the concrete once it cures if the planter is going to live outside. After that it is just soil, a couple of cascading succulents, and a sunny spot.

Step-by-Step Guide

8 steps · about 14 minutes.Check off each step as you go and your progress saves automatically.

1

Step 1: Gather Your Mold and Hardware

0:16
Step 1: Step 1: Gather Your Mold and Hardware

Before any concrete gets mixed, get your bits together. The mold is nothing fancy: a round plastic or steel mixing bowl. The shape of that bowl is the shape of your planter, so pick one with a curve you like.

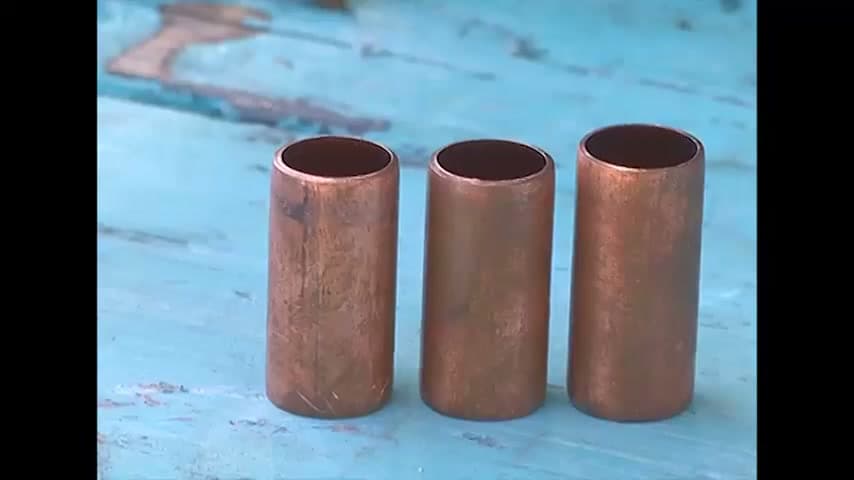
You also want a short offcut of PVC pipe for the drainage hole, three little copper tube offcuts about 2 cm long for the rope channels, and a handful of sphagnum moss for the outside. Having it all within reach lets you work fast once the mix is ready.

Tip

Watch this step Rub a thin film of cooking oil or dish soap around the inside of the bowl first. A lightly greased mold releases the cured casting far more easily.
2

Step 2: Mix a Stiff, Dry Concrete

1:20
Step 2: Step 2: Mix a Stiff, Dry Concrete

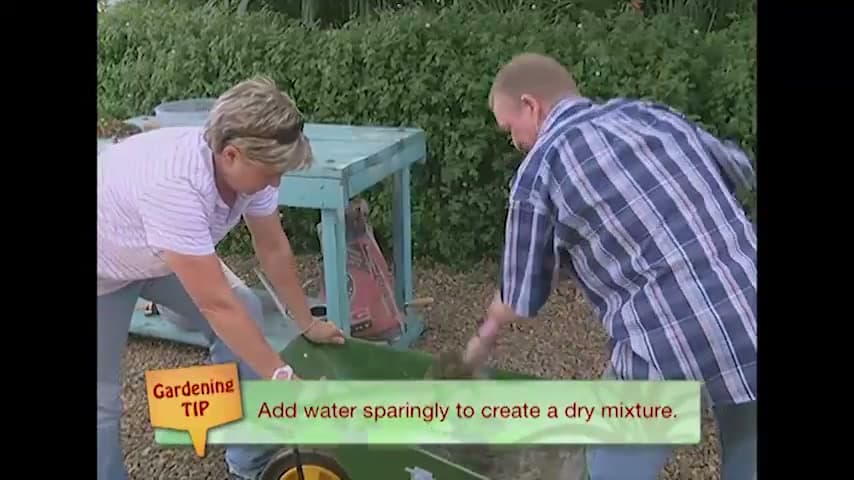
This is not your usual sloppy concrete. Tanya goes with a floor-mix: half a bucket of river sand to half a bucket of PPC cement, and only a little water. You want it dry enough that a squeezed fistful holds its shape with no water weeping out.

Turn it over well so the sand and cement blend evenly. That agitation is what makes the mix compact hard later. For more on ratios, our guide to mixing concrete for crafts breaks it down.

Tip

Watch this step Add the water in small splashes and stop early. You can always wet a dry mix a touch more, but a mix that turns soupy will slump right out of the bowl shape.

3

Step 3: Set the Drainage Tube and Pack the Mold

3:26
Step 3: Step 3: Set the Drainage Tube and Pack the Mold

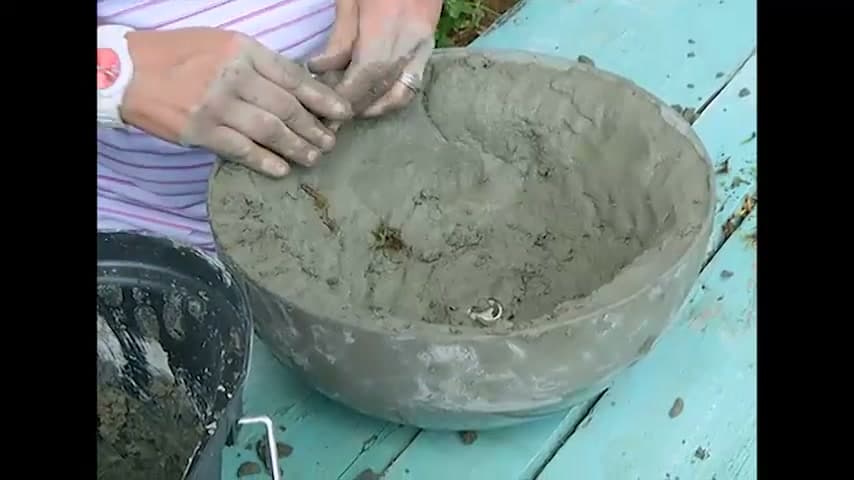
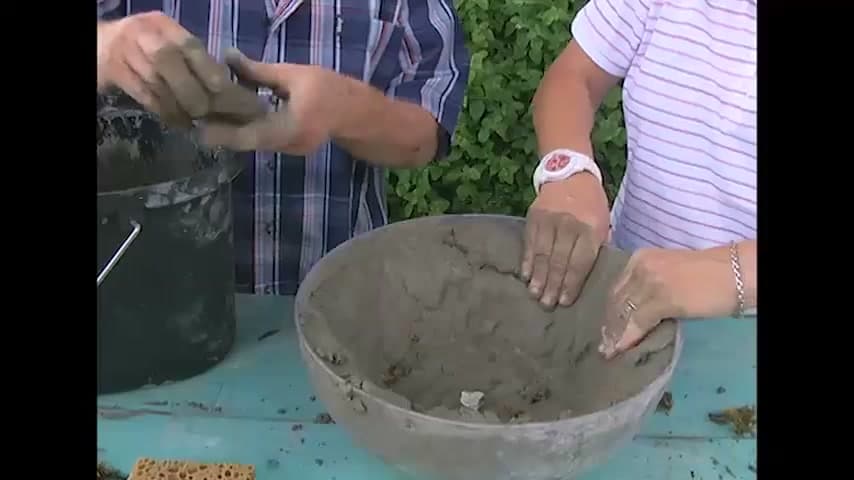
Stand the PVC pipe upright in the middle of the bowl. It holds the spot for your drainage hole so you skip drilling later. Now start pressing the dry mix in by hand, pushing it firmly against the base and up the walls.

Hands work better than a trowel here because you can feel where the mix is loose and needs more packing. Keep the base a sensible thickness. Go too thick and you lose the space you actually want to plant into.

Tip

Watch this step Press in thumb-sized amounts and compact each one before adding the next. Small, firm additions leave far fewer air pockets than big scoops.

4

Step 4: Press Sphagnum Moss into the Outside

3:40
Step 4: Step 4: Press Sphagnum Moss into the Outside

As the walls build up, tuck small pieces of sphagnum moss against the mold, then pack the next handful of concrete over the top. The moss ends up on the outside face of the planter.

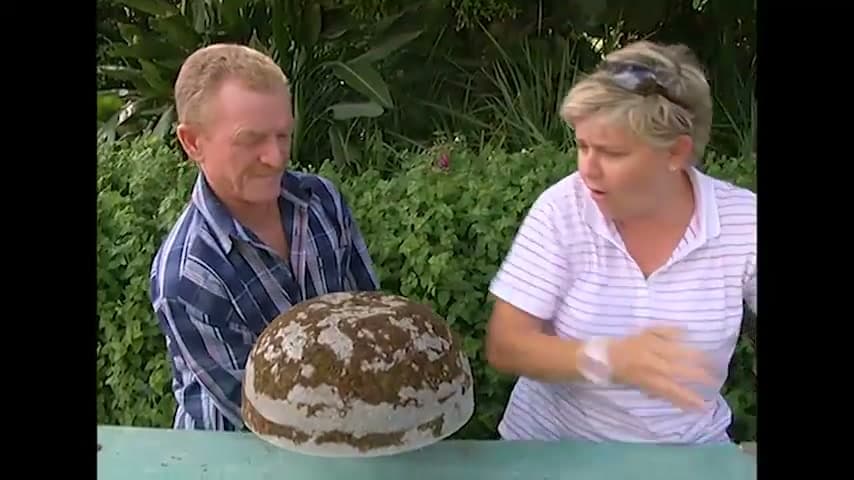
Once you demold, that moss gives you a rough, organic crust instead of flat grey concrete. Add it a little at a time and work your way around so the coverage stays even. It is the same look that makes hypertufa troughs feel aged.

Tip

Watch this step Damp moss packs and grips better than dry. Give it a quick soak and squeeze most of the water out before you press it against the mold.

Products used in this step

5

Step 5: Add the Copper Rope Channels

5:00
Step 5: Step 5: Add the Copper Rope Channels

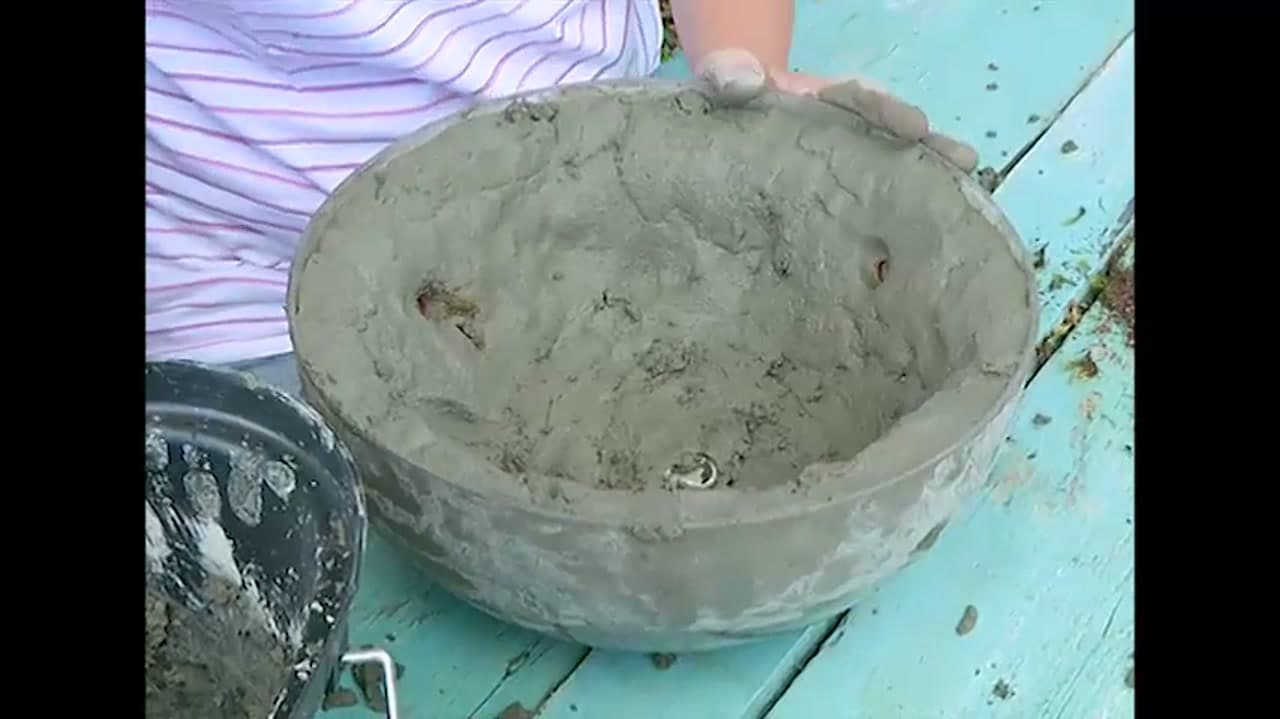
Fill the mix right up to the top of the PVC pipe and leave the rim a touch rough for character. Now push the three copper tubes horizontally through the wall, about 5 cm down from the edge and evenly spaced.

These tubes stay embedded in the concrete. They line the holes your ropes pass through, which stops the rope rubbing on raw concrete and cracking it over time. It is a tidy way to make a hanging point without weakening the wall by drilling.

Tip

Watch this step Space the three tubes like the points of a triangle. Even spacing is what makes the finished planter hang level instead of tipping to one side.

Products used in this step

6

Step 6: Cure, Then Demold

5:32
Step 6: Step 6: Cure, Then Demold

Because the mix is so dry, it sets quickly. Give it about two days, then slip a hand underneath, turn the bowl over, and ease the casting out. Pop the PVC pipe out of the middle and your drainage hole is already there.

The copper tubes stay put in the wall, and the moss has locked into the surface. If you want to firm up the finish for outdoor life, this is the point to look at sealing concrete crafts.

Tip

Watch this step If the casting does not want to drop, set the bowl on a folded towel and press evenly around the rim. Warmth and a gentle flex free the edges without cracking.

Products used in this step

7

Step 7: Thread and Knot the Hanging Ropes

7:36
Step 7: Step 7: Thread and Knot the Hanging Ropes

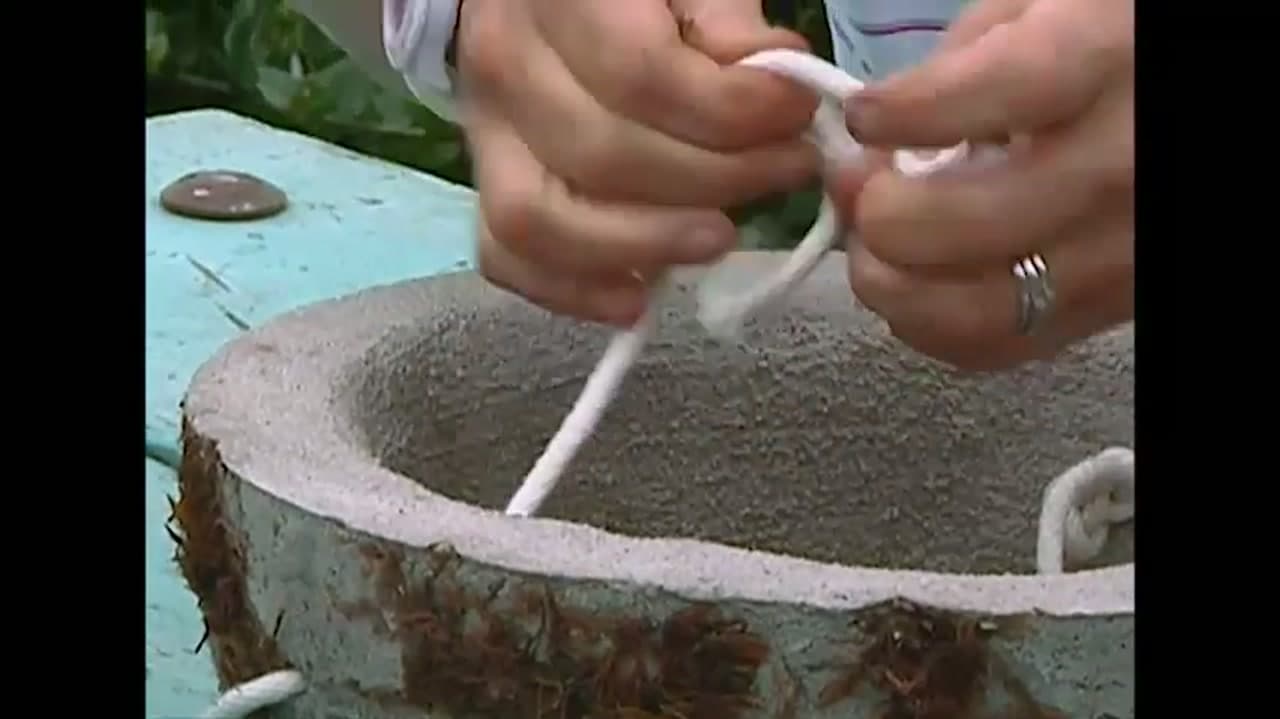
Cut three good lengths of ordinary rope from the hardware store. Feed one through each copper channel and tie three knots stacked on top of each other underneath, so the rope cannot pull back through.

Bring the three top ends together, check they are all the same length so the planter hangs level, and knot them into one. Leave one strand long. That is the strand you hook onto your pulley or ceiling hook.

Tip

Watch this step Cut the rope longer than you think you need. You can always trim the tails after it hangs true, but a rope cut short cannot be lengthened.

8

Step 8: Plant It Up and Hang It

9:50
Step 8: Step 8: Plant It Up and Hang It

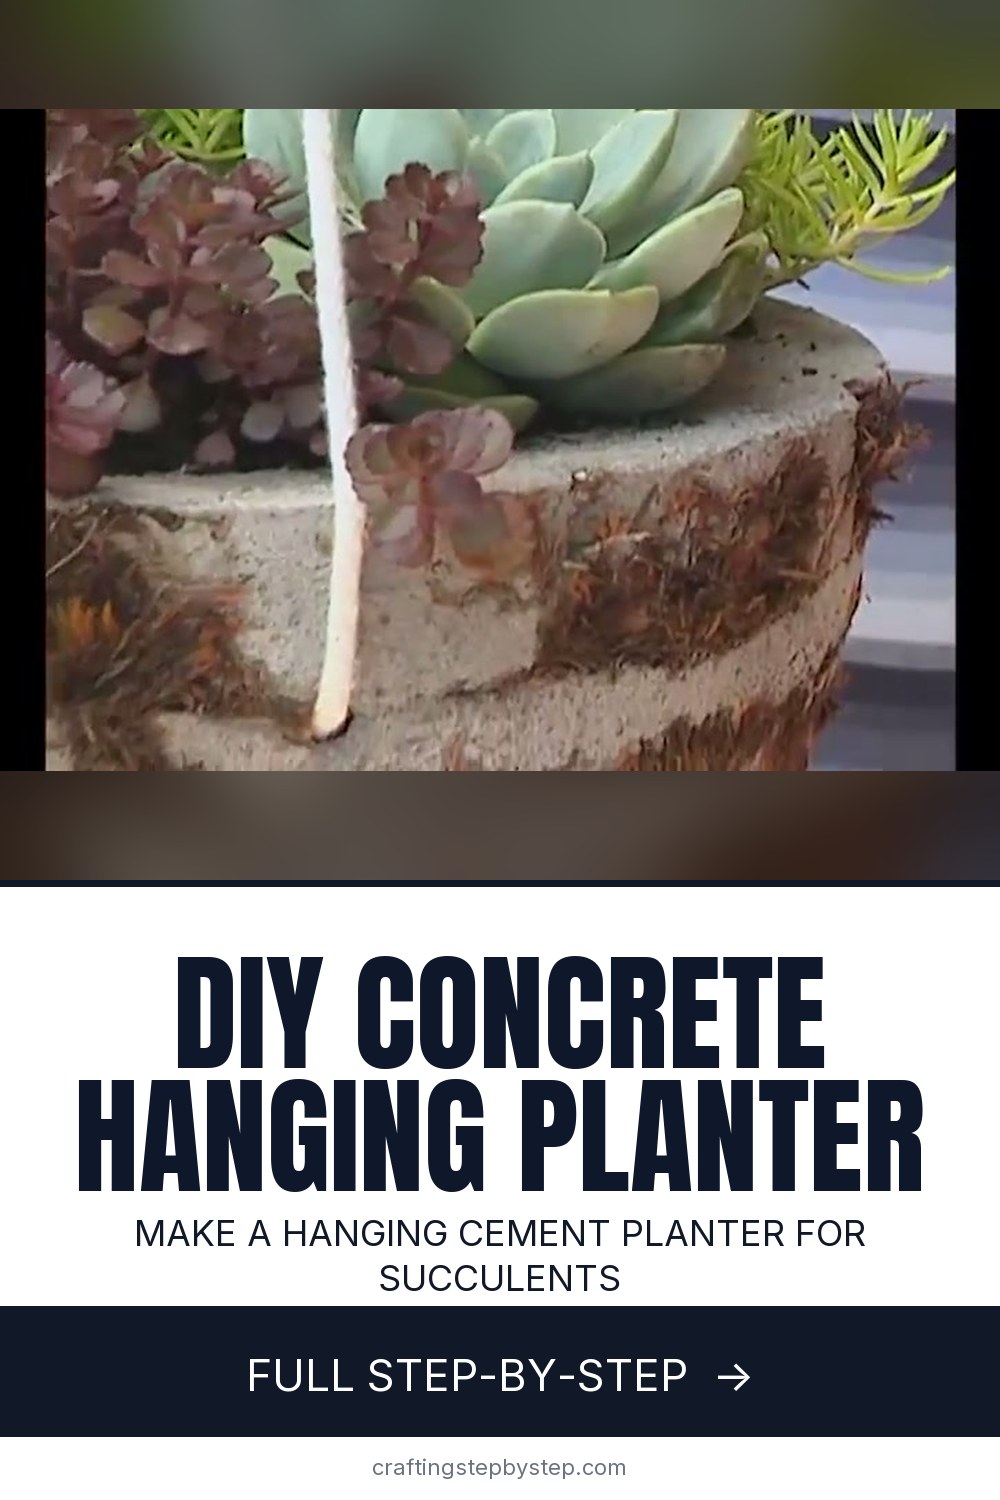
Add a few scoops of good potting soil, then plant. Tanya sets an echeveria in the middle and tucks trailing sedums around the edge so they spill over the mossy rim and soften it. Brush off the loose soil.

Hang it somewhere sunny and give it liquid plant food to settle in. If you are moving a plant over from a nursery pot, our notes on how to repot a plant help it root in faster. For a matching set, try a standing concrete planter too.

Tip

Watch this step Hang it on a simple pulley if you can. Lowering the basket to water it beats reaching overhead, which is the main reason hanging baskets dry out.

Products Used

☐ The Checklist

How to Make a Concrete Hanging Planter

Tools
7
Materials
12
Steps
8
Video
14 min

Tools we recommend

Your Guide

Tanya Visser - The Gardener

As an Amazon Associate we earn from qualifying purchases. Links on this page may be affiliate links - clicking them and buying doesn't change your price, but helps support ShowMeStepByStep.

Tags

Sunday How-To

New crafts tutorials, every Sunday

One short email with the week's best step-by-step guides. Free, no spam, unsubscribe anytime.

Did this work for you?

What's next

Related collections

Curated theme pages that include this tutorial.

Weekly Digest

Liked this crafts tutorial?

Pick the categories you want to hear about. Weekly digest of new step-by-step tutorials. No spam, easy unsubscribe.

Send me tutorials about

We only email about new tutorials. Easy unsubscribe anytime.