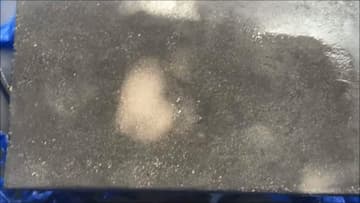
How to Sand and Polish Concrete Crafts
Source: Montana Made • Full tutorial: www.craftingstepbystep.com/crafts/how-to-sand-and-polish-concrete-crafts
- Difficulty
- Medium
- Hands-on time
- About 1 hour
- Wait time
- 24 hours
- Cost
- About $15 to $30

Tools
- random orbital sander
- diamond polishing pad set (50-3000 grit)
- spray bottle
- garden hose
- bucket
- safety glasses
- dust mask
- rubber gloves
- sanding block
- squeegee
Materials
- water
- concrete sealer
- polishing compound
- wet/dry sandpaper
- Portland cement (for filling pinholes)
Steps
1. Lay Out the Full Grit Ladder
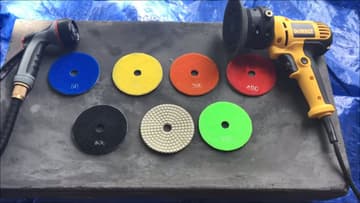
Seven pads cover the whole job: 50, 100, 200, 400, 800, 1500 and 3000. Luke picked his set up for around $13.
Tip: A cheap eBay or Amazon set is the right call for a first project. Watch this step
2. Scale the Method Down for Small Pieces
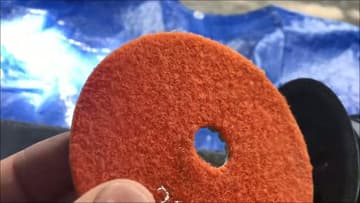
Every pad in the set has a fuzzy hook-and-loop back. That backing grips a sander's pad, and it also gives your fingers something to hold.
Tip: Fold a pad over a wooden block to get into a sharp inside corner. Watch this step
3. Mount the Coarse Pad on the Sander
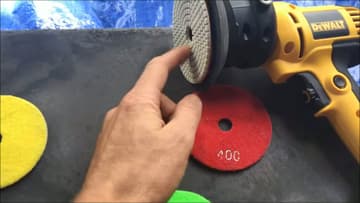
Press the pad onto the sander's backing plate and line the center holes up. Hook-and-loop grips hardest when both faces are dry, so mount the pad before you wet anything down.
Tip: Run the sander on its lowest speed setting. High speed flings slurry across the room and does not cut any faster. Watch this step
4. Flood the Surface Before You Cut
Water goes on first and stays on. On a countertop that means a hose trickling across the slab.
Tip: If the surface turns matte and dusty while you are working, you have run out of water. Stop and re-wet it. Watch this step
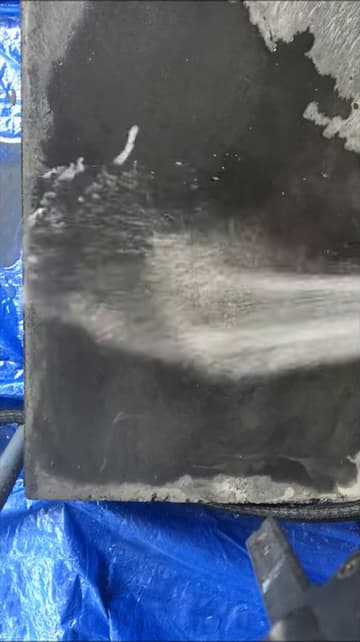
5. Set the Pad Flat and Let It Cut
Lay the pad down flat on the wet surface and start the tool once it is already in contact. Starting it in the air and dropping it on leaves a gouge you will chase for three grits.
Tip: Round the sharp cast edges of a coaster with the 50 pad before you flatten the face. A chipped corner ruins the piece faster than a scratch does. Watch this step
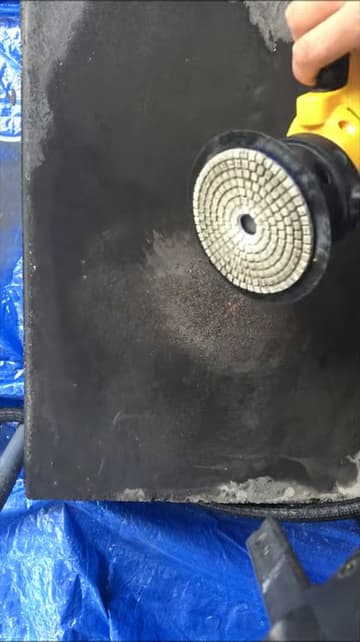
6. Move Slow and Read the Slurry
Slow, overlapping passes. The grey slurry under the pad is your progress meter.
Tip: Change direction 90 degrees with each new grit. The scratch pattern from the last pad becomes obvious the moment you cross it. Watch this step
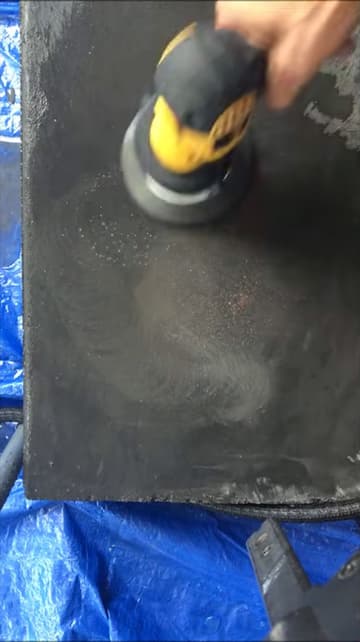
7. Rinse Between Grits and Check Your Work
Rinse the whole piece before you change pads. Slurry left sitting on the surface carries old coarse grit straight into the next pad, and one stray 50-grit particle will drag a scratch across a 3000-grit face.
Tip: Rinse the pad itself too, not only the piece. Grit hides in the hook-and-loop backing. Watch this step
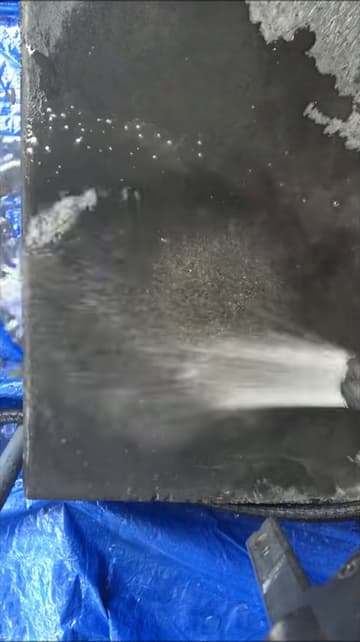
8. Fill the Pinholes That Open Up
Sanding opens pinholes. Air bubbles that were sealed under the cement skin get cut into and turn into visible pits, and there are always more of them than you expected.
Tip: Fill pinholes after the 200 pad, not at the end. A patch applied over a 3000-grit face never blends in. Watch this step
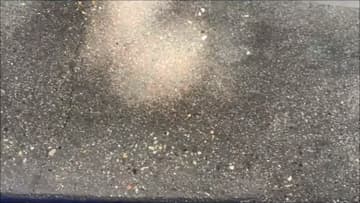
9. Dry It Completely, Then Seal
Wet concrete lies to you. A soaked piece reads dark and glossy and looks like it is done.
Tip: Give it 24 to 48 hours in a warm room before sealing. A piece that feels dry on top can still be damp in the core. Watch this step