1
Find the Pits, Bubbles and Seam Lines
2:32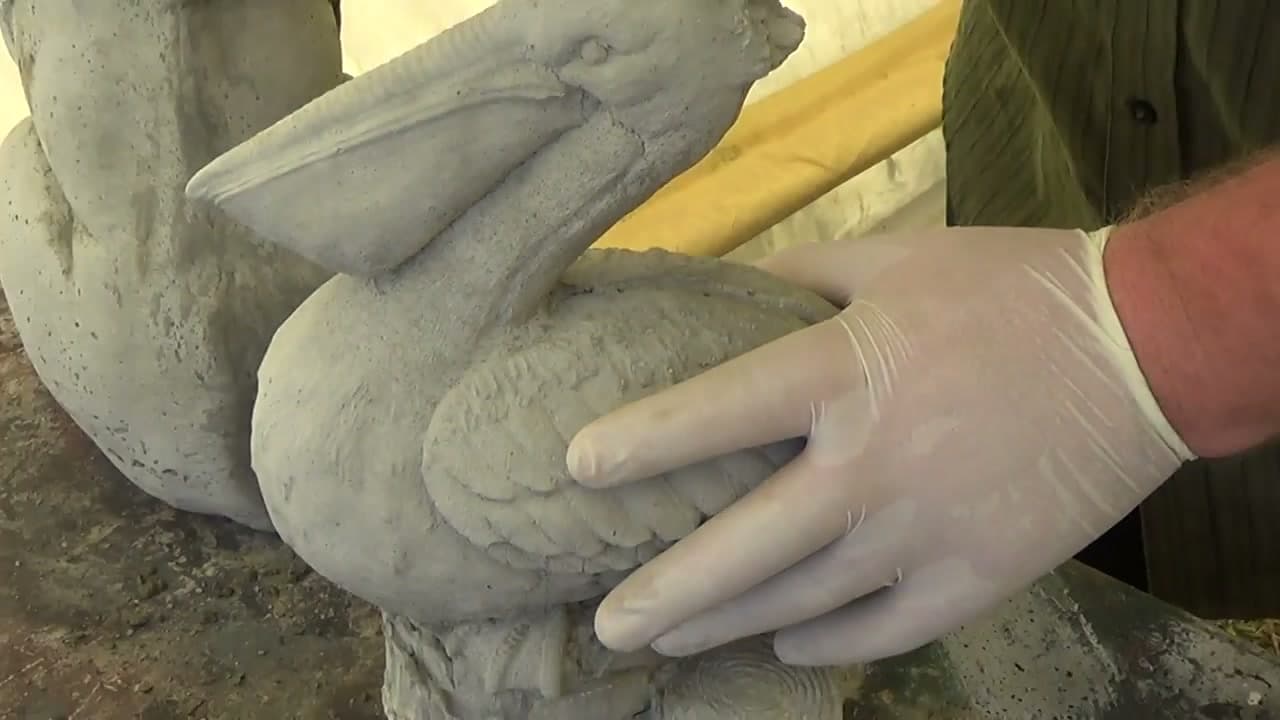
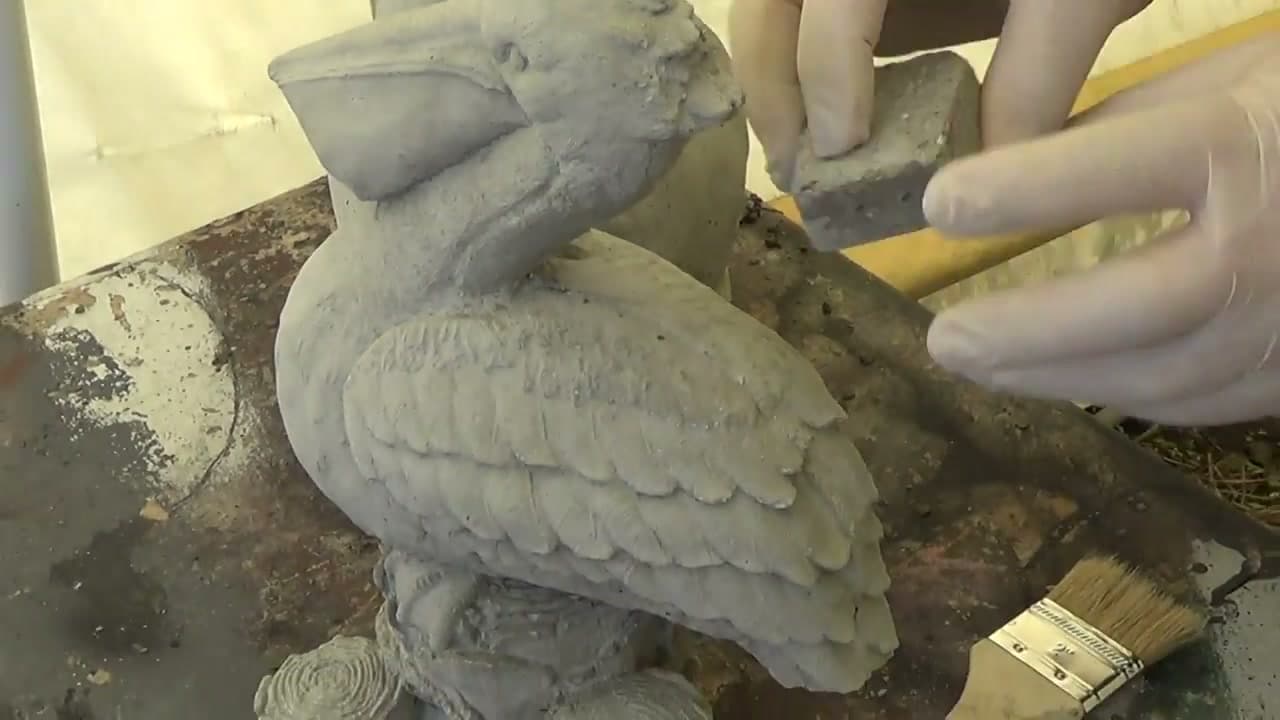
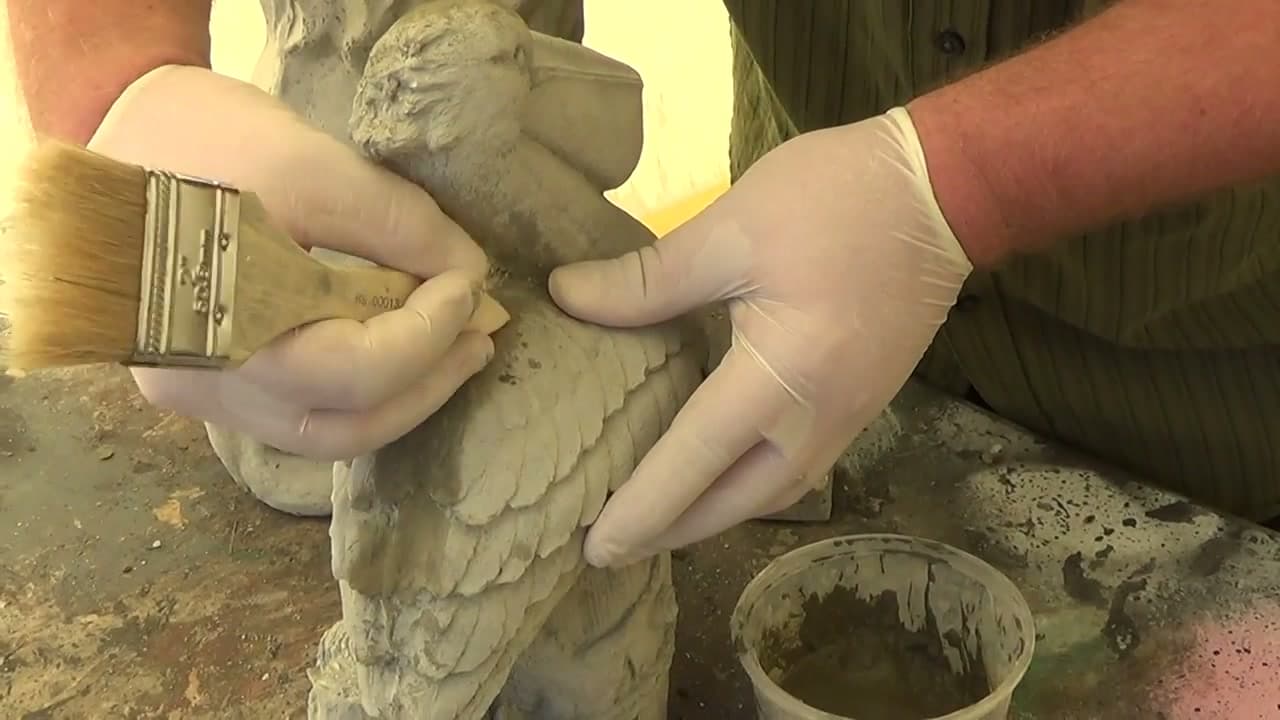
Set the piece where light rakes across it at a low angle. Straight-on light hides shallow pits. A low angle drops a shadow into every one of them. Run a gloved hand over the surface as well, because your fingertips catch ridges your eye walks straight past.
You are sorting three different problems. Round pinholes where air sat against the mold wall. Bigger craters where the mix was too stiff to flow into a detail. And the raised line down the side where the two mold halves met. Each one wants a different treatment, so it pays to know what you have before you mix anything.
Tip
Mark the worst spots with a pencil before you start mixing. Wet slurry hides them fast. Watch this step
Used in this stepnitrile gloves