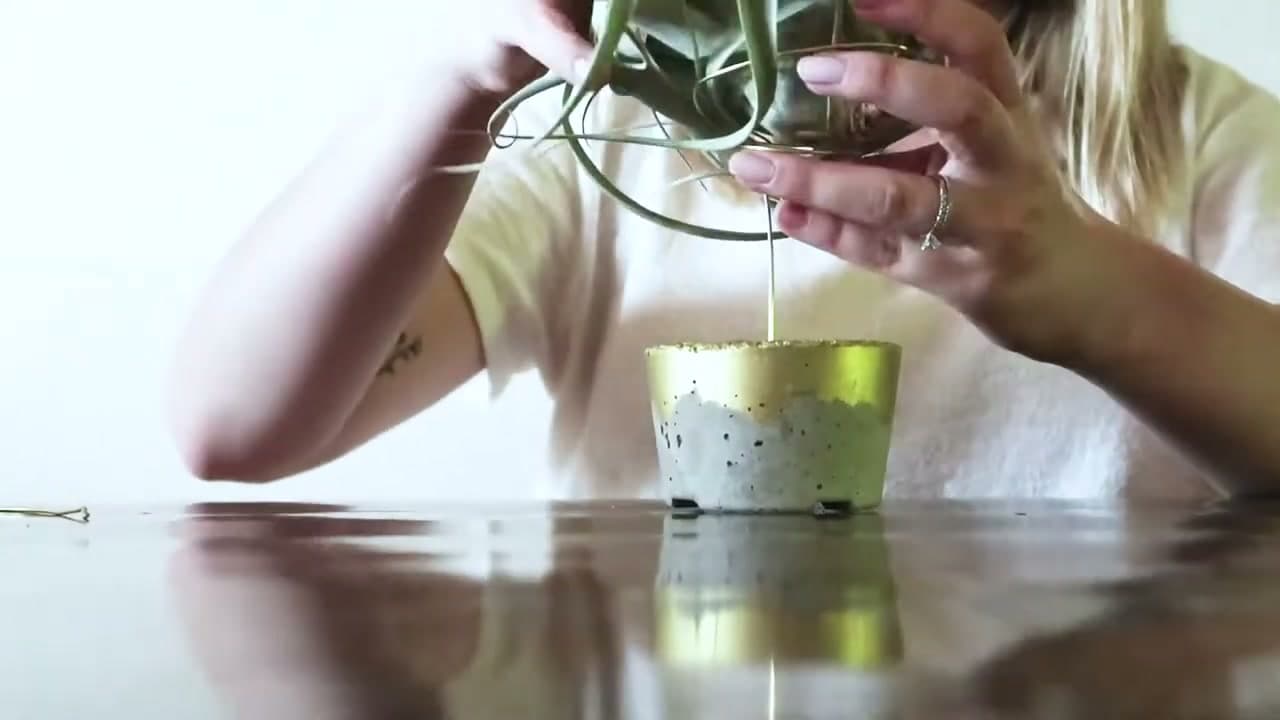
How to Make a Concrete Air Plant Holder

CraftsEasy4:017 stepsBrowse more →

By CraftingStepByStepPublished

Based on a video by Meg's Cozy Cottage.

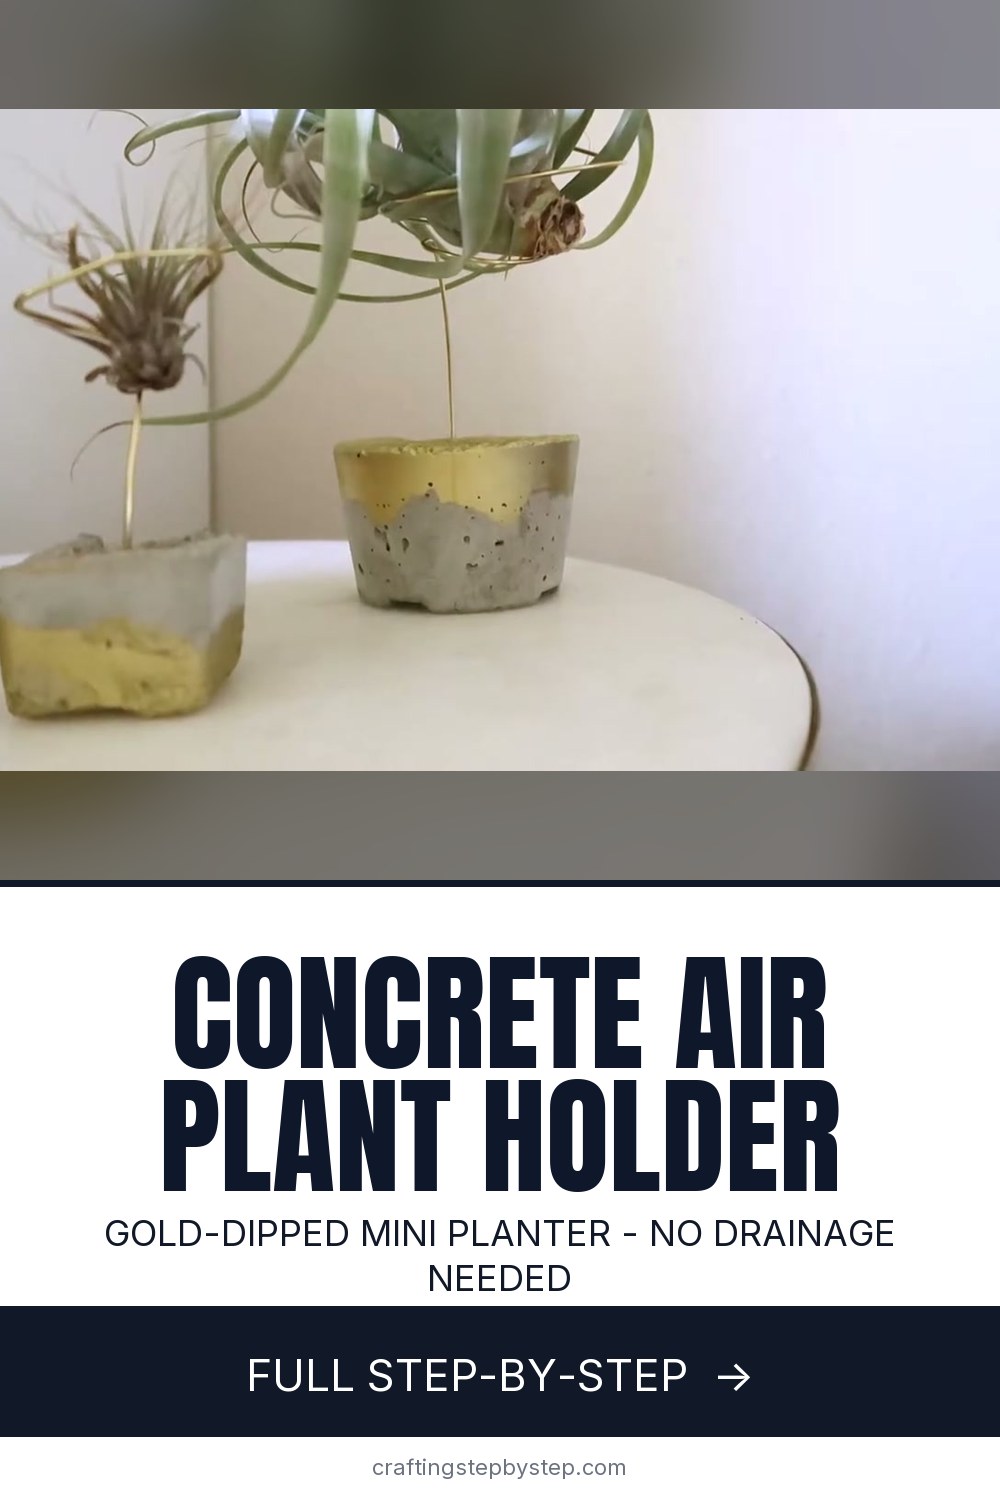
Air plants are the low-effort houseplant everyone wants, but they always seem to end up sitting in a dish looking a little lost. This project fixes that. You cast a small concrete block, dip one edge in gold, and glue in a curl of brass wire that holds the plant up like it is floating. Meg's Cozy Cottage walks through the whole thing, and the actual hands-on time is only about ten minutes once you factor out the drying.

The trick that makes it look expensive is cheap: a torn scrap of construction paper. You wrap it around the cured block to mask off a rough, organic line, spray the bare part gold, and peel it away. No stencils, no tape lines, just that soft ragged edge where the metallic meets the raw cement. Make two at once and you can put the gold on top of one and the bottom of the other so they read as a set.

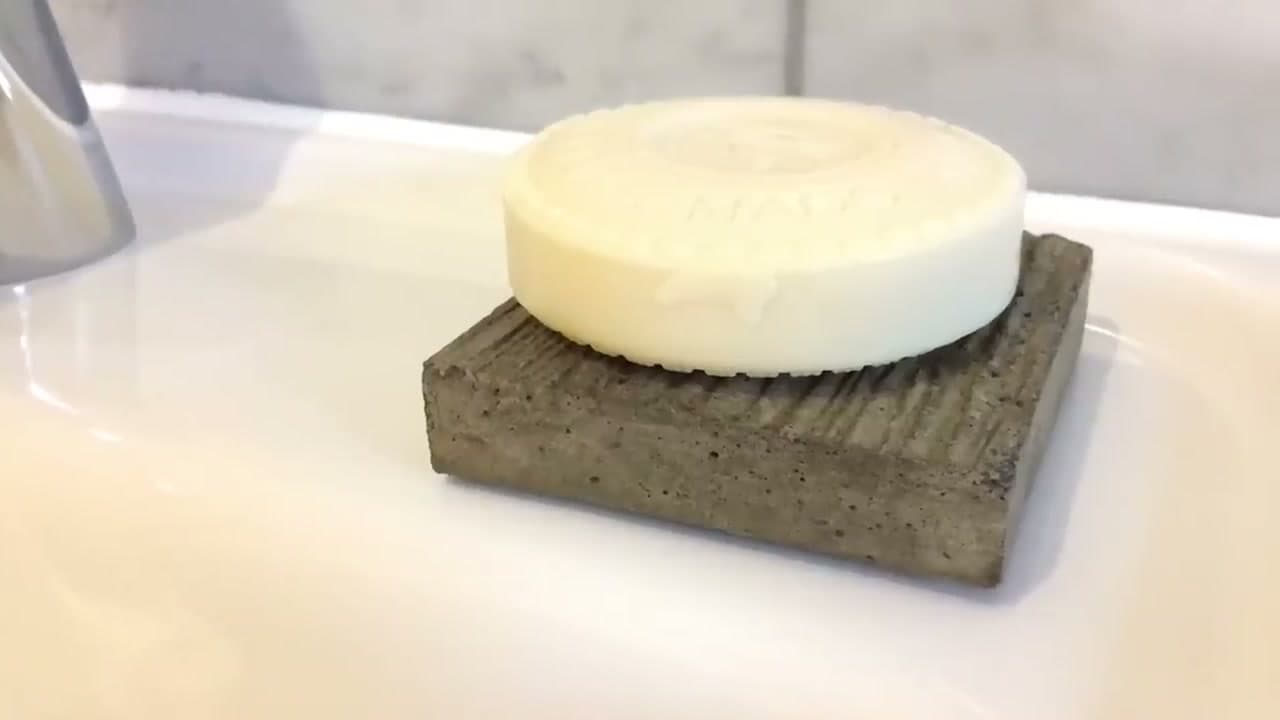
If you like the material, it goes a long way. The same mix-mold-demold routine is behind a concrete planter, a slim concrete vase, and a shallow concrete bowl. Cast a few of each and you have a whole shelf of matching decor for the price of one bag of quick-set.

Step-by-Step Guide

7 steps · about 4 minutes.Check off each step as you go and your progress saves automatically.

1

Step 1: Mix the Concrete

1:06
Step 1: Step 1: Mix the Concrete

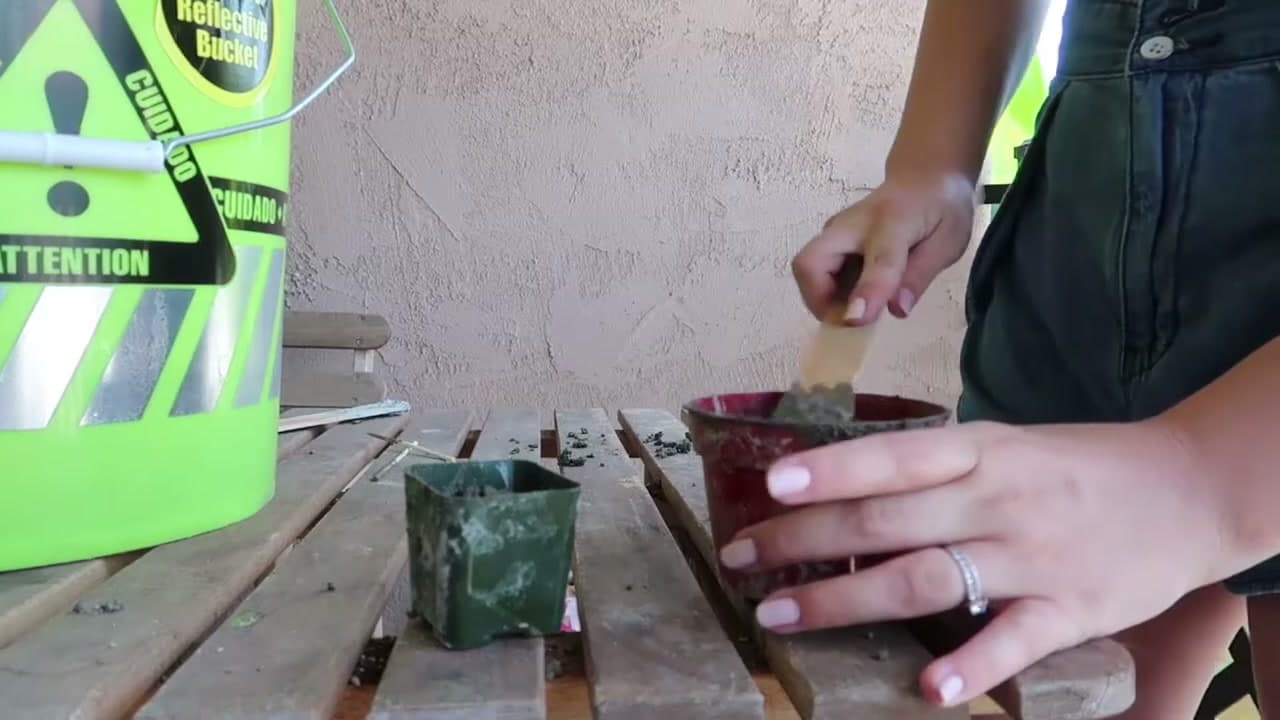
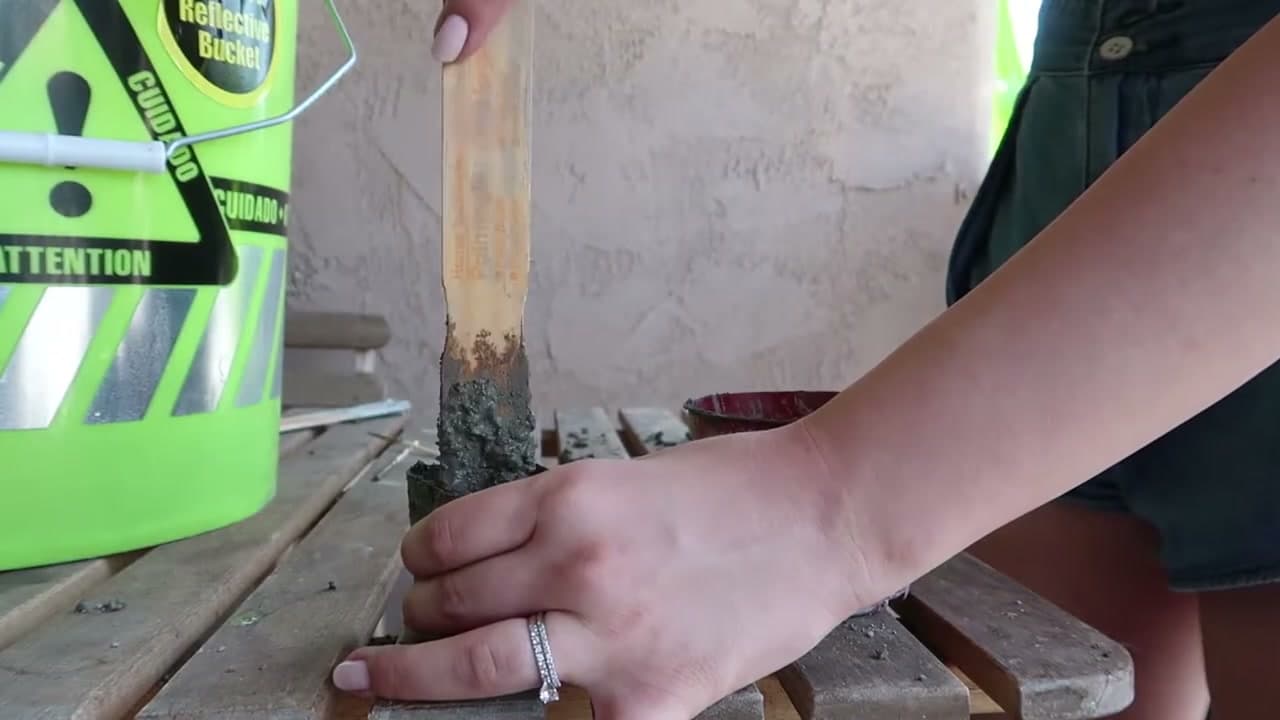
Mix your concrete in a bucket following the ratio printed on the bag. Megan uses a quick-set concrete she had on hand and adds a splash of extra water so the mix pours a little runnier. A looser mix fills small molds cleanly and settles into the corners instead of leaving voids.

Stir with a paint stick until there are no dry pockets and it looks like thick oatmeal. Do not go too soupy or the block ends up weak. You want it pourable but still holding its shape on the stick.

Tip

Watch this step Add the water in small pours. It is easy to loosen a stiff mix and almost impossible to un-soup one that has gone too wet.
2

Step 2: Fill the Molds and Set the Skewers

1:12
Step 2: Step 2: Fill the Molds and Set the Skewers

Scoop the wet concrete into two small plastic grower pots. These are your molds, and the tapered shape pops the finished block out easily. Pack the concrete down hard with the paint stick so it fills the bottom and edges.

Push a couple of wood skewers straight down into the center of each pot. They hold open a channel you will glue the wire into later. Tamp everything down again, then tap the pots on the table a few times to bring any trapped air bubbles up to the surface.

Tip

Watch this step A quick spritz of cooking spray inside the pot before you fill it makes the cured block slide out with almost no fight.

3

Step 3: Demold and Sand

1:40
Step 3: Step 3: Demold and Sand

When the concrete is about halfway set, pull the skewers straight out. Wait too long and they lock in, so a firm tug at the halfway point saves you from digging them out with pliers later. Let the blocks finish curing fully before you unmold.

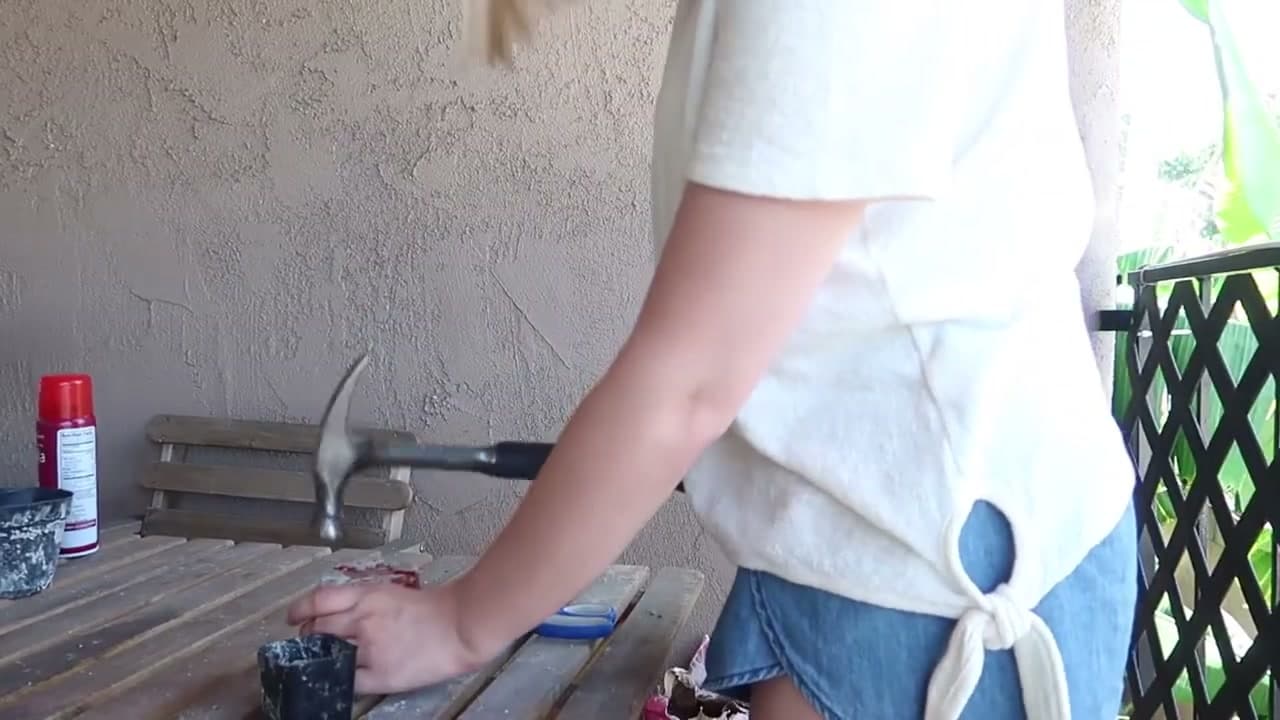
To release each block, tap the bottom of the plastic pot with a hammer until the concrete slides free. Run a scrap of sandpaper over the edges to knock off the sharp lip and any rough grit from the mold. Sand lightly for a crisp look or harder for a soft, distressed stone finish.

Tip

Watch this step If a block will not budge, flex the plastic pot gently all the way around before you reach for the hammer. The pot deforms and breaks the suction.

Products used in this step

4

Step 4: Mask a Torn Gold Line

1:55
Step 4: Step 4: Mask a Torn Gold Line

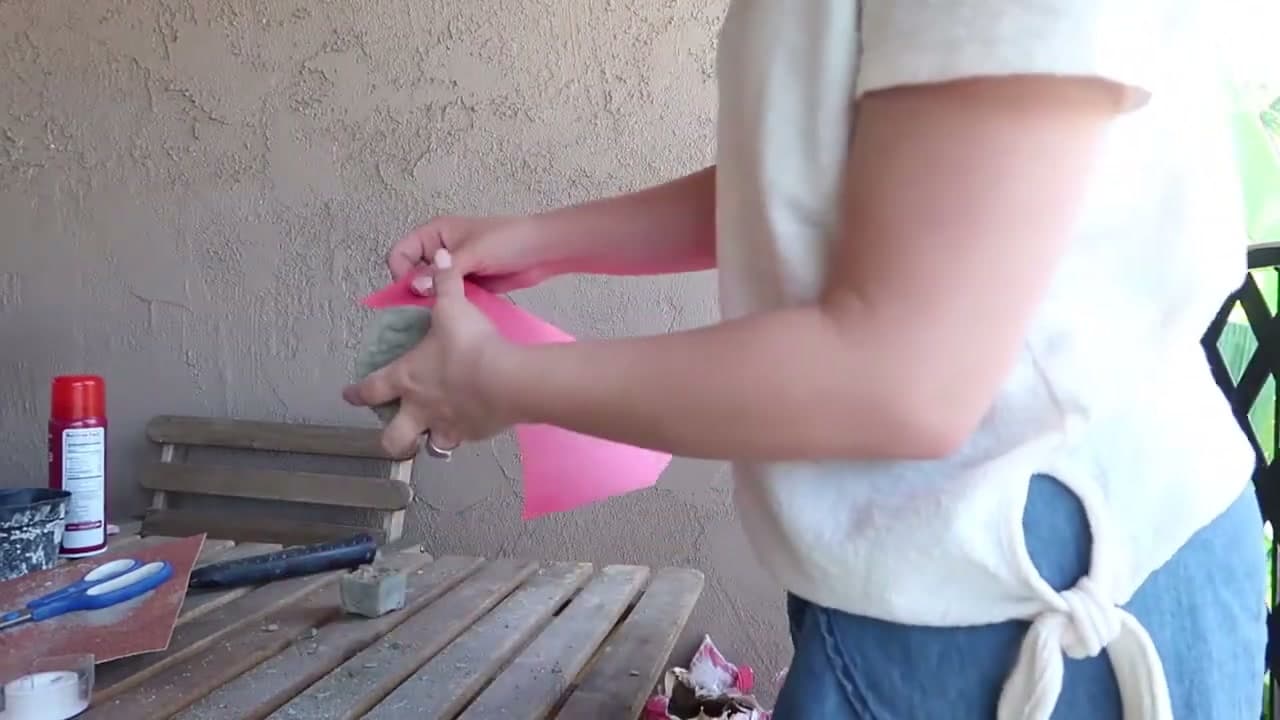
Tear a piece of construction paper so it has a rough, ragged edge instead of a clean straight cut. That torn line is what gives the gold its organic, hand-made look once you spray. Do not aim for anything perfect here.

Wrap the paper around a block and tape it in place, leaving bare only the strip of concrete you want to turn gold. Megan does one holder with the gold band up near the top and the other with it down at the bottom, so the finished pair looks intentional rather than identical.

Tip

Watch this step Press the tape down hard along the torn edge. Any gap lets overspray creep under and blurs the crisp line you tore on purpose.

5

Step 5: Spray the Gold

2:20
Step 5: Step 5: Spray the Gold

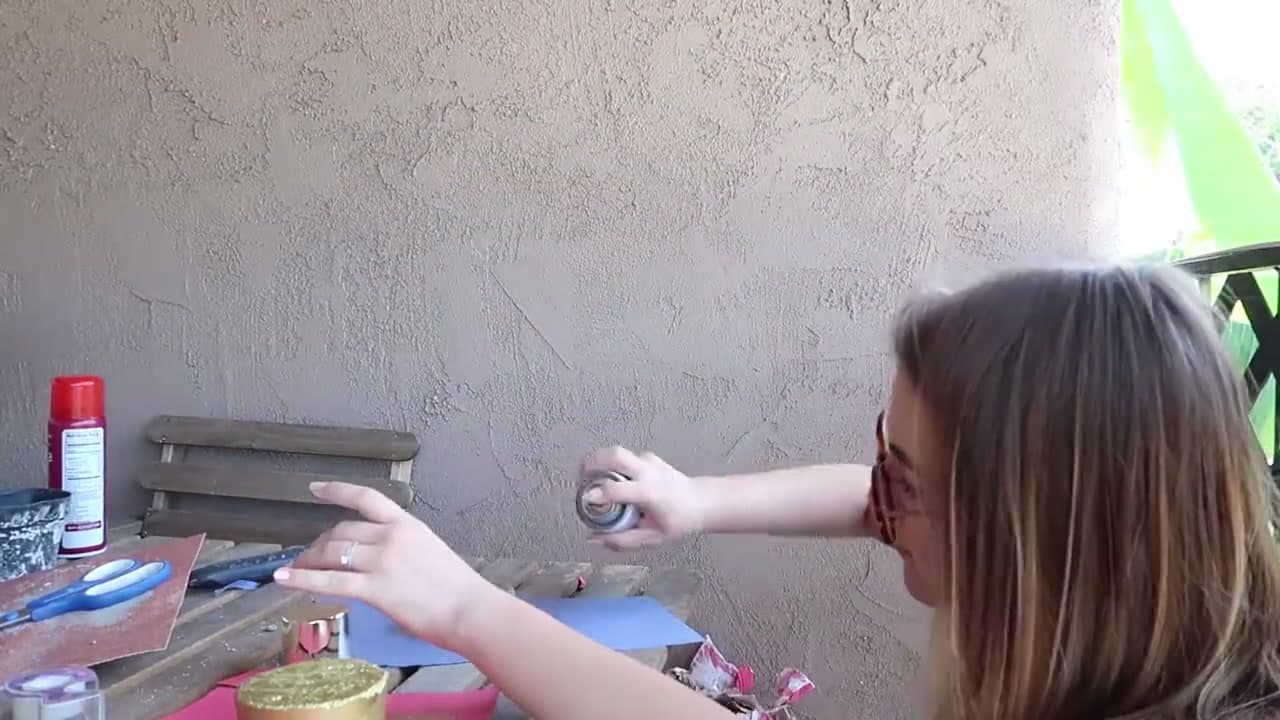
Take the masked blocks somewhere with airflow and spray the exposed concrete with metallic gold paint. Hold the can back a few inches and keep it moving so the paint lands as an even mist, not a puddle. Two or three light coats beat one heavy one.

Check for bare spots along the torn edge and touch them up before the paint sets. Then leave the blocks alone for about half an hour, just long enough for the gold to dry to the touch.

Tip

Watch this step Concrete is thirsty and drinks the first coat, so it can look patchy at first. Let that coat flash off, then go again and the color evens right out.

6

Step 6: Glue in the Wire

2:55
Step 6: Step 6: Glue in the Wire

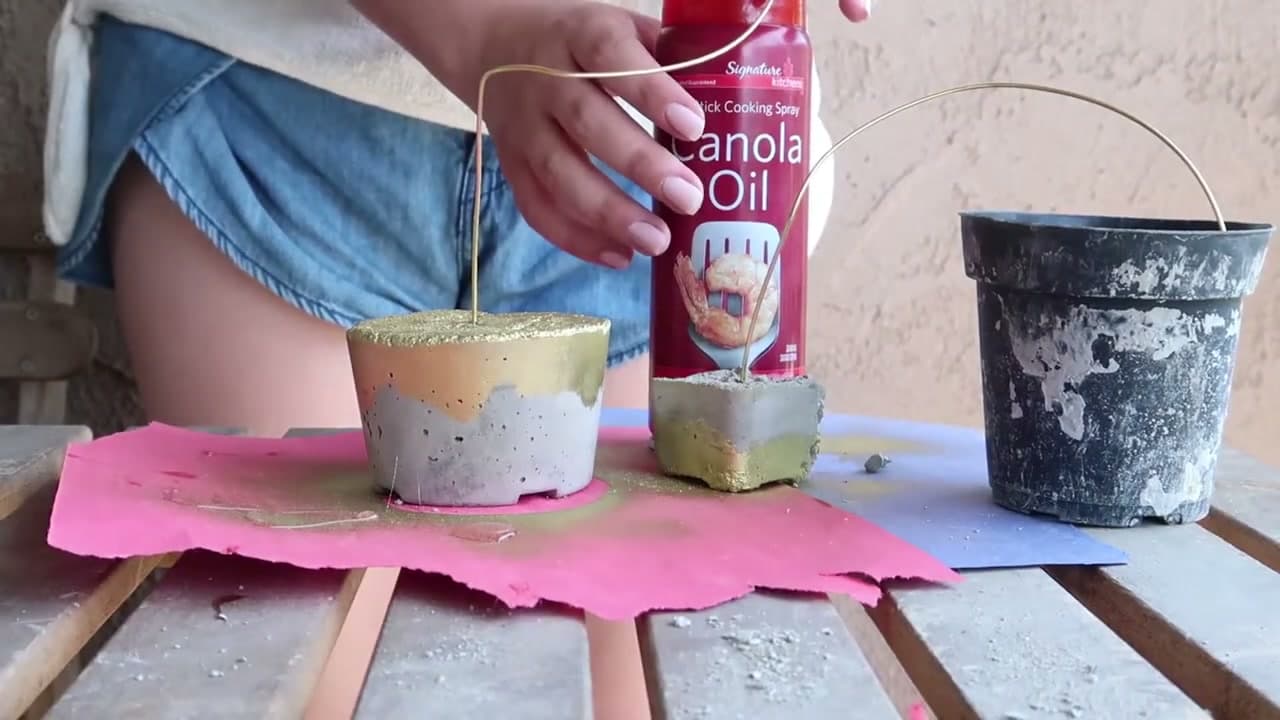
Peel off the paper once the paint is dry and check that you like the gold line on both blocks. Now for the part that turns a block into a holder. Squeeze E6000 craft glue into the channel the skewer left behind in the top of each one.

Push a length of 14-gauge gold wire down into the glued hole so it stands up straight. Do not shape it yet. Just anchor it and prop the loose end against something steady while the glue expands and grabs. E6000 needs time to cure, so walk away and let it set.

Tip

Watch this step Prop the wire so it dries dead vertical. If it sets at a lean, the whole nest tips and the air plant slides off later.

7

Step 7: Shape the Nest and Add the Air Plant

3:25
Step 7: Step 7: Shape the Nest and Add the Air Plant

With the glue cured, bend the free wire into an open nest or spiral that will cradle the air plant. Hold your Tillandsia against the wire as you shape it so the nest ends up sized to the plant, snug enough to hold it but open enough that air still gets to the base.

Use needle-nose pliers for the tight coils on the smaller holder and just your hands for the looser shape on the bigger one. Set the air plant into the finished nest and you are done. Two little concrete holders, ready for a shelf or to give away.

Tip

Watch this step Lift the plant out to water it. Soak the Tillandsia in a bowl, shake it dry, then drop it back into the nest so no water sits against the wire.

Products Used

☐ The Checklist

How to Make a Concrete Air Plant Holder

Tools
7
Materials
9
Steps
7
Video
4 min

Tools we recommend

Your Guide

Meg's Cozy Cottage

As an Amazon Associate we earn from qualifying purchases. Links on this page may be affiliate links - clicking them and buying doesn't change your price, but helps support ShowMeStepByStep.

Tags

Sunday How-To

New crafts tutorials, every Sunday

One short email with the week's best step-by-step guides. Free, no spam, unsubscribe anytime.

Did this work for you?

What's next

Related collections

Curated theme pages that include this tutorial.

Weekly Digest

Liked this crafts tutorial?

Pick the categories you want to hear about. Weekly digest of new step-by-step tutorials. No spam, easy unsubscribe.

Send me tutorials about

We only email about new tutorials. Easy unsubscribe anytime.