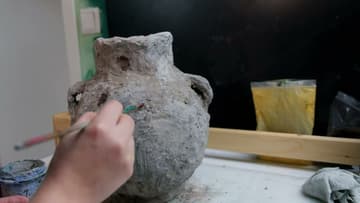
How to Make a Concrete Vase (Wabi-Sabi Style, Step by Step)
Source: craftedart • Full tutorial: www.craftingstepbystep.com/crafts/how-to-make-a-concrete-vase
- Difficulty
- Medium
- Hands-on time
- About 1 hour
- Wait time
- 24 hours
- Cost
- About $12 to $20
- Makes
- 1 textured concrete vase

Tools
- mixing bucket or bowl
- stir stick
- disposable brush
- sandpaper
- safety gloves
- dust mask
Materials
- cement mix
- sand
- round balloon
- fiberglass mesh scrim
- plastic cup (neck form)
- plastic wrap
- ochre and black pigment powder
- concrete sealer
Steps
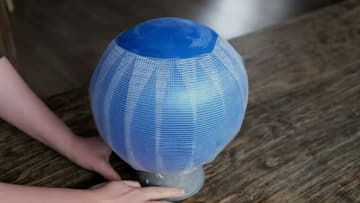
1. Wrap the Balloon Mold in Mesh
Inflate a round balloon to the size you want the vase body to be, then set it neck-down in a cup so it stands still. This balloon is your mold.
Tip: Watch this step Use a firm, evenly round balloon. A lopsided one gives you a lopsided vase, and not in the charming way.
2. Mix the Cement and Apply the First Coat
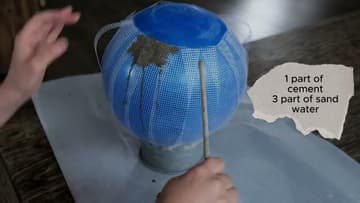
Mix your cement by hand using one part cement to three parts sand. Add water a splash at a time and stir until it holds together like thick peanut butter.
Tip: Watch this step Wear a dust mask while you scoop dry cement. The powder is rough on your lungs before you add water.
3. Build the Textured Wabi-Sabi Body
Once the base coat grabs, pile on a second, thicker layer of cement. Drag it around with your fingers to build the rough, weathered surface that gives the vase its wabi-sabi look.
Tip: Watch this step Mix cement in small batches. It starts stiffening within twenty minutes, so a fresh batch is easier to work than a tub that has been sitting.
4. Form the Neck with a Cup and Mesh Collar
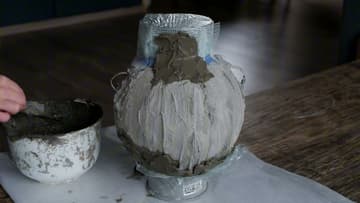
When the body sets enough to hold its shape, build the neck on top. Cover a plastic cup in plastic wrap so cement will not stick to it, wrap a mesh collar around the opening, and press the cup in to act as a form for the inner wall of the neck.
Tip: Watch this step The plastic wrap is what lets the cup slide out cleanly once the neck firms up. Skip it and the cup cements itself in place.
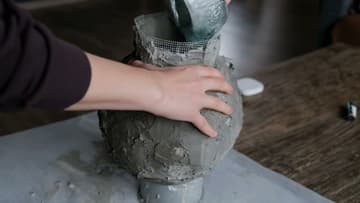
5. Reinforce and Smooth the Rim
The rim is the fragile part, so give it some extra care. Load a stiff brush with a wet cement slurry and stipple it over the mesh collar and around the mouth of the vase.
Tip: Watch this step Keep a bowl of slurry a bit looser than your building mix. A thin, brushable consistency fills pinholes the thick mix skips over.
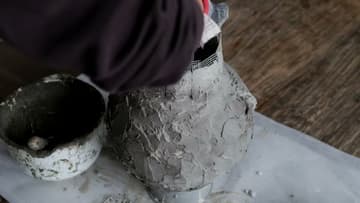
6. Add the Handles
Handles turn a plain pot into something that looks like an old amphora. Roll two short sausages of cement over strips of mesh, then press one to each shoulder of the vase where the body meets the neck.
Tip: Watch this step Make the handles chunky. Thin concrete handles look elegant but crack at the join, and a heavier one reads as more authentically old anyway.
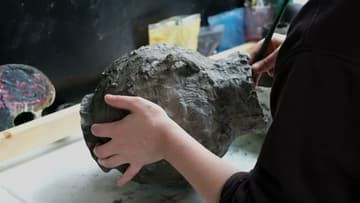
7. Age the Surface and Seal
Now give the vase its old-stone look. Dip a dry brush into ochre and black pigment powder and drag it lightly over the high spots of the texture.
Tip: Watch this step Build the aging up in thin layers. It is easy to add more pigment and hard to take it back off, so go light and check it in daylight.