How to Make a Concrete Trinket Dish

Based on a video by Creatively Erica

Opens their YouTube channel

Steps written out by CraftingStepByStep · Published · Updated

Watch the original video (opens YouTube)
The finished result: How to Make a Concrete Trinket Dish
Also in:Pottery

Want a pretty little dish to corral your rings and earrings? This one costs almost nothing to make. Erica from Creatively Erica pours plaster into silicone molds and pops out solid trinket dishes that feel just like ceramic.

You mix a simple two-to-one plaster and water batter, stir in a bit of color, and pour it into whatever mold shape you like. Add metallic foil flakes if you want some sparkle. After it sets for about an hour you peel the mold away and you are done.

The material is often called plaster of paris or cement for this craft, and the steps are the same either way. Grab a mold, a scoop of plaster, and let's make a few.

New to concrete crafts? Get the basics right first: how to mix concrete for crafts and how to seal concrete crafts (indoor and outdoor).

What you'll need

Step-by-step guide

7 steps, about 8 minutes. Tap a picture to jump to that step. Your progress saves automatically.

Tick each step off as you go.

  1. Step 1: Gather Your Supplies

    Watch this step · 1:55
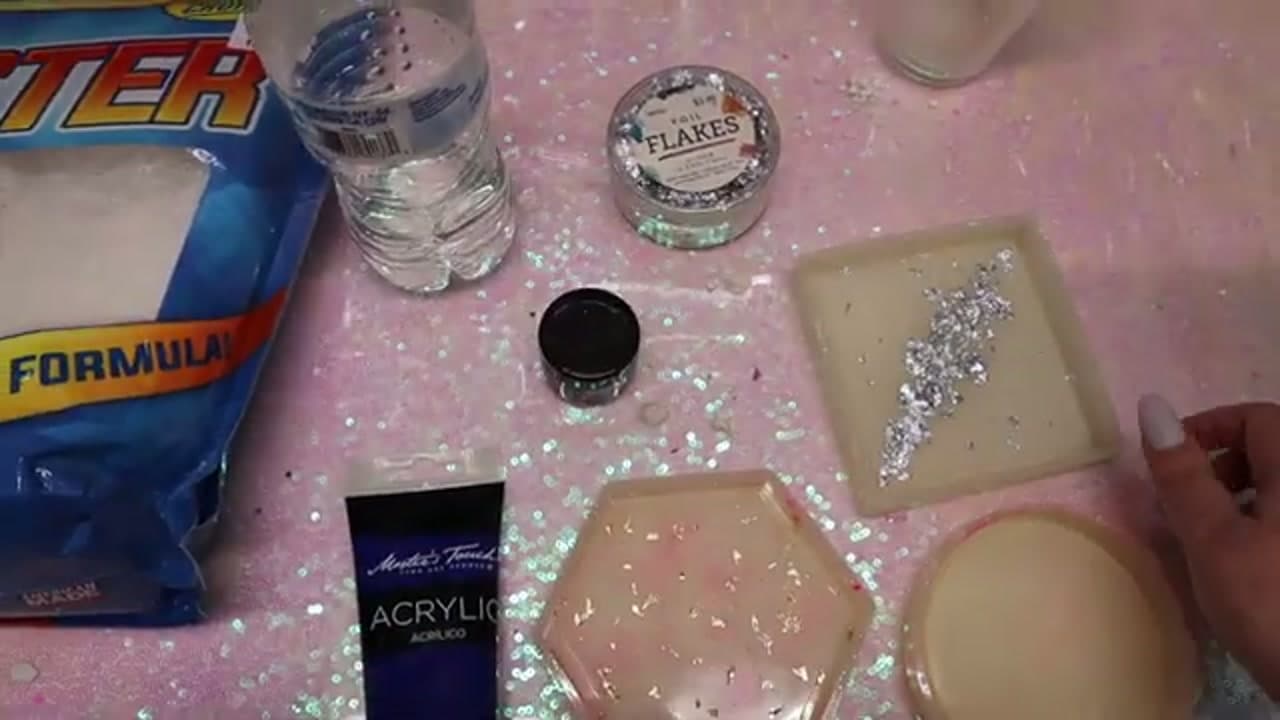
    Erica uses a pottery-and-ceramics plaster mix she found at the craft store for under eight dollars. Set out your plaster, water, and a couple of silicone molds. If you want color, grab acrylic paint or mica powder, and keep some metallic foil flakes handy for sparkle. That eight-pound bag goes a long way, so you can make several dishes and still have plenty left.

    Tip:

    Make sure the plaster is the pottery-and-ceramics type. Other plaster blends are made for different projects and won't set up the same way.
    Back to all steps

  2. Step 2: Set Up Your Mixing Station

    Watch this step · 2:15

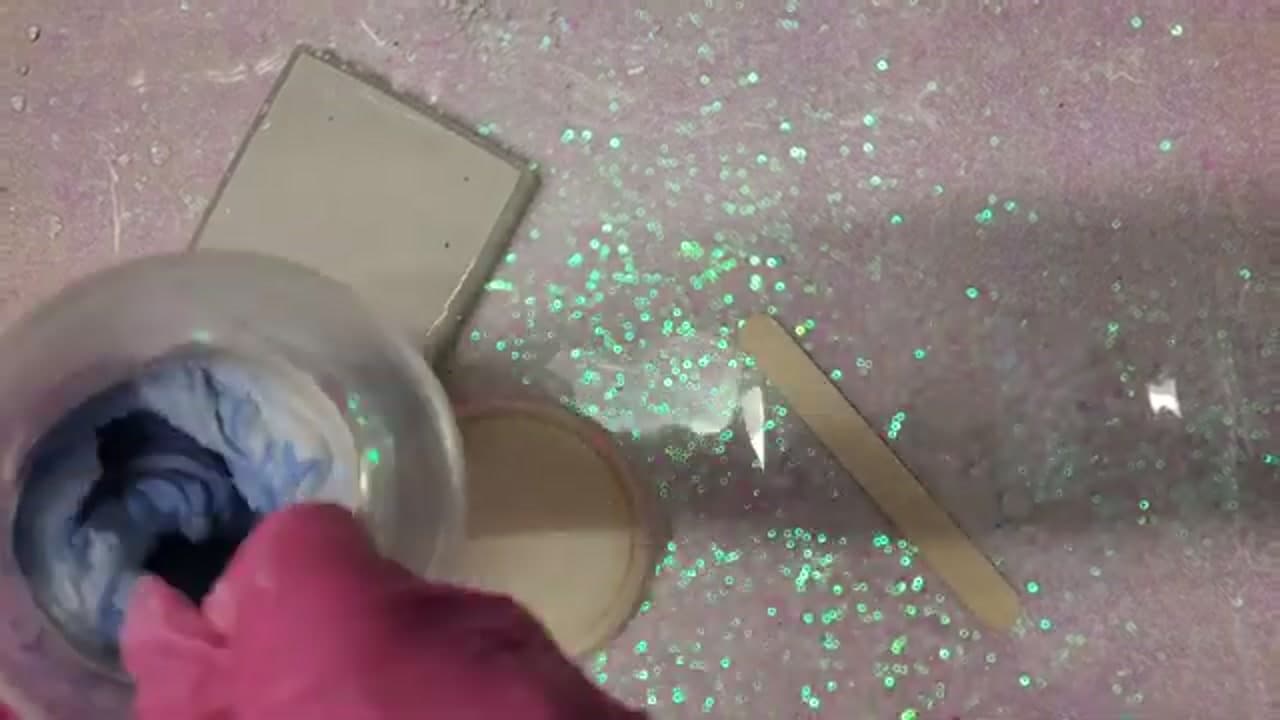
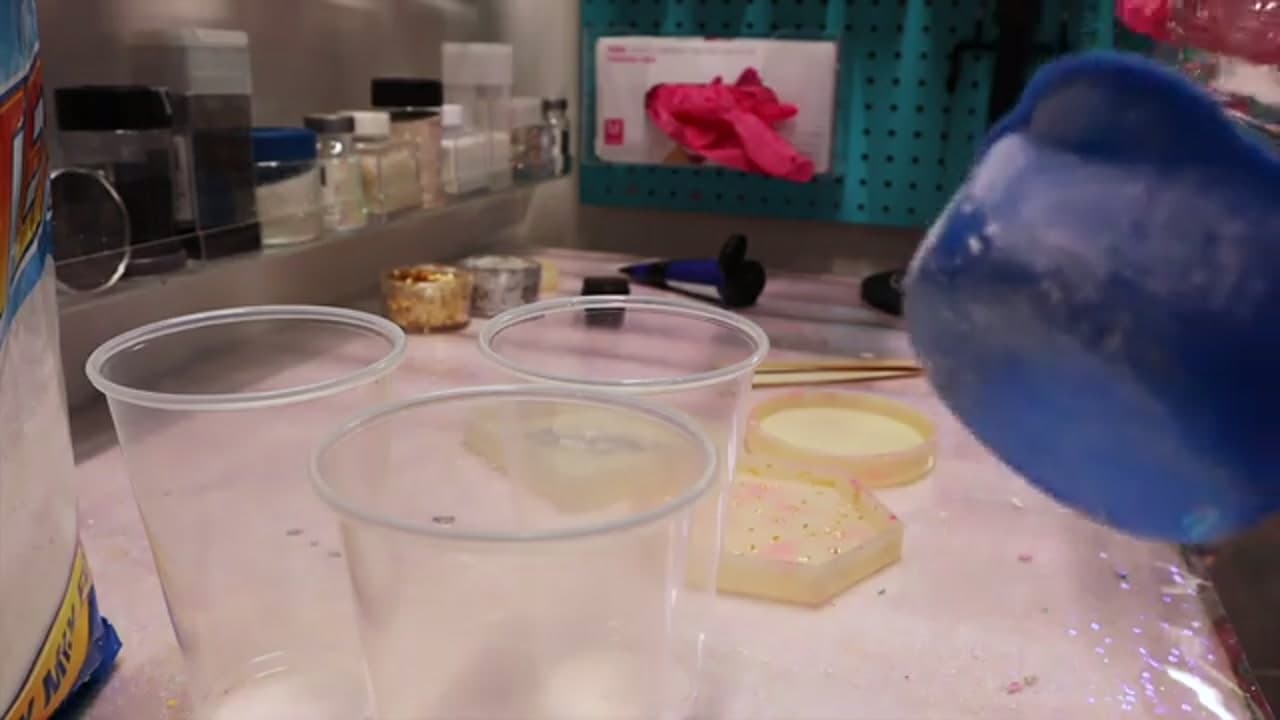
    Line up a plastic cup and a stir stick for each dish you plan to make, and set your empty molds within reach. This plaster sets fast, so having everything ready keeps you from scrambling once the batter is mixed. Erica works one dish at a time so the other cups don't harden while she pours. Put your gloves on now too.

    Tip:

    Mix one dish at a time. If you batch all your cups at once, the later ones start hardening before you can pour them.

    Back to all steps

  3. Step 3: Mix the Plaster

    Watch this step · 4:00

    The ratio is two parts plaster to one part water. Erica uses two-thirds cup of plaster to one-third cup of water per dish. Add the plaster to the water and stir with your popsicle stick until it's smooth. It looks runny at first, but it starts to thicken quickly, so keep moving once it's blended.

    Tip:

    Add the plaster to the water, not the other way around. It blends smoother and clumps less.

    Back to all steps

  4. Step 4: Tint and Pour

    Watch this step · 4:30

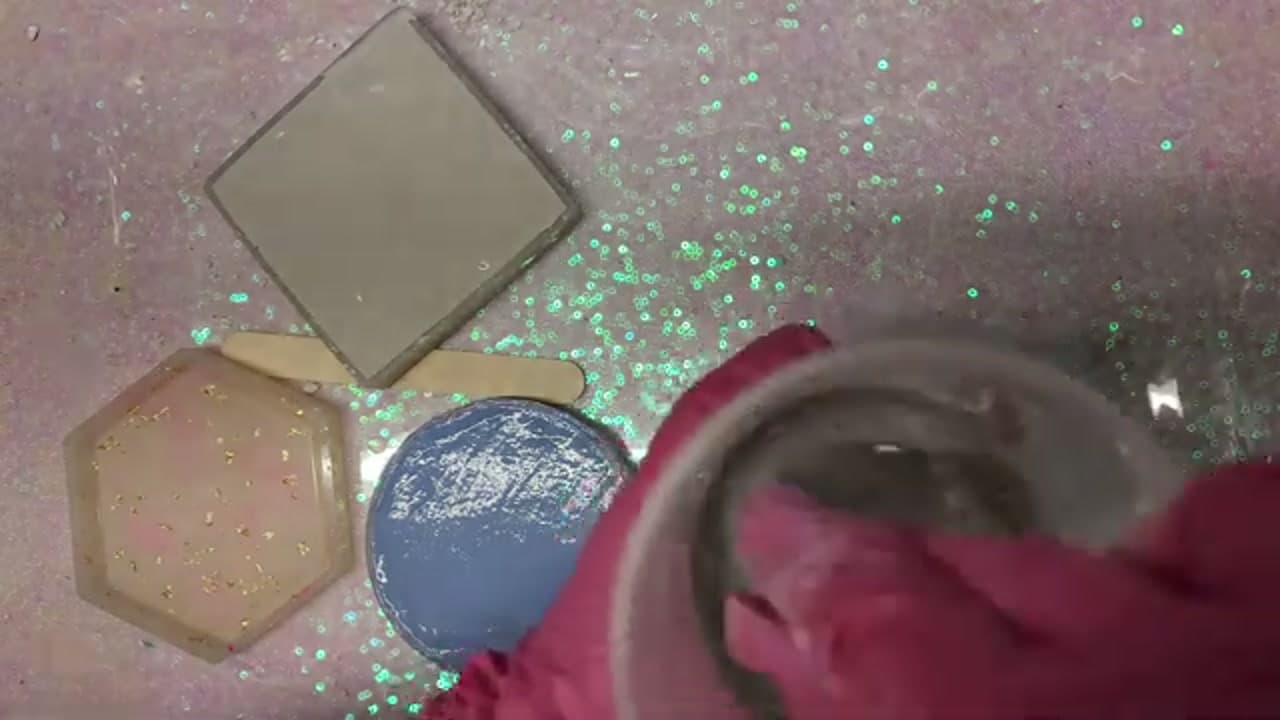
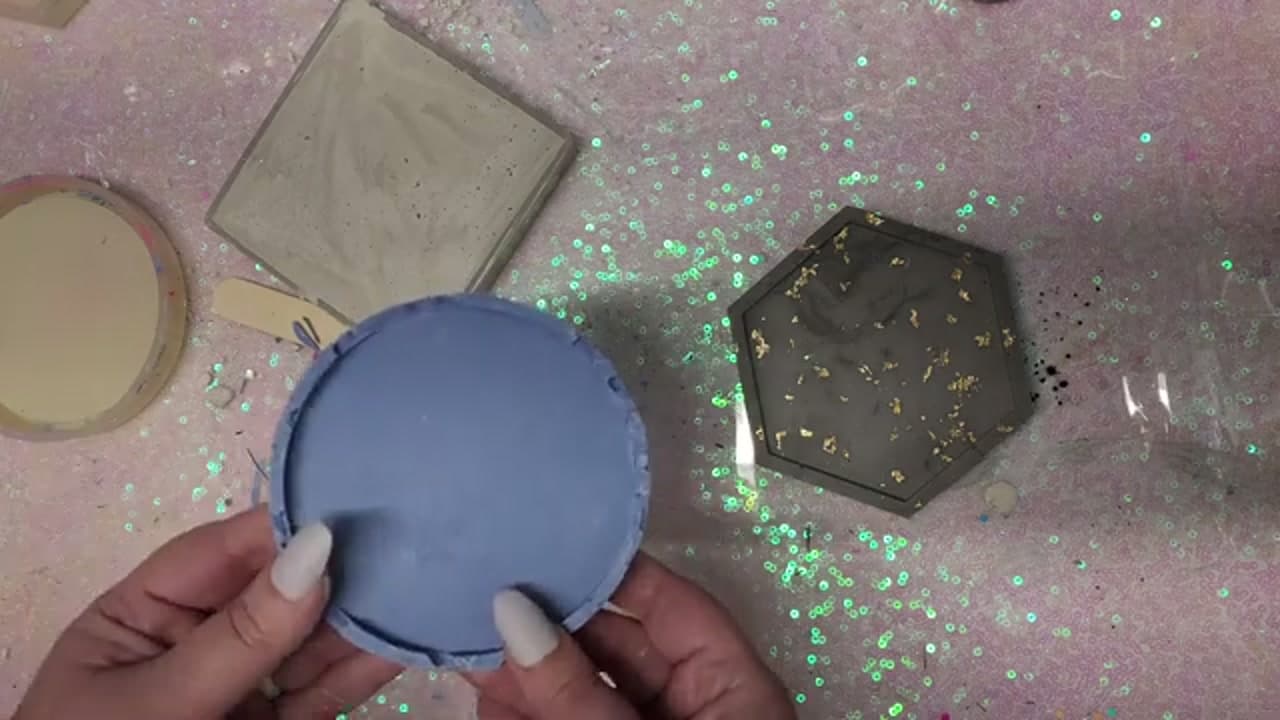
    Stir a little acrylic paint or mica powder into the batter to color it. A small amount goes a long way, so start light and add more if you want it deeper. Once it's mixed, pour the tinted plaster straight into your silicone mold. Erica made one blue with paint, one with mica shimmer, and left one its natural stone color.

    Tip:

    Want sparkle? Drop a few metallic foil flakes into the bottom of the mold before you pour so they show on the finished face.

    Back to all steps

  5. Step 5: Fill the Mold and Pop the Bubbles

    Watch this step · 5:00

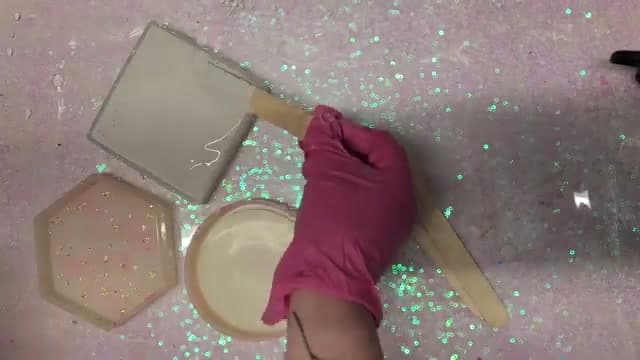
    Use your stir stick to push the plaster into every corner of the mold. Getting it all the way into the crevices is what keeps the edges clean. Then tap the mold on the table a few times so trapped air bubbles rise to the top and pop. This is the step that decides whether your dish comes out smooth or full of pits.

    Tip:

    Tap firmly and give it a few passes. Erica lost one dish to bubbles that settled in the bottom edge.

    Back to all steps

  6. Step 6: Let It Set and Demold

    Watch this step · 6:00

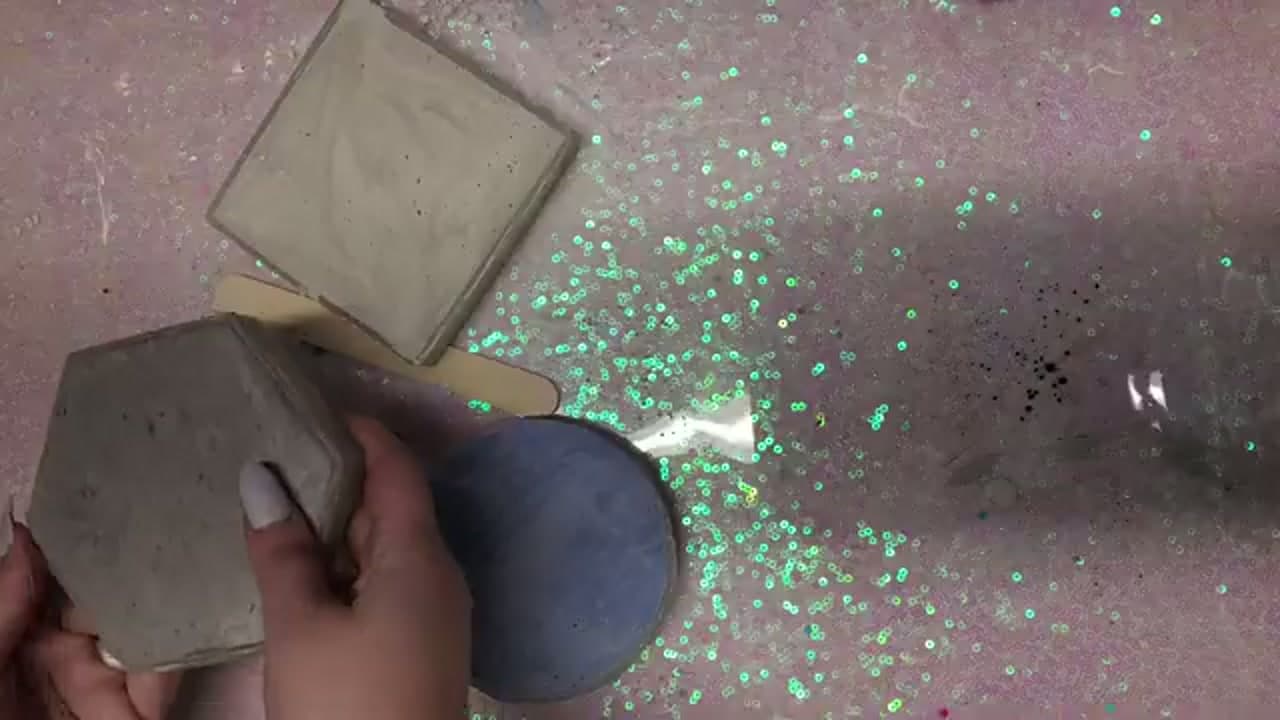
    Give the plaster about an hour to firm up. The package says you can demold at 30 minutes, but a little extra time is safer. When it's ready, flex the soft silicone mold and gently peel it back off the dish. It should release in one clean piece and already feel solid, almost like a ceramic dish.

    Tip:

    Peel the mold away from the dish rather than pulling the dish out. The flexible silicone releases the edges without chipping them.

    Back to all steps

  7. Step 7: Cure and Enjoy

    Watch this step · 6:20

    Set the demolded dishes aside for a full 24 hours to cure all the way through. They won't look any different, but they'll harden completely. That's it. You've got a set of little trinket dishes ready to hold rings, earrings, or keys, each with its own color and finish. Make a few and give them as gifts.

    Tip:

    If you want a smoother finish, a light sanding of the edges once cured knocks down any rough spots from the mold seam.

    Back to all steps

Keep going

How to Make a Concrete Candle Holder

8 steps · about 6 minutes

Products Used

The Checklist

How to Make a Concrete Trinket Dish

Tools
4
Materials
5
Steps
7
Video
8 min

Tools we recommend

As an Amazon Associate we earn from qualifying purchases. Links on this page may be affiliate links - clicking them and buying doesn't change your price, but helps support CraftingStepByStep.

Tags

The Crafter's Weekly

New crafts tutorials, every Sunday

One short email with the week's best step-by-step guides. Free, no spam, unsubscribe anytime.

Test your knowledge

Did the lesson stick? Start with this one.

5 questions covering what you just read. No signup, no score saved, and you can stop after this one.

Question 1 of 5

What material is poured into the mold for this dish?

Quick reference

Key takeaways from How to Make a Concrete Trinket Dish

5 questions, answers, and one-line explanations. Tap to expand.

  1. 1.What material is poured into the mold for this dish?

    Answer: Plaster of paris

    A simple plaster batter sets up hard, almost like ceramic.

  2. 2.What is the mixing ratio for the batter?

    Answer: Two parts plaster to one part water

    A two-to-one plaster-to-water mix pours smooth and sets solid.

  3. 3.What kind of mold gives the cleanest release?

    Answer: A flexible silicone mold

    Silicone peels right off set plaster without sticking.

  4. 4.Why tap the filled mold before it sets?

    Answer: To bring trapped air bubbles to the surface

    Popping the bubbles keeps the finished dish smooth and free of pits.

  5. 5.Roughly how long before you can demold?

    Answer: About an hour

    Plaster sets fast, so about an hour is enough to peel the mold away.

Did this work for you?

What's next

Related collections

Curated theme pages that include this tutorial.

Similar tutorials

Hand-picked next reads based on the one you just finished.

Liked this crafts tutorial?

Pick the crafts you want to hear about. One email every Sunday with new step-by-step tutorials. No spam, easy to unsubscribe.

Get more like this in your inbox

Weekly digest. Pick the categories you want. Unsubscribe anytime.

Send me tutorials about

We only email about new tutorials. Easy unsubscribe anytime.