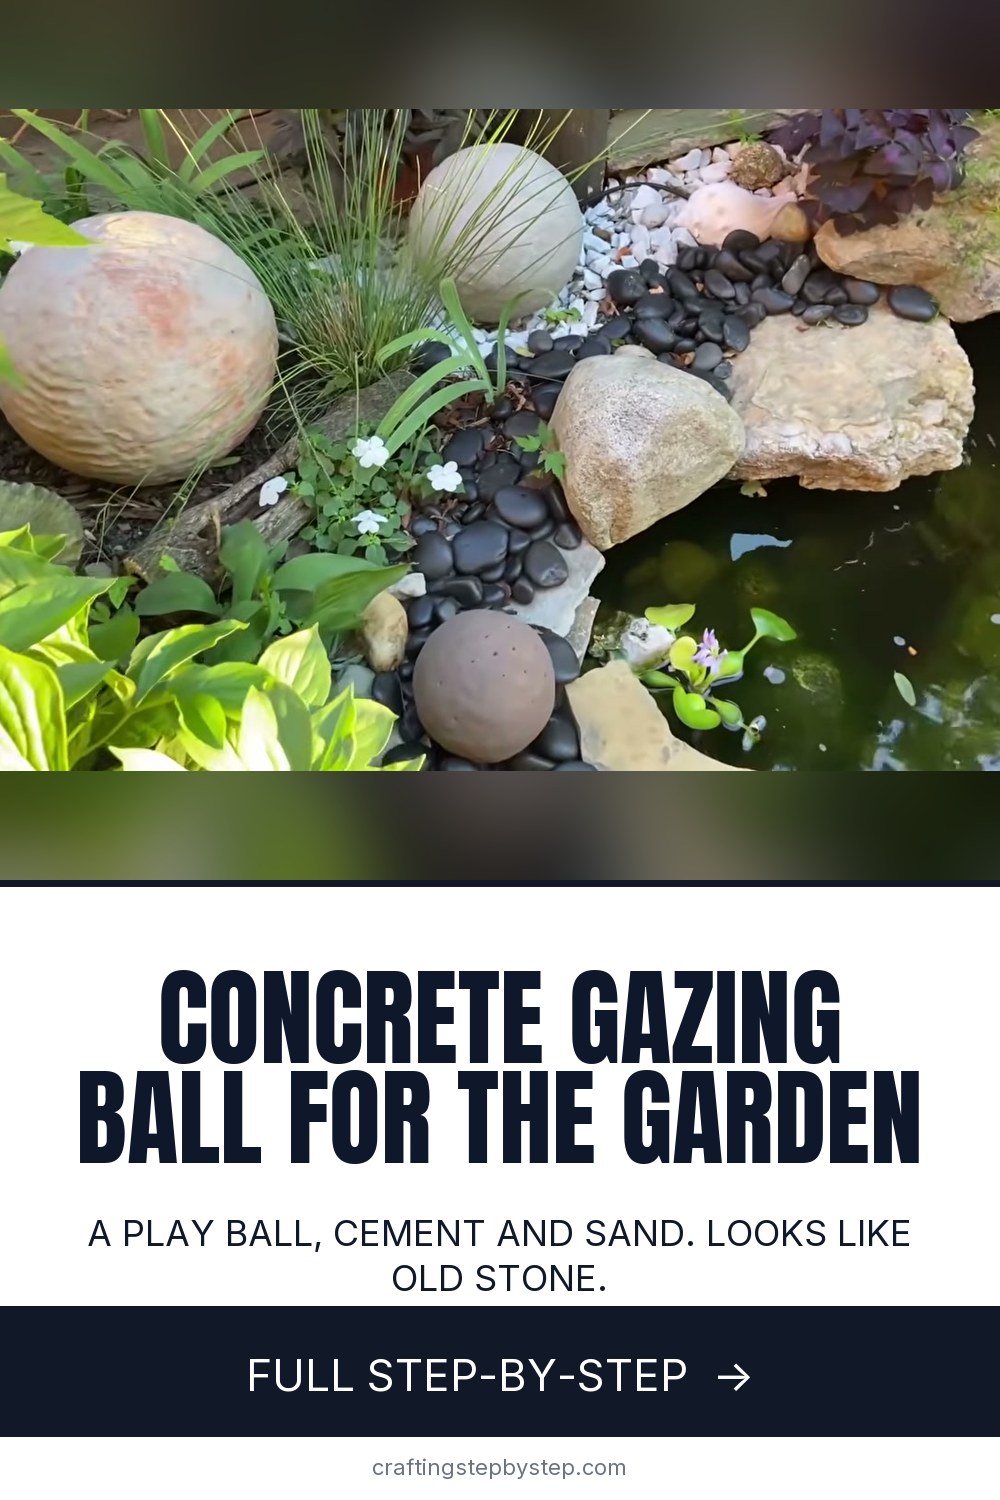
A concrete gazing ball looks like an old stone remnant dug up from a garden. It costs a few dollars in cement and sand, and the form inside is a plastic play ball from the toy aisle. Cade from the CADEmade channel shows how they built two garden spheres this way, including the batch that fell off and how it got saved.
How to make a concrete gazing ball: the short version
- Inflate a play ball firm and wrap it in mesh cement board tape.
- Paint on a slurry of Portland cement and bonding adhesive. Let it dry overnight.
- Mix one part sand to one part cement with a little adhesive and water.
- Wet the ball and pat the concrete on, bottom first, then the top.
- Let it cure, then add a colour wash or leave it plain grey.
Picking the ball
Any vinyl play ball works. A 9 to 12 inch ball is easy to handle and weighs less than you would think once it is done. Pump it a little firmer than it came. Concrete is heavy, and a soft ball dents under your hands. You can leave the ball inside, or cut a small hole in the shell after it cures, let the air out and pull the ball free.
Why the slurry and tape matter
Wet concrete will not stick to smooth vinyl. The fibreglass mesh tape gives it something to grab, and the bonding adhesive turns plain cement into a kind of glue that locks onto the mesh. Cover the whole ball with tape so only a hint of colour shows through. Skip the slurry and the first coat of concrete tends to slide off in sheets.
Getting the mix right
Aim for something like modelling clay. It should hold a thumbprint and not slump. Mix small batches so they stay workable, and add water a splash at a time. Cade's second sphere lost a whole layer because that batch was too crumbly: not enough cement, water or adhesive. If yours starts to crack and drop, knock off the loose bits, rub fresh wet mix into what is left, and let it set.
Texture and colour ideas
- Dimpled. Pat with your fingertips and leave the marks, the way Cade did on the big sphere.
- Orange peel. Smooth the last coat with wet bare hands.
- Aged patina. Brush on a pigmented slurry, then hose most of it off so colour stays only in the low spots.
- Moss friendly. Leave the bonding adhesive out of the final coat so moss can take hold outdoors.
Curing and placing it
Let each layer dry overnight before the next. Keep the finished sphere out of hot sun for a few days, and mist it now and then so it cures slowly. That cuts down on hairline cracks. Set it in a flower bed, beside a pond, or in a group of three sizes along a path. A sealer helps in freezing winters.
Safety
Dry cement is caustic. Wear gloves the whole time and a dust mask while you mix the powder. Work outside or on a covered table, and rinse tools before the cement sets on them.
New to concrete? Start with how to mix concrete for crafts, then colour it and seal it for outdoor use. For more garden pieces, try a concrete bird bath or concrete mushrooms.