How to Make Concrete Mushrooms for the Garden

CraftsMedium8:0810 stepsBrowse more →
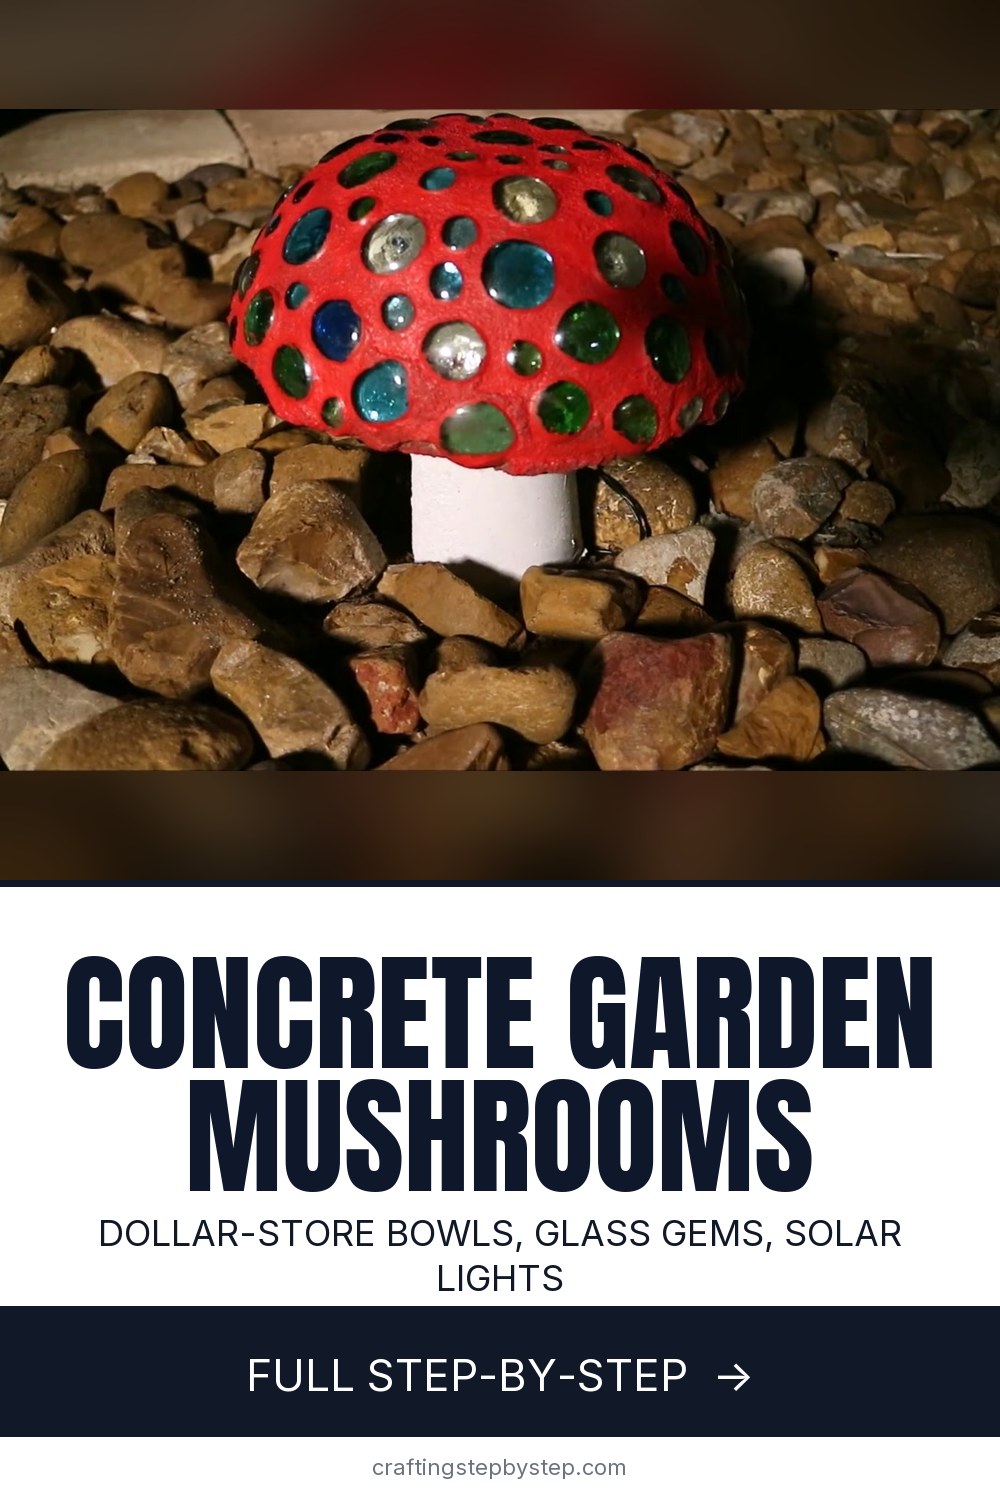
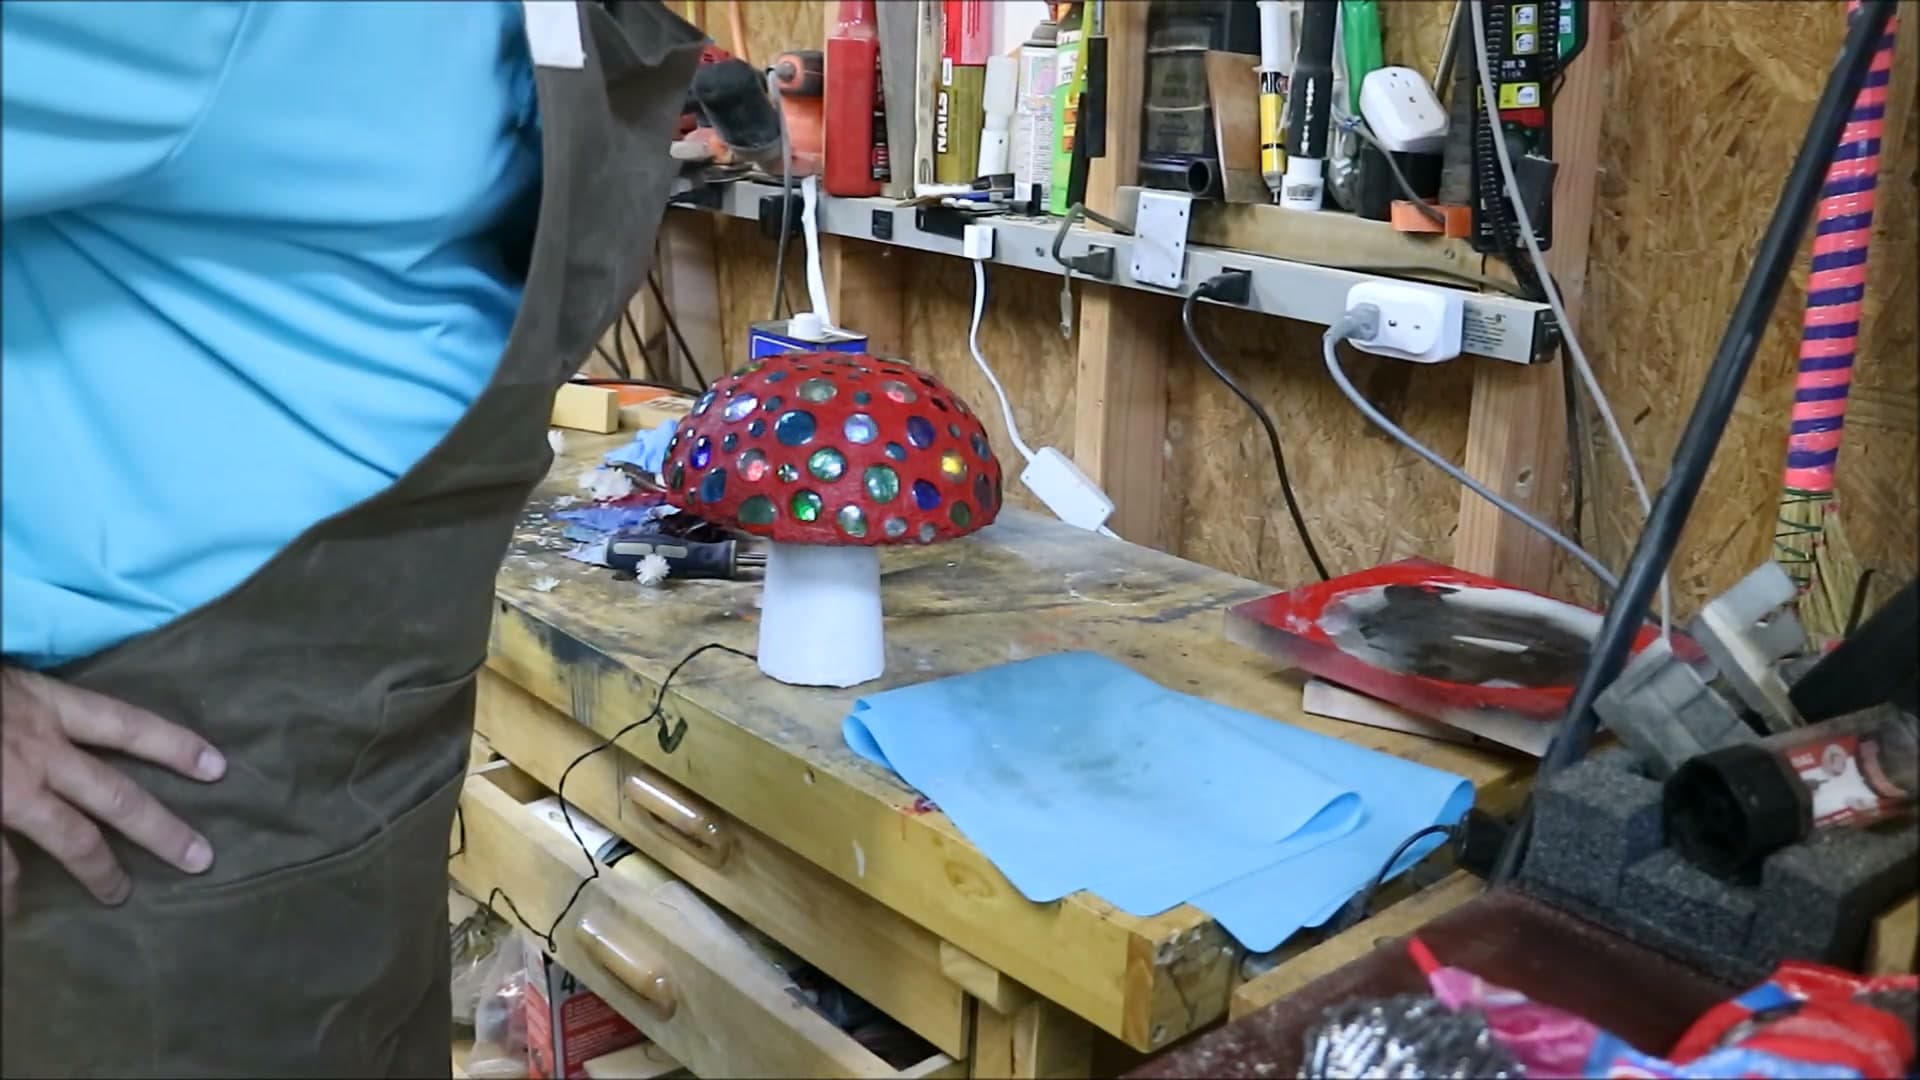
The finished result: How to Make Concrete Mushrooms for the Garden
Also in:Gardening

By CraftingStepByStepPublished

Based on a video by ChrisGagnon DIY.

A concrete mushroom is one of the cheapest good-looking things you can put in a garden. The moulds are dollar-store bowls. The concrete is one bag of sand topping mix. The only part that costs real money is the glass gems, and those are a few dollars a bag.

Chris Gagnon's build adds solar LEDs pushed through drilled holes in the cap, so the gems light up after dark. That is the detail that makes people stop and look.

This is a multi-day project, not because the work is long but because concrete needs to cure between stages. Cap one day, stem the next, paint after that.

If you want more in the same material, try a concrete planter or stepping stones.

Step-by-Step Guide

10 steps · about 8 minutes.Check off each step as you go and your progress saves automatically.

1

Step 1: Gather the Moulds, Gems and Mix

0:44
Step 1: Gather the Moulds, Gems and Mix - How to Make Concrete Mushrooms for the Garden

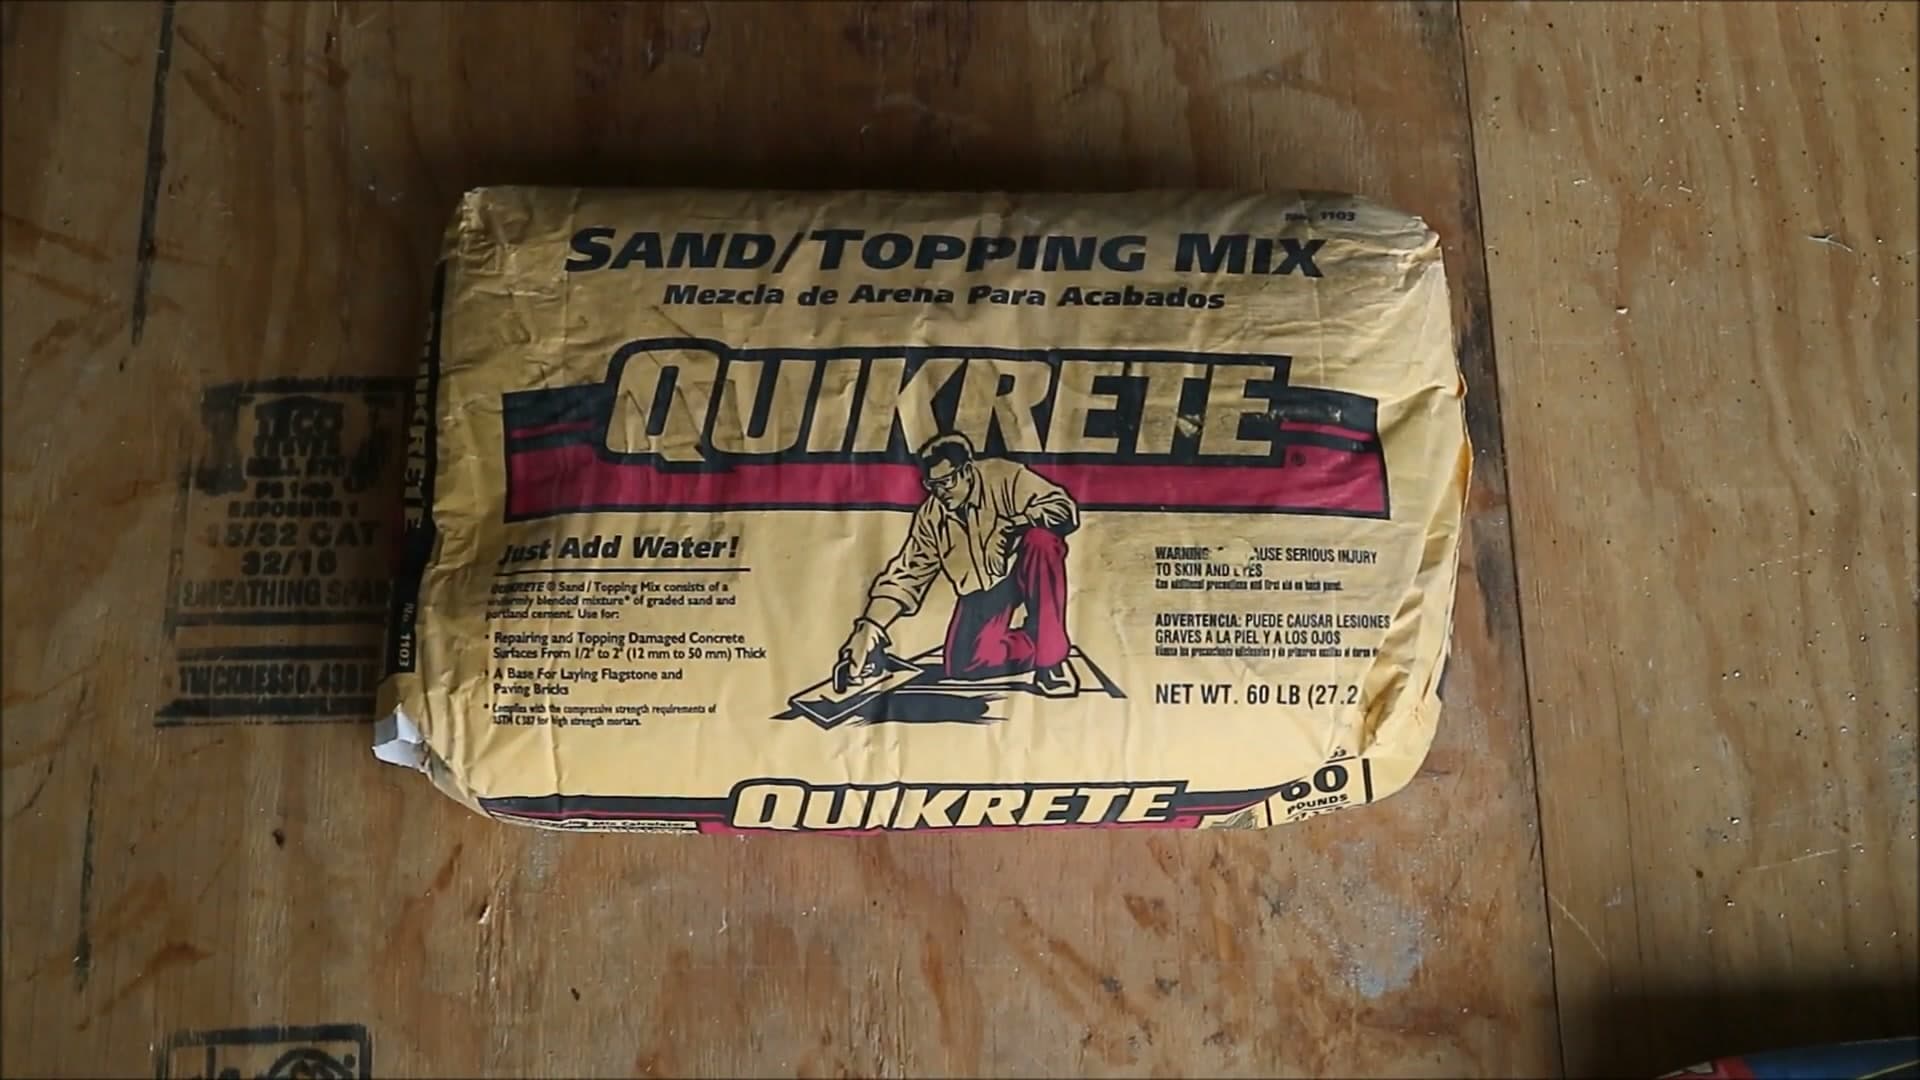
The shopping list is short. A few plastic bowls in graduating sizes from a dollar store, a bag of flat glass gems, and sand topping mix.

Sand topping mix is the right product here rather than a general concrete mix. It has no large aggregate in it, so it picks up the smooth inside face of the bowl and takes a drilled hole without blowing out.

Two bowls make the cap: the big one holds the concrete, the smaller one presses into it to hollow the underside.
2

Step 2: Mix the Concrete Stiff

0:55
Step 2: Mix the Concrete Stiff - How to Make Concrete Mushrooms for the Garden

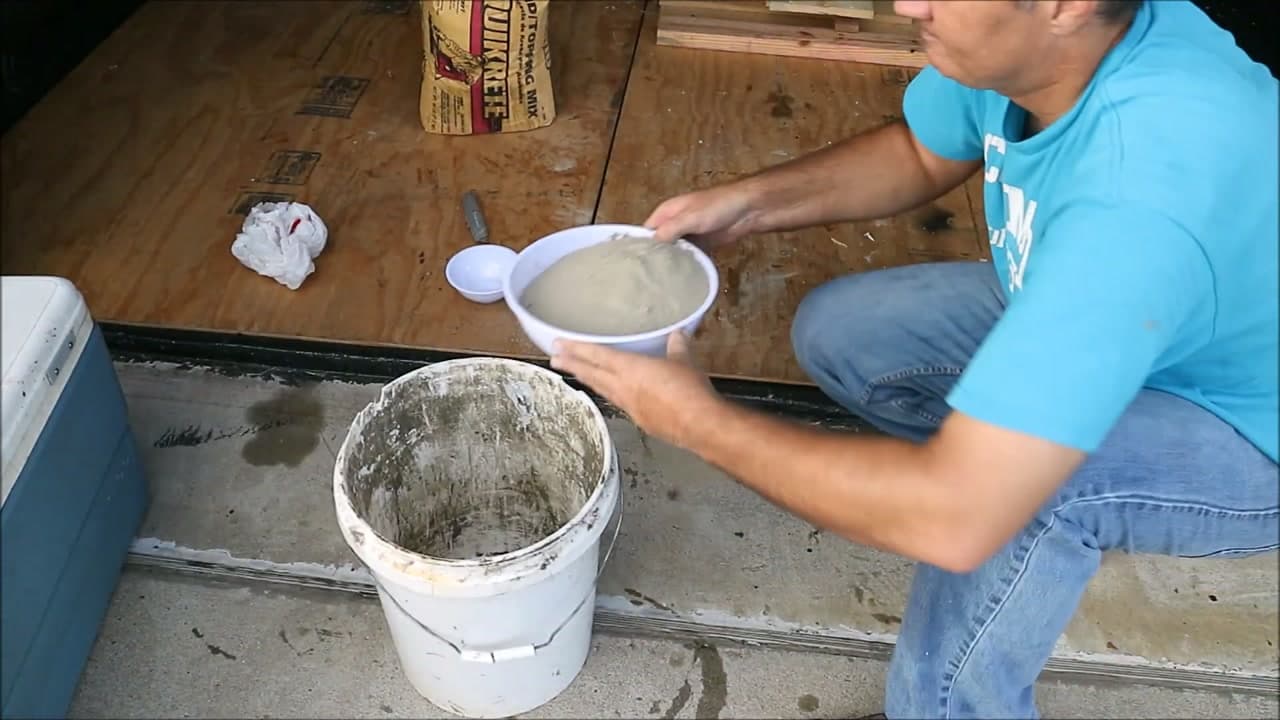
Mix it stiffer than feels right. Somewhere around thick oatmeal.

A wetter mix is easier to pour and it cracks as it dries. That is learned the hard way, and there is no fixing a cracked cap after the fact.

Tip

Mix a full batch for the cap in one go. A second batch mixed to a slightly different consistency shows as a colour difference in the finished piece.

3

Step 3: Fill the Bowl Mould

1:22
Step 3: Fill the Bowl Mould - How to Make Concrete Mushrooms for the Garden

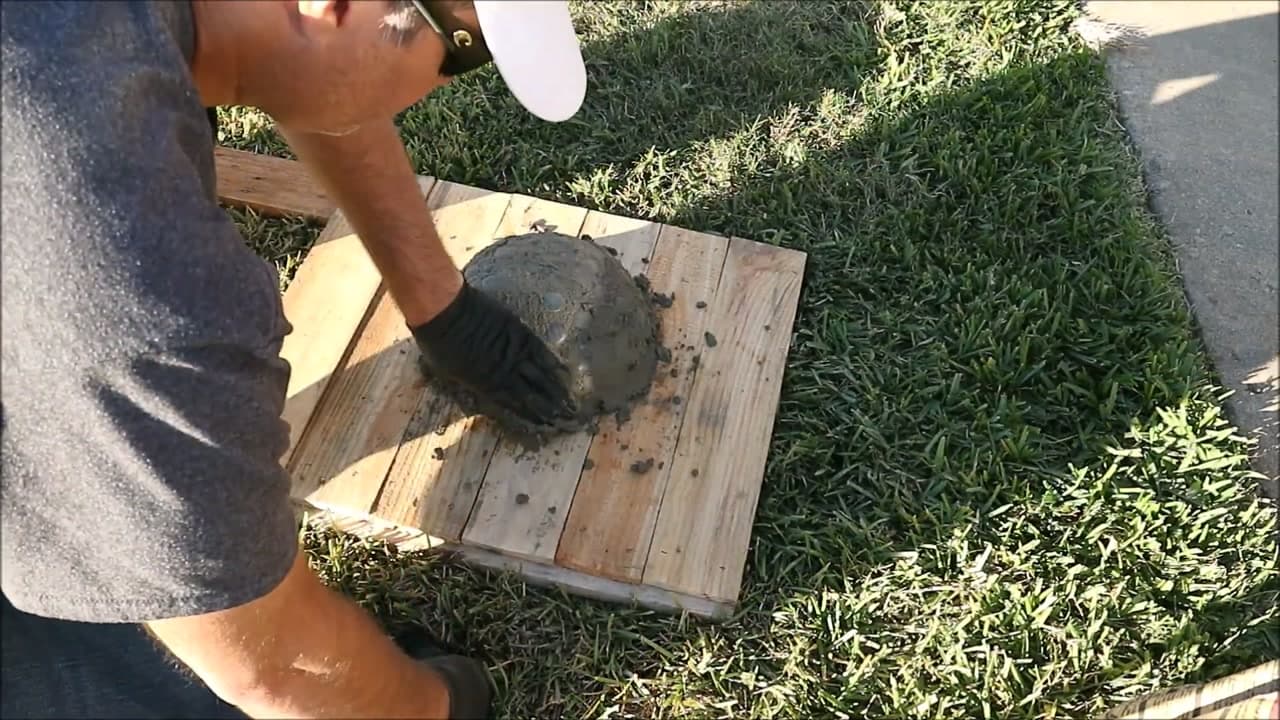
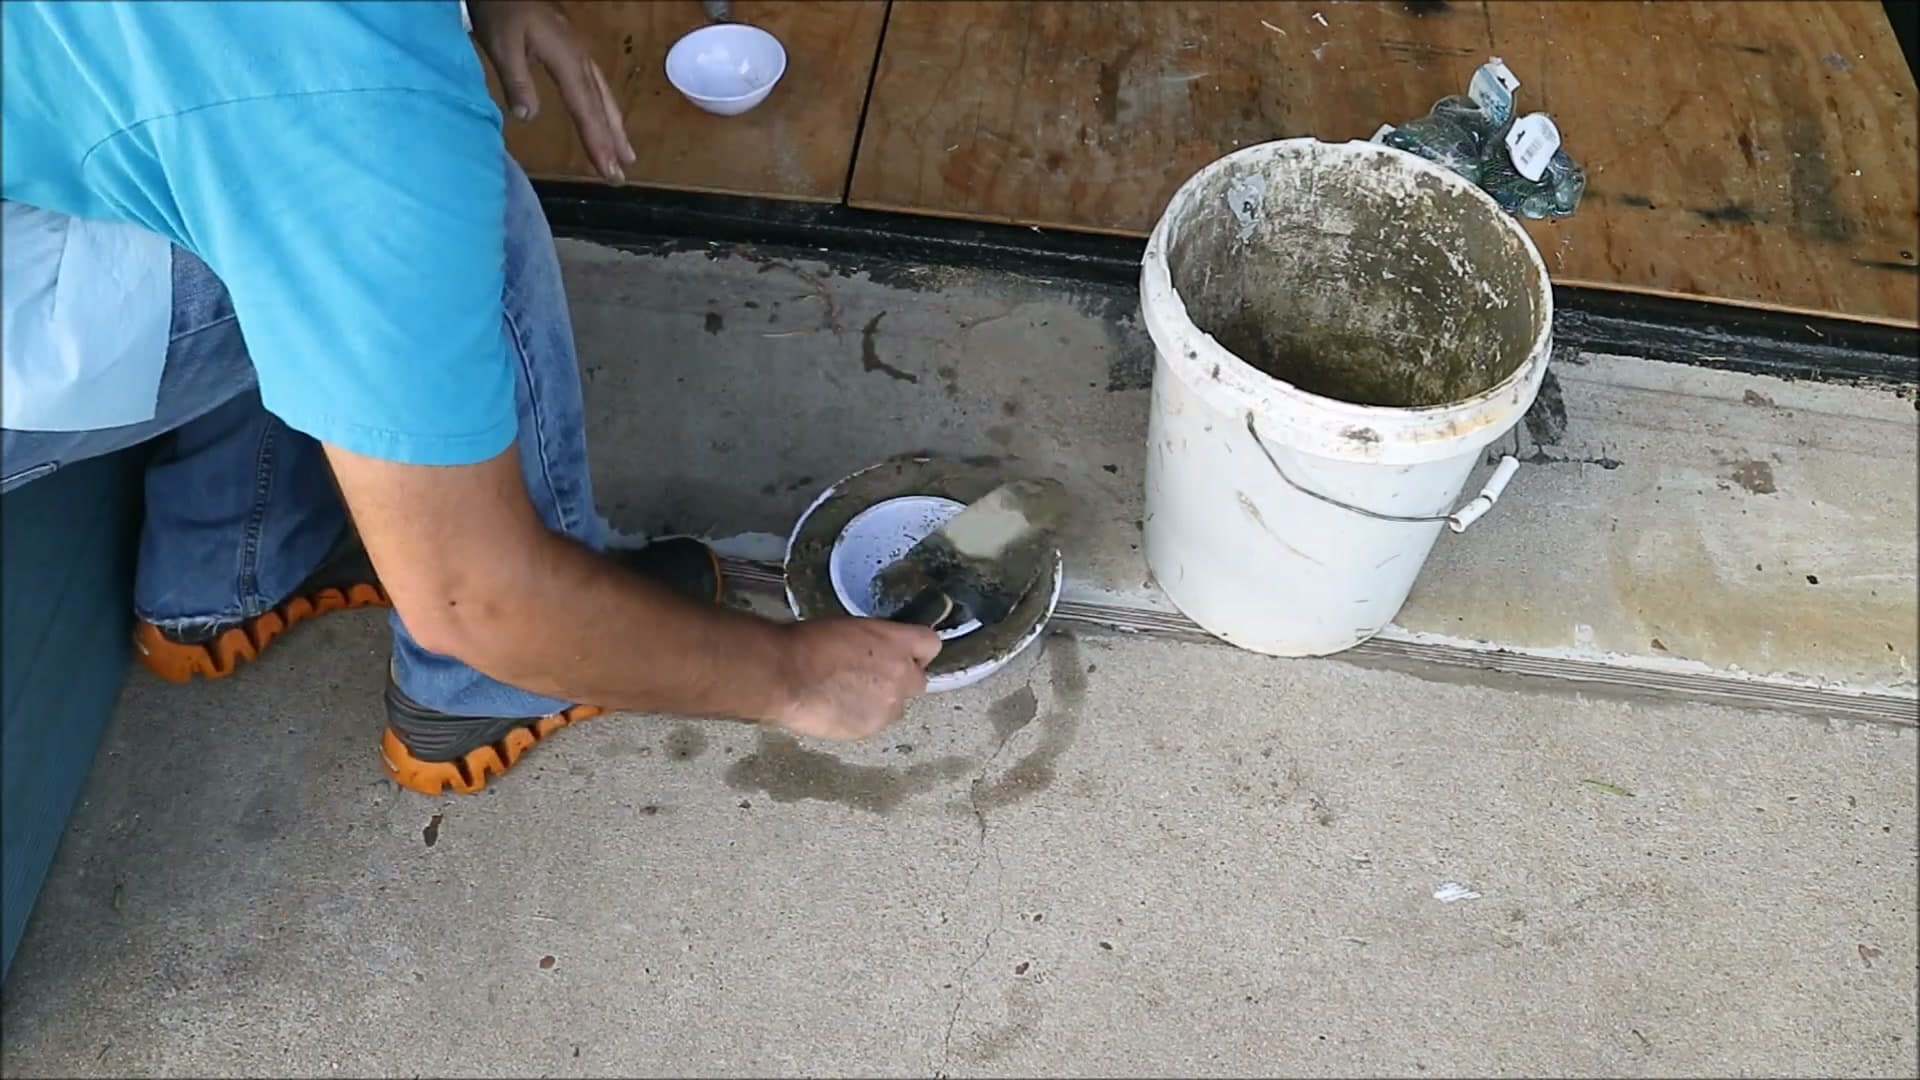
Trowel the mix into the largest bowl right up to the rim.

Then press the smaller bowl down into the middle. That displaces concrete up the sides and leaves you a domed cap with a hollow underside, which keeps the weight down.

Tap the sides as you go to bring the air bubbles up.

4

Step 4: Release the Cap

2:40
Step 4: Release the Cap - How to Make Concrete Mushrooms for the Garden

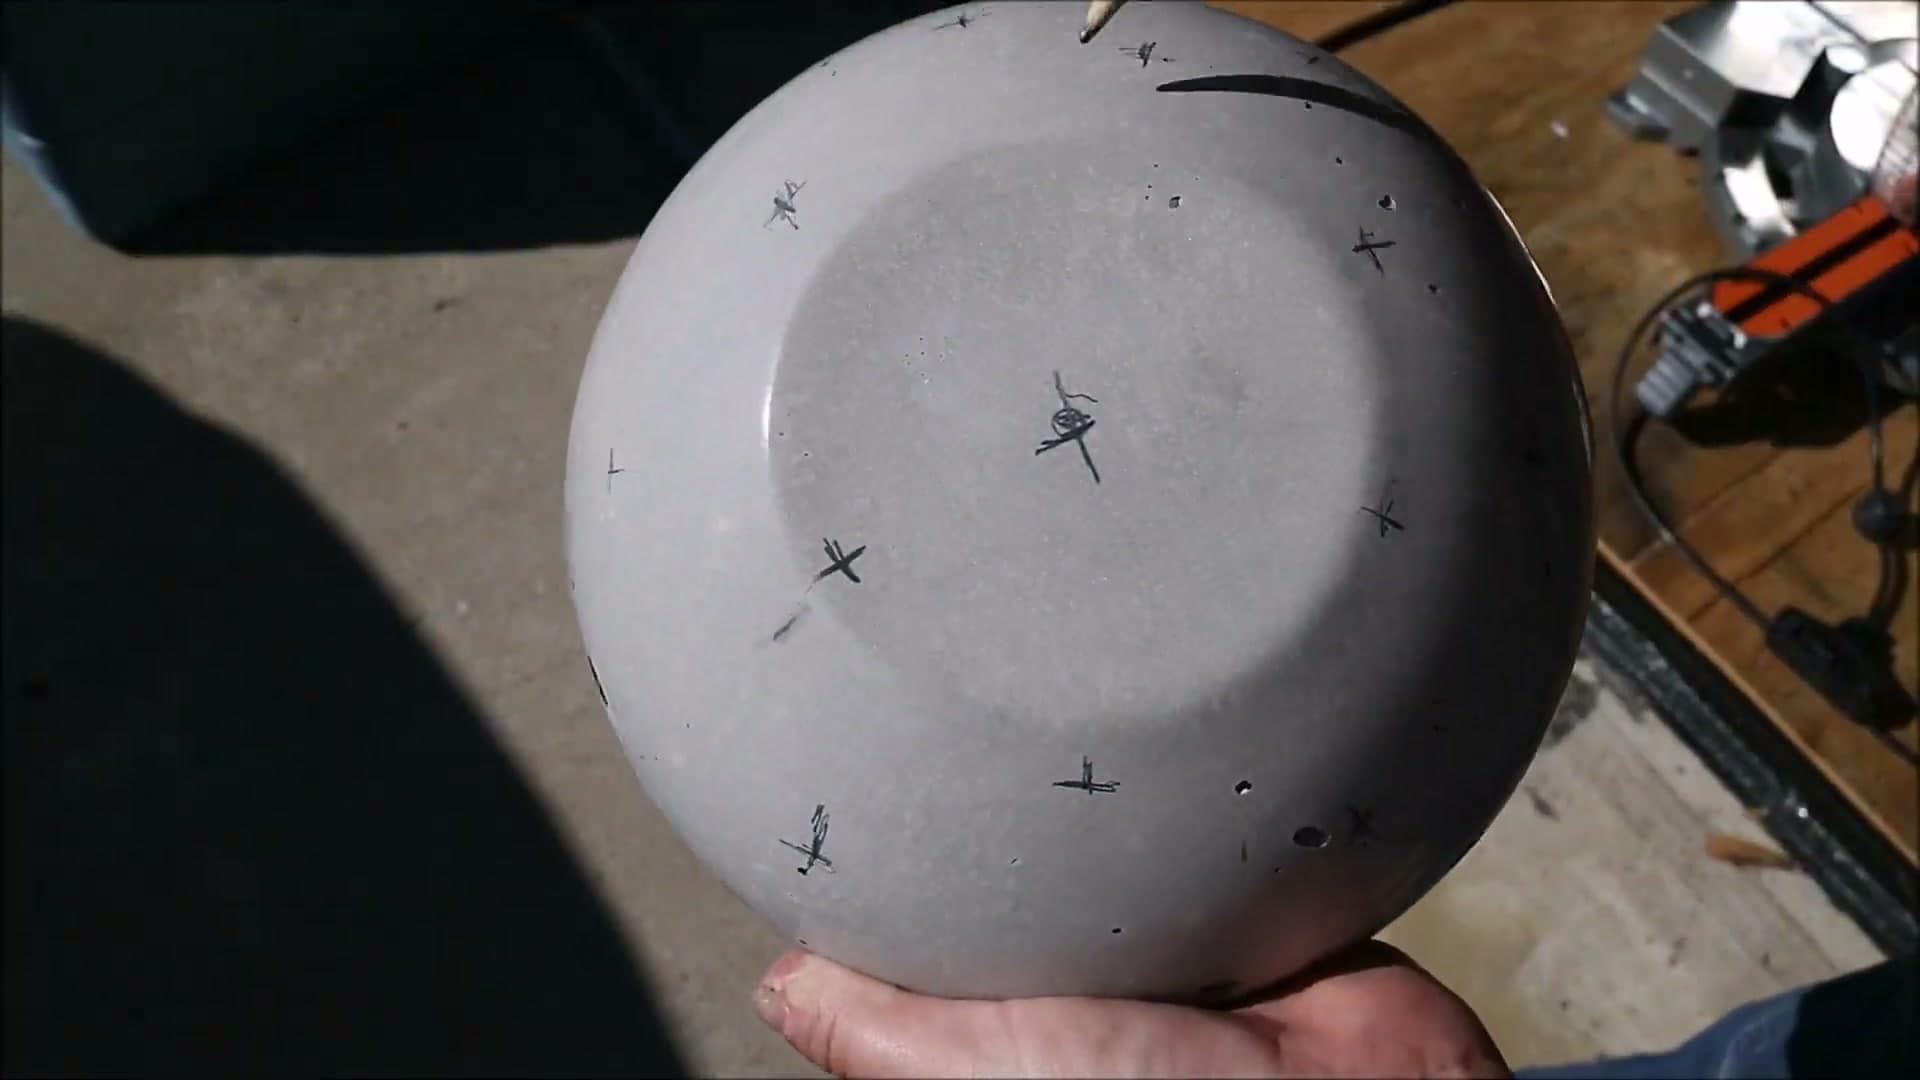
Once it has cured, work the plastic bowl off. Tap around the outside and it should let go - the inside of a plastic bowl is smooth enough that concrete does not grip it hard.

Wipe the bowls with cooking oil or wax before you cast next time. It takes ten seconds and turns a fight into a clean release.

The demolded surface comes out surprisingly smooth.

Tip

If a bowl really will not release, it is cheap enough to cut. Do not lever against the concrete edge and chip the cap.

5

Step 5: Drill the Gem Holes

2:48
Step 5: Drill the Gem Holes - How to Make Concrete Mushrooms for the Garden

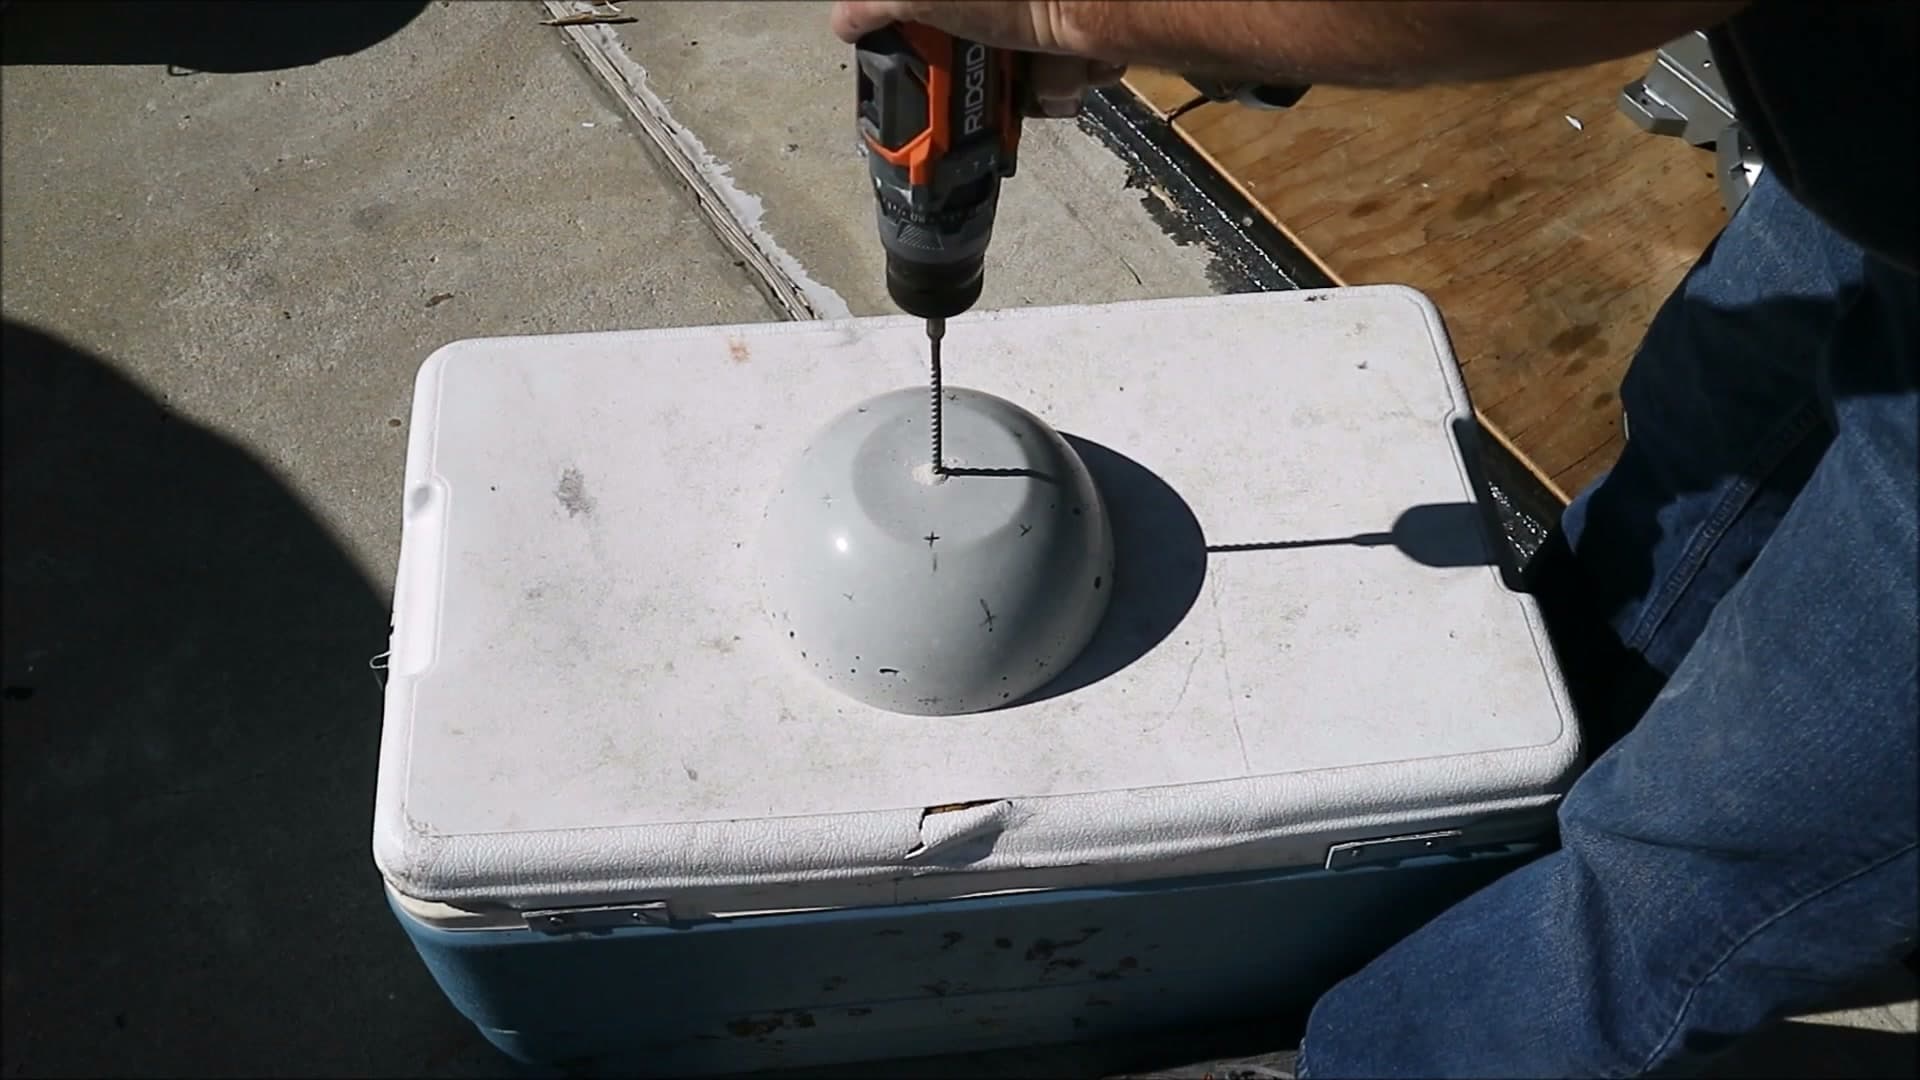
Mark where you want the gems and drill each spot with a masonry bit.

A hammer drill and a masonry bit make short work of it. A regular drill and bit will get there too if you take your time, though it is hard on the bit.

Concrete this young is not fully hard yet, which works in your favour.

6

Step 6: Set the Glass Gems

3:40
Step 6: Set the Glass Gems - How to Make Concrete Mushrooms for the Garden

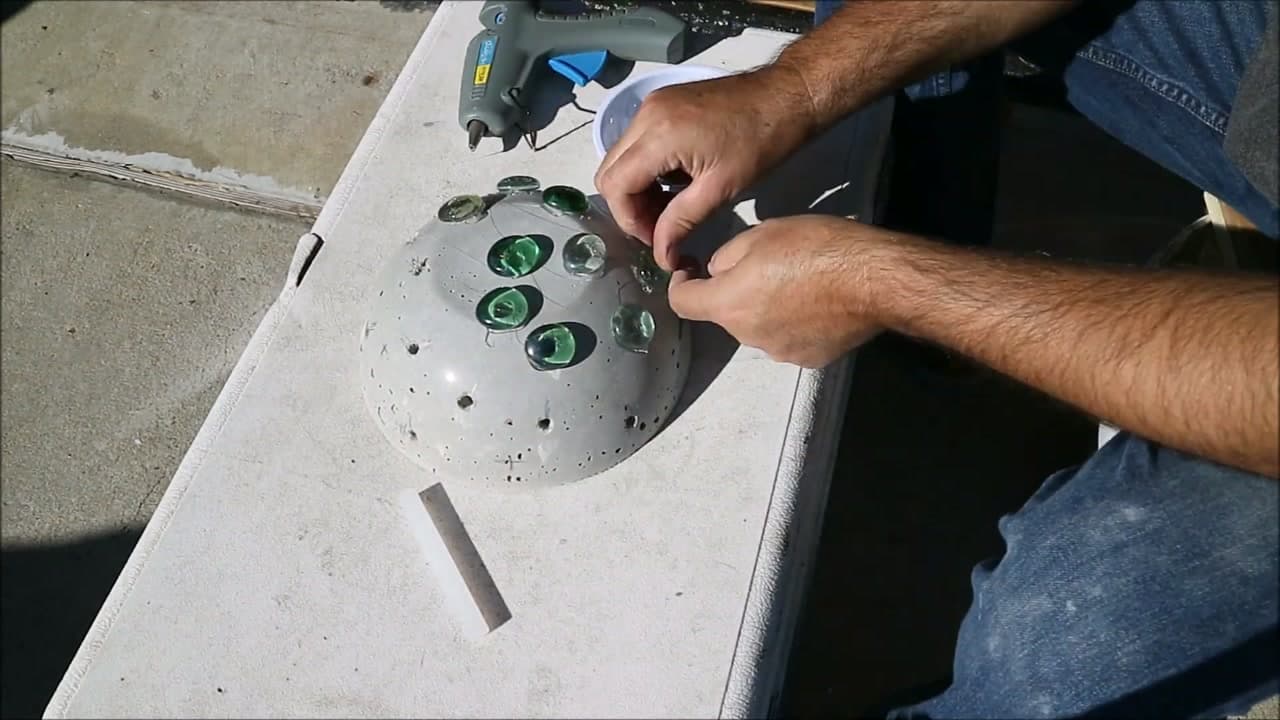
Press a glass gem into each drilled hole, flat face out.

Use two sizes if you have them and scatter them rather than laying out a grid. Random reads as organic; a grid reads as a bathroom tile.

Push each one down so it sits proud of the surface but seated in the hole.

7

Step 7: Skim a Second Coat Over the Cap

4:15
Step 7: Skim a Second Coat Over the Cap - How to Make Concrete Mushrooms for the Garden

Mix a small second batch and smear it across the whole cap, working it around every gem.

This fills the gaps at the edge of each hole and locks the gems in. Without it they sit in loose sockets and will eventually work free.

Wipe the excess back off the gem faces with a damp sponge before it sets. A sponge is far easier than a towel here.

8

Step 8: Cast the Stem

5:00
Step 8: Cast the Stem - How to Make Concrete Mushrooms for the Garden

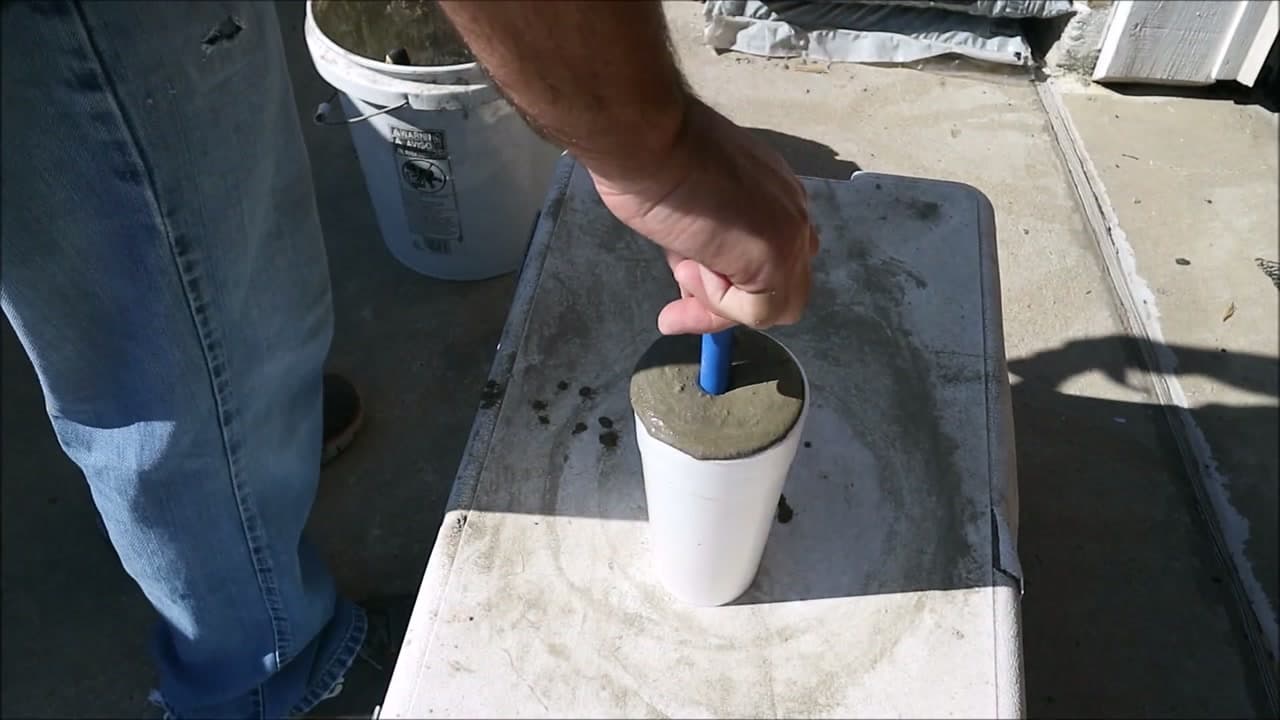
The stem is a styrofoam cup filled with concrete around a short piece of pipe.

The pipe makes a channel through the middle, which is how the solar light wires get from the cap down and out of sight. PVC offcut works; so does anything tubular.

When it is cured, tear the foam cup away. That is the easiest release of the whole project.

Tip

Push the pipe in before the concrete stiffens and check it is vertical from two directions. A leaning channel makes the cap sit crooked.

9

Step 9: Paint It

5:22
Step 9: Paint It - How to Make Concrete Mushrooms for the Garden

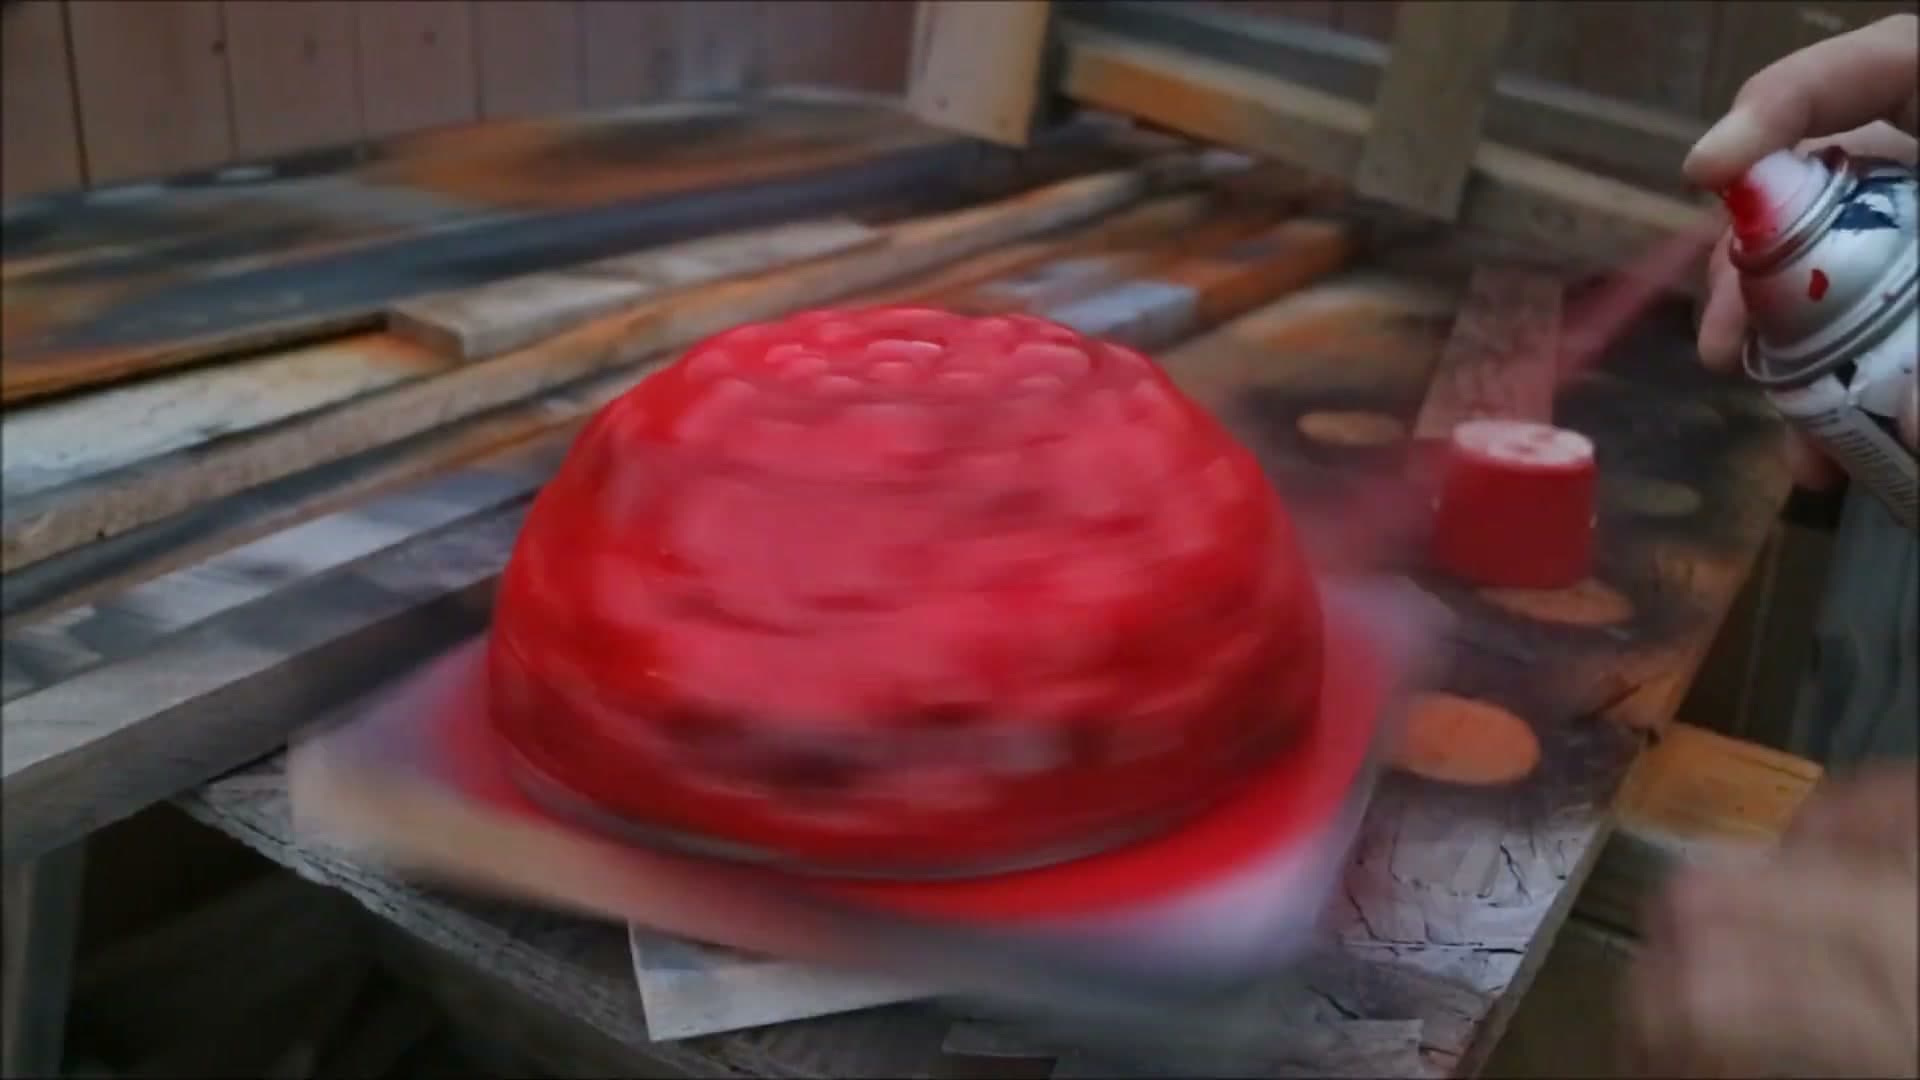
White base coat first, then the colour. Concrete is grey and drinks pigment, so a colour sprayed straight onto bare concrete comes out muddy.

Classic toadstool red over white is what makes it read as a mushroom from across the garden. Spray paint is fine outdoors; use an exterior product.

Paint will get on the gems. That is expected and it comes off in the next step.

10

Step 10: Clean the Gems and Fit the Lights

7:05
Step 10: Clean the Gems and Fit the Lights - How to Make Concrete Mushrooms for the Garden

Wipe the overspray off each gem with lacquer thinner. A sponge with a scouring pad on one side is the fast way - the sponge holds the thinner and the rough side lifts the paint.

Then push the LED string into the drilled holes, one light per gem, and run the wire down through the stem channel.

Twenty lights is not many. Thirty or forty looks better if your string will stretch to it.

Tip

Seal the concrete before it goes outside for a winter. Unsealed concrete takes on water, and water that freezes inside a cast piece cracks it.

Keep going

How to Make a Bow for a Wreath

Products Used

The Checklist

How to Make Concrete Mushrooms for the Garden

Tools
9
Materials
8
Steps
10
Video
8 min

Tools we recommend

Your Guide

ChrisGagnon DIY

As an Amazon Associate we earn from qualifying purchases. Links on this page may be affiliate links - clicking them and buying doesn't change your price, but helps support CraftingStepByStep.

Tags

Sunday How-To

New crafts tutorials, every Sunday

One short email with the week's best step-by-step guides. Free, no spam, unsubscribe anytime.

Did this work for you?

What's next

Related collections

Curated theme pages that include this tutorial.

Weekly Digest

Liked this crafts tutorial?

Pick the categories you want to hear about. Weekly digest of new step-by-step tutorials. No spam, easy unsubscribe.

Send me tutorials about

We only email about new tutorials. Easy unsubscribe anytime.