How to Make a Concrete Gazing Ball for the Garden
Source: CADEmade • Full tutorial: www.craftingstepbystep.com/crafts/how-to-make-a-concrete-gazing-ball
- Difficulty
- Medium
- Hands-on time
- About 2 hours
- Wait time
- 48 hours
- Cost
- About $15 to $30
- Makes
- 1 garden sphere

Tools
- drill with mixing paddle
- mixing bucket
- small mixing bowl
- chip brush
- spray bottle
- garden hose
- gloves
- dust mask
- scissors
Materials
- vinyl play ball (9 to 12 inch)
- self-adhesive cement board tape
- Portland cement
- play sand
- concrete bonding adhesive
- liquid cement colour (optional)
Steps
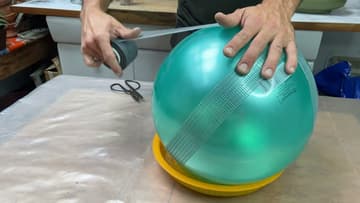
1. Wrap the Play Ball in Cement Board Tape
Pump a plastic play ball a little firmer than it came so it will not dent under the weight of concrete. Set it on a saucer or a pot rim to keep it from rolling.
Tip: Cut shorter strips with pointed ends on a small ball. They lie flatter and do not lift.
2. Mix Portland Cement and Bonding Adhesive Into a Slurry
In a small bowl, stir about two cups of Portland cement with roughly a cup of concrete bonding adhesive. Add water a little at a time.
Tip: Wear gloves. Wet cement is hard on bare skin.
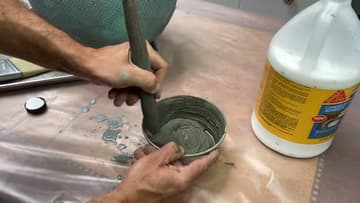
3. Paint the Cement Slurry Over the Taped Ball
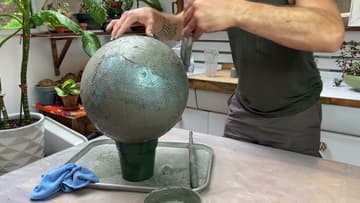
Brush the slurry over the whole taped ball with a chip brush or an old paintbrush. Lay it on thick so none of the tape threads show.
Tip: Set the ball on a tray so drips are easy to clean up.
4. Mix the Sand and Cement Concrete for the Sphere
For the main layer, combine one part play sand with one part Portland cement in a bucket. Add a splash of bonding adhesive and some water, then mix with a paddle on a drill.
Tip: Too crumbly means too little water, cement or adhesive. Fix it before it goes on the ball.
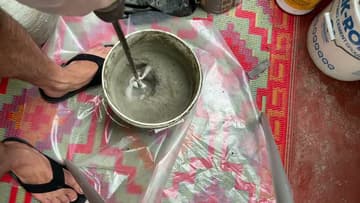
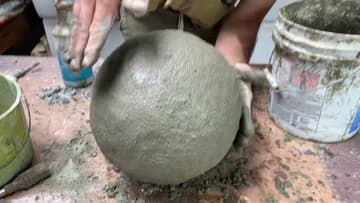
5. Pat Concrete Onto the Slurried Sphere
Mist the dry slurry coat with a spray bottle so it is good and wet. Grab a handful of concrete and pat it onto the ball, starting at the bottom.
Tip: Wet concrete sticks to wet concrete. Dry patches are where layers separate.
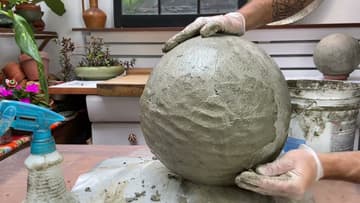
6. Finish the Top of the Concrete Gazing Ball
Once the lower half is covered, flip the ball if you need to and work over the top. Check the shape from a few angles so it stays round.
Tip: Turn the ball on its base as you work so you can see every side.
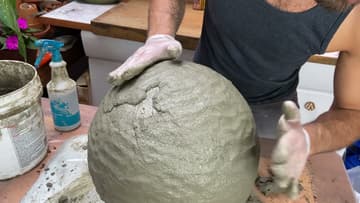
7. Brush Terracotta Pigment Slurry on the Concrete Sphere
For colour, mix a fresh slurry of Portland cement and water with liquid cement colour. Cade used terracotta and dulled it with a little brown.
Tip: Test the colour on a scrap of cured concrete before you coat the whole ball.
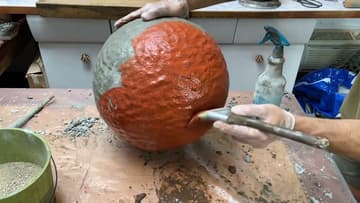
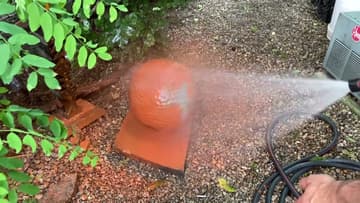
8. Hose Off the Concrete Gazing Ball for an Aged Patina
Before the colour coat sets hard, take the sphere outside and spray it with a garden hose. Most of the pigment washes away, but some stays in the dips and texture.
Tip: Hose a little at a time. You can always wash off more, but you cannot put it back.
9. Smooth a Wet Final Coat on a Second Concrete Sphere
For a smoother look, make your final coat as wet as you can and spread it on with bare wet hands. Pat and rub it until the sphere is even and round all over.
Tip: Group two or three spheres of different sizes for a natural look in a bed.