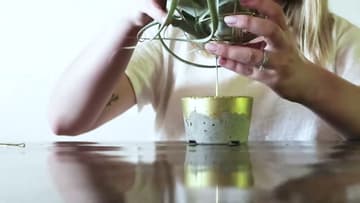
How to Make a Concrete Air Plant Holder
Source: Meg's Cozy Cottage • Full tutorial: www.craftingstepbystep.com/crafts/how-to-make-a-concrete-air-plant-holder
- Difficulty
- Easy
- Hands-on time
- About 45 minutes
- Wait time
- 24 hours
- Cost
- About $10 to $18
- Makes
- 1 concrete air plant holder

Tools
- mixing bucket or container
- paint stir stick
- two small plastic grower pots (molds)
- wood skewers
- sandpaper
- needle-nose pliers
- gloves
Materials
- concrete or cement mix
- water
- cooking spray or mold release
- construction paper
- painter's or scotch tape
- metallic gold spray paint
- E6000 craft glue
- 14-gauge gold wire
- air plant (Tillandsia)
Steps
1. Mix the Concrete
Mix your concrete in a bucket following the ratio printed on the bag. Megan uses a quick-set concrete she had on hand and adds a splash of extra water so the mix pours a little runnier.
Tip: Watch this step Add the water in small pours. It is easy to loosen a stiff mix and almost impossible to un-soup one that has gone too wet.
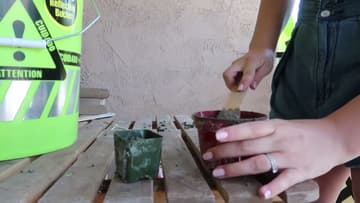
2. Fill the Molds and Set the Skewers
Scoop the wet concrete into two small plastic grower pots. These are your molds, and the tapered shape pops the finished block out easily.
Tip: Watch this step A quick spritz of cooking spray inside the pot before you fill it makes the cured block slide out with almost no fight.
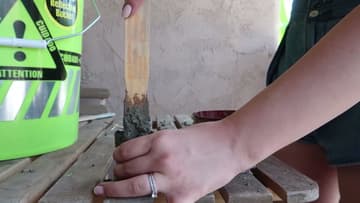
3. Demold and Sand
When the concrete is about halfway set, pull the skewers straight out. Wait too long and they lock in, so a firm tug at the halfway point saves you from digging them out with pliers later.
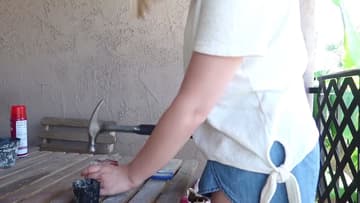
Tip: Watch this step If a block will not budge, flex the plastic pot gently all the way around before you reach for the hammer. The pot deforms and breaks the suction.
4. Mask a Torn Gold Line
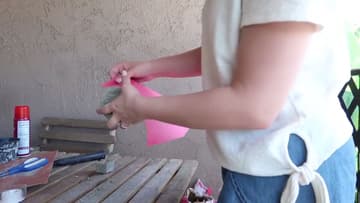
Tear a piece of construction paper so it has a rough, ragged edge instead of a clean straight cut. That torn line is what gives the gold its organic, hand-made look once you spray.
Tip: Watch this step Press the tape down hard along the torn edge. Any gap lets overspray creep under and blurs the crisp line you tore on purpose.
5. Spray the Gold
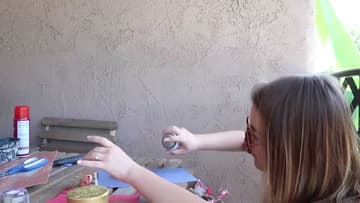
Take the masked blocks somewhere with airflow and spray the exposed concrete with metallic gold paint. Hold the can back a few inches and keep it moving so the paint lands as an even mist, not a puddle.
Tip: Watch this step Concrete is thirsty and drinks the first coat, so it can look patchy at first. Let that coat flash off, then go again and the color evens right out.
6. Glue in the Wire
Peel off the paper once the paint is dry and check that you like the gold line on both blocks. Now for the part that turns a block into a holder.
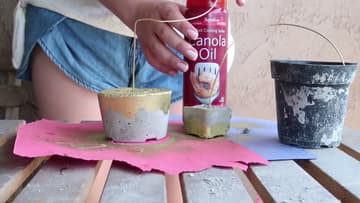
Tip: Watch this step Prop the wire so it dries dead vertical. If it sets at a lean, the whole nest tips and the air plant slides off later.
7. Shape the Nest and Add the Air Plant
With the glue cured, bend the free wire into an open nest or spiral that will cradle the air plant. Hold your Tillandsia against the wire as you shape it so the nest ends up sized to the plant, snug enough to hold it but open enough that air still gets to the base.
Tip: Watch this step Lift the plant out to water it. Soak the Tillandsia in a bowl, shake it dry, then drop it back into the nest so no water sits against the wire.