How to Make a Concrete Bowl

Based on a video by So Much Better With Age

Opens their YouTube channel

Steps written out by CraftingStepByStep · Published · Updated

Watch the original video (opens YouTube)
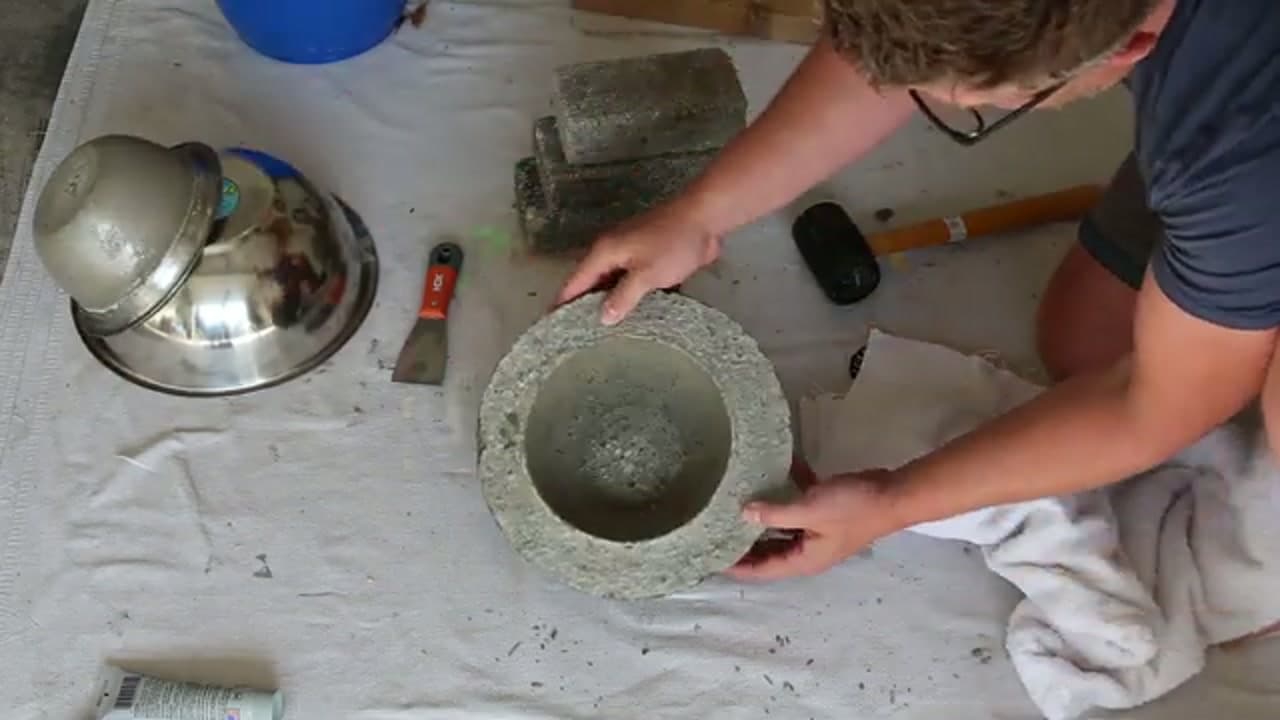
The finished result: How to Make a Concrete Bowl
Also in:Pottery

A concrete bowl looks like something you'd pay real money for at a home store, but the whole thing comes together with two bowls from the dollar store and a bag of concrete mix. Jamie from So Much Better With Age walks through the project in her signature no-fuss style.

The trick is using one large bowl and one smaller bowl as an inner and outer mold. Grease them, pour the concrete between them, weigh the small bowl down, and wait a day or two. When you tap it loose, you get a chunky gray bowl with a smooth curved shape.

Use it as a catchall by the door, fill it with moss and dried flowers for a centerpiece, or set it on a shelf as a bit of raw texture. Here is how to make one.

New to concrete crafts? Get the basics right first: how to mix concrete for crafts and how to seal concrete crafts (indoor and outdoor).

What you'll need

Step-by-step guide

8 steps, about 4 minutes. Tap a picture to jump to that step. Your progress saves automatically.

Tick each step off as you go.

  1. Step 1: Gather Your Supplies

    Watch this step · 0:52
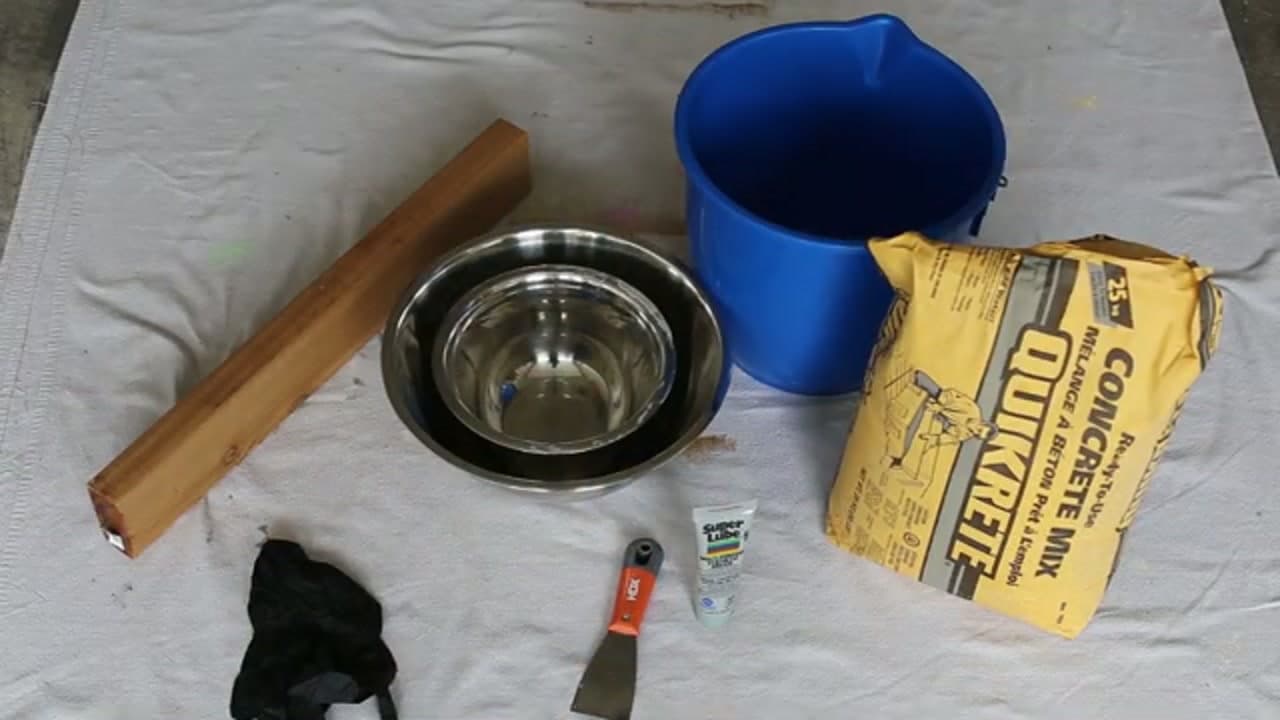
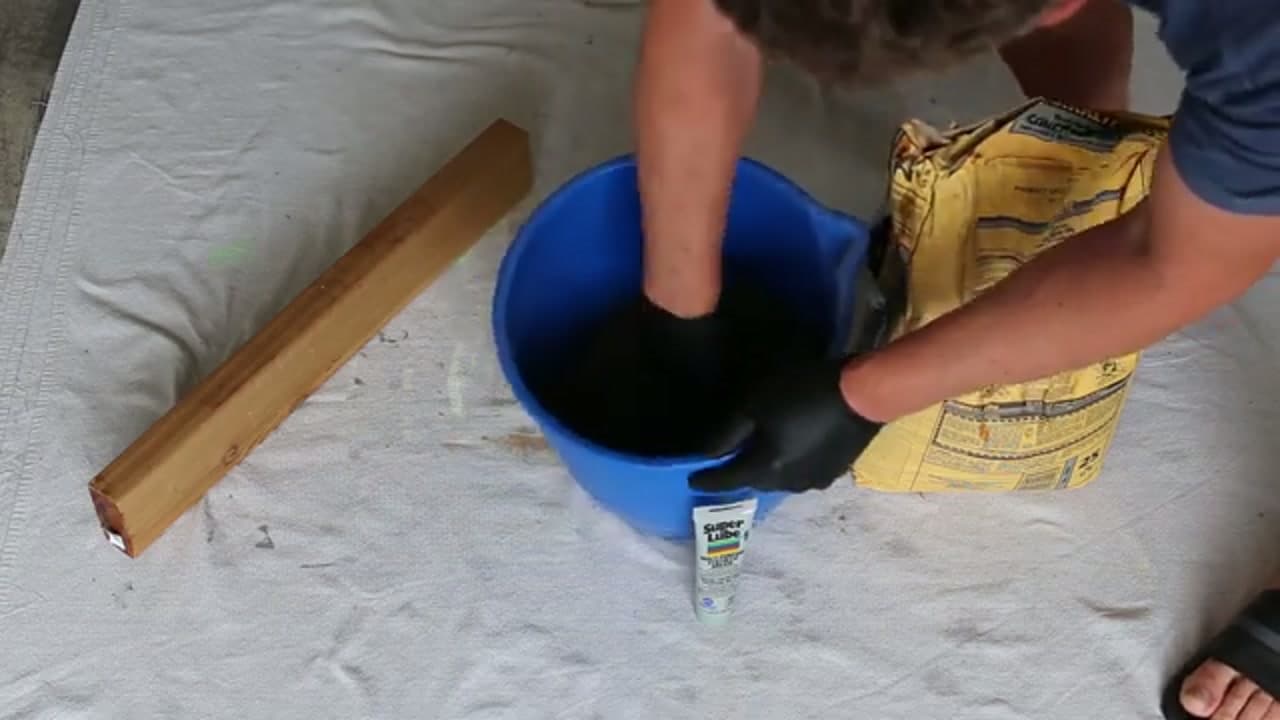
    Lay everything out before you start, because concrete waits for no one once it's mixed. You need two nesting metal bowls, one large and one small. The dollar store is perfect for these. Grab a bag of concrete mix, a bucket for mixing, a putty knife, gloves, and a household grease for the release layer. A scrap board and a couple of bricks handle the weighting later.

    Tip:

    Buy an extra small bowl if you can. If the inner one gets stuck, it's easier to sacrifice a cheap bowl than to fight it out.
    Back to all steps

  2. Step 2: Measure With Water Displacement

    Watch this step · 0:58

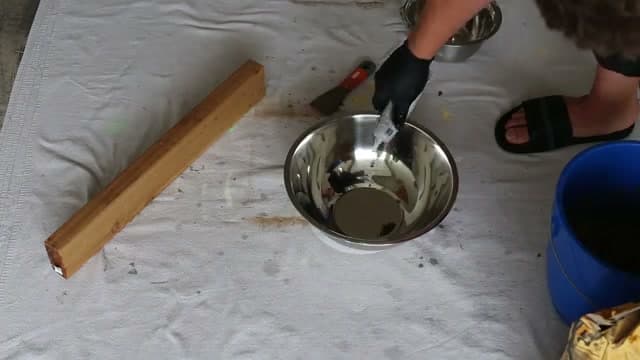
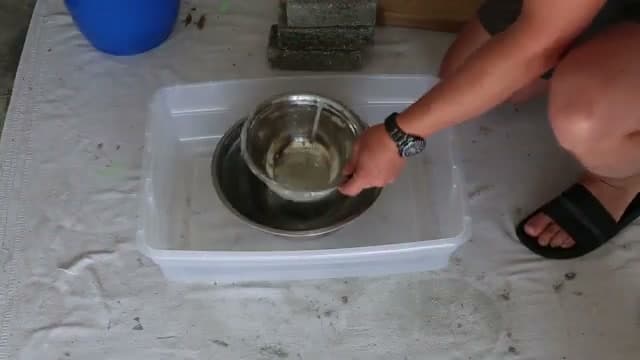
    Here's a clever way to figure out how much concrete you need. Fill the large bowl with water, then press the small bowl down into it so the water rises around it. That gap between the two bowls is exactly where your concrete goes. Pour the leftover water into your mixing bucket and mark the line. Now you know how much to mix, no guessing.

    Back to all steps

  3. Step 3: Mix the Concrete

    Watch this step · 1:40

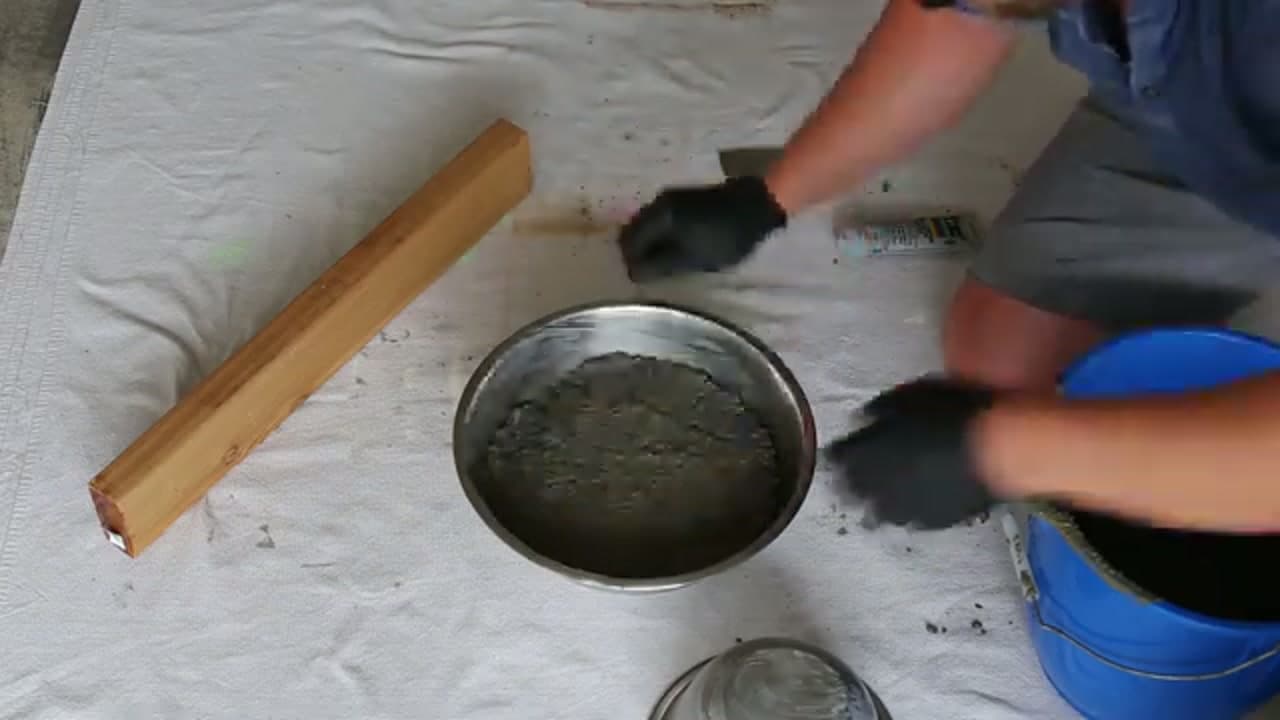
    Fill the bucket about three-quarters full with concrete mix, then add water and stir. You're aiming for a cake-batter consistency, thick enough to hold its shape but loose enough to pour and settle. Too runny? Toss in more mix. Too stiff? Add a splash of water. Mix it well so there are no dry clumps hiding at the bottom. A thinner mix gives a smoother finish but takes longer to cure.

    Tip:

    Wear gloves and mix in a ventilated spot. Wet concrete is caustic and the dust isn't kind to your lungs.

    Back to all steps

  4. Step 4: Grease Both Bowls

    Watch this step · 2:02

    Coat the inside of the large bowl and the outside of the small bowl with grease. This is your release layer, and it's the difference between a bowl that pops out clean and one that's stuck for good. Vaseline or any household grease works. Get right into the curved bottom, since that's where concrete loves to grab and hold on.

    Tip:

    Cooking spray works in a pinch, but a thicker grease gives you more insurance against sticking.

    Back to all steps

  5. Step 5: Pour and Level the Concrete

    Watch this step · 2:50

    Pour the mixed concrete into the greased large bowl. Even out the top with your putty knife or a trowel so it sits level. Then tap the sides of the bowl firmly with your hand. Those taps bring trapped air bubbles up to the surface, which means fewer little pinholes in your finished bowl. Give it a good minute of tapping before you move on.

    Back to all steps

  6. Step 6: Press In the Inner Bowl and Weigh It Down

    Watch this step · 3:05

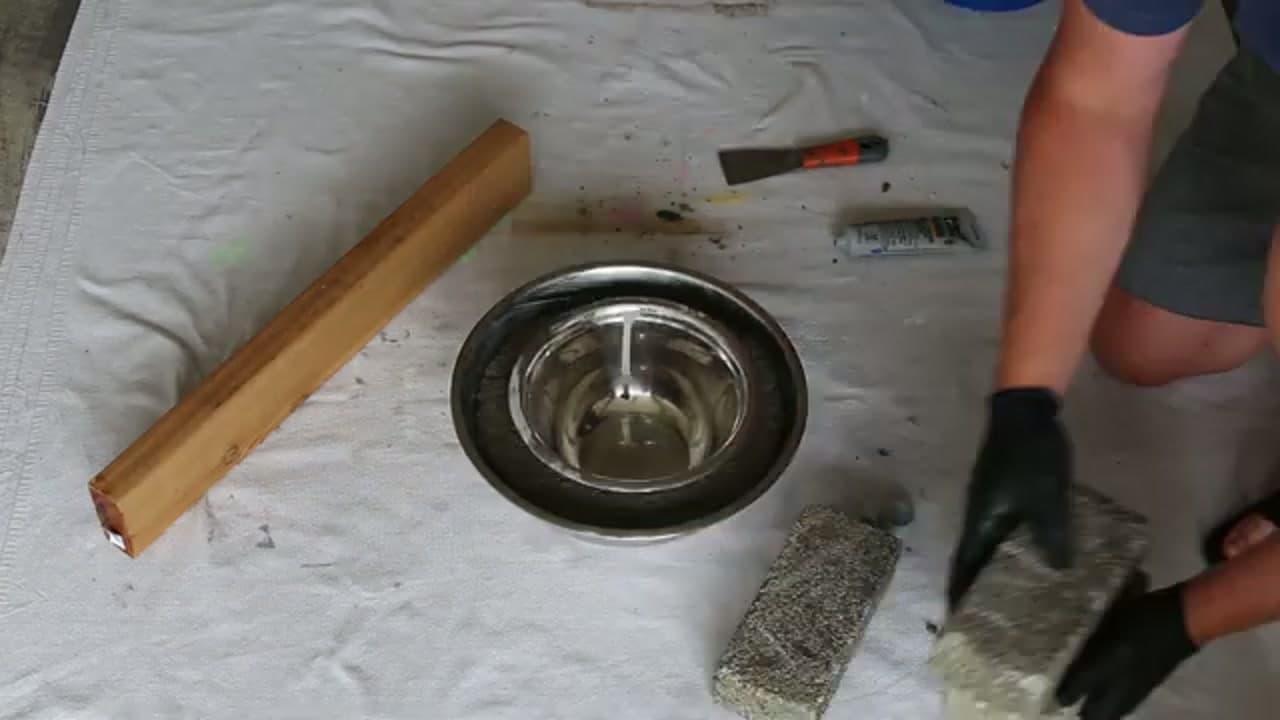
    Push the small greased bowl straight down into the center of the wet concrete. This is what carves out the hollow of your finished bowl. Push until the concrete rises evenly around the sides. Lay a board across the top and set a couple of bricks on it to keep the inner bowl from floating up. Now walk away and let it cure for 24 to 48 hours.

    Tip:

    The longer you wait, the harder and tougher the concrete gets. Push toward 48 hours if you can be patient.

    Back to all steps

  7. Step 7: Demold With a Mallet

    Watch this step · 3:35

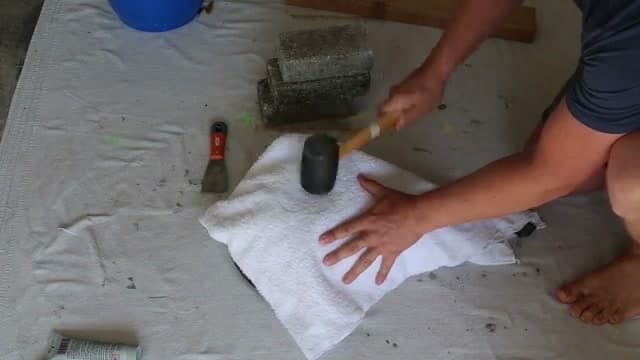
    Once it's cured, pull off the bricks and board and flip the whole thing over. Drape a towel over the bottom and tap it with a rubber mallet. The towel softens the blows so you don't chip anything. Work around the rim of the large bowl too. The concrete loosens and the outer mold lifts away, then a few taps on the small bowl frees the inside.

    Tip:

    Go easy. Light, steady taps release the mold. One hard whack can crack a fresh bowl.

    Back to all steps

  8. Step 8: Finish and Style Your Bowl

    Watch this step · 4:04

    Lift out your finished concrete bowl. Run sandpaper over the rim and any rough edges to knock them smooth. That's it. You've cast a solid, modern concrete bowl with your own hands. Fill it with moss and dried flowers for a centerpiece, drop it by the front door for keys and coins, or just set it on a shelf for a bit of raw texture.

    Tip:

    Want a colored or sealed finish? A coat of concrete sealer deepens the gray and helps it shrug off water rings.

    Back to all steps

Keep going

How to Make a Concrete Trinket Dish

7 steps · about 8 minutes

Products Used

The Checklist

How to Make a Concrete Bowl

Tools
7
Materials
4
Steps
8
Video
4 min

Tools we recommend

As an Amazon Associate we earn from qualifying purchases. Links on this page may be affiliate links - clicking them and buying doesn't change your price, but helps support CraftingStepByStep.

Tags

The Crafter's Weekly

New crafts tutorials, every Sunday

One short email with the week's best step-by-step guides. Free, no spam, unsubscribe anytime.

Test your knowledge

Did the lesson stick? Start with this one.

5 questions covering what you just read. No signup, no score saved, and you can stop after this one.

Question 1 of 5

What serves as the mold for the bowl?

Quick reference

Key takeaways from How to Make a Concrete Bowl

5 questions, answers, and one-line explanations. Tap to expand.

  1. 1.What serves as the mold for the bowl?

    Answer: Two nesting bowls, one inside the other

    A larger outer bowl and a smaller inner bowl shape the walls of concrete between them.

  2. 2.Why grease both bowls before pouring the concrete?

    Answer: So the finished bowl releases cleanly

    A release agent like cooking oil lets you pop the cured bowl out without breaking it.

  3. 3.What keeps the inner bowl from floating up out of the wet concrete?

    Answer: Weighing it down

    Wet concrete pushes the light inner bowl up, so you weight it to hold the wall thickness.

  4. 4.Roughly how long should the concrete cure before you demold?

    Answer: A day or two

    Concrete needs a day or two to set hard enough to handle and unmold.

  5. 5.What is the right way to get the bowl out once it is cured?

    Answer: Tap it loose gently with a mallet

    Gentle taps release the bowl without cracking the fresh, still-green concrete.

Did this work for you?

What's next

Related collections

Curated theme pages that include this tutorial.

Similar tutorials

Hand-picked next reads based on the one you just finished.

Liked this crafts tutorial?

Pick the crafts you want to hear about. One email every Sunday with new step-by-step tutorials. No spam, easy to unsubscribe.

Get more like this in your inbox

Weekly digest. Pick the categories you want. Unsubscribe anytime.

Send me tutorials about

We only email about new tutorials. Easy unsubscribe anytime.