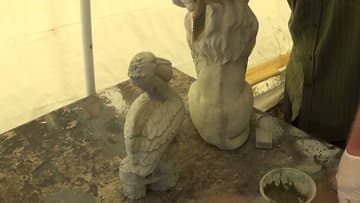
How to Fix Air Bubbles in Concrete Crafts
Source: Rubber Mold Man • Full tutorial: www.craftingstepbystep.com/crafts/how-to-fix-air-bubbles-in-concrete-crafts
- Difficulty
- Easy
- Hands-on time
- About 35 minutes
- Cost
- About $8 to $15

Tools
- putty knife
- sanding sponge or block
- wire brush
- chip brush
- mixing container
- sponge
- disposable gloves
- rubber mallet
Materials
- Portland cement
- fine sand
- water
- concrete patching compound
- bonding agent
Steps
1. Find the Pits, Bubbles and Seam Lines
Set the piece where light rakes across it at a low angle. Straight-on light hides shallow pits.
Tip: Mark the worst spots with a pencil before you start mixing. Wet slurry hides them fast. Watch this step
2. Rub the Mold Seam Down First
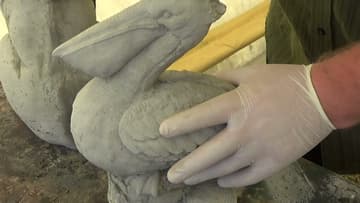
The seam ridge sits high, not low, so slurry does nothing for it. Grab a scrap of cured concrete: an offcut, a broken casting, a leftover paver.
Tip: Hang on to your broken castings. A bag of concrete offcuts is the cheapest rubbing block you will ever own. Watch this step
3. Mix a Thin Cement Slurry
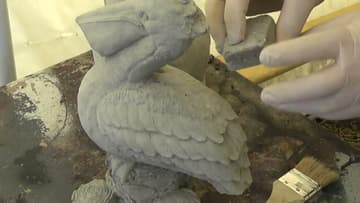
The filler is plain Portland cement and water. No sand.
Tip: Pull the cement from the same bag you cast with. A different bag dries a different shade of grey and the patch will show. Watch this step
4. Press the Slurry Into Every Pit
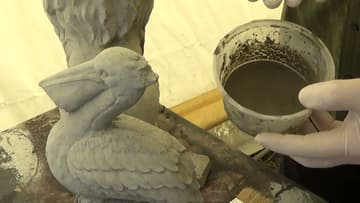
Gloves on. Load a fingertip and drag it across the pitted area at right angles to the holes, never along them.
Tip: A gloved finger reads the surface better than any tool. Save the putty knife for flat panels, coasters and trays. Watch this step
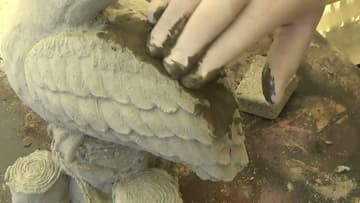
5. Rub the Patch Back Flush
Give the slurry a few minutes to firm up, then take that same concrete scrap and rub the filled area flat. The patch is still green so it cuts away easily, and the block rides on the surrounding surface.
Tip: Do not wait for a full cure. Green concrete rubs flush in seconds. Fully cured concrete fights you the whole way. Watch this step
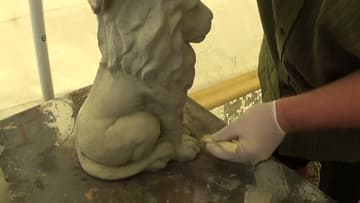
6. Brush It Off and Look Again
A dry chip brush clears the loose dust and shows you what the surface really looks like. Half the pinholes you thought you had filled will reappear.
Tip: Keep one brush dry for dusting and a second one for slurry. A brush that has been in the cup cleans nothing. Watch this step
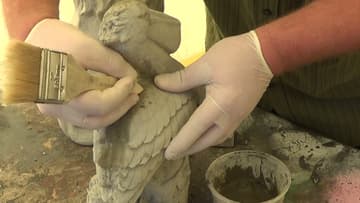
7. Brush a Thin Coat Over the Rough Zones
Some areas come out pitted all over rather than in a few spots, and chasing each hole with a fingertip takes forever. Load the brush from the slurry cup and scrub it over the whole zone in small circles.
Tip: Scrub, do not paint. Used like a paintbrush it leaves bristle marks and bridges the holes instead of filling them. Watch this step
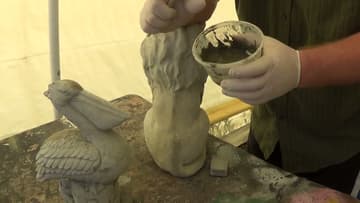
8. Stop the Bubbles on the Next Pour
Patching is the slow way round. Most air voids come from two things: a mix too stiff to flow, and air clinging to a dry mold wall.
Tip: Craft-scale version: set the filled mold on a folded towel and slide it side to side across the bench for thirty seconds. Same effect, no tools. Watch this step