How to Make a Concrete Leaf Casting

CraftsMedium18:3010 stepsBrowse more →
The finished result: How to Make a Concrete Leaf Casting
Also in:Gardening

By CraftingStepByStepPublished

Based on a video by Gardening TLC.

Leaf casting is one of the few concrete projects where the mould costs nothing - you go and pick it off a plant. The veins on the back of a big hosta or rhubarb leaf press into fine concrete and come out sharp enough to look almost botanical.

Michelle from the Landscape Connection shapes a sand bed first, which is what decides whether your finished leaf is a flat tray or a cupped dish. The only real skill is keeping the concrete an even thickness as you pack it out. Rush it to the edges and the rim goes thin and breaks when you lift it.

Step-by-Step Guide

10 steps · about 19 minutes.Check off each step as you go and your progress saves automatically.

1

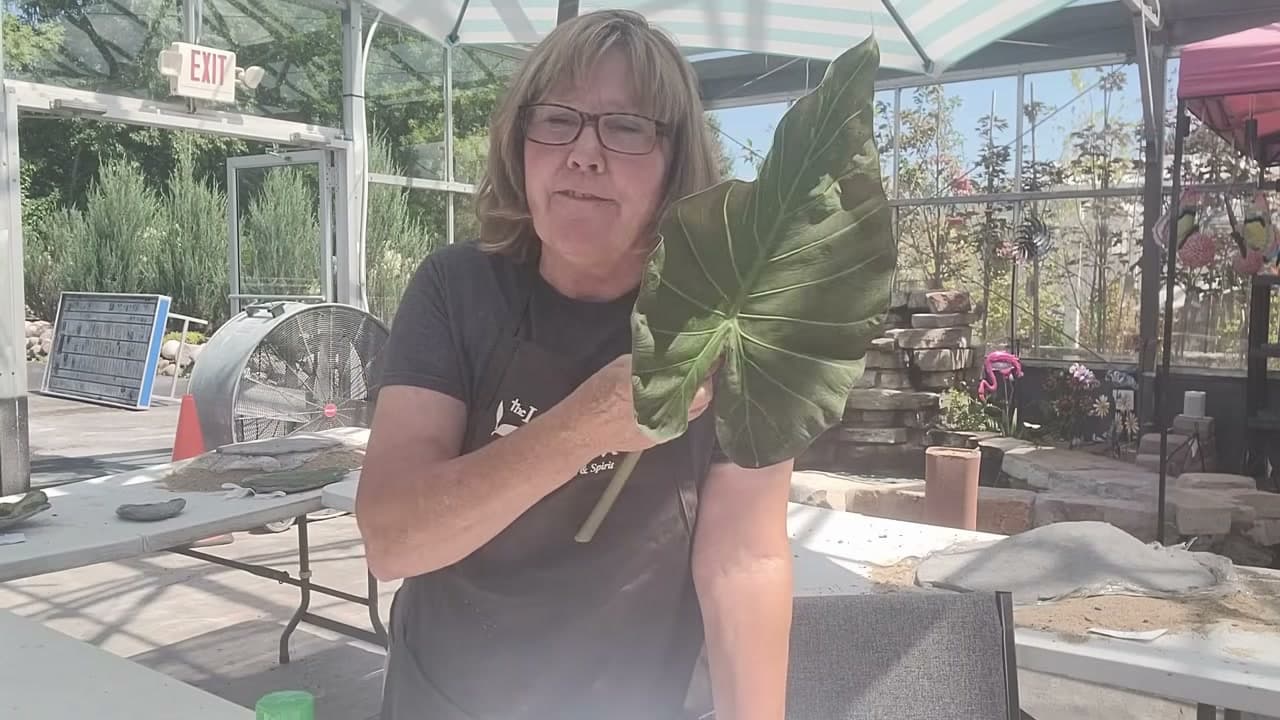
Step 1: Choose a Leaf With Deep Veins

1:18
Step 1: Choose a Leaf With Deep Veins - How to Make a Concrete Leaf Casting

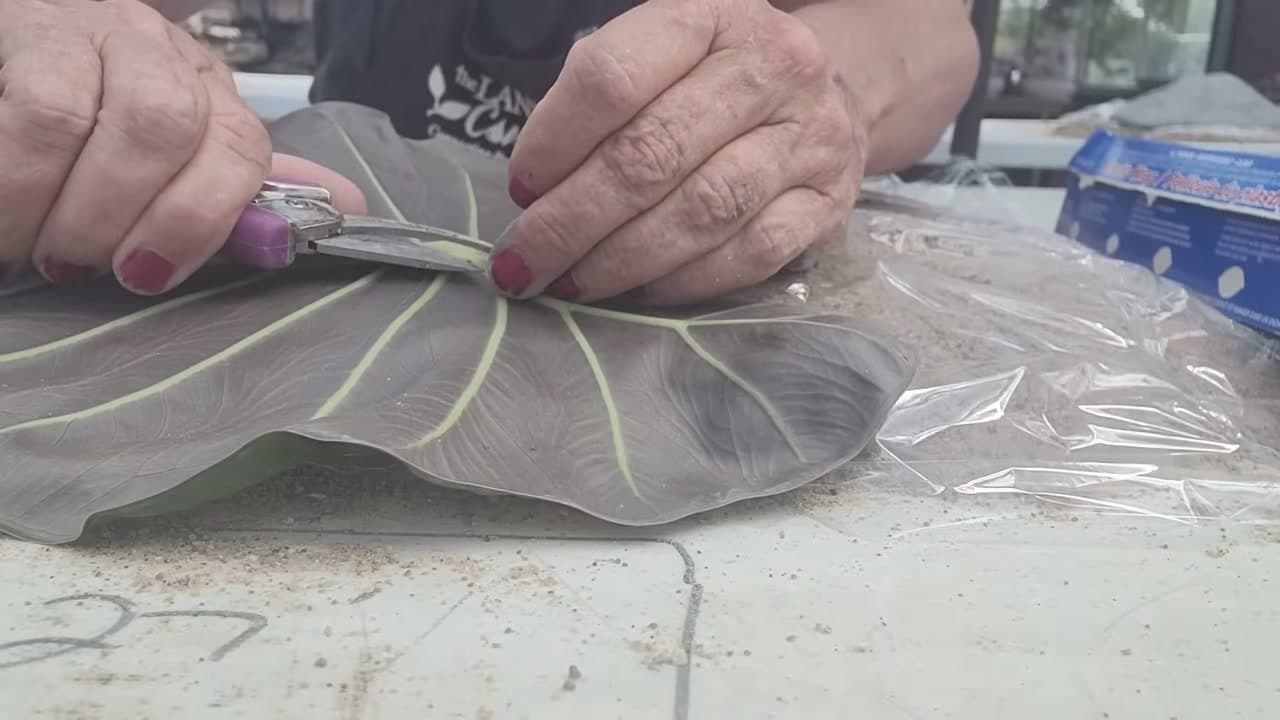
The veining on the back of the leaf is what you are actually casting, so pick something with pronounced ribs. Hosta, oakleaf hydrangea and rhubarb all work well.

Turn a candidate over before you commit. If the veins are shallow on the back they will be invisible in concrete.

Tip

Bigger is easier. A small leaf gives you very little margin when you are packing concrete out to the edge.

Products used in this step

2

Step 2: Mix the Concrete

4:52
Step 2: Mix the Concrete - How to Make a Concrete Leaf Casting

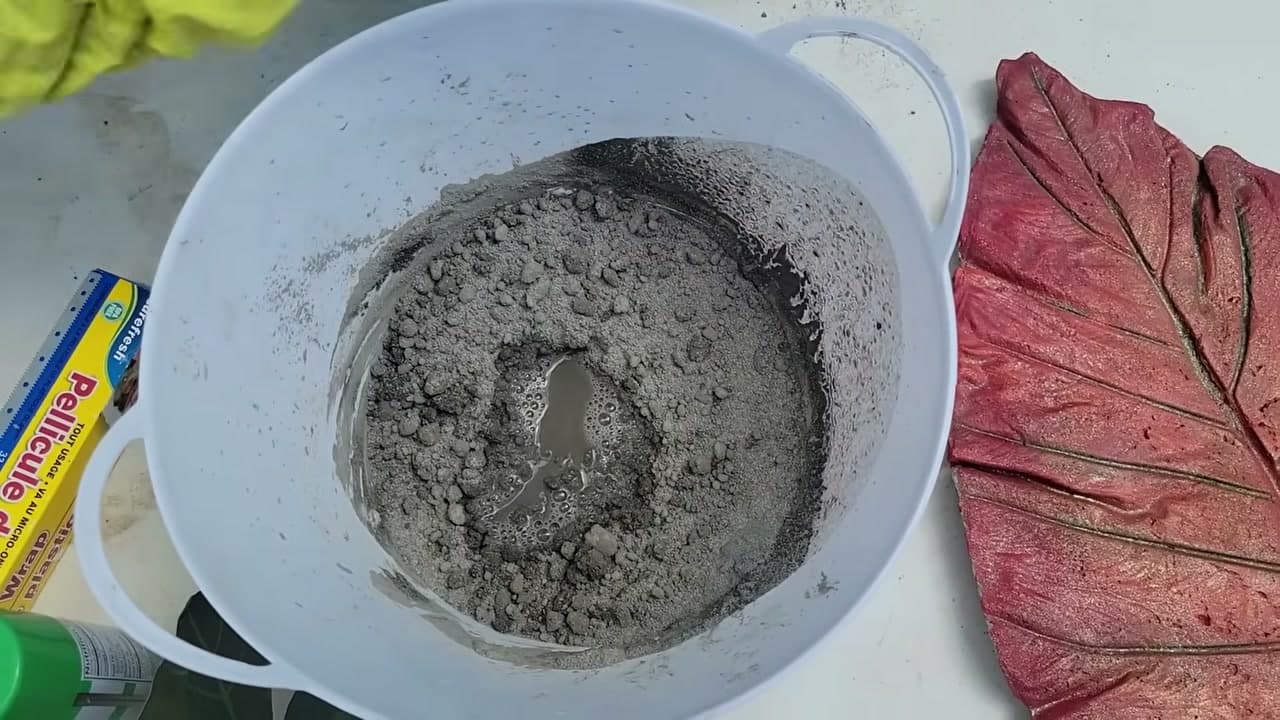
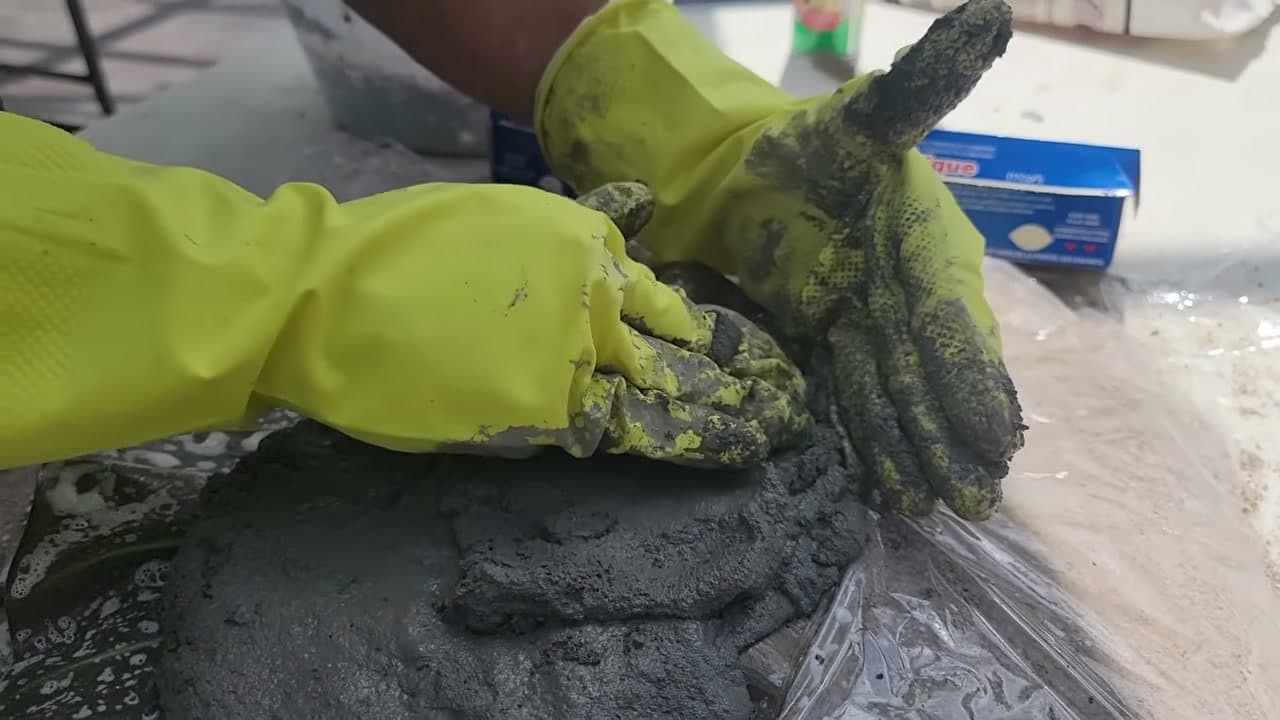
Use a fine vinyl cement patch rather than a general mix. It has almost no aggregate in it, which is what lets the casting pick up fine vein detail.

Add water a little at a time and mix from underneath. You are aiming for a Play-Doh consistency that binds together but does not slump.

Tip

If it goes too thin, leave it a minute. It thickens as it sits. Long kitchen gloves beat thin latex ones here.

3

Step 3: Shape the Sand Bed

5:48
Step 3: Shape the Sand Bed - How to Make a Concrete Leaf Casting

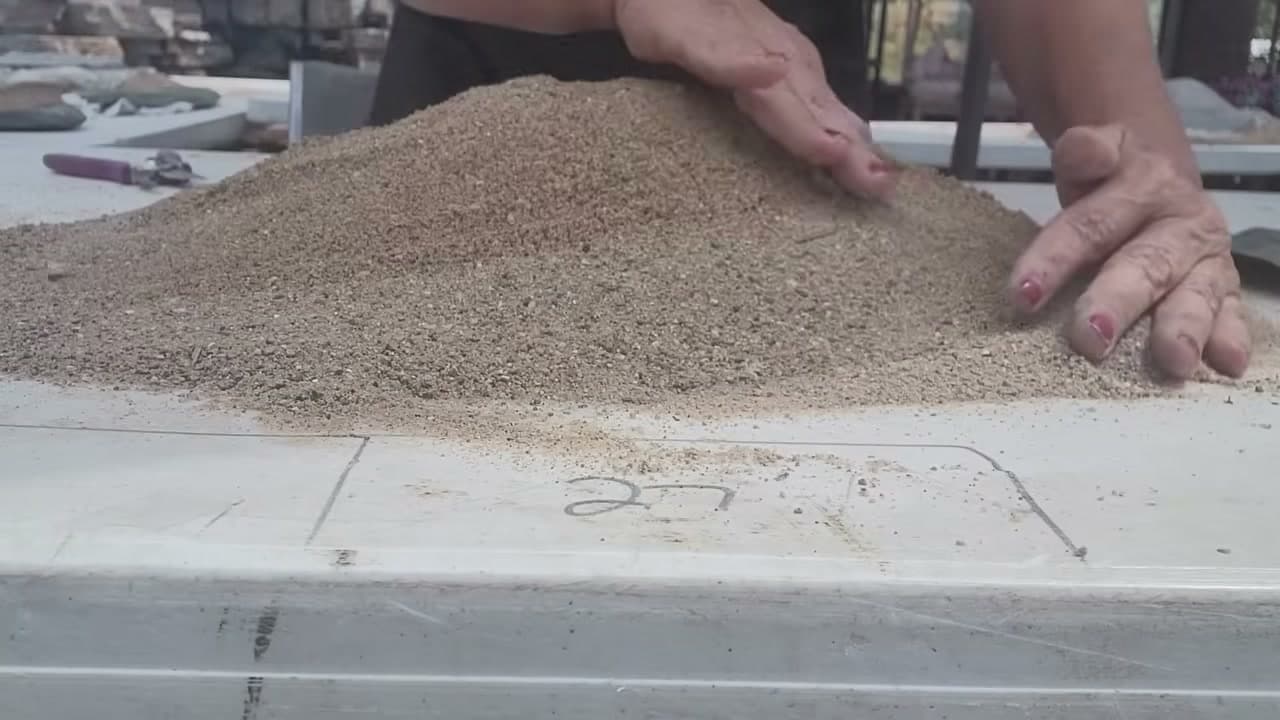
Pile up damp sand to make the mould. Mound it if you want the finished leaf cupped like a dish, or flatten it if you want the leaf flat.

Make sure sand sits under every part of the leaf, and spread the bed a little wider than the leaf itself.

Products used in this step

4

Step 4: Cover the Sand With Plastic Wrap

6:52
Step 4: Cover the Sand With Plastic Wrap - How to Make a Concrete Leaf Casting

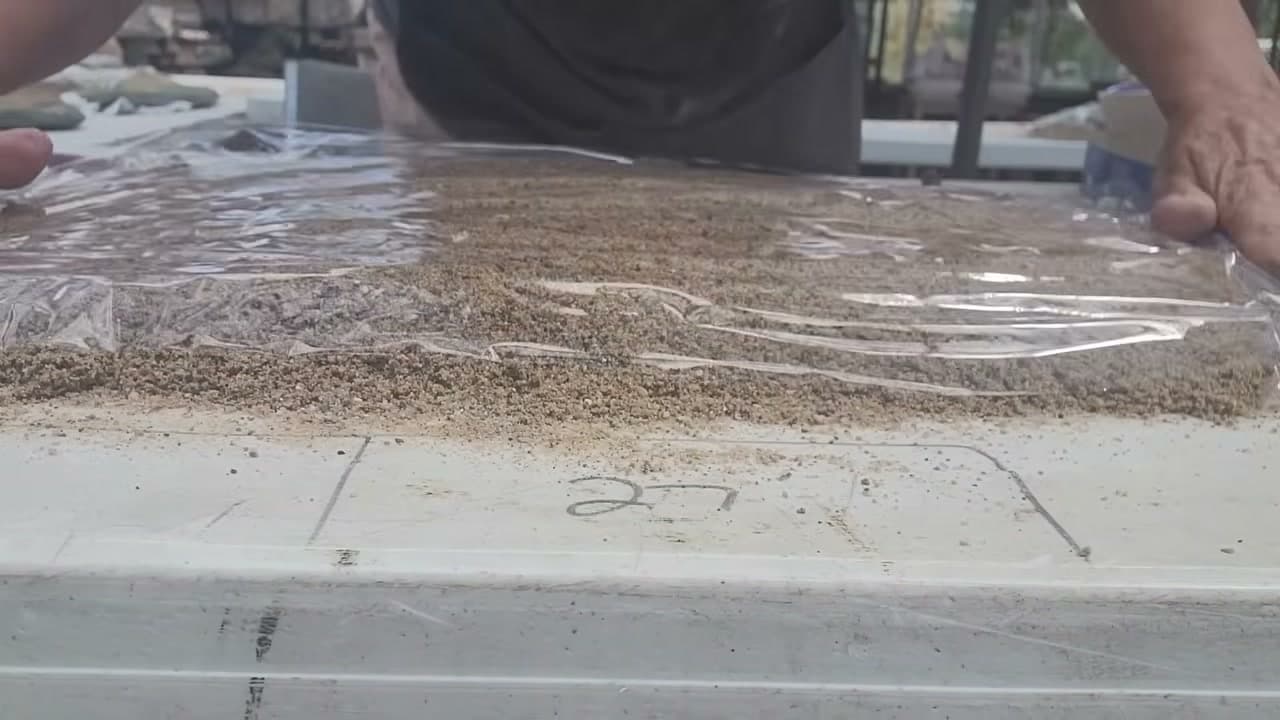
Lay plastic wrap over the whole sand bed so no sand works its way into the back of your casting.

Cut the pieces to fit and smooth them down over the mound. A few folds are fine - what matters is that there are no gaps.

Tip

An extra pair of hands helps here, and something heavy on one corner stops it blowing away outdoors.

Products used in this step

5

Step 5: Lay the Leaf and Spray It

7:46
Step 5: Lay the Leaf and Spray It - How to Make a Concrete Leaf Casting

Set the leaf vein-side up on the plastic, positioned so the sand extends past the edges all the way round.

Coat the back with cooking spray. That is what lets the concrete release cleanly when it is cured.

Tip

Use a plain spray, not a butter-flavoured one - the butter versions stain the concrete.

Products used in this step

6

Step 6: Pack On the Concrete

8:58
Step 6: Pack On the Concrete - How to Make a Concrete Leaf Casting

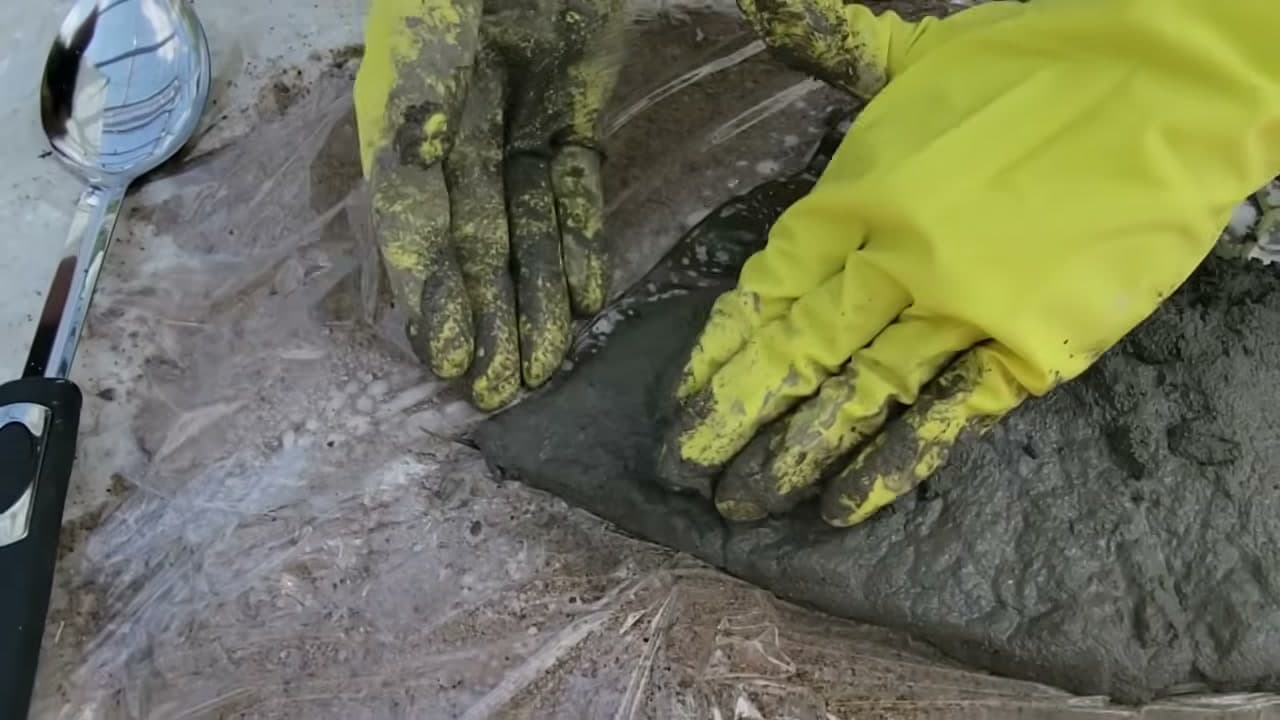
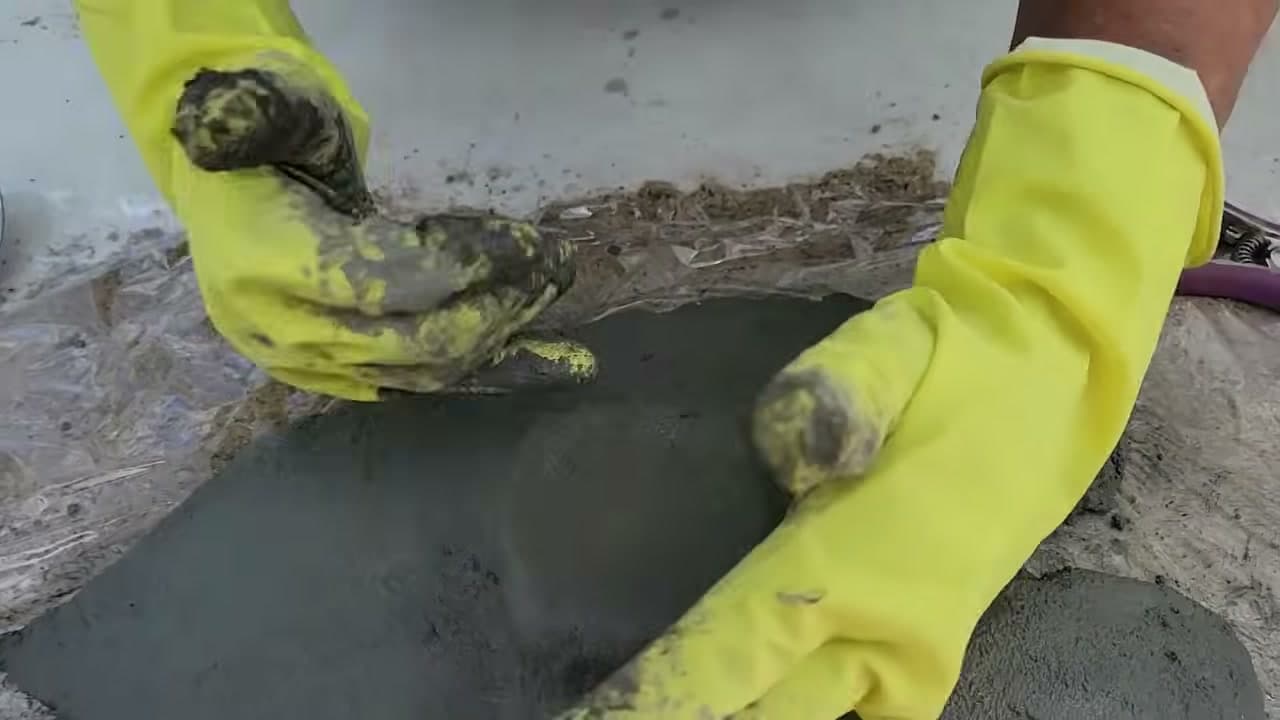
Start in the middle and work the concrete out towards the edges, laying it on rather than pushing it thin.

Keep the depth even across the whole leaf. If you shove it out to the rim it goes thin there and cracks when you lift it.

7

Step 7: Guide the Edge With Your Hand

9:38
Step 7: Guide the Edge With Your Hand - How to Make a Concrete Leaf Casting

Hold your free hand against the edge of the concrete as you work so the rim stays defined instead of feathering away.

Carry the same guide right around, including the tip of the leaf. This is what gives the finished piece a clean outline.

8

Step 8: Smooth It With Wet Hands

10:36
Step 8: Smooth It With Wet Hands - How to Make a Concrete Leaf Casting

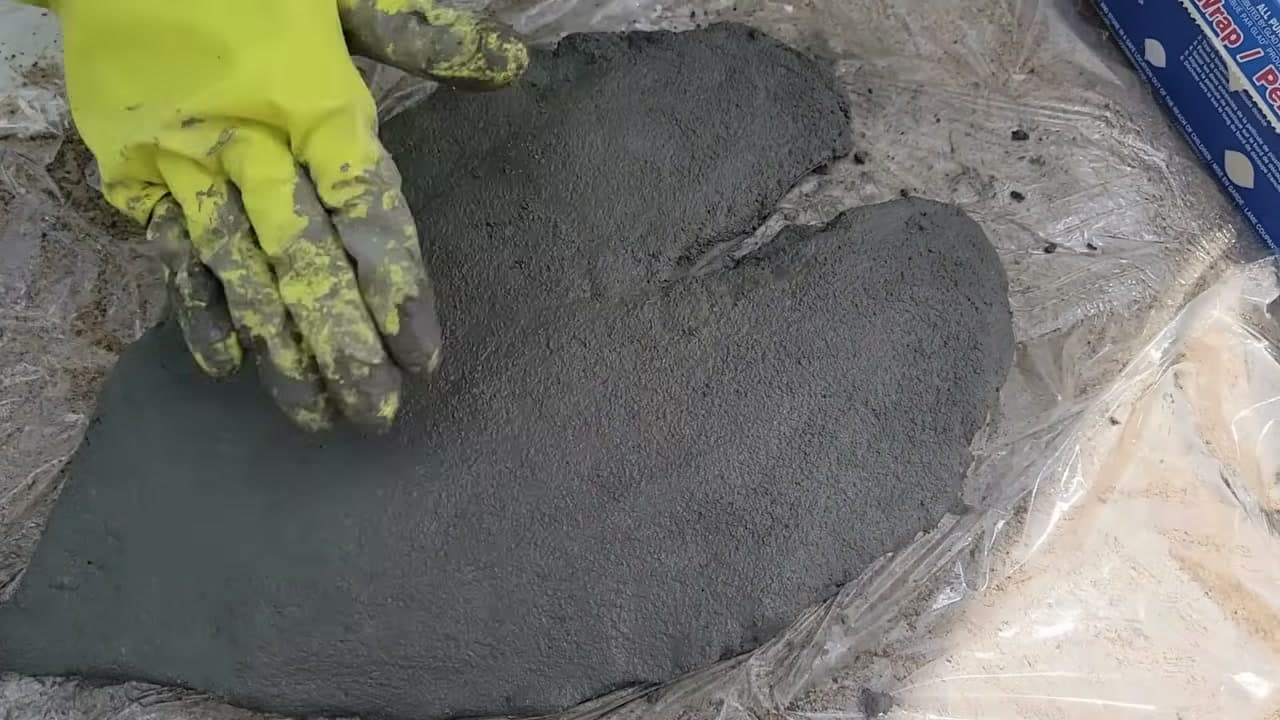
Dip your hands in water, shake off the excess and skim the surface to take out fingerprints and ridges.

Go gently near the rim so you do not lose the edge you just built up.

Tip

Lift the casting slightly as you go to check for spots you missed underneath. Small cracks can be pressed back together.

9

Step 9: Add a Stand If You Want One

11:30
Step 9: Add a Stand If You Want One - How to Make a Concrete Leaf Casting

Any concrete left over can become a pedestal. Pat it into a small square in the middle of the back of the casting.

It will add to the drying time, but it lets the finished leaf sit raised instead of flat on the ground.

10

Step 10: Cure, Release and Clean the Edges

13:26
Step 10: Cure, Release and Clean the Edges - How to Make a Concrete Leaf Casting

Leave it about three days out of direct sun. Some people tent a bin bag over the top to slow the drying and reduce cracking.

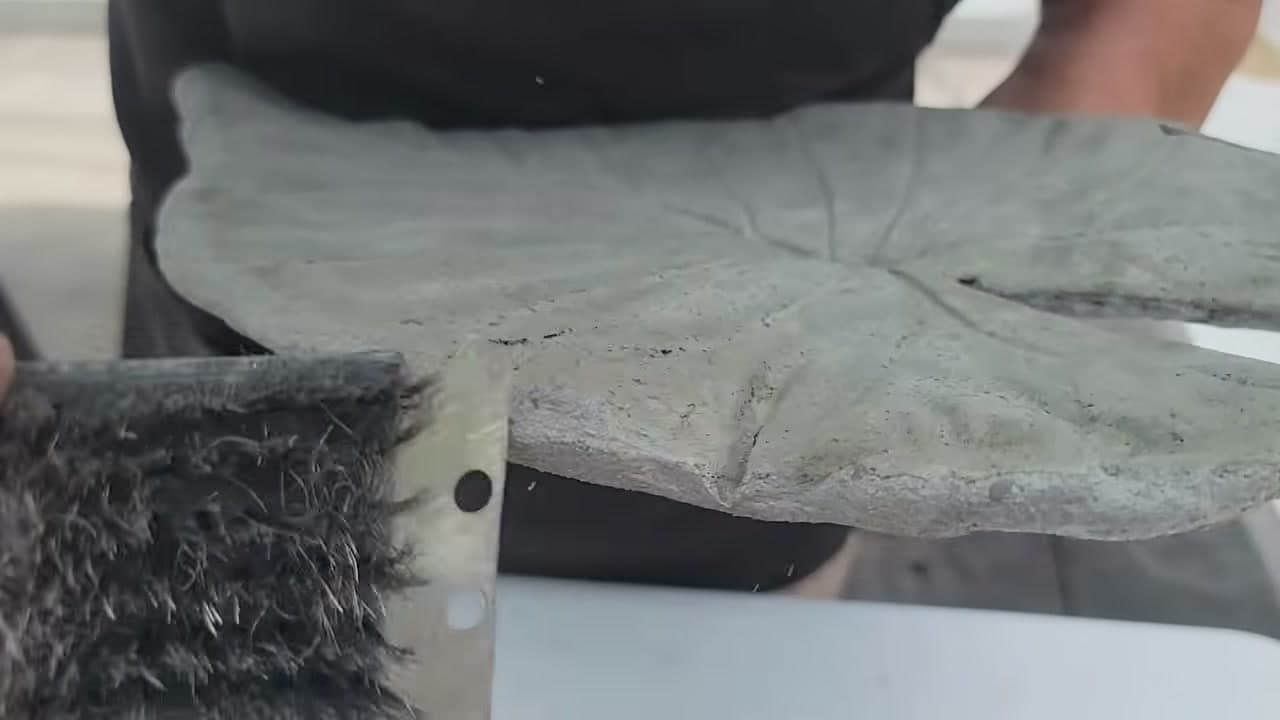
Lift the casting off the sand, peel the plastic and the leaf away, then run a grill brush around the rim to knock off the rough bits before painting.

Tip

A cheap grill brush from a hardware or dollar store is the right tool. Do not overwork it - you only want the loose crumbs gone.

Keep going

How to Make a Mosaic Suncatcher

Products Used

☐ The Checklist

How to Make a Concrete Leaf Casting

Tools
5
Materials
6
Steps
10
Video
19 min

Tools we recommend

Your Guide

Gardening TLC

As an Amazon Associate we earn from qualifying purchases. Links on this page may be affiliate links - clicking them and buying doesn't change your price, but helps support ShowMeStepByStep.

Tags

Sunday How-To

New crafts tutorials, every Sunday

One short email with the week's best step-by-step guides. Free, no spam, unsubscribe anytime.

Did this work for you?

What's next

Related collections

Curated theme pages that include this tutorial.

Weekly Digest

Liked this crafts tutorial?

Pick the categories you want to hear about. Weekly digest of new step-by-step tutorials. No spam, easy unsubscribe.

Send me tutorials about

We only email about new tutorials. Easy unsubscribe anytime.