How to Make a Drawstring Bag

SewingEasy8:5410 stepsPart of DIY Crafts for BeginnersBrowse more →
The finished result: How to Make a Drawstring Bag
Also in:Crafts

By CraftingStepByStepPublished

Based on a video by Erica Arndt.

One rectangle of cotton, a length of ribbon, and about twenty minutes. That is the whole project. A drawstring bag is usually the sew people learn first, because there is no lining, no zipper and no pattern piece to trace. You hem the four edges, fold the piece in half, and stitch up the sides.

This follows Erica Arndt's method: one piece of quilting cotton cut 12 inches by 28 inches, folded into a bag about 12 by 13 with a casing across the top. A yard of fabric gives you four of them, which is why it is the project people reach for when teacher gifts are due.

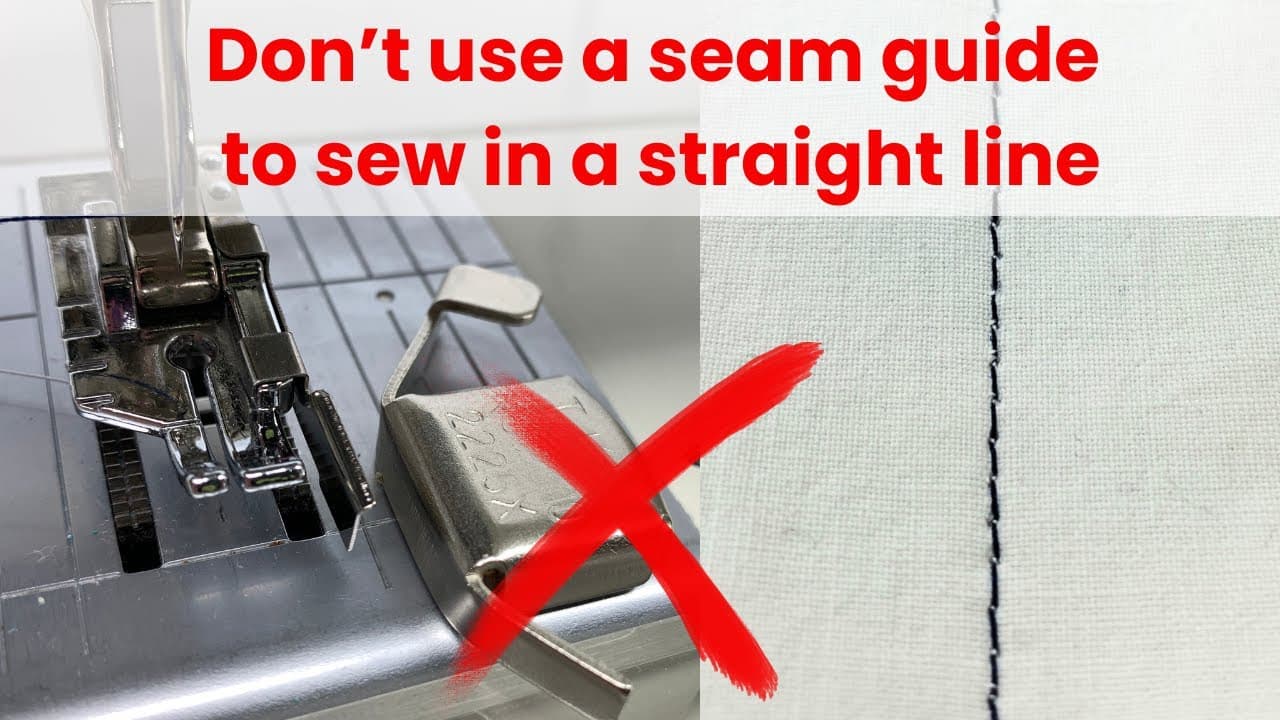
Every seam here is straight. If you are brand new to the machine, how to use a sewing machine and sewing a straight line cover the two things this project leans on.

What you need

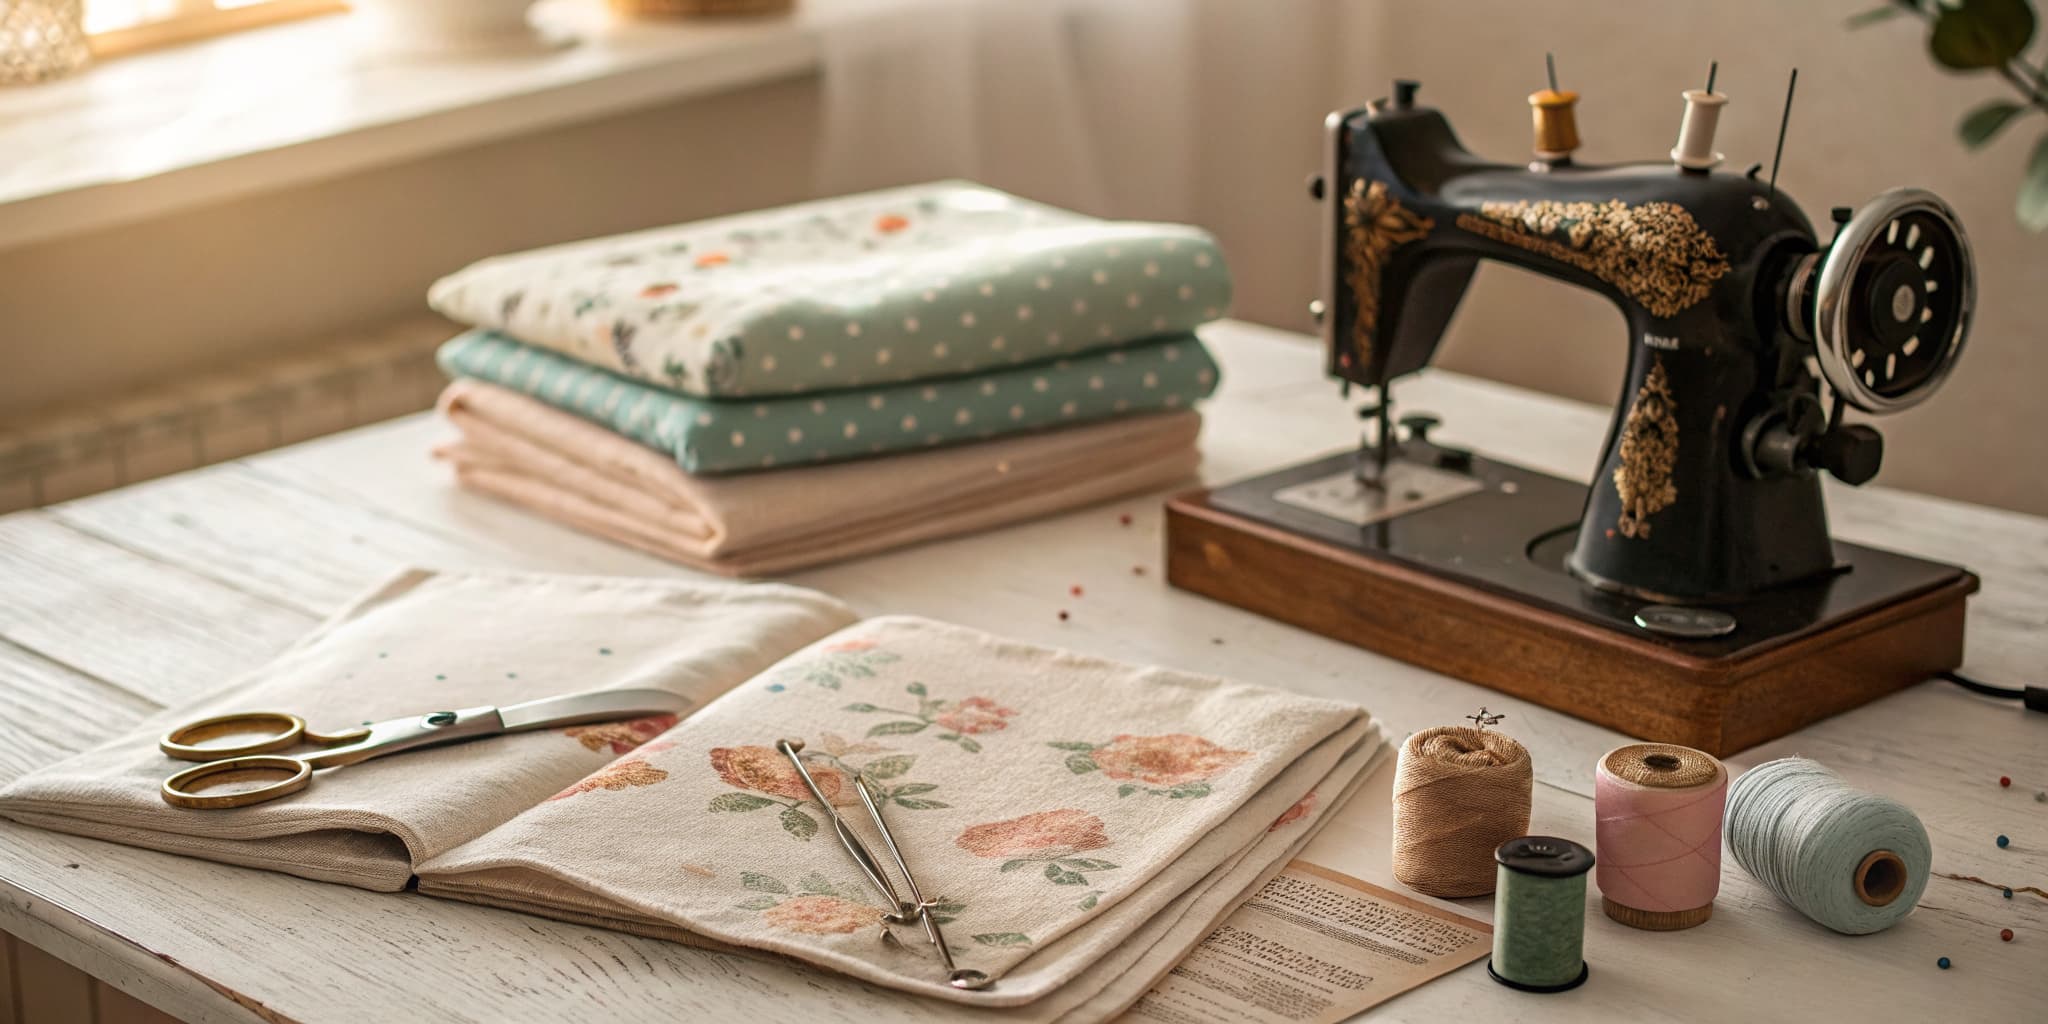
Most of this is already in a basic sewing box.

  • Quilting cotton, one piece 12 inches by 28 inches
  • Twill ribbon or cord, about 28 inches long and a quarter inch wide
  • All-purpose or 50wt cotton thread
  • Iron and an ironing surface
  • Rotary cutter, quilting ruler and cutting mat, or sharp fabric scissors
  • One large safety pin

Quilting cotton behaves best here. It presses crisp, holds a fold, and the bag still scrunches. Canvas and duck cloth work too, and they are thick enough that you turn each raw edge once instead of twice. If your cutting is rusty, cutting fabric accurately is worth a read first.

The hem is the whole trick

This bag has no lining, so every raw edge would fray if it were left alone. Rolling each edge under a quarter inch twice buries the raw fibers inside the fold, and one line of topstitching locks them there. Four short seams, and it is the difference between a bag that survives the wash and one that sheds threads in your suitcase. Erica eyeballs the fold instead of measuring it. The fold only has to be even against itself, so a wobble of a sixteenth of an inch will never show.

Make it any size you like

The 12 by 28 rectangle is a starting point, not a rule. Your fabric width becomes the bag width. The length folds in half, so half the length is the height, minus whatever the casing eats. Want a bag for shoes? Cut 16 by 36. A little jewelry pouch? Cut 7 by 16. Add three inches to the length on taller bags so the casing stays generous.

Choosing the drawstring

Twill tape, grosgrain ribbon, cotton cord and a strip of the same fabric all work. Match the casing depth to the cord: a quarter-inch ribbon slides through a casing folded about an inch and a quarter, while a chunky cord wants closer to two inches. Cut the ends at an angle so they feed without catching.

Length matters more than people expect. Lay the cord across the bag, back again, then add three inches at each end for the knot. One cord knotted in a loop pulls the bag shut from one side. Run a second cord in from the opposite opening and the top gathers evenly, which matters on anything bigger than a pencil case.

Where it usually goes wrong

  • Sewing the casing openings shut. Side seams start below the casing stitching line, never at the top edge. Backstitch there and stop.
  • Pulling the safety pin back out the way it went in. On the second pass, hold the tail down with your other hand.
  • Skipping the press. An unironed fold shifts under the presser foot and your topstitching wanders off it.
  • Mismatched casings. Fold both ends the same amount before you sew either one, or the top of the bag sits crooked.

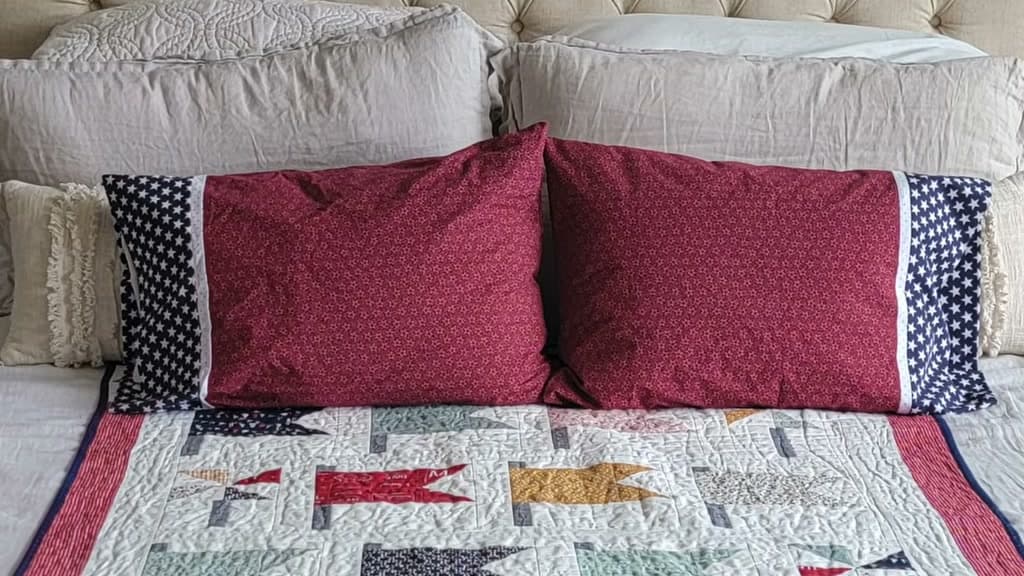
The same rectangle logic scales into other beginner sews. A pillowcase is the same hems and side seams at a bigger size, a scrunchie uses the same casing idea in a loop, and a zipper pouch is next when you want a closure that does not gather.

What you'll need

Step-by-Step Guide

10 steps · about 9 minutes.Check off each step as you go and your progress saves automatically.

1

Cut One 12 x 28 Inch Rectangle of Cotton Fabric

0:49
Step 1: Cut One 12 x 28 Inch Rectangle of Cotton Fabric - How to Make a Drawstring Bag

Lay your quilting cotton on the cutting mat and cut one piece 12 inches wide by 28 inches long. A rotary cutter and a quilting ruler give the cleanest edge, though sharp fabric scissors are fine if you mark the lines first. Cut the ribbon at the same time so everything is ready to go. From one yard of 44 inch fabric you can get four of these rectangles with almost nothing left over.

Tip

Press the fabric before you cut it. A crease from the bolt fold will throw your measurement off by a quarter inch or more.

2

Press the Long Edges Under Twice

1:20
Step 2: Press the Long Edges Under Twice - How to Make a Drawstring Bag

Turn one long edge over about a quarter inch and press it down. Turn it over the same amount again so the raw edge is tucked inside the fold, then press it again. Work along the whole 28 inches, then repeat on the second long edge. There is no measuring here. Keep the fold even against itself and let the iron set the crease so it stays put at the machine.

Tip

A hot dry iron sets a sharper crease in cotton than steam does. Hold it in place for two seconds instead of sliding it along.

3

Topstitch Both Long Edges

2:10
Step 3: Topstitch Both Long Edges - How to Make a Drawstring Bag

Take the piece to the machine and stitch close to the inner folded edge, straight down the length of the fabric. Keep the needle about an eighth of an inch from the fold. Do the same on the second long edge. These two lines of stitching seal the raw fibers inside the hem and stop the bag fraying once it gets used and washed.

Tip

Line the fold up against a mark on the throat plate rather than watching the needle. Your stitching line stays straighter that way.

4

Fold the Drawstring Casing at Each End

3:24
Step 4: Fold the Drawstring Casing at Each End - How to Make a Drawstring Bag

Press each short end under a quarter inch, then a quarter inch again, the same way you did the long sides. Now fold that finished end down about an inch and a quarter and press the fold flat. That deeper fold becomes the drawstring channel. Measure the second end against the first so both casings match, and set the fold with a ruler before you bring the iron across.

Tip

Match the casing depth to your cord. A quarter-inch ribbon needs about an inch and a quarter. A thick cord wants closer to two inches.

5

Stitch the Casing Channels

3:58
Step 5: Stitch the Casing Channels - How to Make a Drawstring Bag

Sew along the inner folded edge of the casing, catching the pressed hem underneath as you go. Backstitch at the start and the finish so the channel does not pull open when you tug on the drawstring. Repeat on the other end of the fabric. Leave the sides of the casing completely alone. Those open ends are where the cord goes in and comes out.

Tip

Stitch as close to the inner fold as you can. A wide channel lets the ribbon twist and bunch up when you pull it.

6

Fold the Bag in Half, Right Sides Together

4:16
Step 6: Fold the Bag in Half, Right Sides Together - How to Make a Drawstring Bag

Fold the piece in half across its width with the printed sides facing each other. Line up the side edges, and more importantly line up the two casing seams so the top of the bag sits level. Pins or sewing clips hold everything steady if you want them, but on a piece this small they are optional.

Tip

Sight down the folded edge from the side before you sew. If the casing lines do not match now, they never will once the seams are in.

7

Sew the Side Seams and Stop at the Casing

5:20
Step 7: Sew the Side Seams and Stop at the Casing - How to Make a Drawstring Bag

Start each side seam right where the casing stitching ends, not at the very top of the bag. Backstitch there, sew straight down to the folded bottom, and backstitch again. Repeat on the other side. Sewing past that starting point closes off the drawstring opening, and there is no fixing that without a seam ripper.

Tip

Run this seam just inside the existing topstitched edge. That hides the first line of stitching once the bag is turned right side out.

Used in this stepseam rippersewing machine
8

Turn the Drawstring Bag Right Side Out

5:42
Step 8: Turn the Drawstring Bag Right Side Out - How to Make a Drawstring Bag

Reach into the top of the bag, grab a bottom corner and pull it back through the opening. Push both bottom corners out with a blunt point like a chopstick, then press the whole bag so the seams lie flat. It stops looking like a folded rectangle at this point and starts looking like a bag.

Tip

Do not jab at the corners with scissors. Cotton gives way easily and you will push a hole straight through the seam allowance.

9

Thread the Drawstring With a Safety Pin

6:36
Step 9: Thread the Drawstring With a Safety Pin - How to Make a Drawstring Bag

Cut the ribbon to length and trim each end at an angle so it feeds cleanly. Clip a large safety pin through one end, push it into the casing opening, and work it along by scrunching the fabric onto the pin and pulling it forward. Feed it out the far side, then carry on back through the second opening so the cord travels all the way around the bag.

Tip

Hold the loose tail with your free hand on the second pass. It is easy to pull the whole ribbon back out the way it came.

10

Pull the Drawstring and Tie the Ends

7:36
Step 10: Pull the Drawstring and Tie the Ends - How to Make a Drawstring Bag

Even up both ends of the ribbon so they hang the same length, then pull them apart to gather the top of the bag closed. Tie the two ends together in a plain knot a couple of inches from the tips. Give the bag one last press if you want the sides crisp. That is the bag done.

Tip

Knot the ends before you start using the bag. An untied cord disappears back into the casing the first time it snags on something.

Used in this stepfabric scissors

Keep going

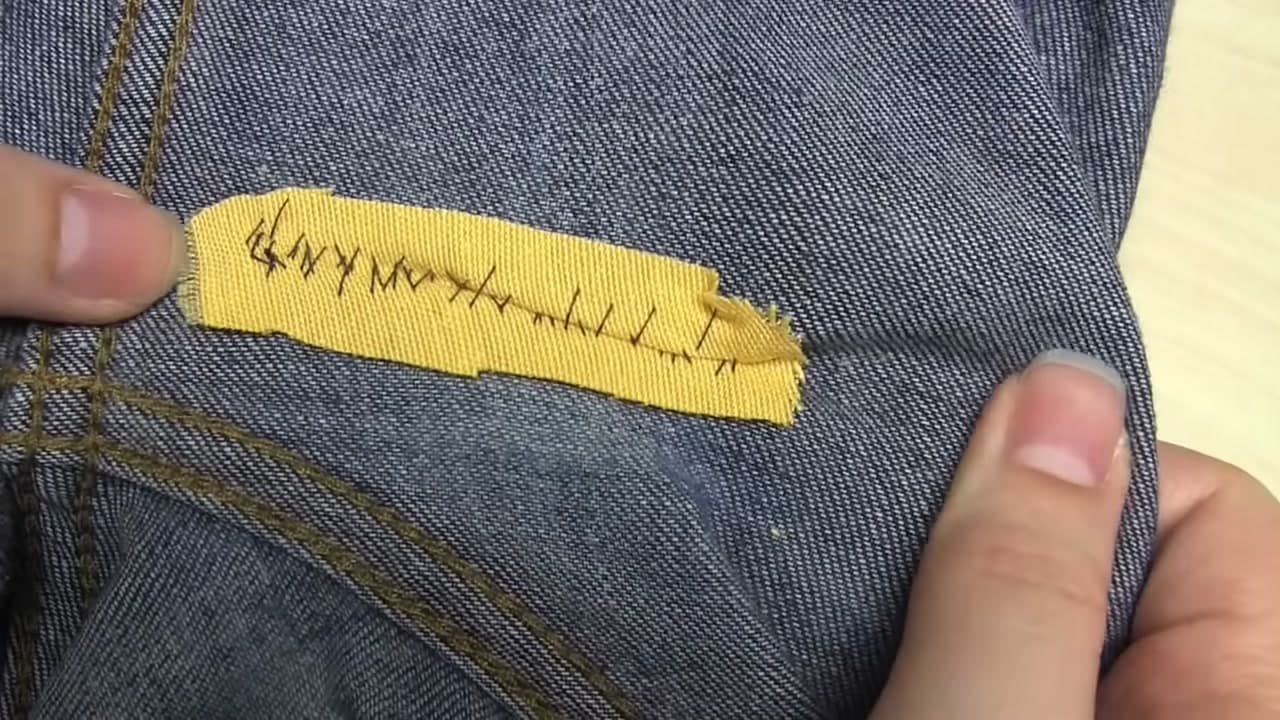
How to Sew a Hole or Tear in Jeans by Hand

Products Used

The Checklist

How to Make a Drawstring Bag

Tools
9
Materials
3
Steps
10
Video
9 min

Tools we recommend

Your Guide

Erica Arndt

As an Amazon Associate we earn from qualifying purchases. Links on this page may be affiliate links - clicking them and buying doesn't change your price, but helps support CraftingStepByStep.

Tags

Sunday How-To

New sewing tutorials, every Sunday

One short email with the week's best step-by-step guides. Free, no spam, unsubscribe anytime.

Did this work for you?

What's next

Related collections

Curated theme pages that include this tutorial.

Weekly Digest

Liked this sewing tutorial?

Pick the categories you want to hear about. Weekly digest of new step-by-step tutorials. No spam, easy unsubscribe.

Send me tutorials about

We only email about new tutorials. Easy unsubscribe anytime.