How to Sew a Zipper Pouch

SewingEasy16:118 stepsPart of DIY Crafts for BeginnersBrowse more →
The finished result: How to Sew a Zipper Pouch

By CraftingStepByStepPublished

Based on a video by Sookie Sews.

A zipper pouch is the project that gets people over their fear of zippers, and it takes about an hour start to finish. Two outer panels, two lining panels, one zipper. The pouch here finishes at roughly 9 by 7 inches, big enough for a phone, a set of pencils or a small pile of sewing notions.

The build follows Sue on the Sookie Sews channel, and her version carries one detail that separates a homemade pouch from a store-bought one: small folded fabric tabs wrapped over both ends of the zipper. They hide the raw zipper tape, they stop the pull running off the end, and they mean the zipper no longer has to match your fabric. You cut the zipper to fit instead.

Three things decide whether this comes out well. The zipper sandwich has to be stacked in the right order, outer right side up, zipper face down, lining right side down on top. Both layers have to be pressed back off the teeth afterwards or the lining catches every time you open it. And the zipper has to be open before the last side seam goes in, because a closed zipper leaves you no way to turn the pouch. That last one catches almost everyone once.

If the machine is still new to you, get comfortable with it first and put in some practice on sewing a straight line. Want the zipper itself broken down on its own? That is here. And the offcuts from this one are the right size for a few small scrap projects.

What you'll need

Step-by-Step Guide

8 steps · about 16 minutes.Check off each step as you go and your progress saves automatically.

1

Pinch the Open Zipper Teeth Back Together by Hand

1:18
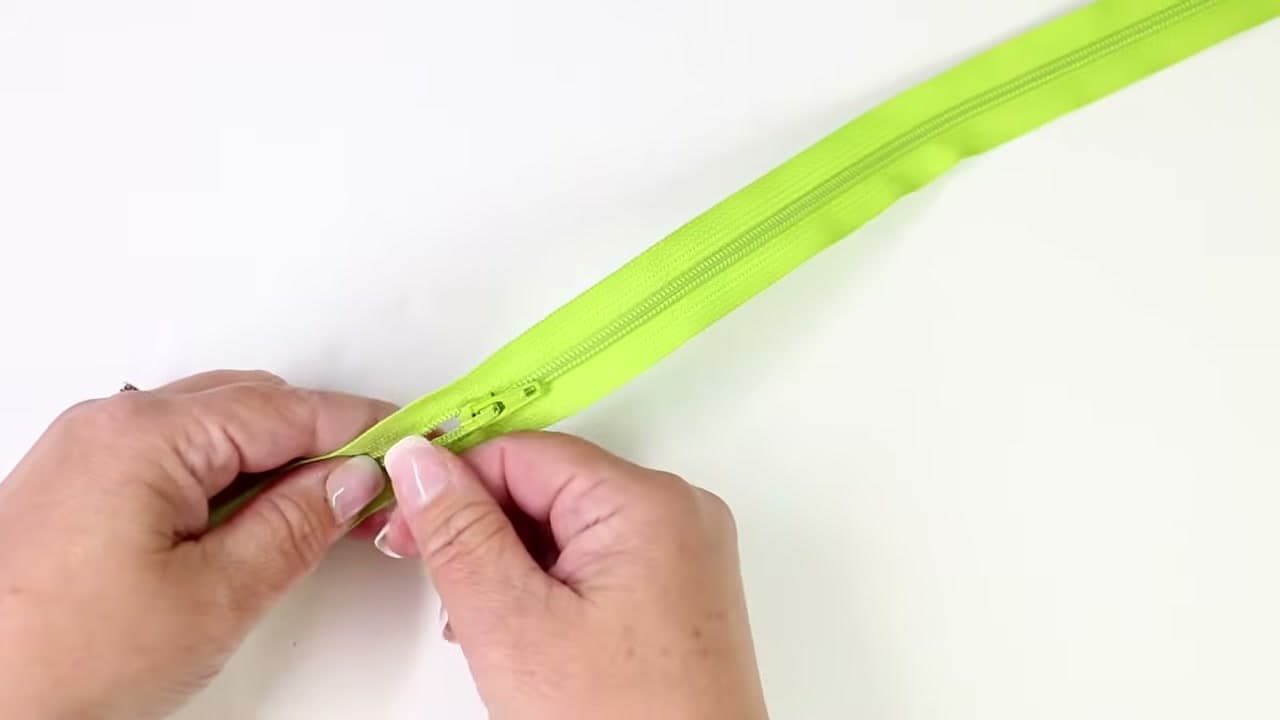
Step 1: Pinch the Open Zipper Teeth Back Together by Hand - How to Sew a Zipper Pouch

Slide the zipper pull down two or three inches so a length of teeth sits open above it. Pinch those open teeth back together with your fingers until they mesh, then wrap a piece of tape around that spot to hold them shut.

Cut straight through the middle of the tape. Leave tape on both sides of the cut so the pull cannot run off the end. Measure 8-1/2 inches from the closed tip of the zipper down to the cut end. Any zipper 12 inches or longer will do, because you are making it fit the pouch rather than the other way round.

Tip

Nylon coil zippers cut like this with ordinary scissors. Metal-tooth zippers do not, and they will chew up a good pair of shears. Check which one you have before you cut.
2

Topstitch a Folded Fabric Tab Onto the End of the Zipper

3:38
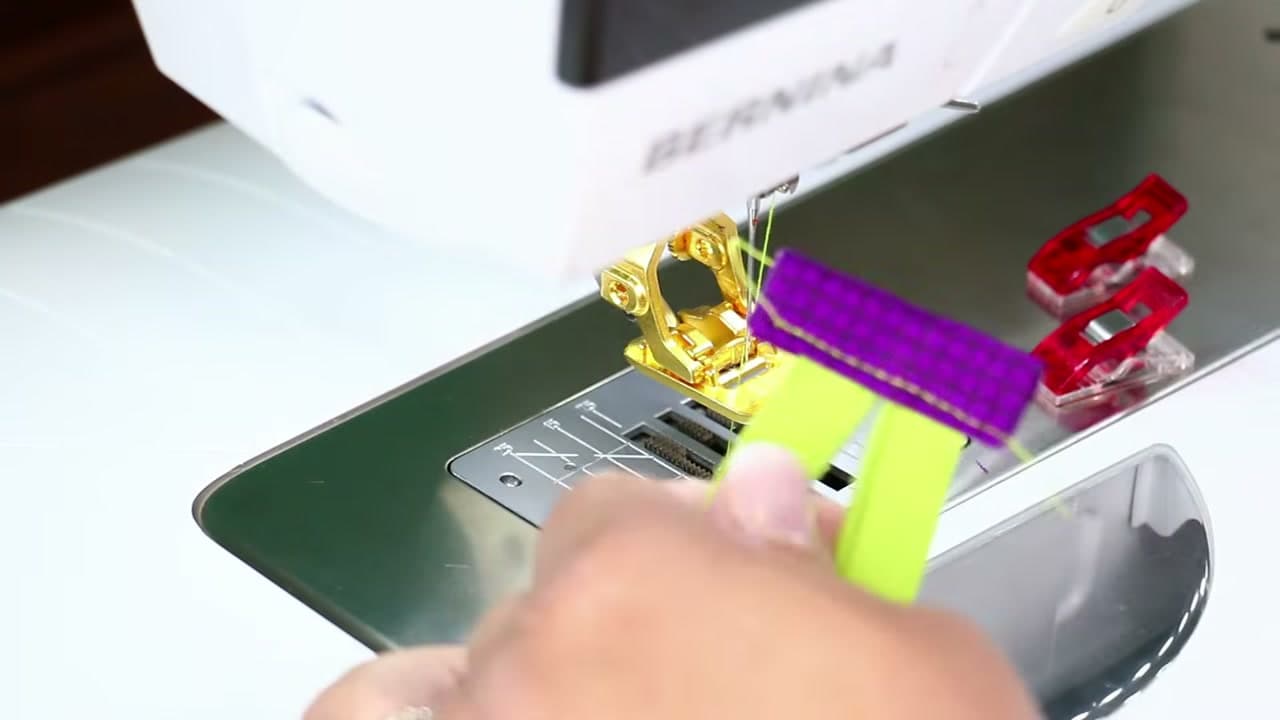
Step 2: Topstitch a Folded Fabric Tab Onto the End of the Zipper - How to Sew a Zipper Pouch

Take a 1-1/2 by 2 inch scrap and fold it in half along its length with the right side out, so the raw edges touch. Press it. Fold again so the two folded edges meet, and press again. Make two of them.

Slip one over the cut end of the zipper tape so the tape sits down inside the fold, and clip it in place. Sew about an eighth of an inch in from the edge of the fabric using a standard presser foot, backstitching at both ends. Repeat on the other end, then trim each tab flush with the sides of the zipper tape.

Tip

Clips beat pins here. Getting a pin through four layers of folded cotton plus zipper tape is a fight, and a clip holds the tab square while you feed it under the needle.

3

Lay the Zipper Face Down Along the Top of the Outer Panel

4:30
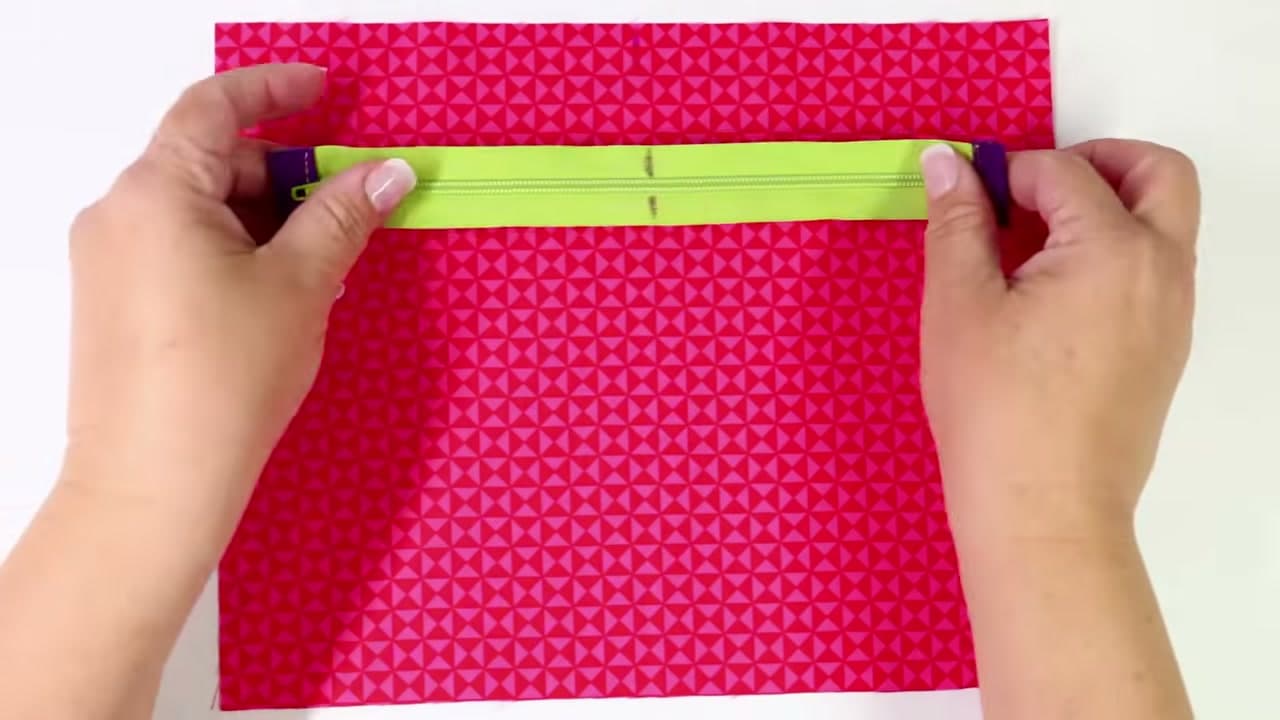
Step 3: Lay the Zipper Face Down Along the Top of the Outer Panel - How to Sew a Zipper Pouch

Fold the zipper in half with the wrong sides together and mark the centre of the tape. Fold one outer panel in half across the 10 inch width and mark the centre of its top edge.

Lay that outer panel right side up. Set the zipper on it face down, centre mark to centre mark, with the top raw edges level. Lay one lining panel over the top, right side facing down. That stack is the zipper sandwich: outer, zipper, lining, with the zipper hidden between two right sides.

Tip

Get the order wrong and the pouch still sews together, but the lining ends up on the outside. Check that both printed faces are turned toward the zipper before you clip anything.

4

Stitch the Outer, Zipper and Lining Together in One Seam

5:52
Step 4: Stitch the Outer, Zipper and Lining Together in One Seam - How to Sew a Zipper Pouch

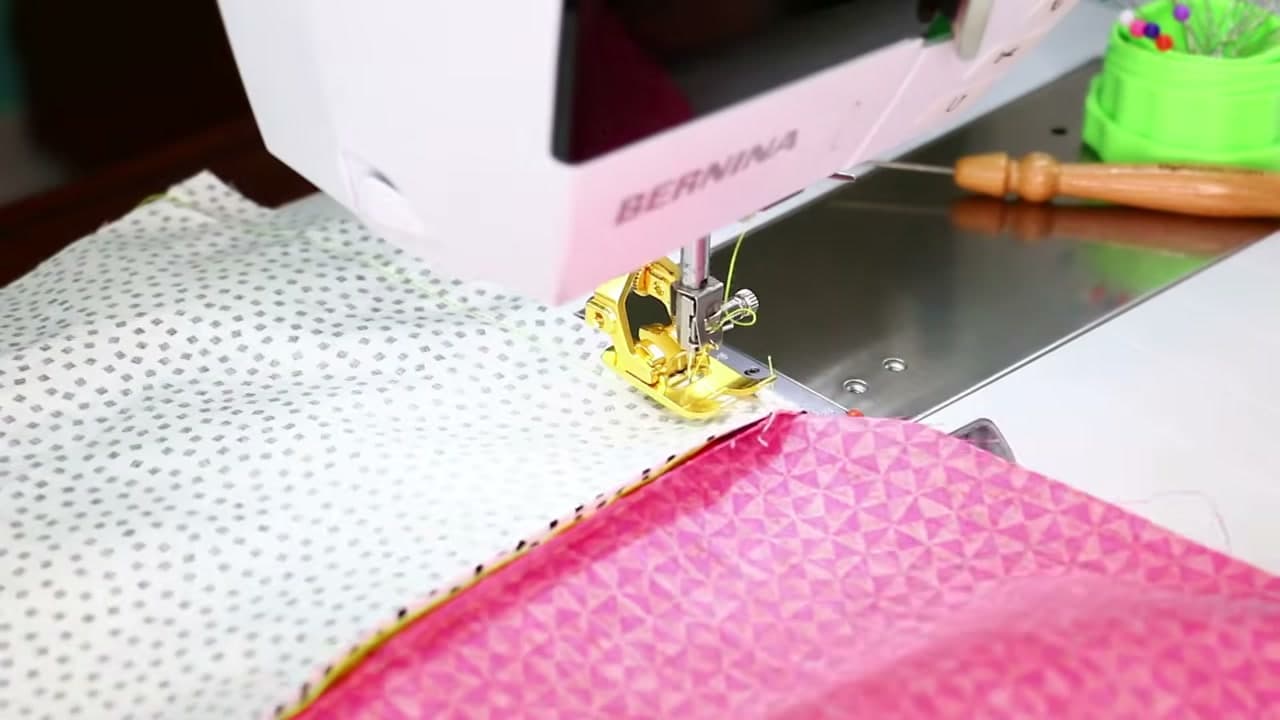
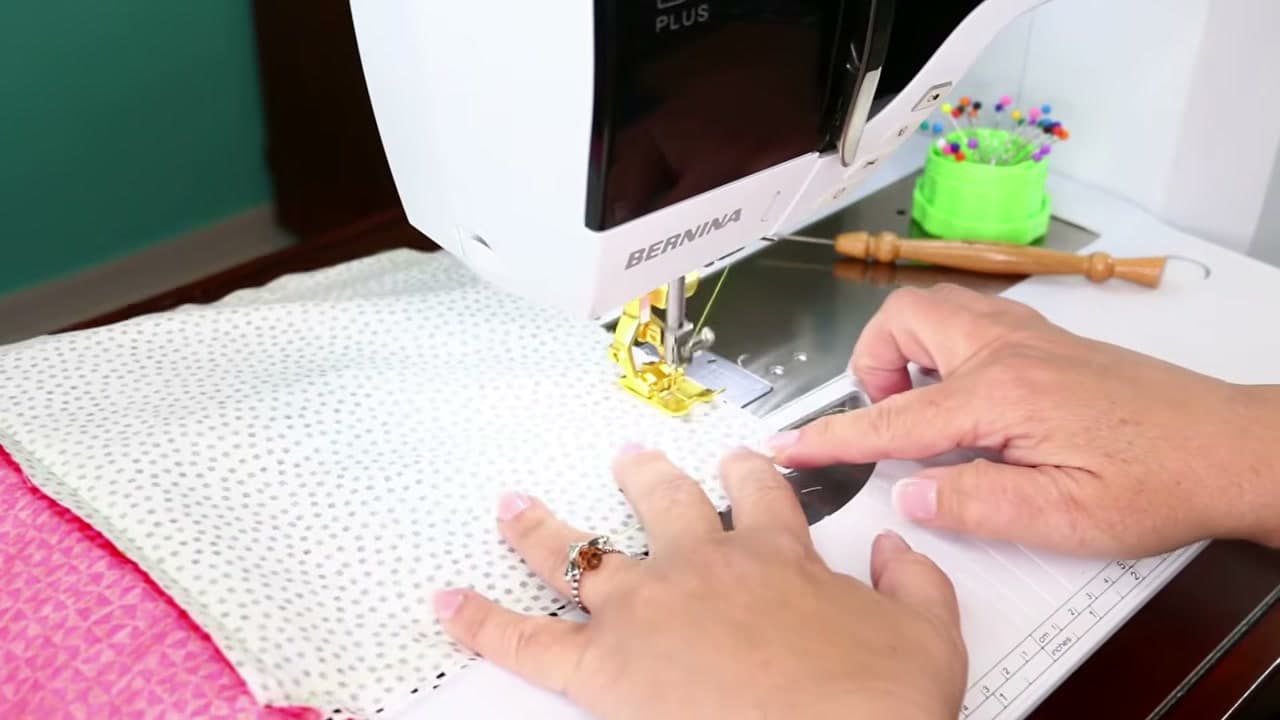
Clip all three layers along the top edge, and make sure every clip catches the zipper tape. Swap to a zipper foot and shift the needle position so it runs alongside the teeth instead of over them.

Sew the whole length of that edge at about a quarter inch. When the pull comes close to the foot, stop with the needle down, lift the foot, slide the pull past and carry on. Backstitch at both ends and clip your threads. One side of the zipper is now in.

Tip

If the seam wanders away from the teeth the zipper will not sit flat later. A stiletto or an awl lets you steer the layers right up at the needle without putting your fingers there.

5

Press the Lining and Outer Back Off the Zipper Teeth

6:52
Step 5: Press the Lining and Outer Back Off the Zipper Teeth - How to Sew a Zipper Pouch

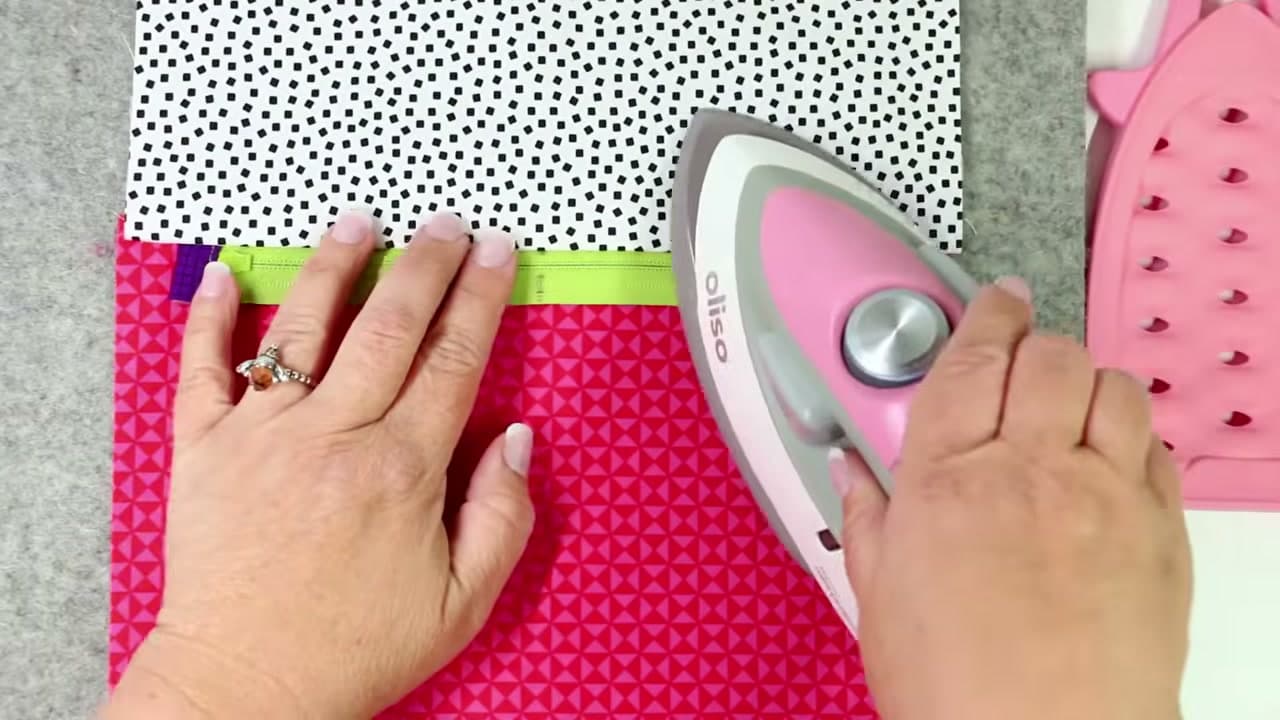
Press the seam flat the way it was sewn to set the stitches. Then open the outer and the lining away from the zipper, fold both down to the same side, and press them there so the fabric sits back clear of the teeth.

A line of topstitching an eighth of an inch from that folded edge locks it down for good, and it is the standing fix for a lining that keeps getting caught in the zipper. Build the second sandwich with the remaining outer and lining panels and sew the other side of the zipper the same way.

Tip

The zipper pull is still hiding under all that fabric while you press. Feel for it and work around it, because an iron plate on a nylon coil pull will melt it.

6

Sew the Side Seam From the Lining Edge to the Outer Edge

9:59
Step 6: Sew the Side Seam From the Lining Edge to the Outer Edge - How to Sew a Zipper Pouch

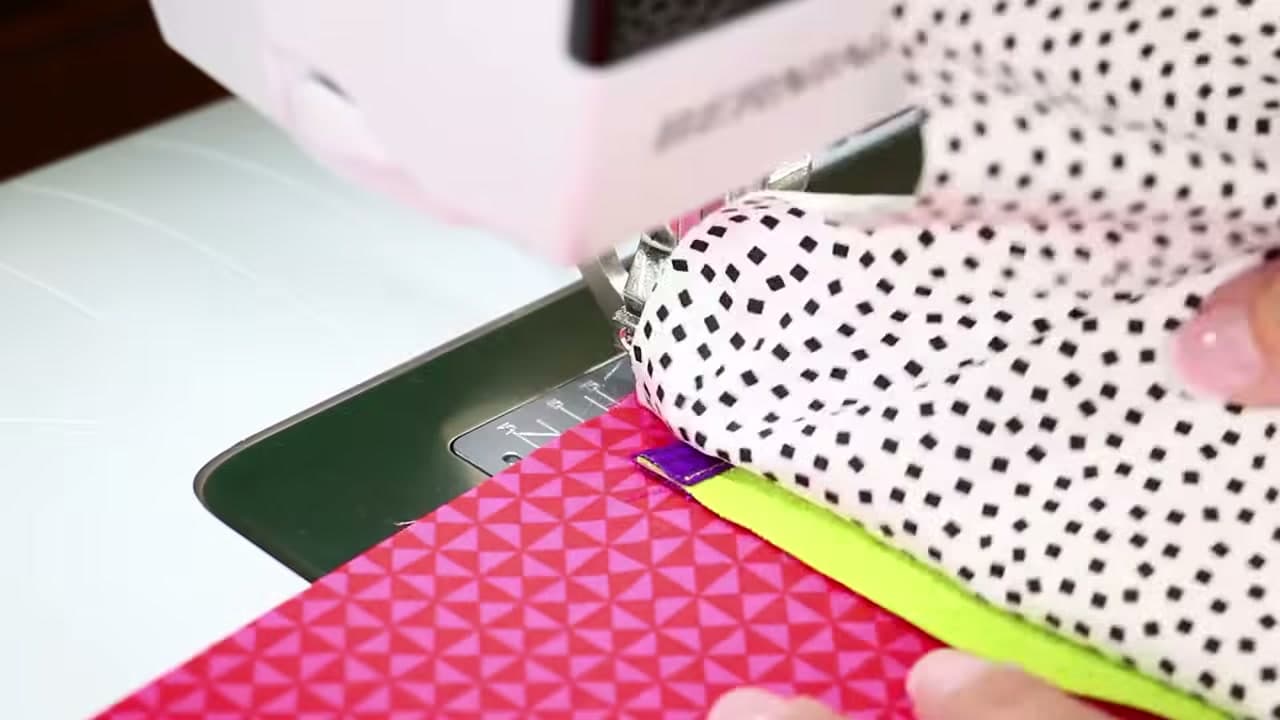
Open the zipper at least halfway before you touch anything else. Lay the piece out so outer meets outer and lining meets lining, with the two seam allowances at the zipper butted up against each other and pointing opposite ways. Pin the full length of both sides.

Sew each side seam at half an inch with a standard foot and the needle back in its centre position. Run from the lining edge straight through to the outer edge in one pass, pulling pins as you reach them, and steer around the zipper end tab rather than through it.

Tip

Open that zipper. A closed one leaves the pouch stitched shut on all four sides with no way to turn it, and unpicking a side seam back through a zipper end is a miserable half hour.

Used in this stepsewing pins
7

Sew the Bottom Seams and Stop Short on the Lining

11:50
Step 7: Sew the Bottom Seams and Stop Short on the Lining - How to Sew a Zipper Pouch

Sew the bottom seam of the outer at half an inch, edge to edge, backstitching at both ends. Sew the lining bottom seam the same way, but stop about four inches in and backstitch there.

Measure three inches along from that stop, mark it, and start stitching again at the mark to finish the seam. The unstitched three inches is how the pouch gets turned. Press every seam flat, flatten all four corners on both the outer and the lining, and work the iron in around the zipper.

Tip

Three inches is about the width of a hand. Leave less and you will be dragging the fabric through a slot. Leave much more and the stitch line that closes it starts to show inside the pouch.

Used in this stepsewing machine seam guide
8

Pull the Outer Fabric Right Side Out Through the Lining

13:10
Step 8: Pull the Outer Fabric Right Side Out Through the Lining - How to Sew a Zipper Pouch

Reach through the gap in the lining, take hold of the outer fabric and draw the whole pouch out through it. A point turner saves your wrist and pushes each corner out square without poking through the seam.

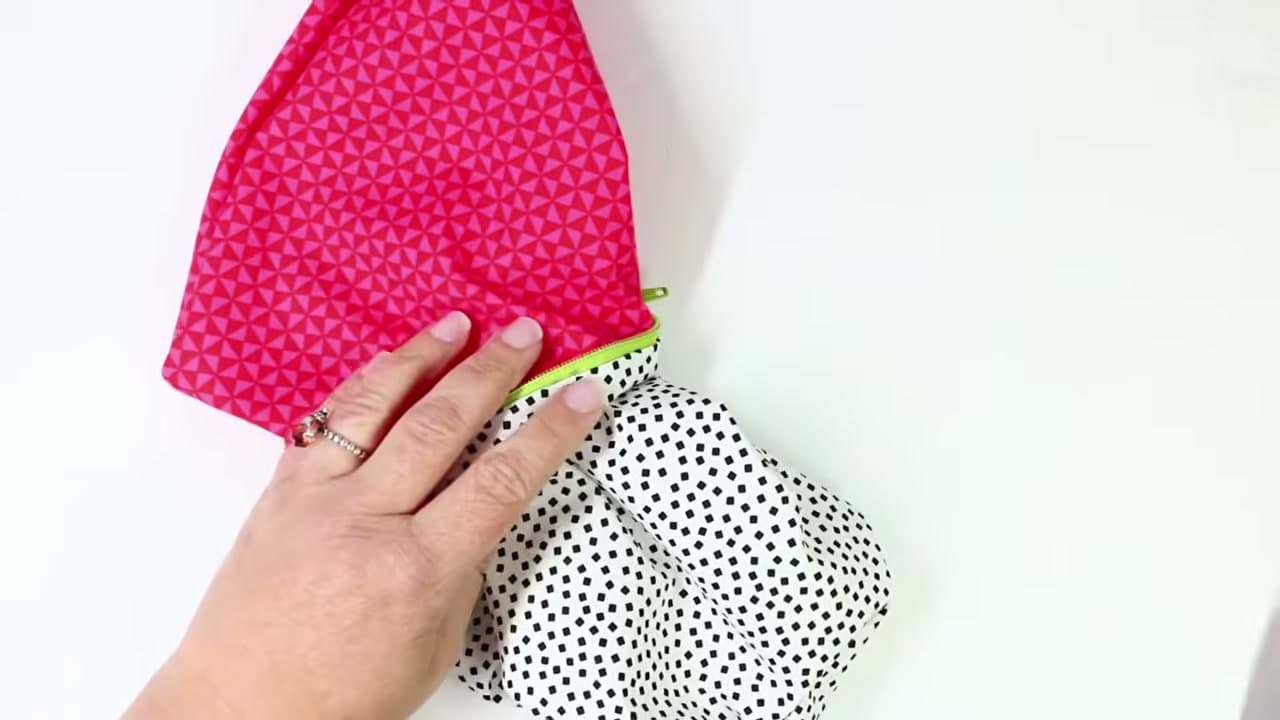
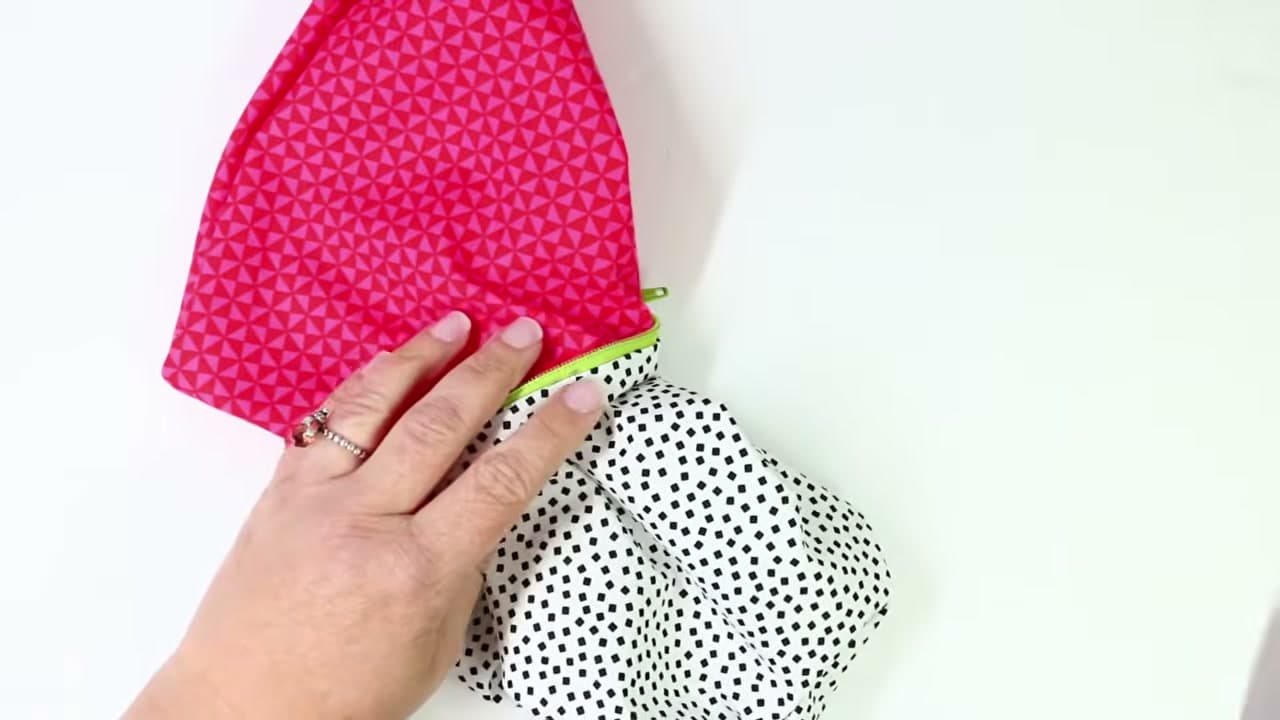
Fold the raw edges of the gap in, press them, and topstitch it closed close to the fold. Drop the lining down inside the outer, work it into the corners, then press the outside and roll the zipper flat between your fingers as you go.

Tip

Pop the folded zipper end tabs open with your fingers before the final press. They sit crumpled after turning, and flattening them out is what makes the finished ends read as store-bought.

Keep going

How to Wind a Bobbin

Products Used

The Checklist

How to Sew a Zipper Pouch

Tools
15
Materials
7
Steps
8
Video
16 min

Tools we recommend

Your Guide

Sookie Sews

As an Amazon Associate we earn from qualifying purchases. Links on this page may be affiliate links - clicking them and buying doesn't change your price, but helps support CraftingStepByStep.

Tags

Sunday How-To

New sewing tutorials, every Sunday

One short email with the week's best step-by-step guides. Free, no spam, unsubscribe anytime.

Did this work for you?

What's next

Related collections

Curated theme pages that include this tutorial.

Similar tutorials

Hand-picked next reads based on the one you just finished.

Weekly Digest

Liked this sewing tutorial?

Pick the categories you want to hear about. Weekly digest of new step-by-step tutorials. No spam, easy unsubscribe.

Send me tutorials about

We only email about new tutorials. Easy unsubscribe anytime.