How to Sew a Scrunchie

SewingEasy11:288 stepsPart of DIY Crafts for BeginnersBrowse more →
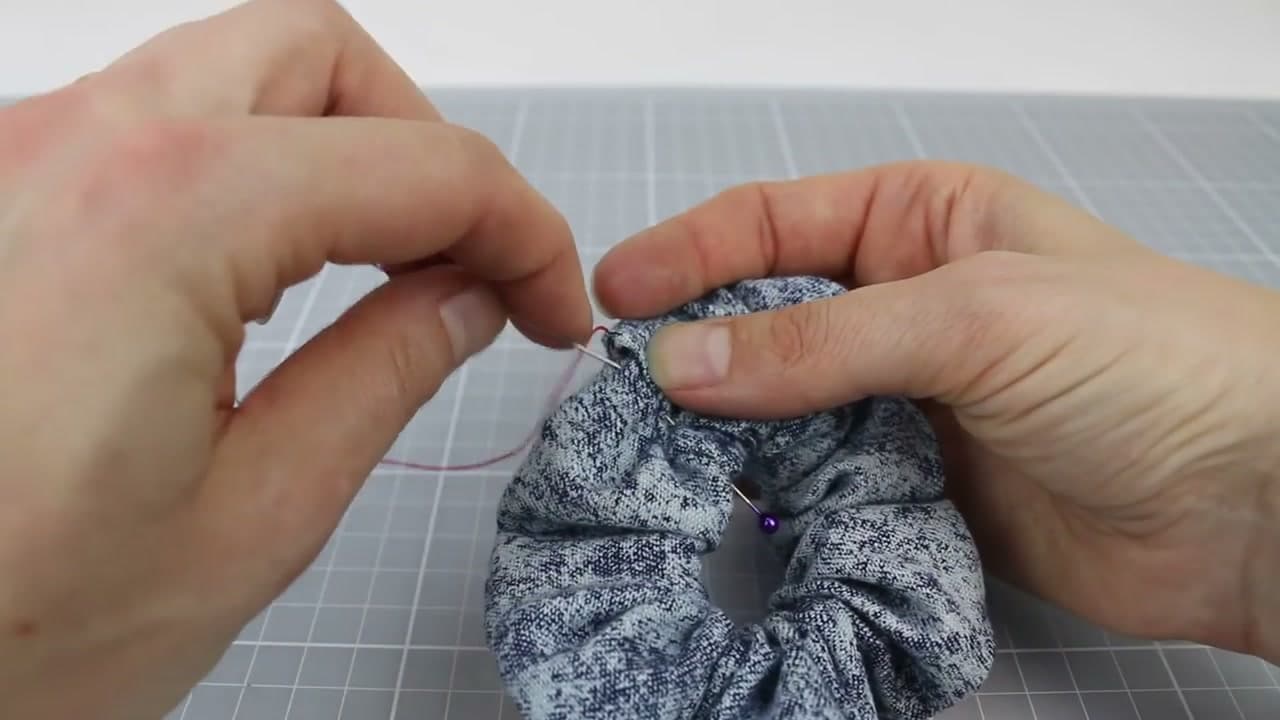
The finished result: How to Sew a Scrunchie
Also in:Crafts

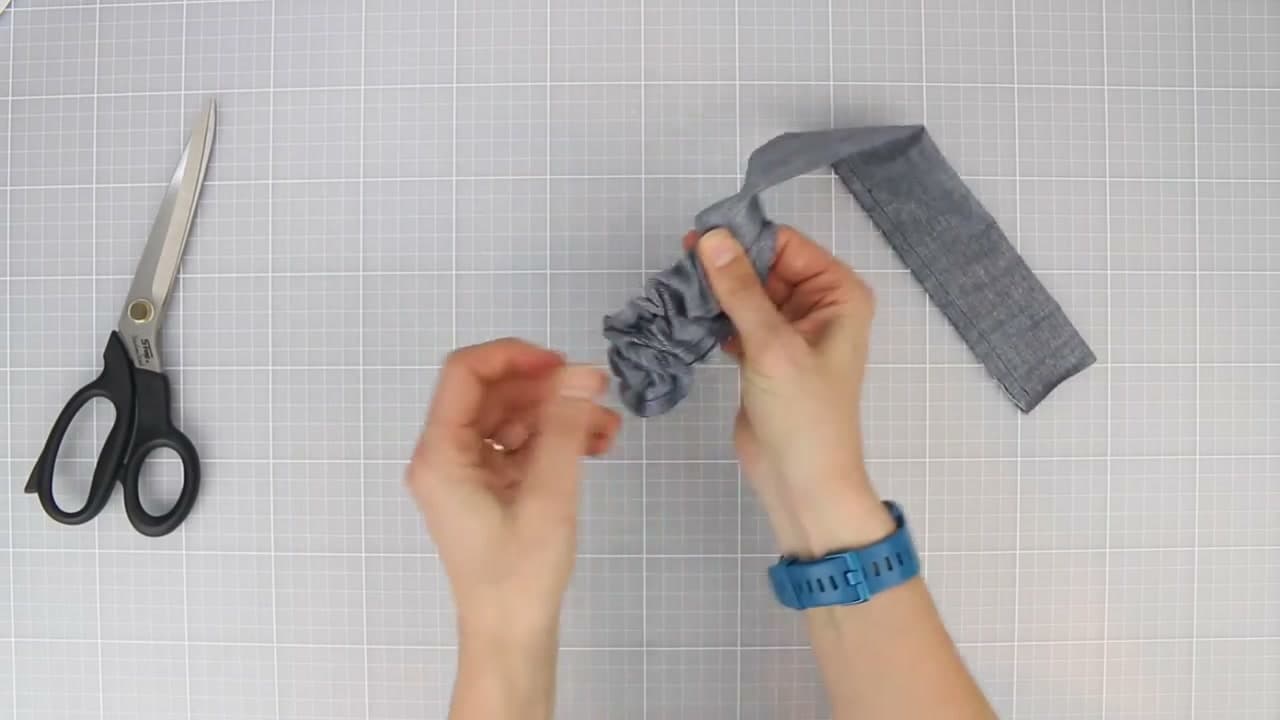
By CraftingStepByStepPublished

Based on a video by Easy Sewing for Beginners.

A scrunchie is one strip of fabric, one piece of elastic and about fifteen minutes at the machine. Domenica Tootell of Easy Sewing for Beginners builds hers from a strip cut 22 inches by 4 inches (56 cm x 10 cm) with 1/4 inch elastic cut 7 inches (18 cm) long. Those two numbers are the entire pattern. Write them on a sticky note and you never need to look them up again.

What makes her version worth copying is the finish. Most scrunchie tutorials close the last gap with a line of machine stitching straight across the outside, which shows. She tucks one raw end inside the other, folds the edge under an eighth of an inch and closes it by hand with a ladder stitch, so the seam disappears into the gathers. She also shows three separate ways to secure the elastic, and the one she does on the machine is the fastest and the flattest.

Fabric choice is wide open. Quilting cotton, satin, velvet, corduroy and thrifted shirts all gather well, and one 22 inch strip costs almost nothing, which is why this is a good landing spot for leftover fabric scraps. If the machine part is new to you, read how to thread a sewing machine and how to use a sewing machine before you start, then practise on a scrap until you can sew a straight line. The long seam here is 22 inches of straight stitching and nothing else.

What you'll need

Step-by-Step Guide

8 steps · about 11 minutes.Check off each step as you go and your progress saves automatically.

1

Cut a 22 by 4 Inch Strip of Fabric

1:12
Step 1: Cut a 22 by 4 Inch Strip of Fabric - How to Sew a Scrunchie

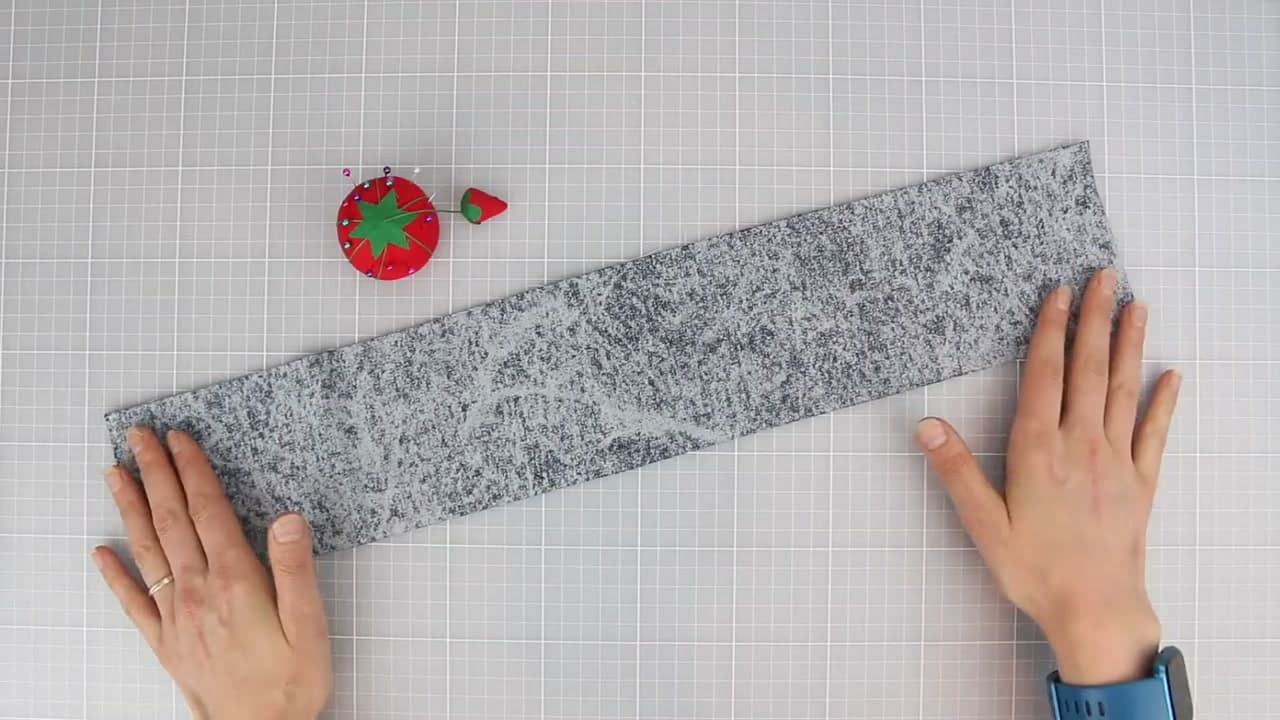
Lay your fabric flat and cut one strip 22 inches by 4 inches, or 56 cm by 10 cm. That single measurement makes one standard scrunchie. A rotary cutter run along a quilting ruler on a cutting mat gives you the straightest long edges, and straight edges make the 22 inch seam far easier to sew. Sharp fabric scissors and a drawn line do the same job more slowly.

Cut a piece of 1/4 inch elastic 7 inches long, or 18 cm. Go up to 9 inches if you plan to knot the ends together later, because the knot swallows about two inches of length. Old shirts, dresses and thrift shop offcuts give you all the fabric you need at almost no cost.

Tip

Quilting cotton holds the gathers best and is the most forgiving to sew. Satin and velvet look more expensive but slide around under the presser foot, so save them for scrunchie number three or four.
2

Fold the Fabric Strip Right Sides Together and Pin the Long Edge

1:42
Step 2: Fold the Fabric Strip Right Sides Together and Pin the Long Edge - How to Sew a Scrunchie

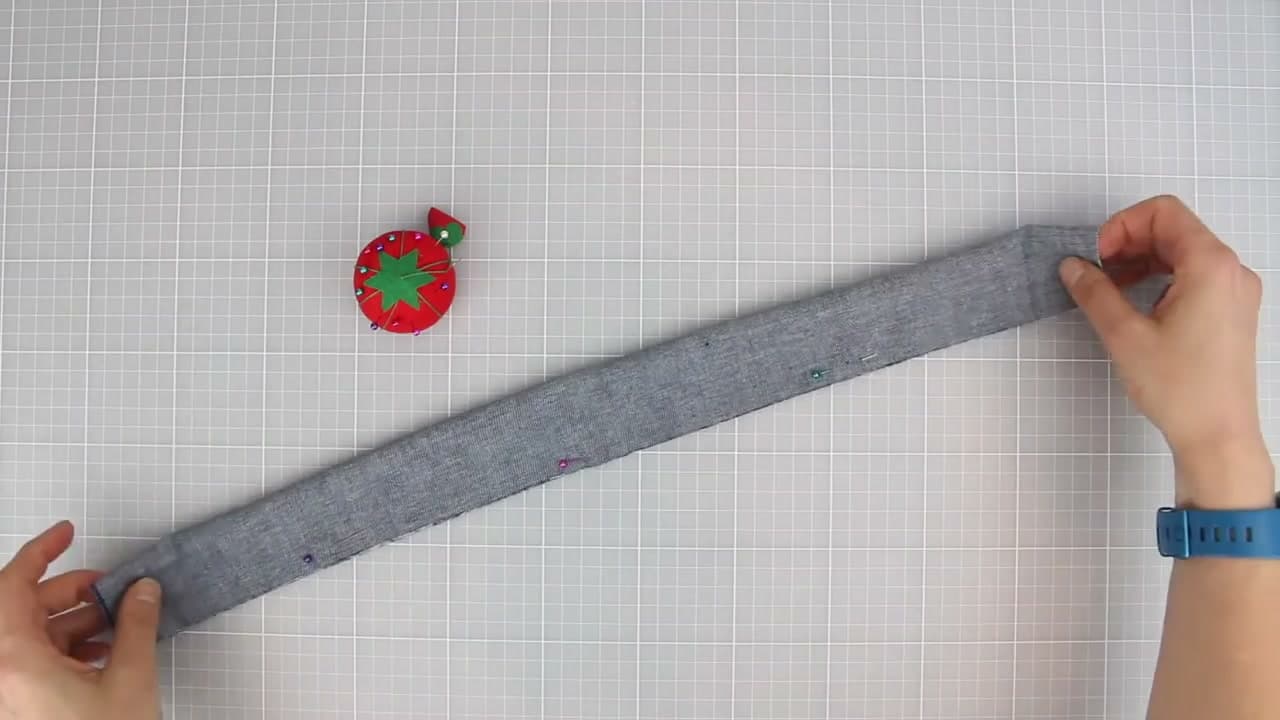
Fold the strip in half along its length so the two long raw edges meet and the printed side of the fabric faces inward. You are working inside out at this stage. The side you want on show stays hidden until you turn the tube in step four.

Push straight pins through both layers along the raw edges, one every few inches. Pins stop the two layers creeping apart over a 22 inch seam, which is where a wobbly tube comes from. Once you have made a few of these you will find you can feed the fold straight in without pinning at all.

Tip

Give the fold a quick press with an iron before you pin. A crisp crease holds its own shape and takes half the fight out of feeding it through the machine.

3

Sew the Long Edge into a Fabric Tube

2:20
Step 3: Sew the Long Edge into a Fabric Tube - How to Sew a Scrunchie

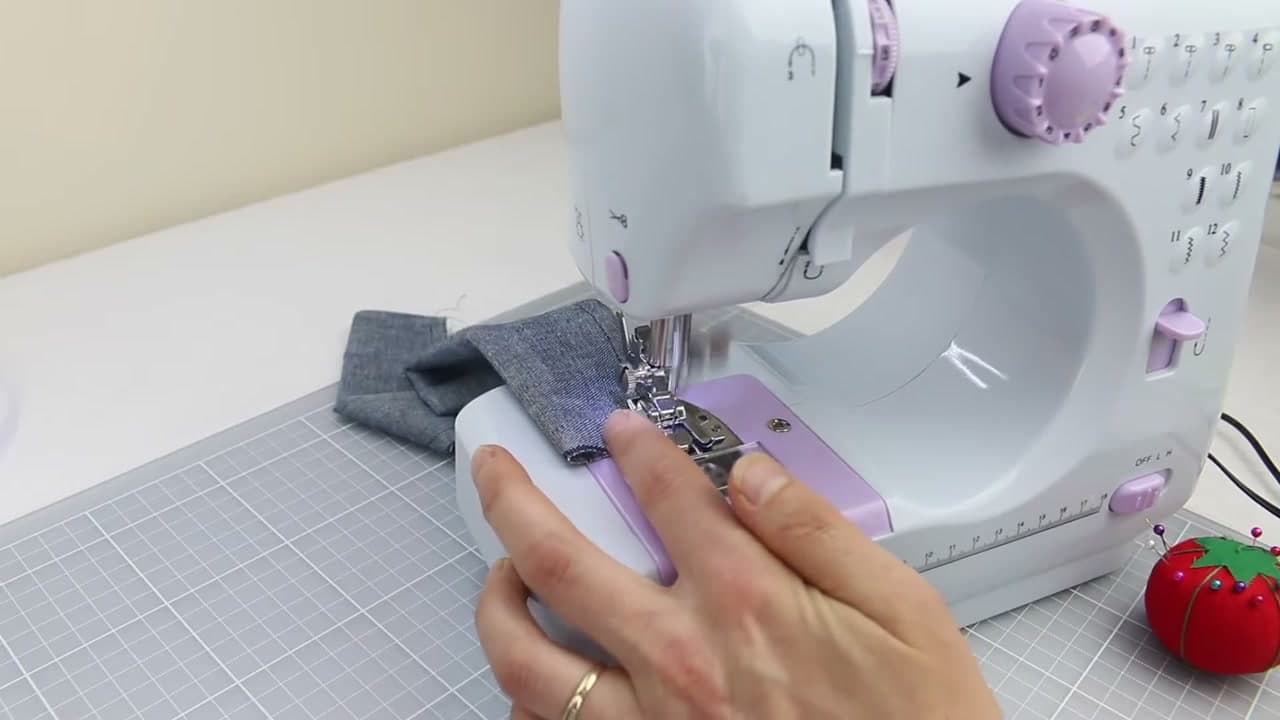
Slide the pinned raw edges under the presser foot and sew the full 22 inches with a 3/8 inch seam allowance. Reverse stitch a few stitches at the start, run the seam, then reverse stitch again at the end. Those two backstitches are what stop the seam unpicking itself while you wrestle the tube right side out.

Pull the pins out as you reach them rather than sewing over them. What comes off the machine is a long skinny fabric tube, inside out, closed along one side and open at both ends.

Tip

Keep the raw edge riding against the same mark on the throat plate the whole way. Watching the edge instead of the needle is the single biggest thing that keeps a long seam parallel.

4

Turn the Fabric Tube Right Side Out

3:02
Step 4: Turn the Fabric Tube Right Side Out - How to Sew a Scrunchie

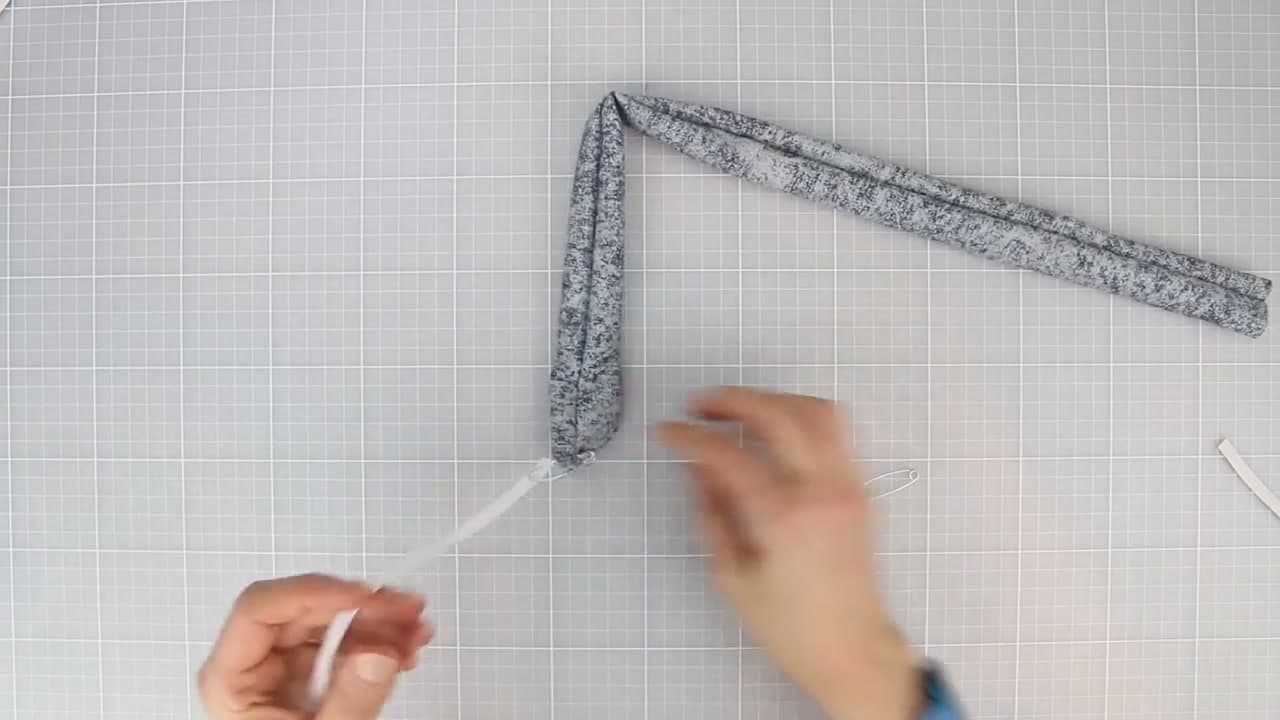
Snip off the thread tails, then clip a safety pin through the seam allowance at one end of the tube. Pinning into the seam rather than the single layer of fabric matters, because a pin in the raw edge alone tears its way out halfway through and you start over.

Push the pinned end down inside the tube and feed it along, bunching the fabric over the pin and pulling the gathered part through behind it. Keep scrunching and pulling. The tube comes out right side out with the seam hidden inside.

Tip

A safety pin that keeps snagging usually means the pin is too big for the tube. Swap to a smaller one, or grab the lump through the fabric with your fingers and walk it along in short pushes.

5

Thread the Elastic Through the Fabric Tube

3:47
Step 5: Thread the Elastic Through the Fabric Tube - How to Sew a Scrunchie

Attach a safety pin to one end of the 7 inch elastic and pin the other end to the outside of the fabric near the opening. That second pin is the one everybody skips and then regrets, because a loose elastic end disappears into the tube and has to be fished back out.

Push the leading pin into the tube and work it along, gathering the fabric down over the elastic as you go. When the pin comes out the far end, both ends of the elastic are free and the fabric has bunched into a ring.

Tip

The fabric wants to twist around the elastic while you feed it. Hold the tube flat against the table with your other hand and let the gathers stack up behind the pin instead of spiralling.

6

Join the Elastic Ends with a Zigzag Stitch

5:56
Step 6: Join the Elastic Ends with a Zigzag Stitch - How to Sew a Scrunchie

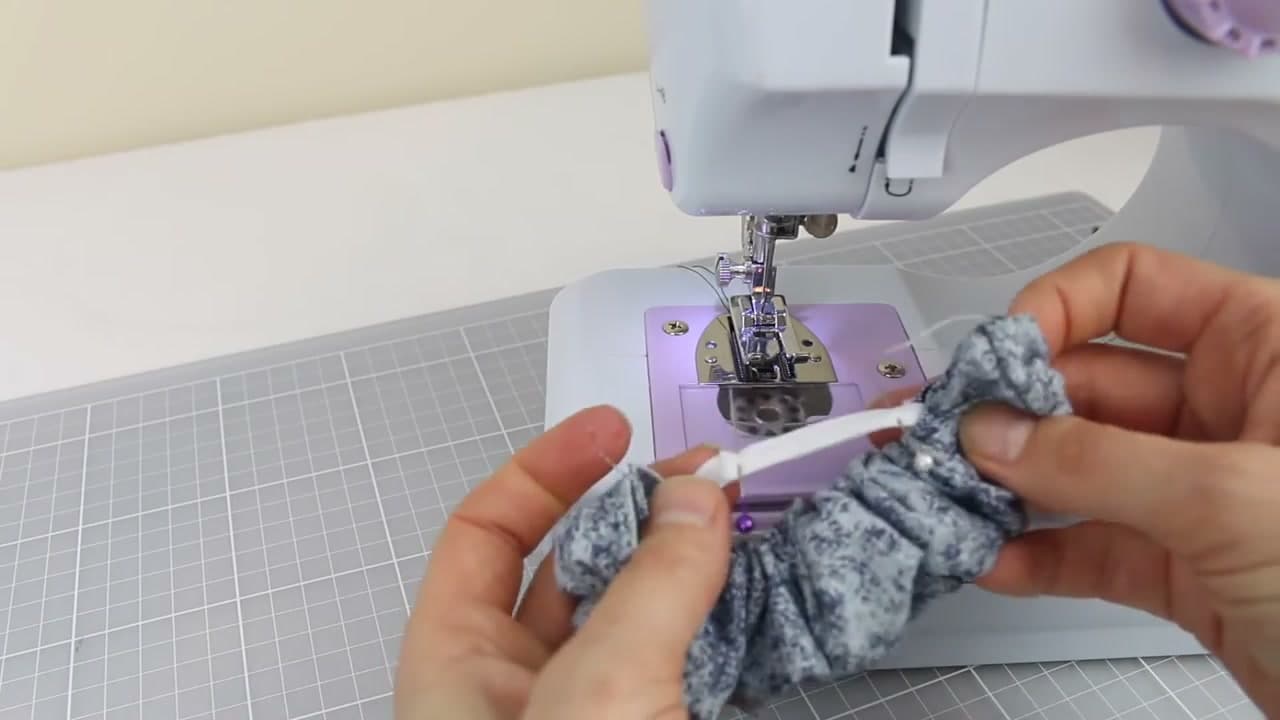
Take both safety pins off and overlap the two elastic ends by about half an inch. Hold the overlap with a straight pin on each side so it cannot slip while you sew. Set the machine to a zigzag stitch and shorten the stitch length as far as it goes, which packs the stitches tight across the overlap.

Slide the overlapped elastic under the presser foot and under the needle, keeping the gathered fabric clear to either side. Run the zigzag forward and backward over the overlap a few times. This is the flattest of the three joins and the one that never works loose in a ponytail.

Tip

The source shows two other joins if the machine feels like too much right now. The quickest is to tie the two ends in a knot, trim the tails and tuck the knot back inside the fabric. Cut the elastic 9 inches instead of 7 if you take this route, because the knot eats roughly two inches.

The middle option is to overlap the ends and hand stitch them with a needle and doubled thread, passing through the overlap ten or twelve times before you knot off. It holds as well as the zigzag and gives you more control than feeding stretchy elastic into a machine.

7

Trim the Excess Elastic and Loose Threads

6:42
Step 7: Trim the Excess Elastic and Loose Threads - How to Sew a Scrunchie

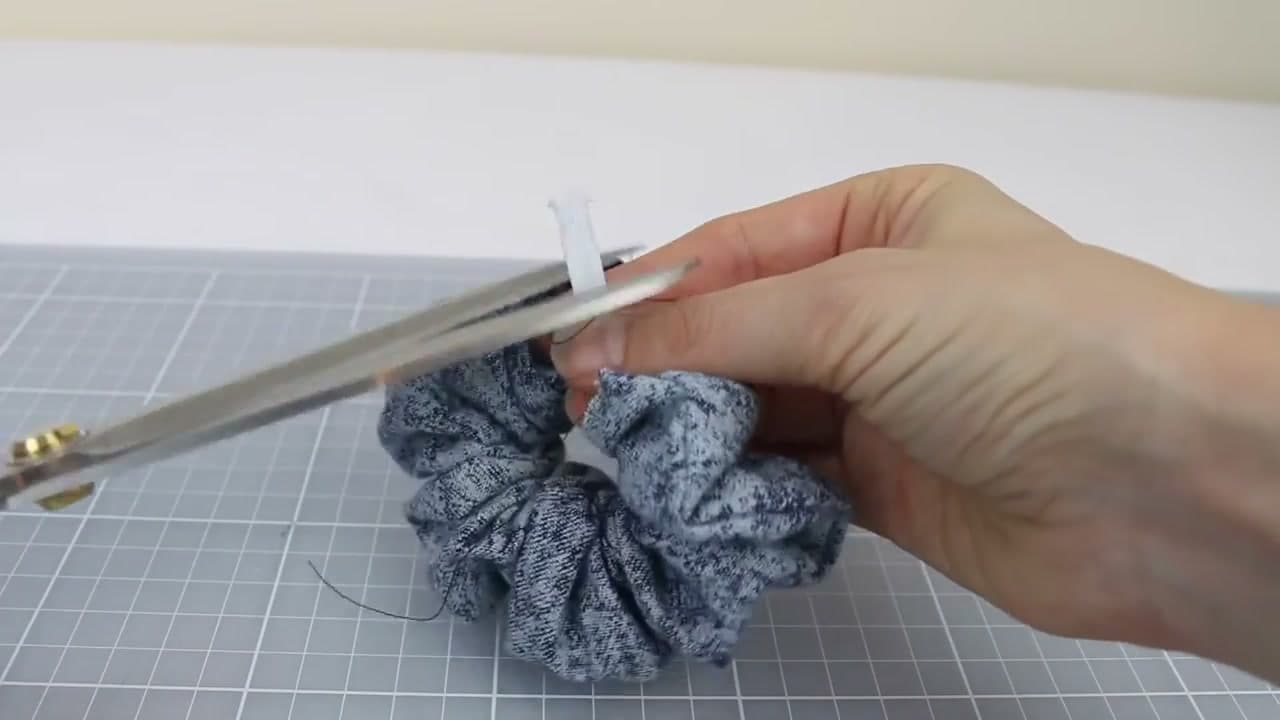
Pull out the two straight pins holding the overlap. Snip the elastic tails sticking out past the stitched join, cutting close but not into the stitching itself, and cut away any thread hanging off the zigzag.

Let go and the elastic springs back inside the fabric. The scrunchie now looks like a finished scrunchie with one open gap where the two ends of the tube meet.

Tip

Trim the elastic before you close the gap, not after. Once the opening is stitched shut the tails are sealed inside and you can feel them as a hard lump every time you wear it.

Used in this stepfabric scissors
8

Close the Gap with a Ladder Stitch

8:42
Step 8: Close the Gap with a Ladder Stitch - How to Sew a Scrunchie

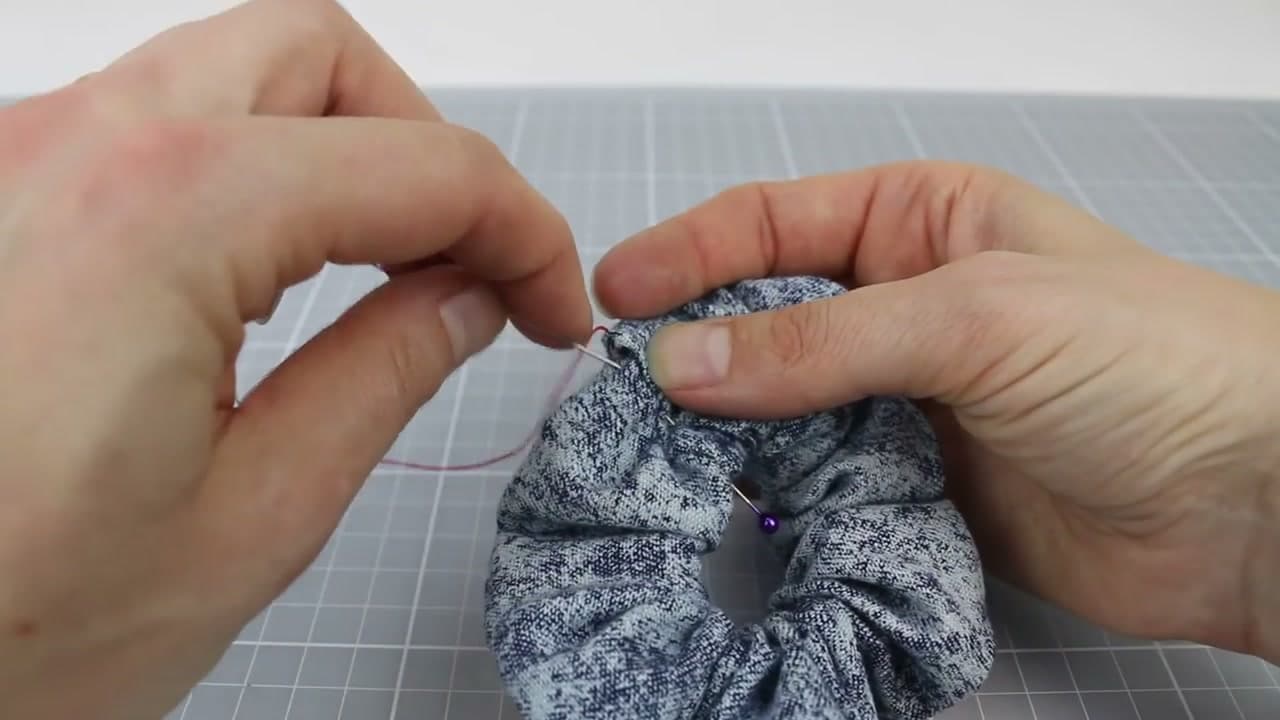
Slide one raw end of the tube inside the other so they overlap, then fold the outer raw edge under itself by about an eighth of an inch and hold it with a pin. Thread a hand needle with doubled thread and knot the end.

Bring the needle up through one of the seams so the knot hides inside, then work a ladder stitch across the gap. Take a small bite of fabric from one folded edge, then a small bite directly opposite, and pull gently every few stitches. The thread pulls down between the two folds and the closure vanishes.

Tip

The same ladder stitch closes a split seam in a cushion or a hole in a stuffed toy from the outside. Learn it here on a scrunchie where nobody will inspect it and you have it for good.

Keep going

How to Make a Christmas Stocking

Products Used

The Checklist

How to Sew a Scrunchie

Tools
9
Materials
3
Steps
8
Video
11 min

Tools we recommend

Your Guide

Easy Sewing for Beginners

As an Amazon Associate we earn from qualifying purchases. Links on this page may be affiliate links - clicking them and buying doesn't change your price, but helps support CraftingStepByStep.

Tags

Sunday How-To

New sewing tutorials, every Sunday

One short email with the week's best step-by-step guides. Free, no spam, unsubscribe anytime.

Did this work for you?

What's next

Related collections

Curated theme pages that include this tutorial.

Weekly Digest

Liked this sewing tutorial?

Pick the categories you want to hear about. Weekly digest of new step-by-step tutorials. No spam, easy unsubscribe.

Send me tutorials about

We only email about new tutorials. Easy unsubscribe anytime.