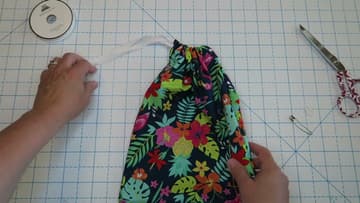
How to Make a Drawstring Bag
Source: Erica Arndt • Full tutorial: www.craftingstepbystep.com/sewing/how-to-make-a-drawstring-bag
- Difficulty
- Easy
- Hands-on time
- About 30 minutes
- Cost
- About $5 to $10
- Makes
- 1 drawstring bag

Tools
- sewing machine
- iron
- ironing board
- fabric scissors
- rotary cutter
- cutting mat
- quilting ruler
- large safety pin
- seam ripper
Materials
- quilting cotton fabric, 12 x 28 inches
- twill ribbon or cord, 28 inches
- all-purpose sewing thread
Steps
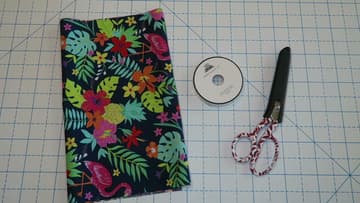
1. Cut One 12 x 28 Inch Rectangle of Cotton Fabric
Lay your quilting cotton on the cutting mat and cut one piece 12 inches wide by 28 inches long. A rotary cutter and a quilting ruler give the cleanest edge, though sharp fabric scissors are fine if you mark the lines first.
Tip: Press the fabric before you cut it. A crease from the bolt fold will throw your measurement off by a quarter inch or more.
2. Press the Long Edges Under Twice
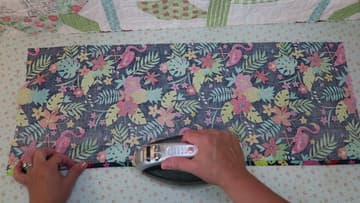
Turn one long edge over about a quarter inch and press it down. Turn it over the same amount again so the raw edge is tucked inside the fold, then press it again.
Tip: A hot dry iron sets a sharper crease in cotton than steam does. Hold it in place for two seconds instead of sliding it along.
3. Topstitch Both Long Edges
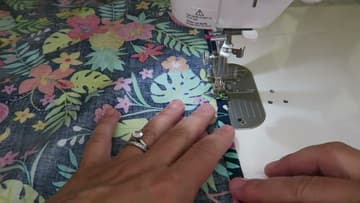
Take the piece to the machine and stitch close to the inner folded edge, straight down the length of the fabric. Keep the needle about an eighth of an inch from the fold.
Tip: Line the fold up against a mark on the throat plate rather than watching the needle. Your stitching line stays straighter that way.
4. Fold the Drawstring Casing at Each End
Press each short end under a quarter inch, then a quarter inch again, the same way you did the long sides. Now fold that finished end down about an inch and a quarter and press the fold flat.
Tip: Match the casing depth to your cord. A quarter-inch ribbon needs about an inch and a quarter. A thick cord wants closer to two inches.
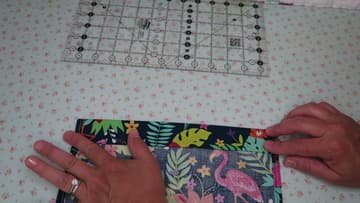
5. Stitch the Casing Channels
Sew along the inner folded edge of the casing, catching the pressed hem underneath as you go. Backstitch at the start and the finish so the channel does not pull open when you tug on the drawstring.
Tip: Stitch as close to the inner fold as you can. A wide channel lets the ribbon twist and bunch up when you pull it.
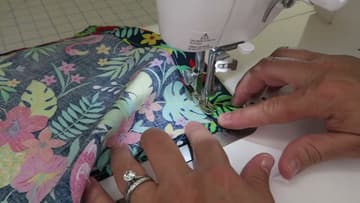
6. Fold the Bag in Half, Right Sides Together
Fold the piece in half across its width with the printed sides facing each other. Line up the side edges, and more importantly line up the two casing seams so the top of the bag sits level.
Tip: Sight down the folded edge from the side before you sew. If the casing lines do not match now, they never will once the seams are in.
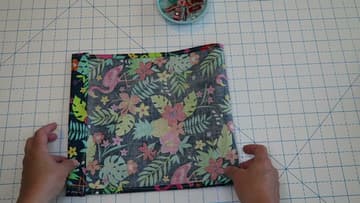
7. Sew the Side Seams and Stop at the Casing
Start each side seam right where the casing stitching ends, not at the very top of the bag. Backstitch there, sew straight down to the folded bottom, and backstitch again.
Tip: Run this seam just inside the existing topstitched edge. That hides the first line of stitching once the bag is turned right side out.
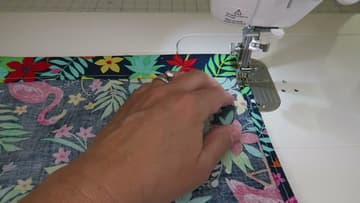
8. Turn the Drawstring Bag Right Side Out
Reach into the top of the bag, grab a bottom corner and pull it back through the opening. Push both bottom corners out with a blunt point like a chopstick, then press the whole bag so the seams lie flat.
Tip: Do not jab at the corners with scissors. Cotton gives way easily and you will push a hole straight through the seam allowance.
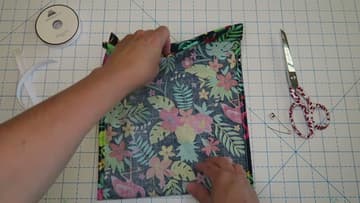
9. Thread the Drawstring With a Safety Pin
Cut the ribbon to length and trim each end at an angle so it feeds cleanly. Clip a large safety pin through one end, push it into the casing opening, and work it along by scrunching the fabric onto the pin and pulling it forward.
Tip: Hold the loose tail with your free hand on the second pass. It is easy to pull the whole ribbon back out the way it came.
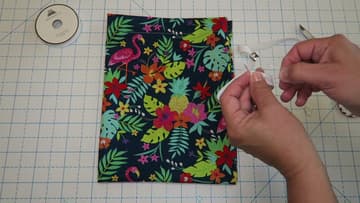
10. Pull the Drawstring and Tie the Ends
Even up both ends of the ribbon so they hang the same length, then pull them apart to gather the top of the bag closed. Tie the two ends together in a plain knot a couple of inches from the tips.
Tip: Knot the ends before you start using the bag. An untied cord disappears back into the casing the first time it snags on something.