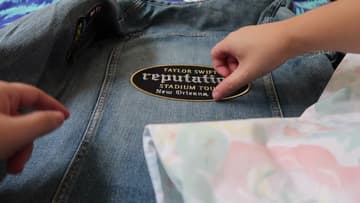
How to Iron On a Patch
Source: Under London Lights • Full tutorial: www.craftingstepbystep.com/sewing/how-to-iron-on-a-patch
- Difficulty
- Easy
- Hands-on time
- About 40 minutes
- Cost
- About $5 to $15
- Makes
- a jacket with several iron on patches applied

Tools
- Steam iron
- Bath towel (to pad the table)
- Sharpie or tailor's chalk
- Cotton bed sheet or pillowcase (pressing cloth)
- Measuring tape
Materials
- Iron-on patches
- Denim jacket
- Enamel pins (optional)
Steps
1. Lay the Jacket Flat on a Bath Towel
Spread a thick bath towel over a table and lay the jacket on top, front side up. Smooth the body flat with your hands, pull the sleeves straight and open the collar so nothing is bunched under the spot you plan to press.
Tip: No ironing board needed. A folded towel on a sturdy table gives you a bigger, flatter surface than a board for a jacket back.
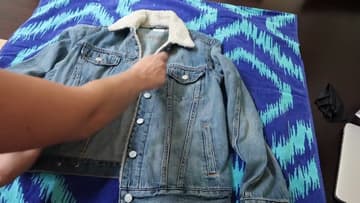
2. Position the Patch and Mark the Spot With a Sharpie
Set the patch on the jacket and move it around until it sits where you want it. Turn it, nudge it, step back and look at the whole jacket.
Tip: Sharpie dots vanish under the patch. On a pale wash near an edge, use tailor's chalk instead so a stray mark brushes off.
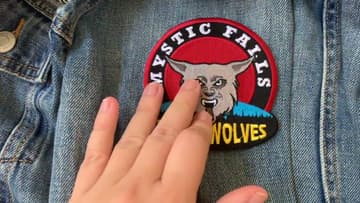
3. Preheat the Denim With the Iron for a Minute or Two
Slide the patch out of the way and run the hot iron over the marked area. Keep it moving for one to two minutes and hold the jacket flat with your free hand so the denim does not bunch under the soleplate.
Tip: Steam off. Moisture in the denim fights the glue. If your iron drips, empty the tank before you start.
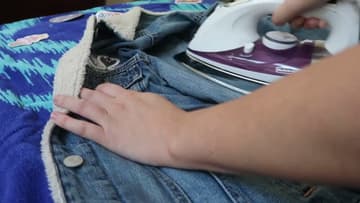
4. Place the Patch and Cover It With a Bed Sheet
Put the patch back down on the Sharpie dots, glue side against the denim. Check it is straight one more time.
Tip: One layer of sheet is enough. A folded towel here blocks too much heat and the glue never melts.
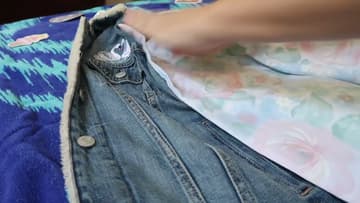
5. Press Through the Sheet for 2 to 3 Minutes, Iron Moving
Set the iron down on the sheet over the patch and lean on it. Move it in slow circles the whole time, two to three minutes, working from the middle of the patch out to the edges.
Tip: Denim and a towel underneath soak up a lot of heat. Thick jacket seams near the patch may need an extra minute.
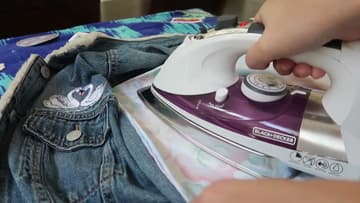
6. Peek Under the Sheet and Press the Edges With a Finger
Lift a corner of the sheet and look at the patch. Run a fingertip around the whole edge and press down as you go.
Tip: Corners and points lift first. On a shield or star shaped patch, spend the extra heat on the points.
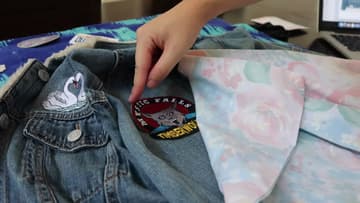
7. Mark the Cuff and Repeat for the Small Patches
Every other patch gets the same routine: Sharpie dots, preheat, place, sheet, press, check. Under London Lights does the cuffs next.
Tip: Do small patches near buttons and pockets with the tip of the iron. The soleplate does not need to cover the whole patch at once.
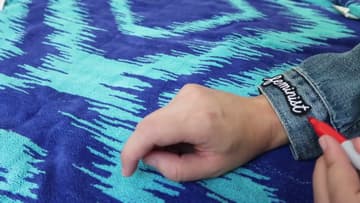
8. Centre the Big Back Patch With Both Hands
Flip the jacket over and smooth the back flat. Lay out every patch you plan to put on the back so you can see the whole arrangement before anything gets ironed.
Tip: Mark the centre of the patch with a chalk tick on the top edge and line it up with the centre seam of the yoke.
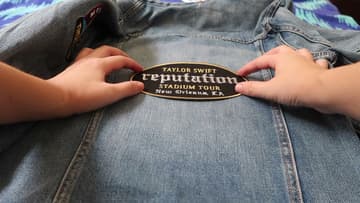
9. Check the Edges and Reheat Anything That Lifts
After the back patch has had its two to three minutes, fold the sheet away and run a finger around the entire edge. The big oval in the video needed a second round of heat on one side.
Tip: Wash the jacket inside out in cold water and skip the dryer. A patch that lifts after a wash can be tacked down with a few stitches around the edge.