How to Embroider Letters (Backstitch Script)

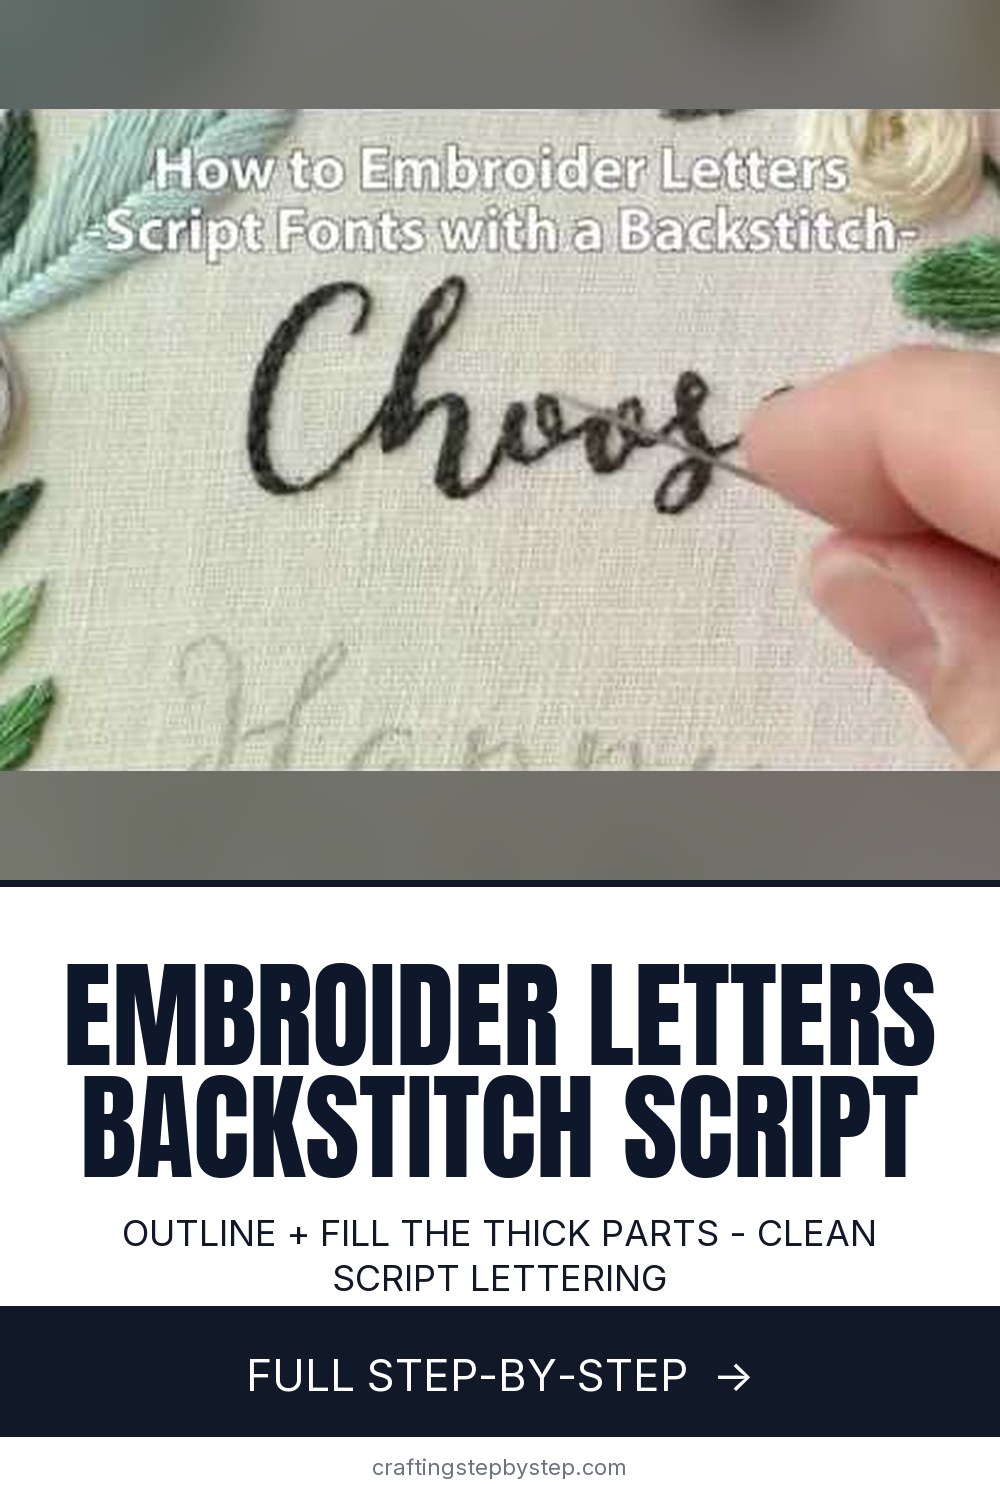
The finished result: How to Embroider Letters (Backstitch Script)
  • Difficulty: Easy
  • About 25 minutes
  • 7 steps

You tapped Save

Save this project for later

We'll email you a link, no password.

How to Embroider Letters (Backstitch Script)

  • Your saved projects in one list
  • Your ticked steps on any device

Check your inbox for an email from us. Not there? Look in your spam folder.

Print

Steps written out by Crafting Step by Step from Cutesy Crafts' video (opens YouTube) (9:00). Published .

Also in:Crafts

Script fonts with thick and thin strokes are everywhere on Pinterest right now - and they're easier to embroider than they look. The trick is one stitch (the backstitch) used three different ways: a single line for thin parts, two parallel lines that outline the thick parts, and a third row down the middle to fill them in.

Jessica from Cutesy Crafts demonstrates on a Choose Happy hoop with greenery already finished around the letters. She uses three strands of dark embroidery floss on natural linen, but the technique works with any color combination on any fabric weight you can hoop.

The lettering takes longer than the rest of the design - budget about an hour for a short word like Happy and double that for a longer phrase. Trace the letters lightly in pencil or use heat-erase pen so the marks disappear when you're done.

Getting the letters onto the fabric

Type the word in a script font, print it at the size you want, and pick one of three ways to move it across:

  • Light box or window. Tape the printout behind light-colored fabric and trace with a heat-erase or water-soluble pen.
  • Water-soluble pen on top. Good on thin cotton and linen. The lines rinse out in cold water once you finish.
  • Printable stabilizer. Print straight onto the sheet, stick it to dark or thick fabric, stitch through it, then soak it away.

More detail on each method is in how to transfer an embroidery pattern.

How many strands of floss

Standard floss is six strands twisted together. Separate them and recombine the number you need. Two or three strands suit script lettering in a 5-6 inch hoop - fine enough for tight curves, thick enough to cover. Block letters and larger words can take four to six. Fewer strands means more stitches, but crisper letters.

Stitch length on curves

This is where most lettering goes bumpy. On a straight stroke a stitch of about 1/8 inch looks fine. On the tight loop of an e or the bowl of an a, cut that in half. Short stitches bend around a curve. Long ones cut a corner and leave a flat spot you can see from across the room.

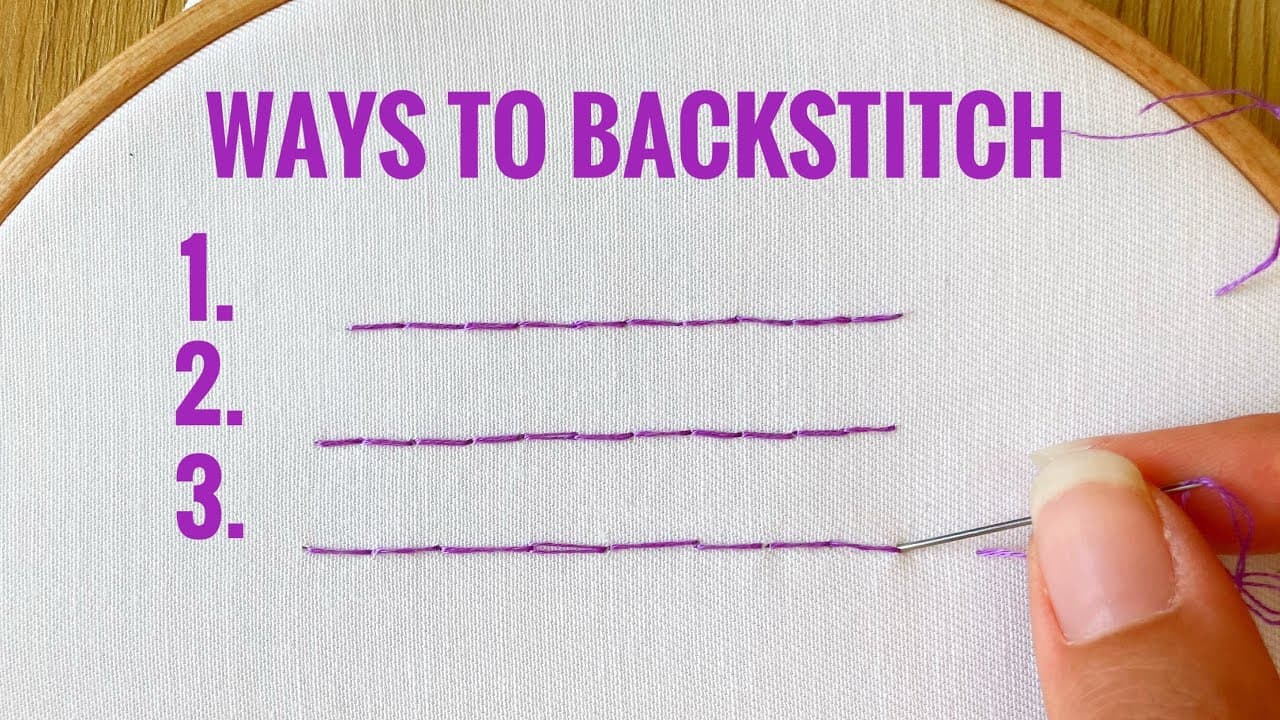
If you are new to the stitch itself, practice a row in how to backstitch before you start on the real word.

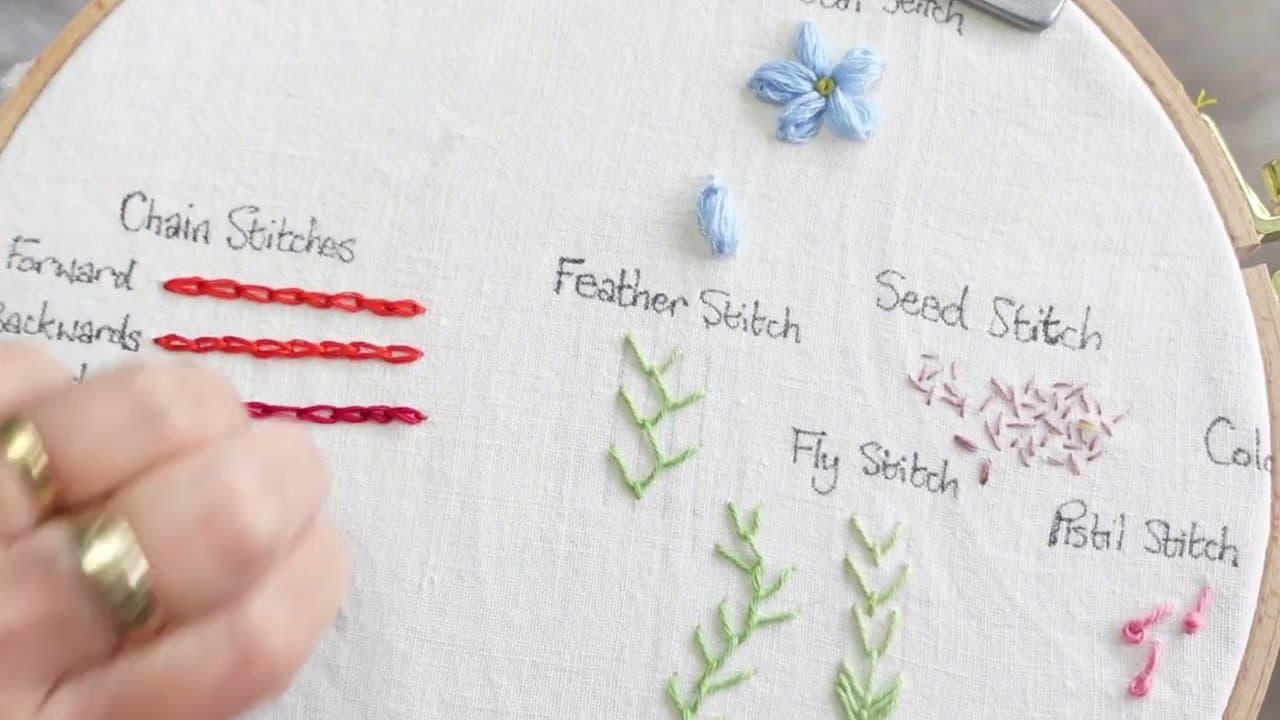
Other stitches for lettering

  • Split stitch - a rope-like line, good for thin strokes that need a little weight.
  • Stem stitch - a twisted line that flows around curves.
  • Satin stitch - solid fill for block letters and monograms. See how to do a satin stitch.

The outline-and-fill backstitch on this page gives a thick stroke a satin look without the long floats that snag.

Keeping the back neat

Light fabric shows everything behind it. A dark thread jumping from the end of one letter to the start of the next becomes a gray shadow across the front. Travel under existing stitches on the back, and when a gap is wider than about half an inch, tie off and start again.

Common mistakes

  • Loose fabric. If the hoop is not drum-tight, stitches pucker and letters lean.
  • Pulling too hard. Tight stitches drag the fabric and thin the line.
  • Ink that will not leave. Test your pen on a scrap first. Some heat-erase marks come back in the cold.

Name and monogram gift ideas

A first name in a 4 inch hoop, a single initial with a sprig of greenery, or a short phrase on a tea towel all work up in an evening or two. That makes lettering a good December project for teachers, grandparents and new babies.

Free printable

Print the steps and supply list for this project

One page you can take to the table. Free with a free account, no password.

Get the free printable

What you'll need

Free, for this project

Get this checklist by email

  • All 5 tools and materials, with tick boxes
  • A link to print all 7 steps on paper, to keep by you while you craft

No password. The whole tutorial stays free on this page.

Quick answer

Embroider script letters by hand using backstitch. Outline + fill the thick strokes, single line for thin parts. Beginner-friendly step-by-step. An easy project: about 25 minutes. Materials cost about $2 to $5. You need 5 things, including Linen or cotton fabric, Embroidery hoop and Embroidery needle. The 7 steps start with trace Your Letters and Hoop the Fabric, backstitch the Thin Curved Parts, switch to Outlining at the Thick Parts and outline the Other Side of the Thick Stroke.

Step-by-step guide

7 steps, about 9 minutes. Tap a picture to jump to that step. Your progress saves automatically.

Tick each step off as you go.

  1. Step 1: Trace Your Letters and Hoop the Fabric

    Watch this step · 0:08

    Pick a script font where the thick and thin parts are obvious - that's where this technique shines. Trace the letters lightly onto your fabric in pencil or heat-erase pen. Hoop the fabric tight so it's drum-tight against the rim.

    Cut about 18 inches of embroidery floss and separate it down to three strands. Three strands gives you a clean line that fills cleanly - six strands looks chunky, one strand barely shows.

    Tip:

    Heat-erase pens disappear with a hairdryer or iron when you're done. Pencil sometimes shows through light fabric, so test on a scrap first.

    Back to all steps

  2. Step 2: Backstitch the Thin Curved Parts

    Watch this step · 0:50

    Start anywhere a thin line is. Bring the needle up from the back of the fabric, take a small forward stitch, then come up further along the line and stitch back to meet the previous one. That's a backstitch - each new stitch ends where the previous one began.

    On tight curves, shorten the stitches. Long stitches on a curve look angular and choppy. Short stitches keep the line smooth as it bends.

    Tip:

    Stitch length on curves should be about half what you'd use on a straight line. The tighter the curve, the smaller the stitch.

    Back to all steps

  3. Step 3: Switch to Outlining at the Thick Parts

    Watch this step · 1:50

    When the letter widens into a thick stroke, don't keep stitching down the middle. Instead, run a single backstitch line down ONE side of the thick area. Stop at the top of the thick part and continue.

    This outline is just the first of three rows that'll fill the thick stroke. The other two rows come next, but you need this side line in place first to set the boundary.

    Tip:

    The outline doesn't need to be perfectly parallel to the line you traced - aim for the edge of the thick stroke and let the eye smooth out the rest.

    Back to all steps

  4. Step 4: Outline the Other Side of the Thick Stroke

    Watch this step · 2:35

    Bring the needle up close to where the first thick line started, on the other side of the stroke. Run another row of backstitches parallel to the first one, all the way down to where the thick part ends.

    Now you have two outline rows framing the thick stroke. The space between them is what you'll fill in next. The two rows should be just barely close enough together that one more row fits between them.

    Tip:

    If your two outline rows ended up too far apart, you can fit two fill rows in the middle. Three or four rows works fine on really thick strokes - it's only when they look loose and stripey that you need to go back and tighten up.

    Back to all steps

  5. Step 5: Fill the Thick Stroke With a Middle Row

    Watch this step · 3:15

    Run a third row of backstitches right down the middle between your two outline rows. Stagger the stitch lengths so they don't all start and stop in the same spot as the outline rows.

    If every row stops in the same place, the thick stroke looks segmented and bumpy. Mixing up where the stitches break makes the fill look smooth and continuous.

    Tip:

    Tiny gaps between stitches usually fill themselves - poke at the threads with the tip of your needle and they spread out to cover the fabric.

    Back to all steps

  6. Step 6: Travel Cleanly Through the Back

    Watch this step · 4:50

    When you finish a section and need to move to the next part of the letter, don't pull the thread loose across the back of the fabric. Instead, run the needle UNDER existing stitches on the back to travel from one spot to another.

    Loose threads carried across the back show through on light fabric and snag on the back of finished pieces. Threading under existing stitches keeps everything neat and invisible.

    Tip:

    If you're skipping less than a quarter inch and the fabric is dark, just run the thread across - it won't show. Save the under-existing-stitches travel trick for longer jumps and lighter fabrics.

    Back to all steps

  7. Step 7: Repeat for Each Letter

    Watch this step · 8:00

    Apply the same pattern to every letter. Always start at the TOP of a letter when possible - working downward keeps the stitches lying flat. When you reach a point where two thick strokes meet, skip over rather than stitching across the join. The visible junction looks more natural without the extra stitches.

    When the whole word is done, tie off the floss by running it back through three or four existing stitches on the back. Snip the tail close. The hoop is now ready to display, frame, or finish into something else.

    Tip:

    For a wall-ready piece, trim excess fabric to about an inch outside the hoop and stitch a running line around the edge. Pull the thread to gather the fabric tight against the back of the hoop, then knot.

    Back to all steps

How to Backstitch: 3 Ways for Hand Embroidery

Keep going

How to Backstitch: 3 Ways for Hand Embroidery

7 steps · about 9 minutes

Keep going with embroidery

More on this topic, picked for this project.

You reached the last step

Save this project to come back to it

Your ticked steps, the free printable and your other saved makes, together in My Projects. Free, no password.

You tapped Save

Save this project for later

We'll email you a link, no password.

How to Embroider Letters (Backstitch Script)

  • Your saved projects in one list
  • Your ticked steps on any device

Check your inbox for an email from us. Not there? Look in your spam folder.

Free printable

Printable sheet and shopping list for this project

The bonus is hidden until you sign up.

Free with a free account, no password. Every step above stays open to everyone.

Products Used

The Checklist

How to Embroider Letters (Backstitch Script)

Tools
3
Materials
2
Steps
7
Video
9 min

Tools we recommend

As an Amazon Associate we earn from qualifying purchases. Links on this page may be affiliate links - clicking them and buying doesn't change your price, but helps support Crafting Step by Step.

Tags

The Crafter's Weekly

New embroidery tutorials, every Sunday

One short email with the week's best step-by-step guides. Free, no spam, unsubscribe anytime.

Test your knowledge

Did the lesson stick? Start with this one.

5 questions covering what you just read. No signup, no score saved, and you can stop after this one.

Question 1 of 5

Right number of floss strands?

Quick reference

Key takeaways from How to Embroider Letters (Backstitch Script)

5 questions, answers, and one-line explanations. Tap to expand.

  1. 1.Right number of floss strands?

    Answer: 3 strands balanced

    Three strands = clean line that fills cleanly. Six = chunky. One = barely shows.

  2. 2.What is the backstitch motion?

    Answer: Each ends where last began

    Bring needle up, take small forward stitch. Come up further along, stitch back to meet previous. Each ends where previous began.

  3. 3.How do you fill thick strokes in this script?

    Answer: Three rows of backstitch

    Outline both sides with backstitch + middle row. Stagger lengths so they don't start/stop in the same spot.

  4. 4.Why stagger stitches across the three rows?

    Answer: Avoids segmented look

    If every row stops in the same place, thick stroke looks segmented and bumpy. Staggering = smooth continuous fill.

  5. 5.How to travel cleanly to a new spot?

    Answer: Run under existing stitches

    Loose threads across the back show through and snag. Threading under existing stitches keeps it neat and invisible.

Did this work for you?

What's next

Related collections

Curated theme pages that include this tutorial.

Similar tutorials

Hand-picked next reads based on the one you just finished.

Liked this embroidery tutorial?

Pick the crafts you want to hear about. One email every Sunday with new step-by-step tutorials. No spam, easy to unsubscribe.

Get more like this in your inbox

Weekly digest. Pick the categories you want. Unsubscribe anytime.

Send me tutorials about

We only email about new tutorials. Easy unsubscribe anytime.