How to Nest Seams so Every Quilt Intersection Matches

QuiltingEasy12:529 stepsPart of DIY Crafts for BeginnersBrowse more →
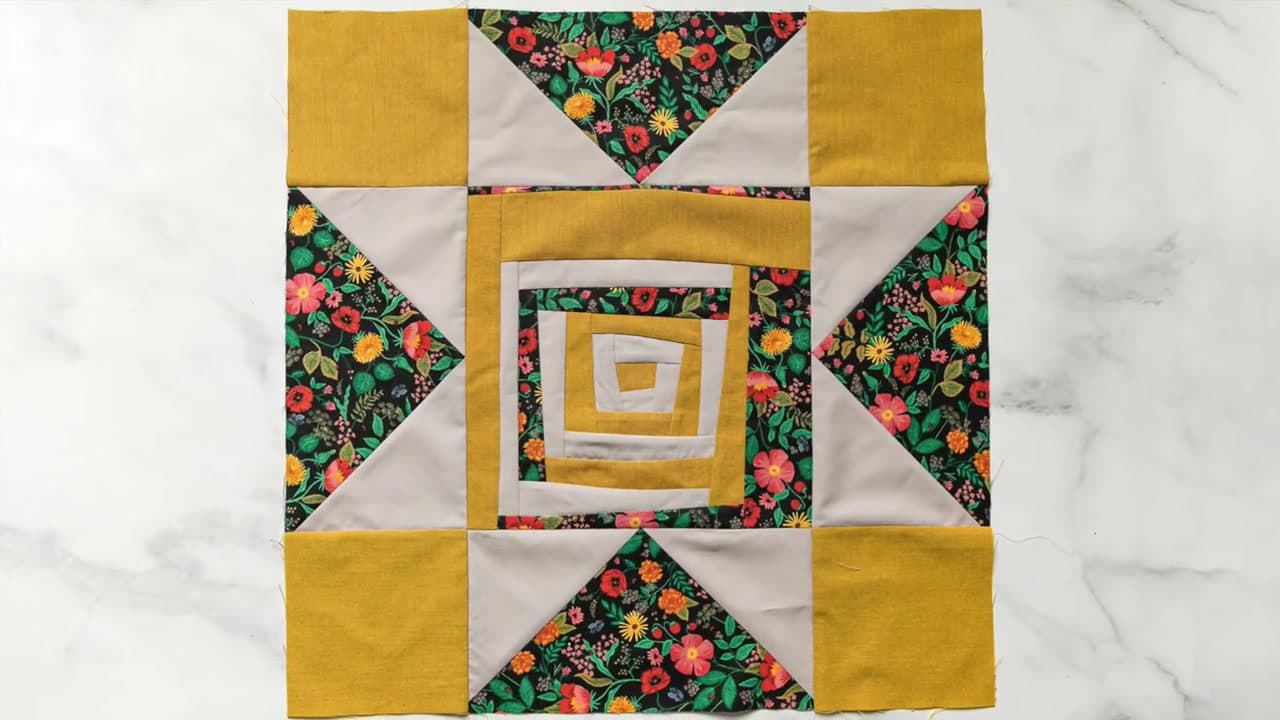
The finished result: How to Nest Seams so Every Quilt Intersection Matches

By CraftingStepByStepPublished

Based on a video by Power Tools with Thread.

Nesting is the difference between crisp corners on a quilt block and a lumpy knot where four patches meet. It is not a stitching skill. It is decided before the needle goes near the fabric, in the moment you choose which way each seam allowance lies.

Becky Thompson of Power Tools with Thread demonstrates it on a plain four-patch, and hers is the version worth copying because she slows down at the two moments most tutorials skip: feeling for the lock, and which way the pin goes in.

What makes a seam nest

Two seams nest when their allowances are pressed in opposite directions. Lay one unit on the other, right sides together, and the folded ridge of the top allowance runs one way while the ridge underneath runs the other. They butt up like two kerbstones and stop dead. That small ledge of fabric does the alignment for you.

Press both the same direction and the ridges stack, nothing stops them drifting, and the join ends up thick on one side. So nesting really starts one page earlier, with how you press quilt seams. Open seams lie flatter and suit dense quilting, but they leave no ledge and cannot nest. While you are learning this, press to the side.

Feel it, do not look at it

This is the part nobody writes down. Hold the two units with their raw edges even but the seams slightly apart, then push the top one toward the bottom one until it stops. You feel a tiny catch through your fingertips, the way a drawer catches on its runner. That is the lock, and once you know what it feels like you stop squinting at the edge and hoping.

Which allowance goes on top

This one costs beginners a lot of unpicking. As the pair goes under the needle, the bottom layer's allowance wants to point toward you and the top one wants to point away. Most machines have a small lip where the needle plate meets the bed, and an allowance facing away can snag on it and fold back under itself as the feed dogs pull the block through. You will not see it until the block is open.

Spinning the centre of a four-patch

Where four seams arrive at one point the middle can get bulky enough to stop the block lying flat. Quilters fix that by spinning the centre, or swirling. Unpick the two or three stitches holding the last allowance at the middle, then swing all four around the join so they point the same way, like a pinwheel. The bulk spreads over four quarters instead of one.

When the intersection still misses

  • Both allowances went the same way. Lay one unit face down, lift the allowance with a fingernail and press it back the other way. Re-pressing is quick. Forcing a nest that is not there is not.
  • The two units are different widths. Nothing lines up if the pieces are not the same size. Measure both before you join them, and if they are drifting, go back to cutting quilt fabric.
  • The seam allowance wanders. A join that runs a hair over a quarter inch at one end and a hair under at the other walks the intersection along the seam. This only works if you are sewing a true quarter inch seam, and being consistent matters more than being exact.
  • You used steam. Steam relaxes cotton and lets the patch grow along the bias. Press dry and use starch to hold an allowance down.
  • The pin only caught the top layer. Then it held nothing. It has to go through both allowances or the ridges come apart as soon as the feed dogs take over.

Once the intersections match, the next job is getting the block to measure what the pattern says. That is squaring up a quilt block, and a nested centre makes it far easier because you have a true reference point to centre the ruler on. The same habit carries into half square triangles, where the seams cross on the diagonal and the points are less forgiving still.

What you'll need

Step-by-Step Guide

9 steps · about 13 minutes.Check off each step as you go and your progress saves automatically.

1

Stack the Sewn Pairs and Trim Them With a Quilting Ruler

2:12
Step 1: Stack the Sewn Pairs and Trim Them With a Quilting Ruler - How to Nest Seams so Every Quilt Intersection Matches

Stack your sewn pairs like a deck of cards so every edge sits flush, then lay the smallest ruler that still covers the block on top. A big ruler hanging off the side of a small patch is easy to nudge without noticing.

Line the ruler up on three sides at once, not only the side you are about to cut, and check the bottom edge before the blade moves. Nesting cannot rescue two units that finished at different widths.

Tip

Cut away from your body, and close the rotary blade every single time you set it down.

2

Finger Press Each Seam Allowance From the Middle Outward

2:42
Step 2: Finger Press Each Seam Allowance From the Middle Outward - How to Nest Seams so Every Quilt Intersection Matches

Before any heat touches the fabric, open each pair and run your thumb along the back of the seam, starting in the middle and working out to both ends. Push one pair's allowance toward the dark patch and the other pair's allowance the opposite way.

Finger pressing is what sets the direction, and changing your mind now costs nothing. Once the iron has been over it you are no longer pressing, you are re-pressing.

Tip

Decide the directions by looking at the whole block, not one unit at a time. Every seam that will meet another one needs a partner going the other way.

3

Press the Two-Patch Units Flat With a Dry Iron

3:24
Step 3: Press the Two-Patch Units Flat With a Dry Iron - How to Nest Seams so Every Quilt Intersection Matches

Take both units to the board and press them with a dry iron. Set the iron down, hold it, lift it, move it, set it down again. Never slide it along the seam.

Skip the steam. Steam relaxes the cotton and lets the patch grow along the bias, which turns up later as a block that measures differently across its two diagonals. A shot of starch or pressing spray flattens the allowance without stretching anything.

Tip

If a seam allowance shadows through a light patch, that shows far less in a finished quilt than a distorted block does. Keeping the nest is the higher priority.

Used in this stepsteam ironspray starch
4

Check the Two Pressed Units Have Their Seams Running Opposite Ways

4:04
Step 4: Check the Two Pressed Units Have Their Seams Running Opposite Ways - How to Nest Seams so Every Quilt Intersection Matches

Lay the two pressed units out the way the finished block will read. Run a fingertip across the back of each seam and confirm one allowance travels left and the other travels right.

If both went the same direction, put one back under the iron now rather than finding out with the block half sewn. Two allowances stacked on top of each other have nothing to butt against and will never lock.

Tip

Pressing toward the dark fabric is the usual advice, but when two seams have to nest, direction beats shadowing. Let the nest win.

5

Butt the Two Seam Allowances Together and Feel for the Lock

7:30
Step 5: Butt the Two Seam Allowances Together and Feel for the Lock - How to Nest Seams so Every Quilt Intersection Matches

Put the units right sides together with the raw edges even and the seams starting slightly apart. Slide the top unit toward the bottom one until the two allowance ridges meet and refuse to go any further.

That small bump through your fingertips is the lock. It is the only confirmation you need, and it beats anything you can see from above, because the join you are checking is hidden between two layers of fabric.

Tip

If it slides straight past with no resistance, the allowances are lying the same way. Stop and re-press one of them.

6

Push a Pin Through Both Seam Allowances Below the Stitching Line

8:50
Step 6: Push a Pin Through Both Seam Allowances Below the Stitching Line - How to Nest Seams so Every Quilt Intersection Matches

Hold the lock with one hand and push a pin down just below where the stitching line will run, through the top allowance and out through the one underneath.

Catching both is the entire point. A pin that only goes through the top layer is holding fabric to nothing, and the ridges separate the moment the feed dogs start pulling. Keep the pin close to the intersection, a few threads to one side of it.

Tip

Glass head pins earn their keep here. If the iron strays near a plastic head while you are working, the head melts onto the block.

Used in this stepglass head quilting pins
7

Angle the Pin So It Sits Clear of the Stitching Line

9:40
Step 7: Angle the Pin So It Sits Clear of the Stitching Line - How to Nest Seams so Every Quilt Intersection Matches

Feed the pin in at an angle rather than standing it upright, and go in from underneath so the head finishes on top and off to the side of where you will stitch.

Pinned that way you sew past the intersection first and pull the pin afterwards. Pinned the other way round you have to take it out before the needle arrives, which hands the seams their freedom back at the exact moment they are least supported.

Tip

Never sew over a pin, even slowly. A needle that hits one can bend, snap, or knock the machine out of timing.

8

Sew Across the Nested Intersection and Pull the Pin One Stitch Past

11:30
Step 8: Sew Across the Nested Intersection and Pull the Pin One Stitch Past - How to Nest Seams so Every Quilt Intersection Matches

Stitch a quarter inch from the raw edge and watch the fabric feeding in at the front rather than watching the needle. A strip of quarter-inch tape or a seam guide on the bed is what lets you do that.

Take one stitch past the crossing seam, stop with the needle down, and pull the pin out. That single stitch is now anchoring both allowances, so nothing can shift for the rest of the seam. Sew to the end at a steady speed.

Tip

Slow down for the last inch before the intersection. Most misses happen because the block was travelling too fast to correct.

9

Open the Four-Patch Block and Check the Centre Intersection

12:44
Step 9: Open the Four-Patch Block and Check the Centre Intersection - How to Nest Seams so Every Quilt Intersection Matches

Open the block out and look hard at the middle. Four seams should arrive at one point with no step, no pleat, and no patch sitting higher than its neighbour.

Turn it over and check the back as well. If the point is out by a thread or two, the allowances were not fully butted when you pinned, and the fix belongs to the next block rather than this one. Press the new seam and carry on.

Tip

A join out by more than about an eighth of an inch is worth unpicking. Anything smaller disappears once the quilt is layered and quilted.

Keep going

How to Add Borders to a Quilt Top So They Lie Flat

9 steps · about 10 minutes

Products Used

The Checklist

How to Nest Seams so Every Quilt Intersection Matches

Tools
8
Materials
5
Steps
9
Video
13 min

Tools we recommend

Your Guide

Power Tools with Thread

As an Amazon Associate we earn from qualifying purchases. Links on this page may be affiliate links - clicking them and buying doesn't change your price, but helps support CraftingStepByStep.

Tags

Sunday How-To

New quilting tutorials, every Sunday

One short email with the week's best step-by-step guides. Free, no spam, unsubscribe anytime.

Did this work for you?

What's next

Related collections

Curated theme pages that include this tutorial.

Weekly Digest

Liked this quilting tutorial?

Pick the categories you want to hear about. Weekly digest of new step-by-step tutorials. No spam, easy unsubscribe.

Send me tutorials about

We only email about new tutorials. Easy unsubscribe anytime.