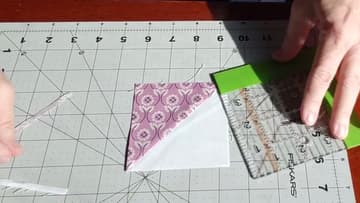
How to Square Up a Quilt Block So Every Block Measures the Same
Source: Power Tools with Thread • Full tutorial: www.craftingstepbystep.com/quilting/how-to-square-up-a-quilt-block
- Difficulty
- Easy
- Hands-on time
- About 15 minutes
- Cost
- About $8 to $15

Tools
- Square quilting ruler with a 45-degree line
- Rotary cutter
- Self-healing cutting mat
- Rotating cutting mat (optional)
- Iron
- Seam ripper
Materials
- Painter's tape
- Replacement 45mm rotary blades
- Spray starch
- Non-slip sandpaper dots for rulers
Steps
1. Lay the Pressed Quilt Block on the Cutting Mat and Work Out the Unfinished Size
Press the block flat before it goes anywhere near a ruler. A seam allowance still standing up reads as bulk and throws the measurement out by more than you would think.
Tip: Measure a few blocks from the same batch before you cut any of them. If they are all running small, the problem is your seam allowance and trimming will not fix it.
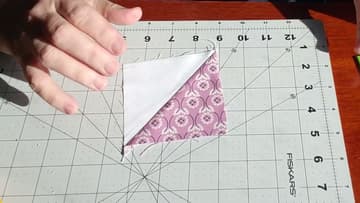
2. Run Painter's Tape Along the Ruler Lines You Are Not Trimming To
Square rulers are covered in lines, and on a small one they blur together the moment patterned fabric goes underneath. Tear two strips of painter's tape and lay them along the outside of the lines you are cutting to, hiding everything past your trim size.
Tip: The tape earns its keep twice. It gives the ruler some grip on the fabric too, so the whole thing skates around less while you cut.
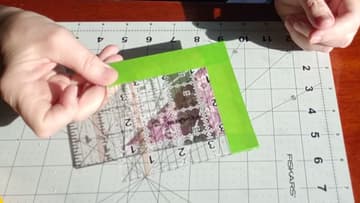
3. Check the Square Quilting Ruler for a 45-Degree Line Running Corner to Corner
Any ruler big enough to cover the block will cut a square. A block built on a diagonal needs more than that.
Tip: A ruler an inch or so bigger than your trim size is about right. Much bigger and you lose sight of the edges you are lining up.
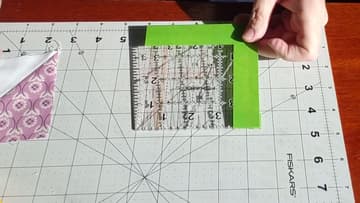
4. Put a Fresh Blade in the Rotary Cutter Before You Trim
A dull blade does not fail cleanly. It skips threads, so you press harder to get through, and that extra pressure is what shoves the ruler off your line halfway down the cut.
Tip: Close the guard every time you set the cutter down. A live rotary blade rolling loose on a cutting mat is the most common injury in quilting.
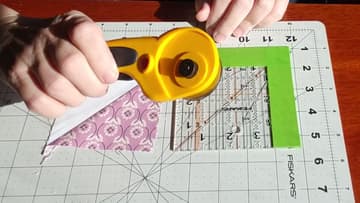
5. Set the Ruler So Both Top Corners Sit a Thread Inside the Block's Raw Edge
Lower the ruler onto the block with your trim size sitting over the fabric, then look at the top two corners. You want the ruler's edge a thread inside the raw edge of the block at both of them, so there is a sliver to come off rather than a gap where the block has run short.
Tip: A ruler weight or a few stick-on sandpaper dots stop the ruler creeping while you move your hand across to pick up the cutter.
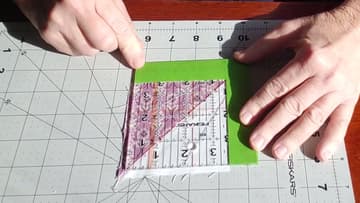
6. Run the Ruler's 45-Degree Line Straight Down the Block's Diagonal Seam
Three things have to be right before the blade comes out: the first corner, the second corner, and the 45-degree line sitting square on the seam. The corners give you the size.
Tip: Work with the light coming across the block rather than straight down on it. A raking light shows the seam line through the acrylic far better than overhead light.
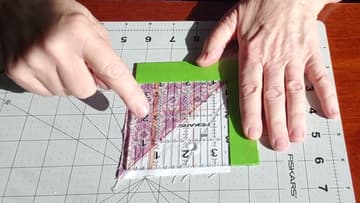
7. Cut Up the Ruler Edge With the Rotary Cutter, Starting Behind the Block
Press down on the ruler with your spare hand, fingertips spread across the middle of it rather than out on the edge. Set the blade on the mat behind the block, not on the fabric, and roll forward until you are past the far edge.
Tip: Starting and finishing off the fabric is what gives you a clean corner. Start on the block and you leave a nick at the edge that shows once it is sewn in.
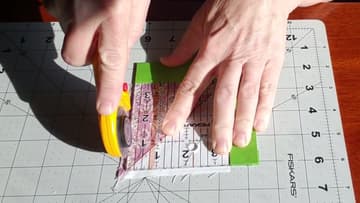
8. Move the Block Out From Under the Ruler, Then Turn It and Trim the Last Two Sides
Slide the block away and leave the ruler exactly where it is. If the blade skipped a thread anywhere, you can drop the block back into position instead of aligning the whole thing from scratch.
Tip: A rotating cutting mat is the one luxury worth having here. You spin the mat instead of picking the block up and putting it down, which is where blocks get knocked out of true.