How to Make a Paper Pumpkin

Based on a video by Art for Kids Hub

Opens their YouTube channel

Steps written out by CraftingStepByStep · Published · Updated

Watch the original video (opens YouTube)
The finished result: How to Make a Paper Pumpkin
Also in:Crafts

This paper pumpkin starts as one flat sheet of orange construction paper and ends up round, a little wobbly, and standing on the table by itself. Rob from Art for Kids Hub makes it with his son, so every step is sized for kid hands: folding, one stem, two staples, a bit of cutting and some tape. The idea came from another YouTube video, and they credit it in their description.

You need one orange sheet and one green sheet of construction paper, scissors, clear tape, a stapler and a pencil. Plan on about 15 minutes for the first pumpkin. The second one goes twice as fast.

Why the folds matter more than the cutting

Every page of the finished pumpkin is one panel of the accordion. Even, sharp folds give you even sections that spread into a round ball. Sloppy folds give you a lopsided pumpkin with one fat side. Run a thumbnail along each crease before you move on. It takes ten seconds and it is the difference you will notice most.

The cutting is forgiving. If one corner comes out a bit square, nobody can tell once the pages are spread out. Real pumpkins are not perfect either.

Paper choices

Standard 9 x 12 construction paper is what the video uses and it holds its shape well. Printer paper works but the pumpkin comes out floppy. Cardstock is sturdier, though it is harder for small kids to fold through eight layers and the stapler may not punch through. For a speckled or patterned pumpkin, use orange scrapbook paper printed on one side only, since both sides show on the finished pages.

Making them bigger or smaller

A 12 x 18 sheet cut the same way makes a pumpkin about twice the size, good for a centerpiece. For mini pumpkins, cut the orange sheet into quarters instead of halves and use one quarter strip per pumpkin. Mini ones are fiddly for young kids, so save them for older crafters or make them yourself for place cards.

Classroom tips

With a group, pre-cut the orange strips and the green vine slivers ahead of time. Kids then do the folding, the stem and the shaping, which is the fun part. An adult on the stapler saves a lot of jammed staples. Have tape pieces stuck along the table edge ready to grab, because small hands and tape dispensers do not mix well.

Troubleshooting

If the pumpkin will not close into a ball, the staples are probably off the centre fold. Pull them out and restaple right on the crease. If the pages keep springing apart, add a second small piece of tape at the top near the stem as well as the bottom. A pumpkin that will not stand up usually has a pointed bottom: trim a flat spot before you tape.

Ways to use your paper pumpkins

Line a few along a windowsill, scatter them down the middle of a fall table, or set one at each place with a name written on the stem. They pair well with a Thanksgiving centerpiece or next to a yarn pumpkin. For a Halloween craft session, add a paper bat to the table. The same accordion move is the base of a paper fan, so kids who like this one can try that next. If you want a pumpkin that lasts for years and takes paint, try paper mache pumpkins instead.

What you'll need

Step-by-step guide

10 steps, about 13 minutes. Tap a picture to jump to that step. Your progress saves automatically.

Tick each step off as you go.

  1. Step 1: Cut the Orange Construction Paper in Half Lengthwise

    Watch this step · 1:09

    Put the green sheet off to the side for now. Fold the orange construction paper in half the long way and crease it hard. Open it and cut down that fold line so you have two long, skinny orange strips. The crease is your cutting guide, so you do not need a ruler or a pencil line here.

    Tip:

    Little kids can fold and crease while a grown-up does the long cut. Straight edges make the later folds line up.

    Back to all steps

  2. Step 2: Tape the Two Orange Paper Strips End to End

    Watch this step · 1:53

    Lay the two orange strips end to end on the table so they butt up against each other. Tape across the seam to join them into one long strip. Try to keep the two pieces lined up straight. A little crooked is fine, but a big angle makes the fan folds uneven.

    Tip:

    Tape both sides of the seam if the strip feels floppy where it joins.

    Back to all steps

  3. Step 3: Fold Both Ends of the Paper Strip to the Center

    Watch this step · 2:26

    Take one end of the long orange strip and fold it over to meet the middle, where the tape seam is. Crease it flat. Now bring the other end over to the center the same way. The two ends should meet at the middle without overlapping. This sets up the panels for the accordion.

    Tip:

    Run a thumbnail along every crease. Sharp folds give you an even, round pumpkin.

    Back to all steps

  4. Step 4: Accordion-Fold the Orange Strip Into a Paper Fan

    Watch this step · 3:53

    Fold each center edge back out to the outside edge, like starting a fan. Flip the strip over and fold those edges to the center again. You should now have a zigzag accordion that opens like a fan. Fold the whole thing in half down the middle so it looks like a little book.

    Tip:

    If you get lost, pause and look: the folds should alternate up, down, up, down all the way along.

    Back to all steps

  5. Step 5: Cut a Green Paper Pumpkin Stem

    Watch this step · 4:43

    Pick up the green construction paper. Cut a small stem shape from one edge: two curved lines up the sides and a slanted cut across the top. It only needs to be about an inch tall. Keep the rest of the green sheet, because you will use it for the curly vine at the end.

    Tip:

    Make the stem a little longer than you think. Part of it gets hidden inside the folds.

    Back to all steps

  6. Step 6: Tape the Stem Inside the Center Fold of the Pumpkin

    Watch this step · 5:50

    Open your orange book to the middle. Check that the last fold edges point down, toward the bottom of the pumpkin. Lay the green stem in the center crease with the top poking out past the paper, and tape it down. Press the tape tight, then close the book back up like a bookmark sticking out.

    Tip:

    A tiny piece of tape is enough. A big piece makes the center too thick to staple.

    Back to all steps

  7. Step 7: Staple the Folded Paper Pumpkin Along the Center Crease

    Watch this step · 6:38

    Line the stapler up on the center fold of the closed orange book, near the top. Push down hard and fast so the staple goes through every layer. Add a second staple near the bottom, the same way you would staple a small booklet. Two staples hold the whole pumpkin together.

    Tip:

    An adult on the stapler saves jams. The staples must sit right on the fold or the pumpkin will not close into a ball.

    Back to all steps

  8. Step 8: Cut the Folded Paper Into a Rounded Pumpkin Shape

    Watch this step · 7:46

    Hold the book with the stem pointing out. Cut off the top corner beside the stem, then round the side from the bottom all the way up toward the top. Leave the center of the bottom edge alone so the pumpkin has something to sit on. Trim the other top corner, but do not cut off the stem.

    Tip:

    Cut slowly through all the layers. Big smooth curves look better than lots of little snips.

    Back to all steps

  9. Step 9: Open the Pages and Tape Them Into a Round 3D Pumpkin

    Watch this step · 9:24

    Open the book. Take the outside page on one side and the outside page on the other, pinch them together near the bottom and tape them. Now the pumpkin is a loop. Tape the next pair the same way, pinching close to the staple so they meet. Spread the pages apart until the pumpkin looks round.

    Tip:

    If the pages spring open, add a second small piece of tape near the top by the stem.

    Back to all steps

  10. Step 10: Curl a Green Paper Vine Around a Pencil and Tape It to the Pumpkin

    Watch this step · 11:38

    Cut a long, thin sliver from the green paper, thick at one end and skinny at the other. Hold the thick end on a pencil and wind the strip round it, then slide it off. You get a curly vine. Tape the thick end next to the stem and twist it a little more so it curls around.

    Tip:

    Make two or three vines per pumpkin if you like. Kids love this part.

    Back to all steps

Keep going

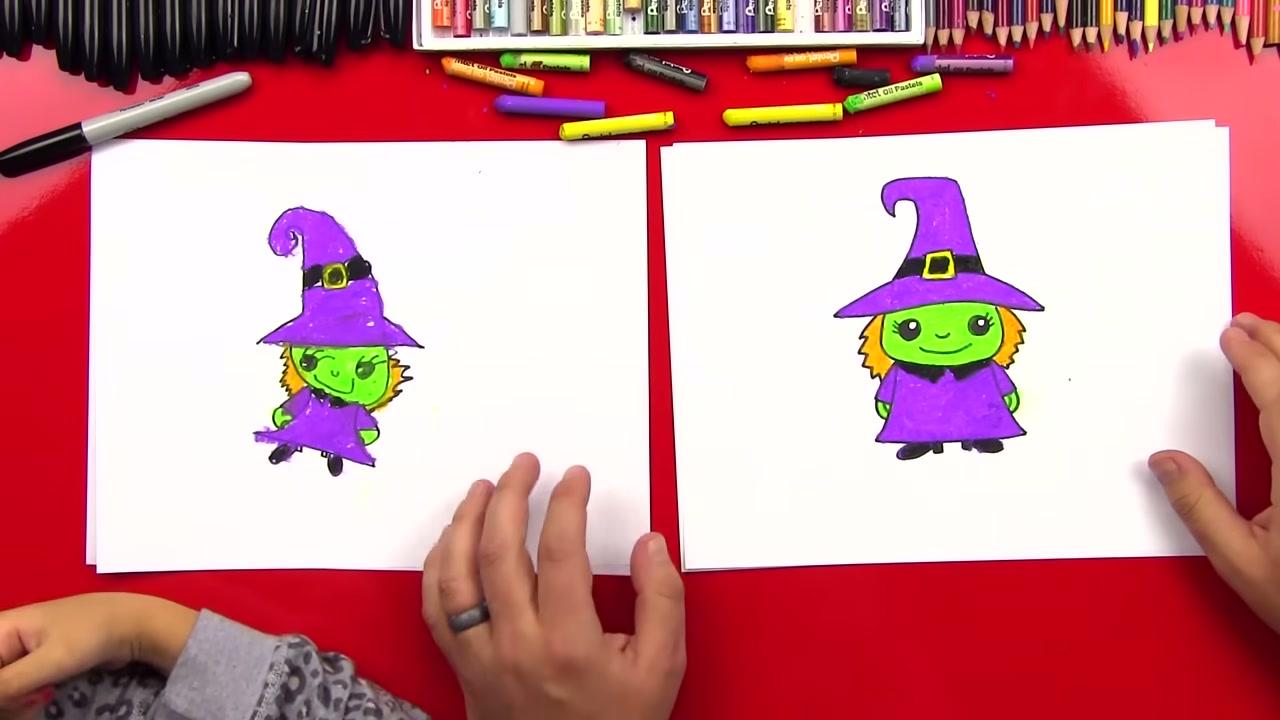
How to Draw a Witch

Products Used

The Checklist

How to Make a Paper Pumpkin

Tools
3
Materials
3
Steps
10
Video
13 min

Tools we recommend

As an Amazon Associate we earn from qualifying purchases. Links on this page may be affiliate links - clicking them and buying doesn't change your price, but helps support CraftingStepByStep.

Tags

The Crafter's Weekly

New paper crafts tutorials, every Sunday

One short email with the week's best step-by-step guides. Free, no spam, unsubscribe anytime.

Test your knowledge

Did the lesson stick? Start with this one.

5 questions covering what you just read. No signup, no score saved, and you can stop after this one.

Question 1 of 5

What matters most for a round, even pumpkin?

Quick reference

Key takeaways from How to Make a Paper Pumpkin

5 questions, answers, and one-line explanations. Tap to expand.

  1. 1.What matters most for a round, even pumpkin?

    Answer: Even, sharp accordion folds

    Each fold becomes one panel, so uneven folds make a lopsided pumpkin.

  2. 2.The pumpkin will not close into a ball. What is the likely cause?

    Answer: Staples missed the centre fold

    Restaple right on the crease and the pages will meet.

  3. 3.The finished pumpkin will not stand up. What fixes it?

    Answer: Trim a flat spot on the bottom

    A pointed bottom rocks, and a flat one sits still.

  4. 4.What happens if you use printer paper?

    Answer: It comes out floppy

    Construction paper is stiff enough to hold the round shape.

  5. 5.How do you make a pumpkin big enough for a centerpiece?

    Answer: Use a 12 x 18 inch sheet

    The same cuts on a bigger sheet give a pumpkin about twice the size.

Did this work for you?

What's next

Similar tutorials

Hand-picked next reads based on the one you just finished.

Liked this paper crafts tutorial?

Pick the crafts you want to hear about. One email every Sunday with new step-by-step tutorials. No spam, easy to unsubscribe.

Get more like this in your inbox

Weekly digest. Pick the categories you want. Unsubscribe anytime.

Send me tutorials about

We only email about new tutorials. Easy unsubscribe anytime.