How to Make Christmas Gift Tags

Paper CraftsEasy7:218 stepsBrowse more →
The finished result: How to Make Christmas Gift Tags

By CraftingStepByStepPublished

Based on a video by True Joy Home & Studio.

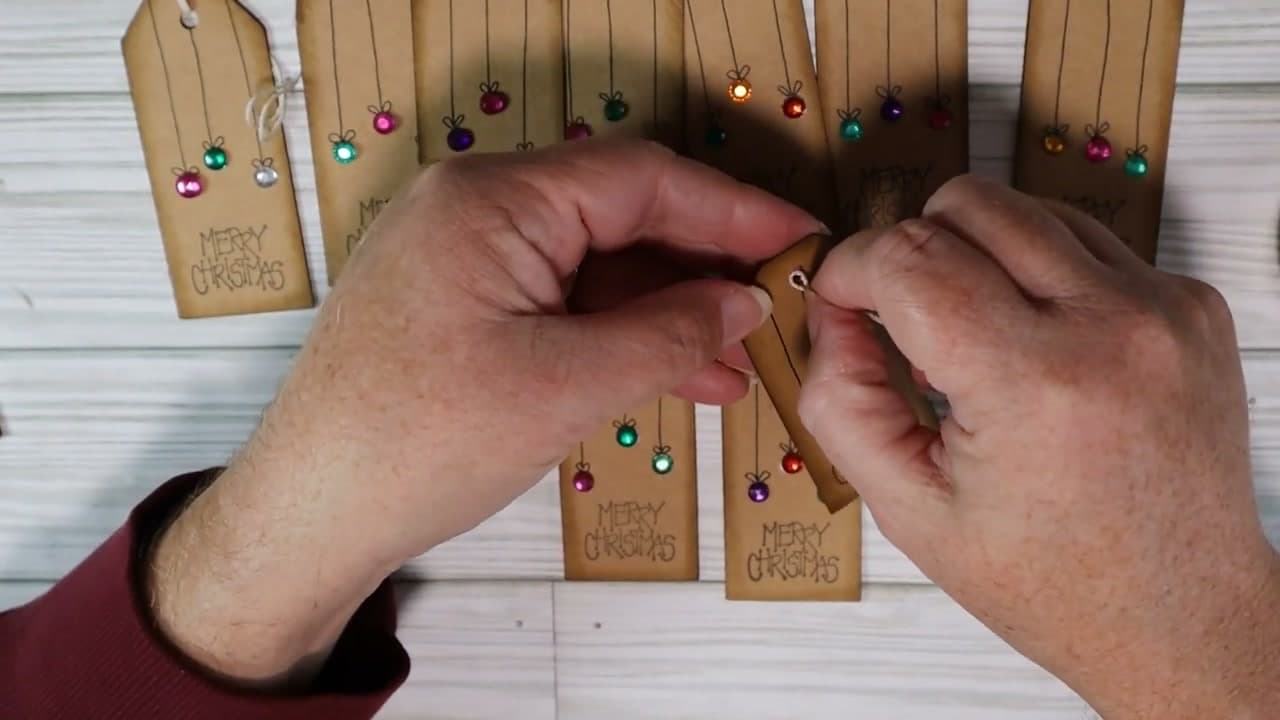
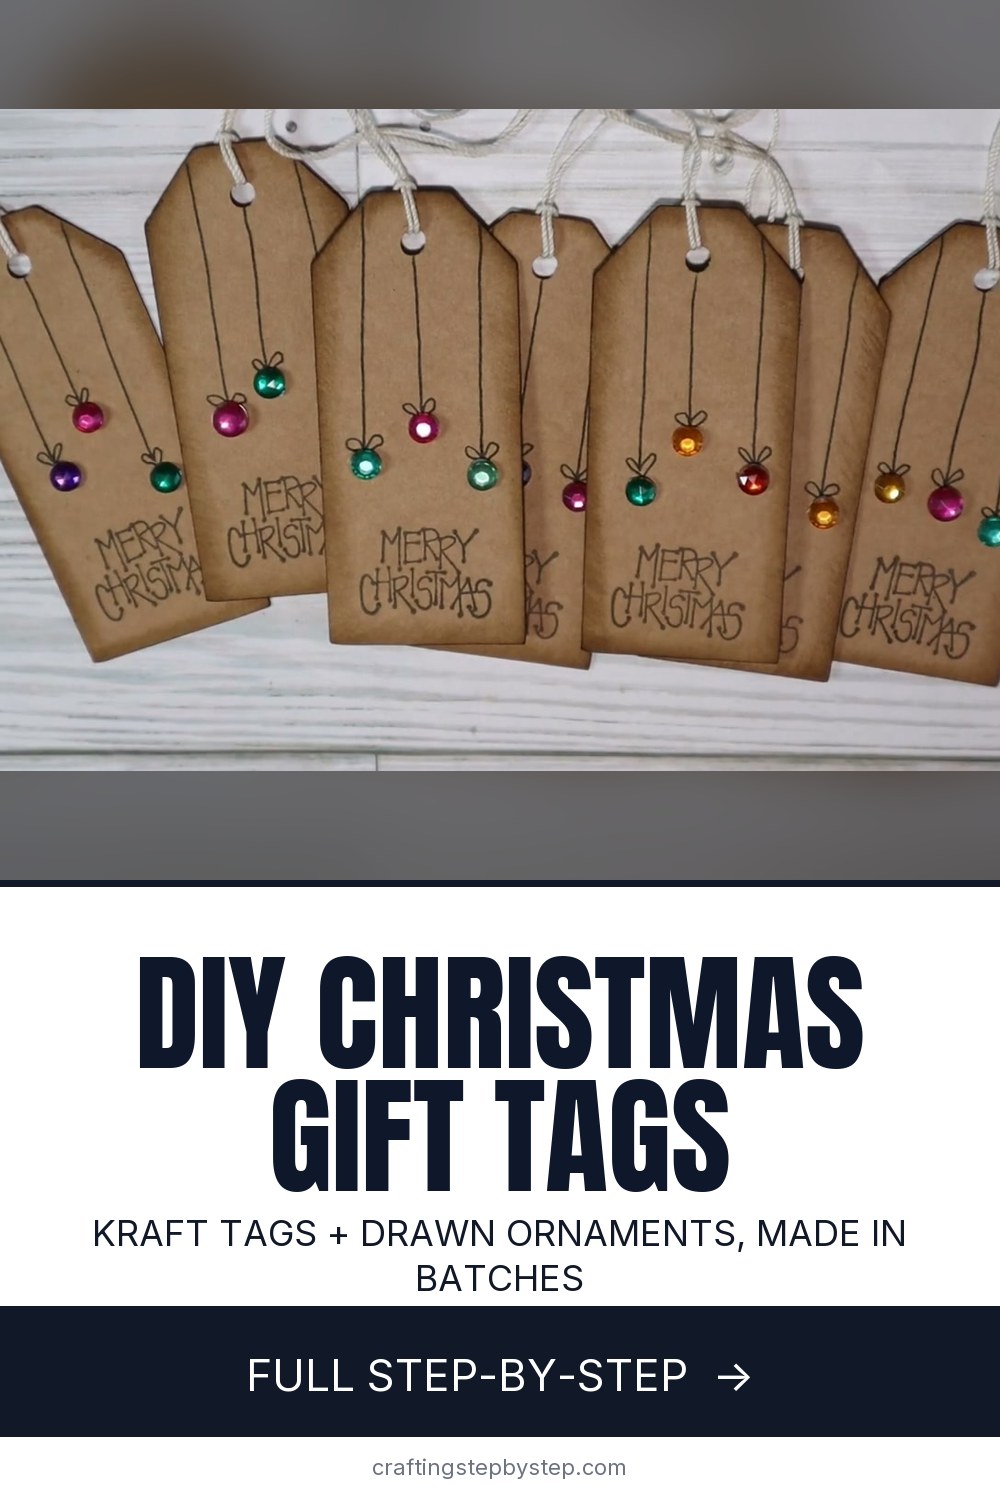
Kraft gift tags with little drawn ornaments hanging off them, finished with a gem and a stamped greeting. They cost almost nothing, they go together in batches, and they make a plain brown paper parcel look deliberate.

This follows True Joy Home and Studio's method - she sells these by the hundred, so the process is built for repetition rather than for a single showpiece. The trick that carries the whole design is drawing the ornament strings at different lengths. Level strings look like a diagram; uneven ones look like ornaments hanging.

No cutting machine needed despite what the first step might suggest. Scissors and a hole punch get you the same tag.

Step-by-Step Guide

8 steps · about 7 minutes.Check off each step as you go and your progress saves automatically.

1

Step 1: Cut and Punch the Tag Bases

1:00
Step 1: Cut and Punch the Tag Bases - How to Make Christmas Gift Tags

Start with plain kraft cardstock. Cut a rectangle, trim the two top corners off at an angle to get the classic luggage-tag shape, and punch a hole at the top.

A cutting machine gets through a batch fast, but scissors and a hole punch produce exactly the same tag. Nothing about this design needs a machine.

Watch this step

Tip

Kraft brown is doing real work here. The drawn lines and the gems both read better against brown than they do against white.

2

Step 2: Ink the Edges

1:12
Step 2: Ink the Edges - How to Make Christmas Gift Tags

Rub distress ink around the edge of each tag with an old sponge, working from the outside inward so the colour fades as it moves toward the middle.

Walnut stain gives that aged border. This is the one step that stops the tags looking like plain brown card, and it takes a few seconds per tag.

Watch this step

Tip

Less ink than you think. Build it up in light passes - you can always add another, but you cannot lift it back off.

3

Step 3: Stamp the Greeting

1:48
Step 3: Stamp the Greeting - How to Make Christmas Gift Tags

Stamp Merry Christmas along the bottom of each tag in black ink.

Press the stamp straight down and lift it straight up. Rocking it, which feels like it should give better coverage, is what blurs the edges of the letters.

Watch this step

Tip

Stamp the greeting before you draw anything. If a stamp goes down crooked you want to be throwing away a blank tag, not one you have already decorated.

4

Step 4: Draw the Ornament Strings

2:45
Step 4: Draw the Ornament Strings - How to Make Christmas Gift Tags

With a fine gel pen, draw two or three long lines down from the top edge of the tag. These are the strings the ornaments hang from.

Stop each line at a different height - one short, one much lower, one in between. Lines that all end level look like a chart. Lines at different heights look like ornaments.

Watch this step

Tip

A 0.7mm gel pen gives a crisper line than a fine Sharpie, which bleeds slightly into kraft card.

Used in this steppilot g2 gel pens
5

Step 5: Draw the Ornament Caps

3:05
Step 5: Draw the Ornament Caps - How to Make Christmas Gift Tags

At the bottom of each line, draw a small loop with two little curls coming off it, a bit like a tiny bow or a heart.

That shape is the cap of the bauble, and it is what makes the whole thing read as an ornament instead of a dot on the end of a string.

Watch this step

Tip

Keep the caps small. Oversized ones make the gem look like it is falling out of the bottom of them.

6

Step 6: Choose the Gems

4:15
Step 6: Choose the Gems - How to Make Christmas Gift Tags

Pick three flat-back gems per tag in colours that work together, and lay them out before you glue anything.

Keeping them all roughly one size looks tidiest across a batch. Mixing a couple of larger ones in works too, as long as you do it deliberately rather than because you ran out.

Watch this step

Tip

Sequins, or circles punched from patterned Christmas paper, work just as well. Anything small and round will do the job.

7

Step 7: Glue the Gems On

5:00
Step 7: Glue the Gems On - How to Make Christmas Gift Tags

Put one small dot of tacky glue at the end of each drawn string and press a gem into it.

A little squeeze-out around the edge is not a problem, because tacky glue dries clear. Store the bottle upside down with the lid on and the nozzle stops clogging between sessions.

Watch this step

Tip

Let the glue set properly before you handle the tags. A gem knocked sideways while half-dry leaves a smear you cannot clean off kraft card.

Used in this stepaleenes tacky glue
8

Step 8: String the Tags

6:35
Step 8: String the Tags - How to Make Christmas Gift Tags

Once the glue is dry, cut about ten inches of string and fold it in half. Push the folded loop through the hole from the front, pull it round to the back, then open the loop and feed the two loose ends through it.

Pull it tight and the tag is finished and ready to tie onto a gift or a gift bag.

Watch this step

Tip

That fold-through-and-feed method is a lark's head knot. It sits flatter than a tied knot and it will not slip off the tag.

Used in this stepbakers twine

Keep going

How to Make a Paper Bow

Products Used

The Checklist

How to Make Christmas Gift Tags

Tools
4
Materials
7
Steps
8
Video
7 min

Tools we recommend

Your Guide

True Joy Home & Studio

As an Amazon Associate we earn from qualifying purchases. Links on this page may be affiliate links - clicking them and buying doesn't change your price, but helps support CraftingStepByStep.

Tags

Sunday How-To

New paper crafts tutorials, every Sunday

One short email with the week's best step-by-step guides. Free, no spam, unsubscribe anytime.

Did this work for you?

What's next

Related collections

Curated theme pages that include this tutorial.

Weekly Digest

Liked this paper crafts tutorial?

Pick the categories you want to hear about. Weekly digest of new step-by-step tutorials. No spam, easy unsubscribe.

Send me tutorials about

We only email about new tutorials. Easy unsubscribe anytime.