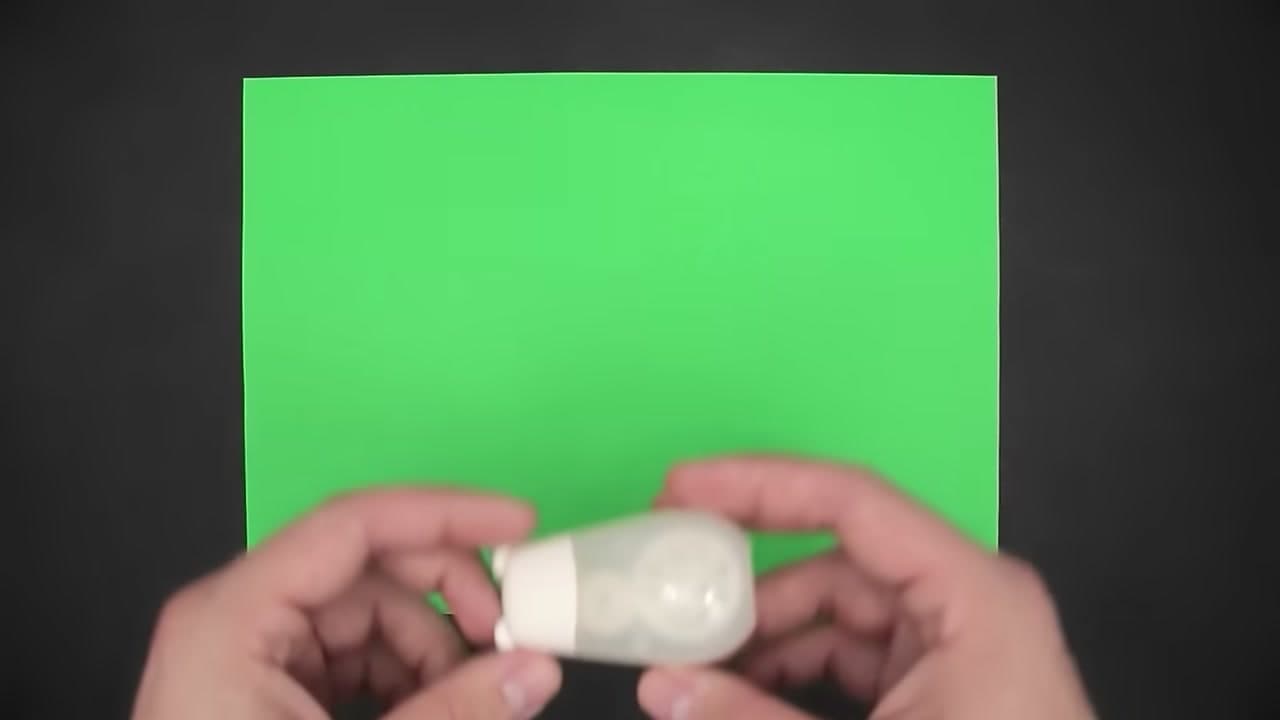
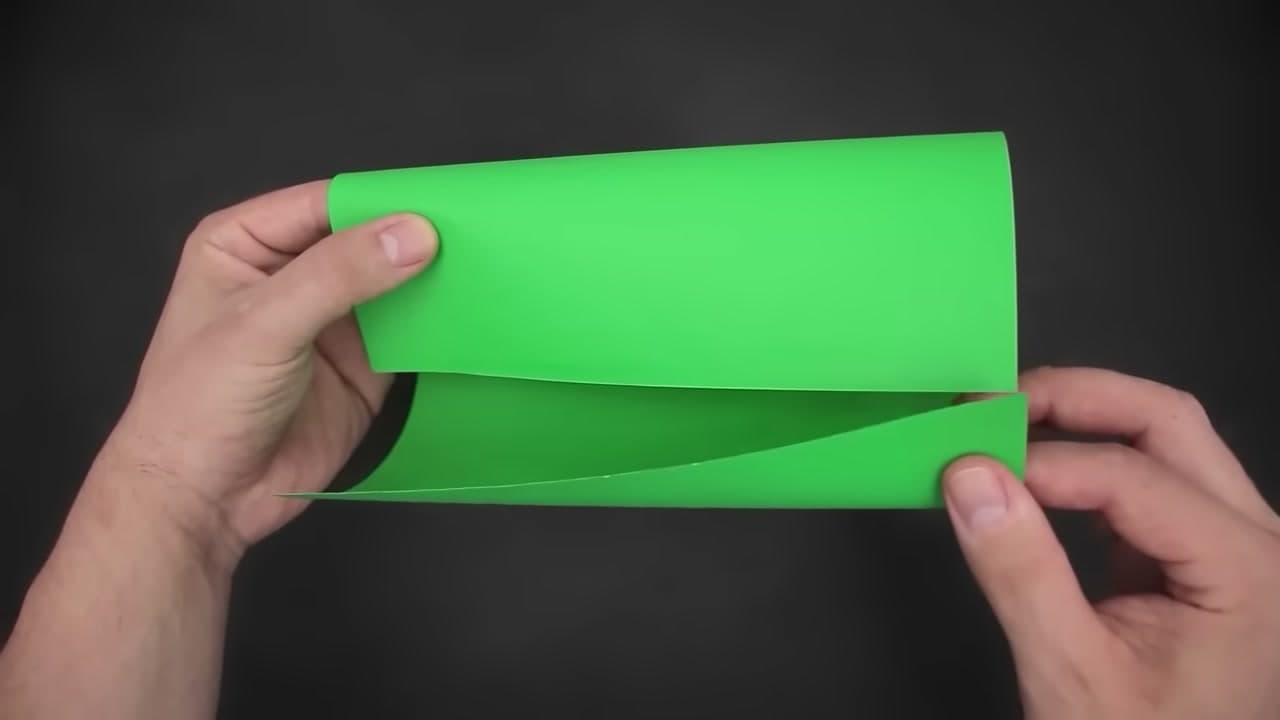
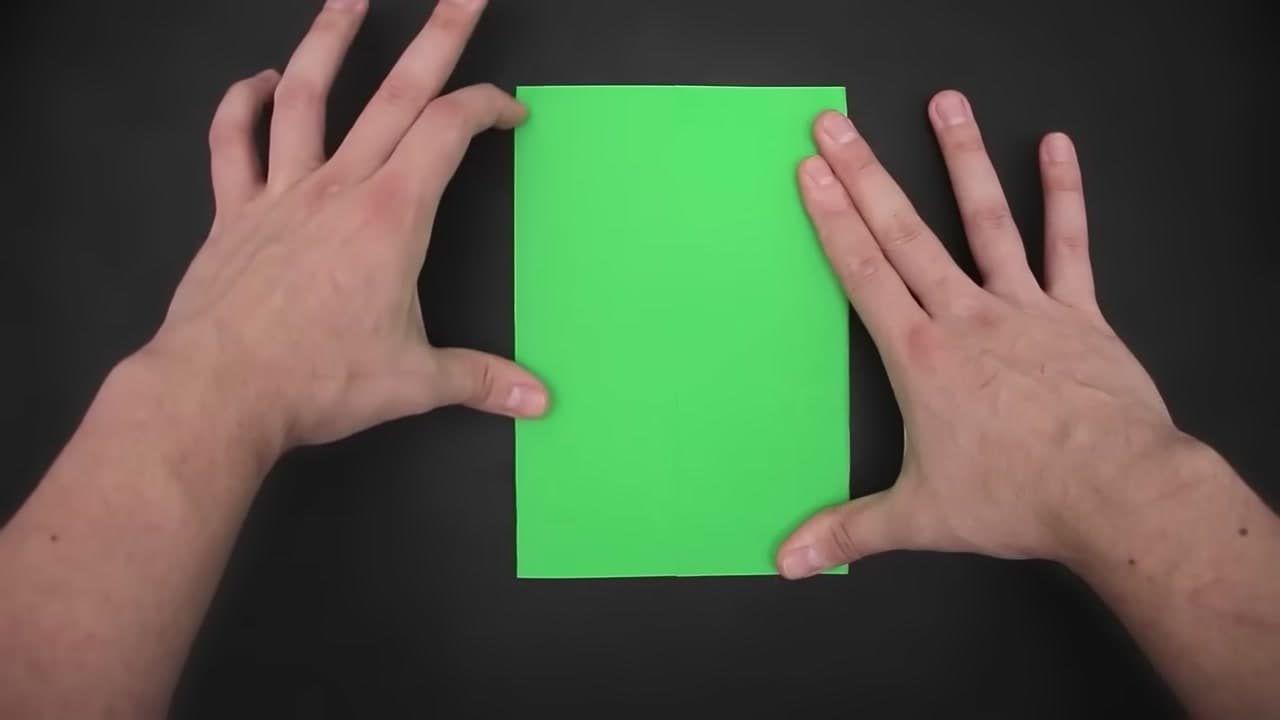
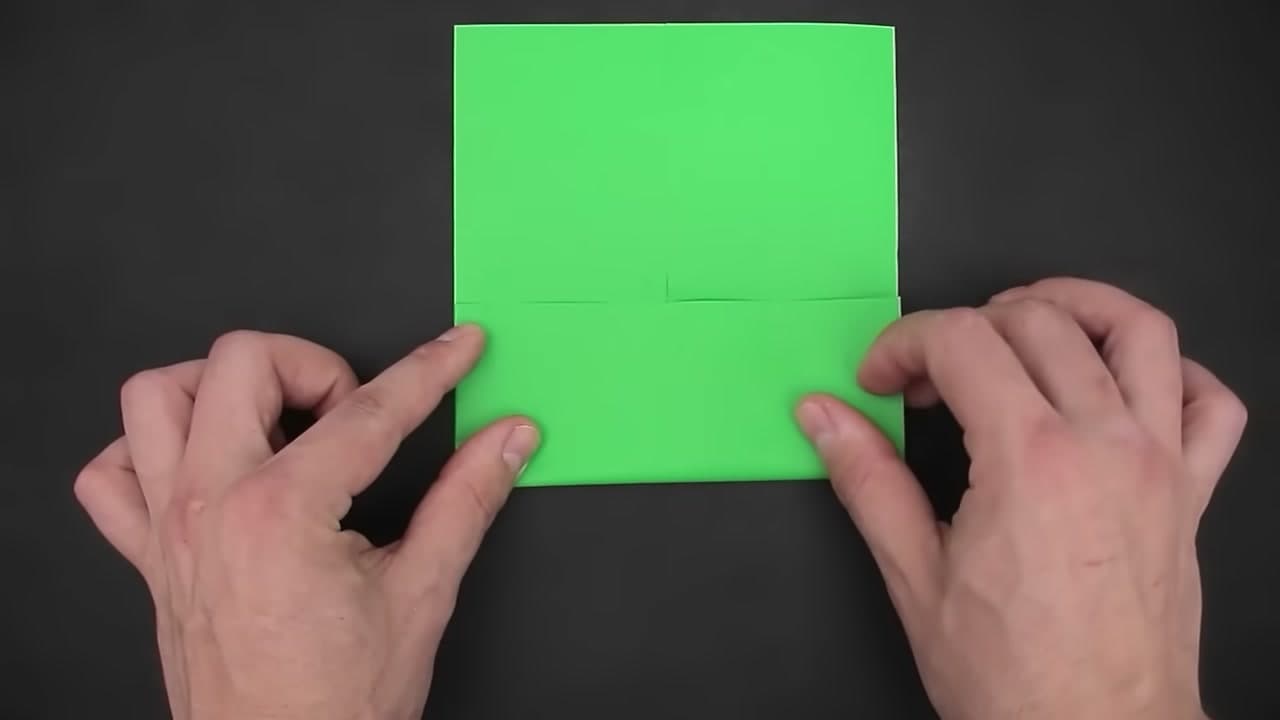
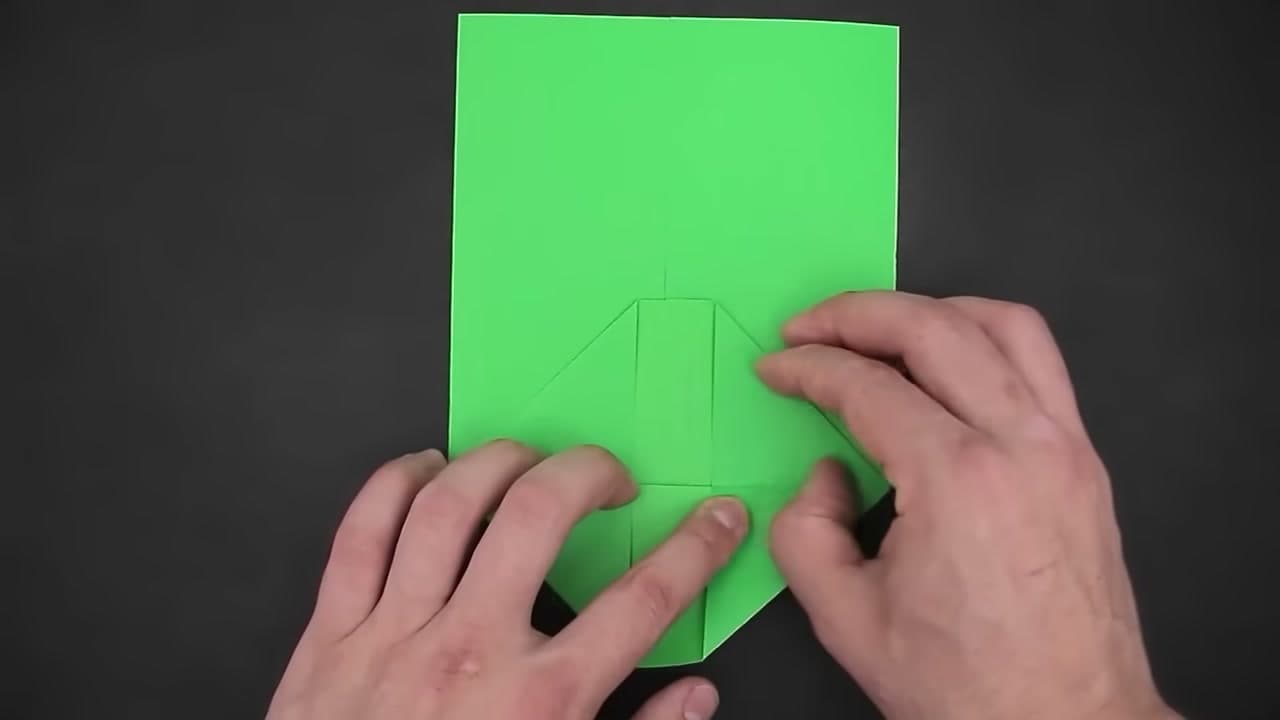
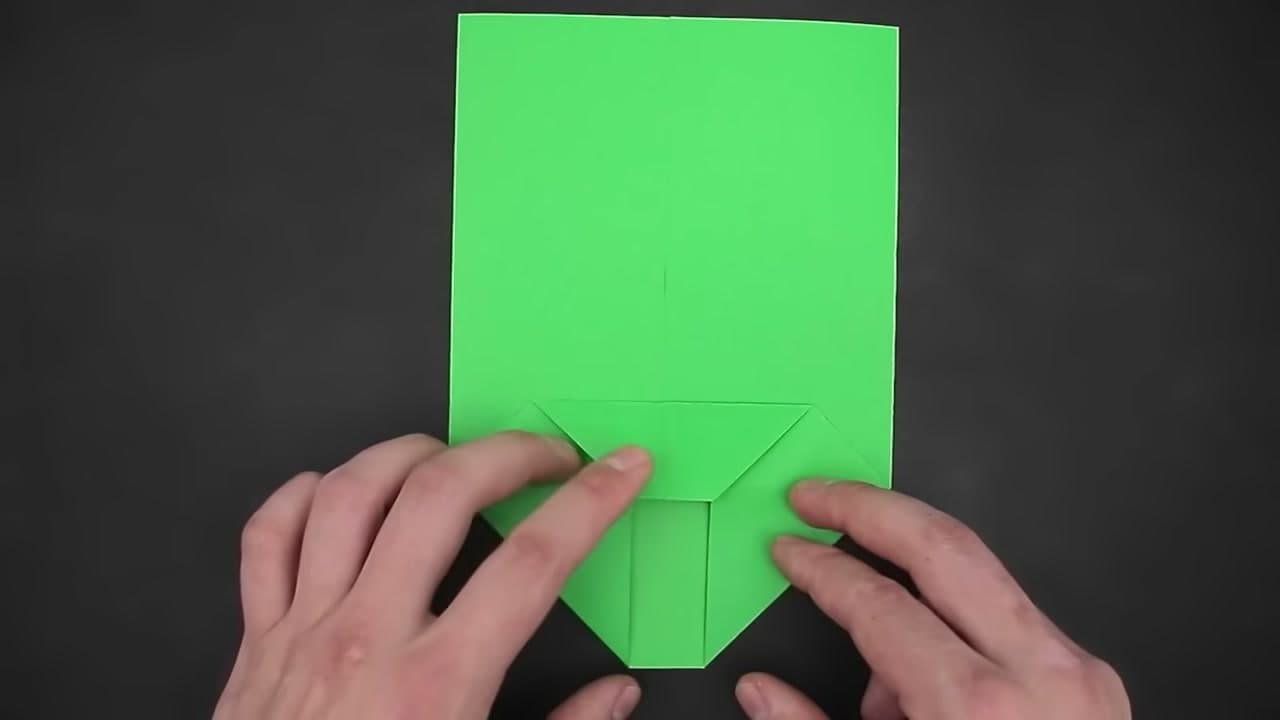
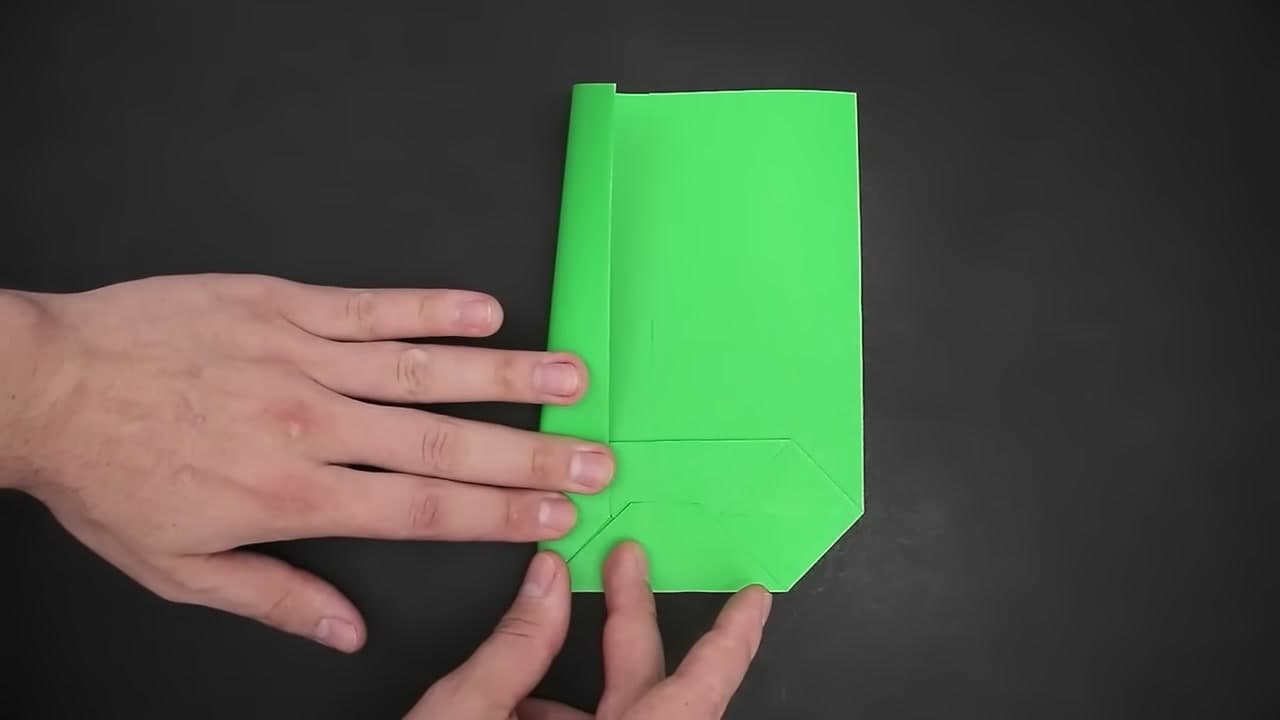
A paper bag is a tube with a folded bottom. That is the whole trick. Once you see it that way you can make one from almost any sheet in the house. The ten steps below take about seven minutes the first time and closer to three once your hands know the folds.
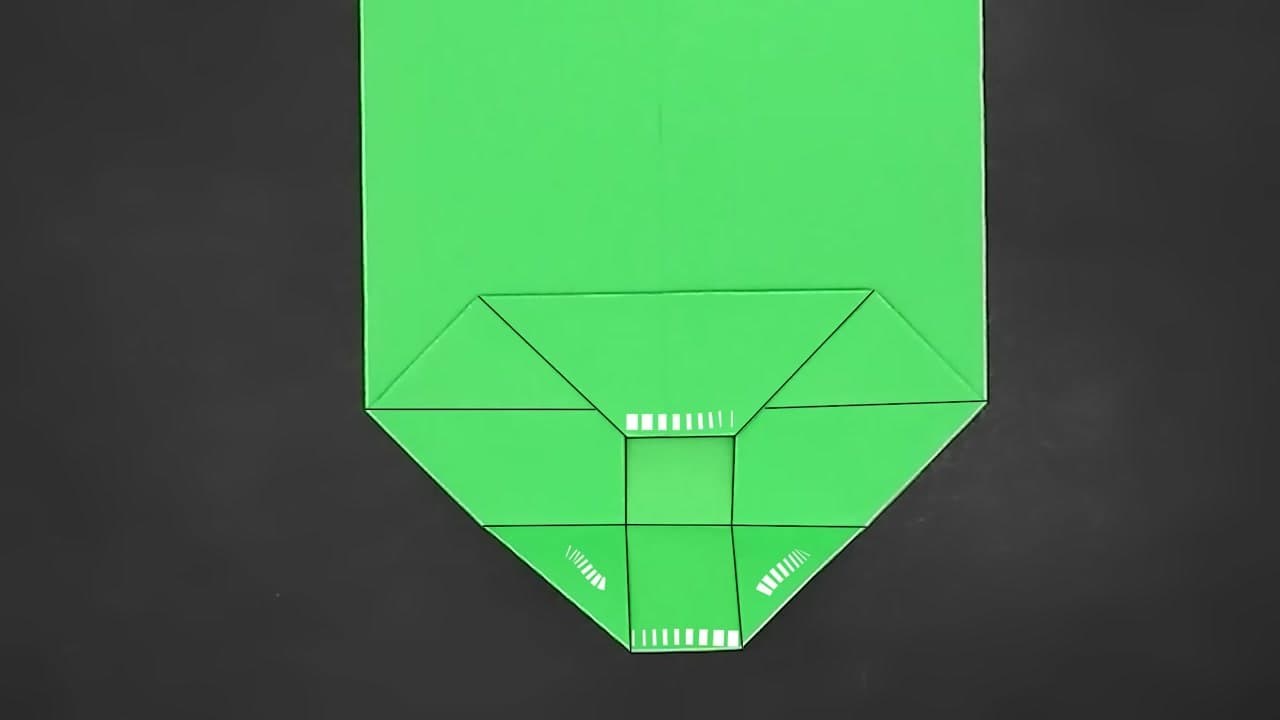
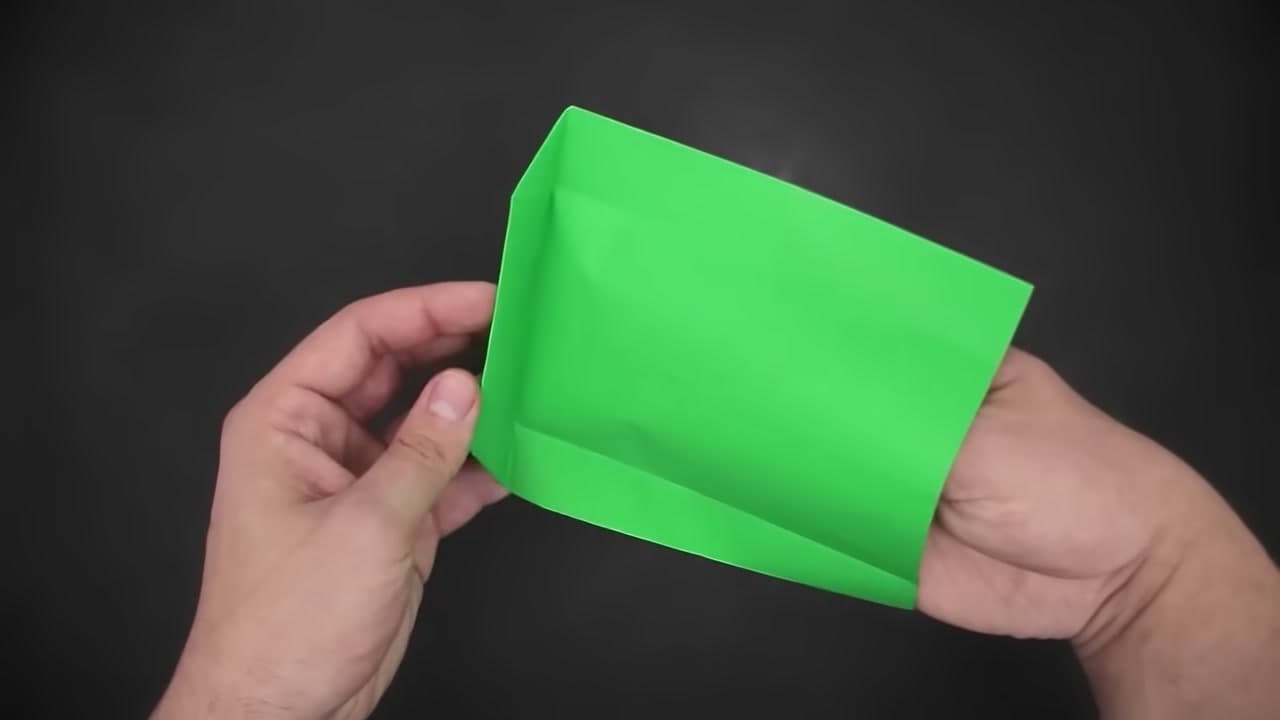
The method comes from Easy Origami and Crafts on YouTube, and it makes a real bag rather than a pouch. The sides have gussets so it opens out to a box shape, and the base collapses into a flat diamond before you glue it. That diamond is what lets the finished paper sack stand up by itself once there is something inside.
Which paper to use
Plain printer paper works and is the right thing to practice on. If you get the base wrong you have lost nothing. For a bag you will hand to someone, pick something with a bit more character.
- Kraft paper is the classic. It creases cleanly, takes glue without wrinkling, and looks fine plain or stamped.
- Scrapbook paper gives you a pattern, but 12 by 12 sheets are square and make a short, wide bag. Trim to a rectangle first for the usual tall shape.
- Wrapping paper is the thinnest and the only one that makes a large bag from a single piece. It tears at the corners if you press hard, so crease gently.
Heavy cardstock is the one to skip. The diamond base will not collapse flat and the gusset creases crack instead of folding. For something fragile, fold an origami box instead.
How big a bag one sheet makes
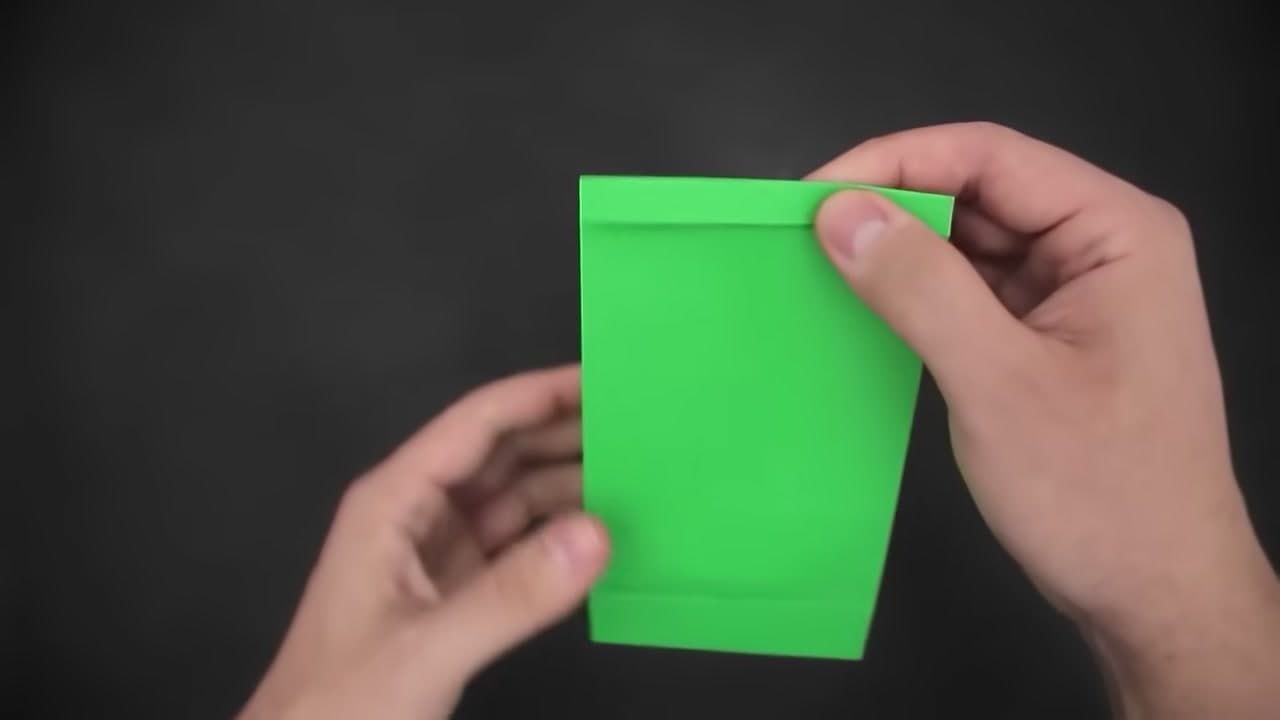
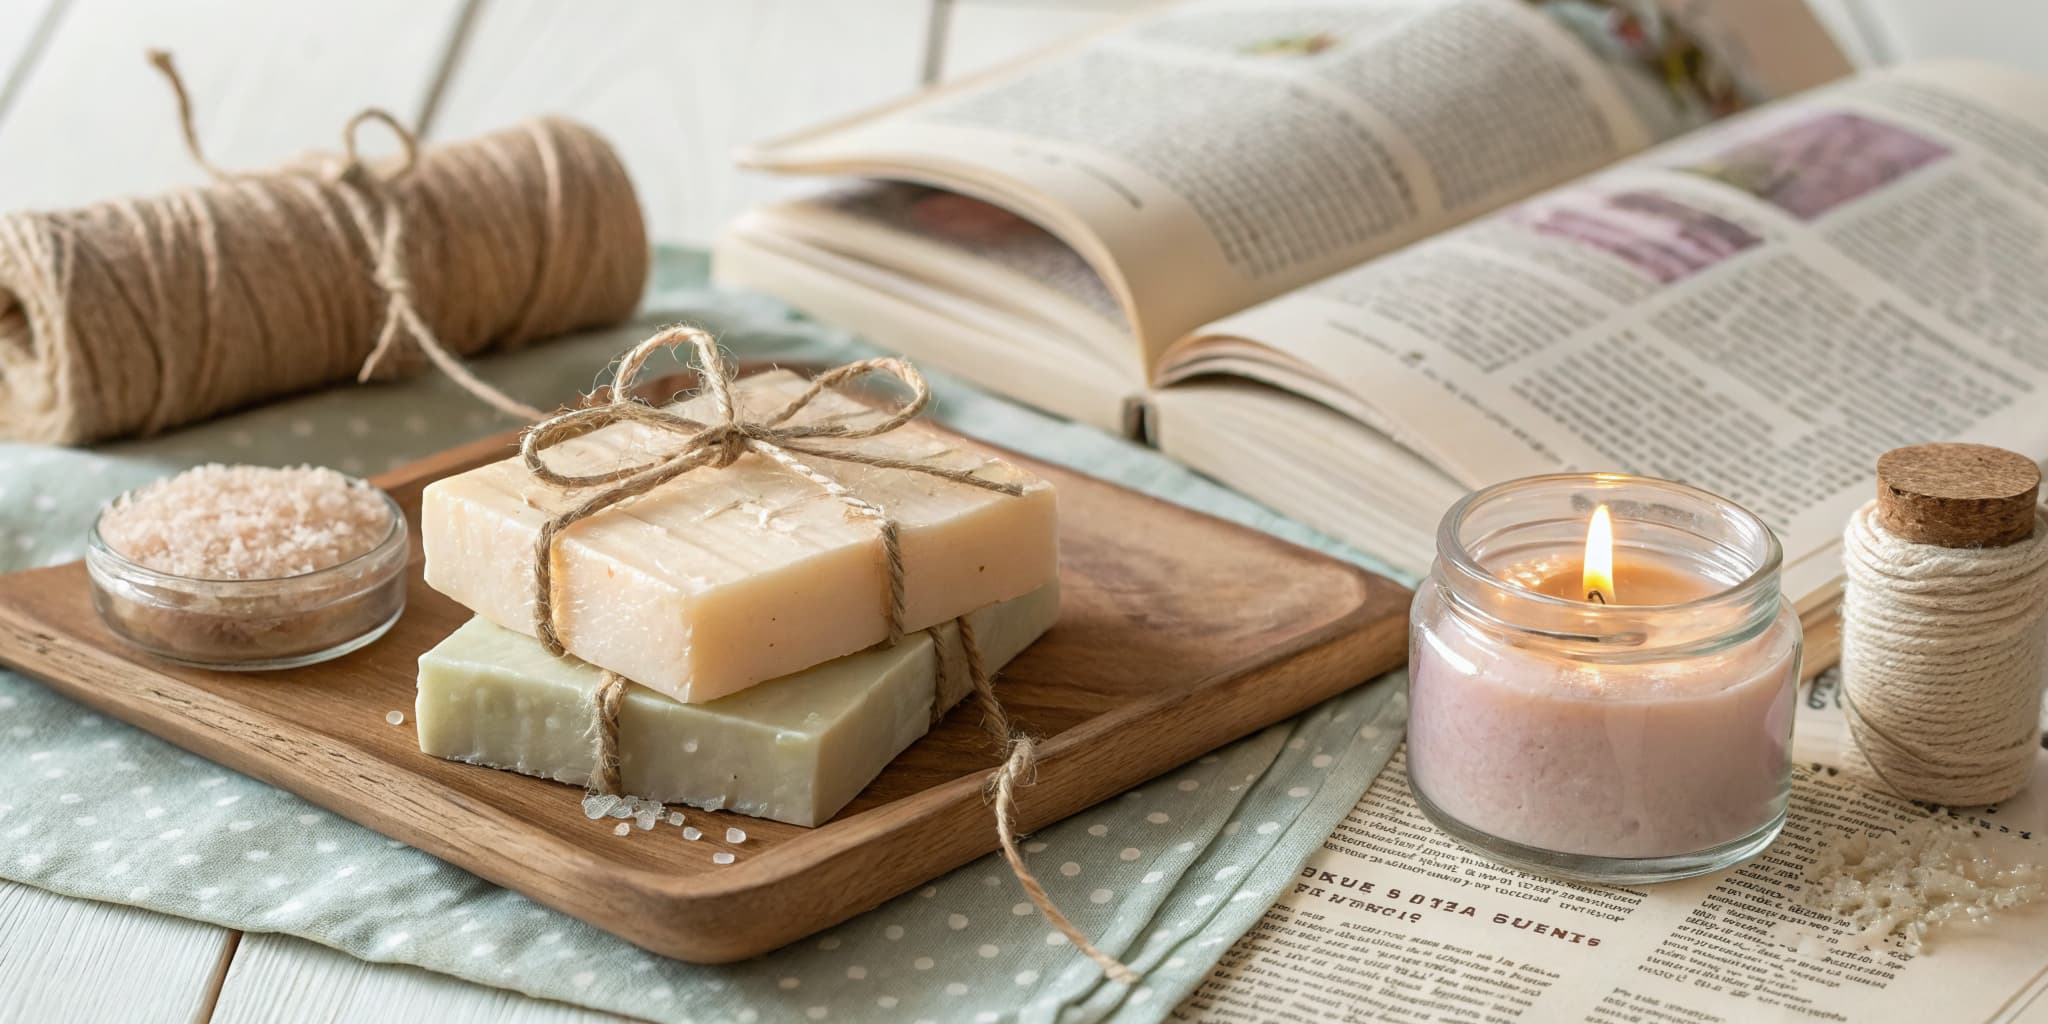
The width of the sheet becomes the distance around the bag, minus the overlap at the seam. The height is what is left after the base folds take about a third of the length. A letter or A4 sheet ends up somewhere around 3 inches wide and 6 inches tall, which fits a candle, a bar of soap or a small jar.
To go bigger you need a bigger sheet, not thicker paper. Half a sheet of wrapping paper makes one that takes a wine bottle, and the method does not change because every fold is measured off the sheet itself rather than with a ruler.
Why the gussets matter
A bag without gussets is an envelope. It holds something flat and nothing else. The two side folds in step 8 are what let the bag open into a rectangle, and they are also why it folds back down flat for storage.
Those folds have to line up with the corners of the base, which is why the base comes first. The small squares at the bottom of the glued base show you where each crease belongs.
The one thing that goes wrong is a base that is not symmetrical. If the diamond in step 5 is pressed flat with one corner tucked further in than the other, the bag leans and the gussets never quite meet at the top. Unfold and redo the diamond before any glue goes on. It costs thirty seconds.
Handles, closures and finishing
The plain bag closes by folding the top edge over. Punch two holes through that fold and tie it shut with ribbon or baker's twine. That is the fastest closure and it gives you somewhere to hang a hand-cut gift tag on the same paper.
For handles, cut two strips of the same paper about an inch wide, fold each in thirds lengthwise, and glue the ends inside the top edge, front and back. Keep the load light. A paper handle will carry a card and a bar of chocolate, not a jar of jam.
A paper bow glued to the front panel is the quickest way to make it read as a gift.
Variations and what to make next
Quarter sheets make favor-sized bags for a party or a shower. Same folds, only fiddlier, so do one full-size bag before you try a batch. Kraft bags stamped with a name or a thank you cost pennies and look intentional.
Once the base is in your hands, the rest of the paper family opens up. A paper envelope uses the same corner-fold logic for something flat, and the crease habits you built here carry straight into origami proper.