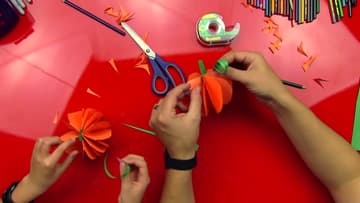
How to Make a Paper Pumpkin
Source: Art for Kids Hub • Full tutorial: www.craftingstepbystep.com/paper-crafts/how-to-make-a-paper-pumpkin
- Difficulty
- Easy
- Hands-on time
- About 30 minutes
- Makes
- 1 paper pumpkin

Tools
- scissors
- stapler
- pencil
Materials
- orange construction paper
- green construction paper
- clear tape
Steps
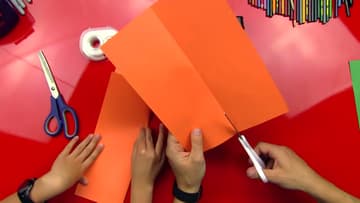
1. Cut the Orange Construction Paper in Half Lengthwise
Put the green sheet off to the side for now. Fold the orange construction paper in half the long way and crease it hard.
Tip: Little kids can fold and crease while a grown-up does the long cut. Straight edges make the later folds line up.
2. Tape the Two Orange Paper Strips End to End
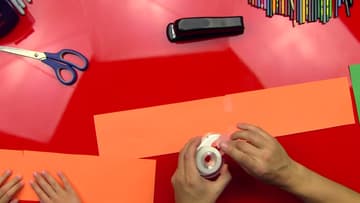
Lay the two orange strips end to end on the table so they butt up against each other. Tape across the seam to join them into one long strip.
Tip: Tape both sides of the seam if the strip feels floppy where it joins.
3. Fold Both Ends of the Paper Strip to the Center
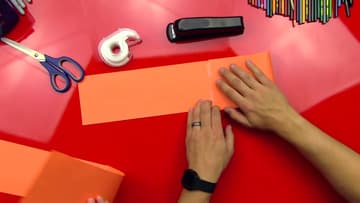
Take one end of the long orange strip and fold it over to meet the middle, where the tape seam is. Crease it flat.
Tip: Run a thumbnail along every crease. Sharp folds give you an even, round pumpkin.
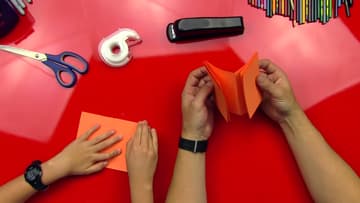
4. Accordion-Fold the Orange Strip Into a Paper Fan
Fold each center edge back out to the outside edge, like starting a fan. Flip the strip over and fold those edges to the center again.
Tip: If you get lost, pause and look: the folds should alternate up, down, up, down all the way along.
5. Cut a Green Paper Pumpkin Stem
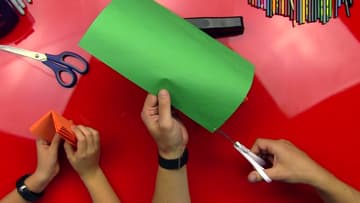
Pick up the green construction paper. Cut a small stem shape from one edge: two curved lines up the sides and a slanted cut across the top.
Tip: Make the stem a little longer than you think. Part of it gets hidden inside the folds.
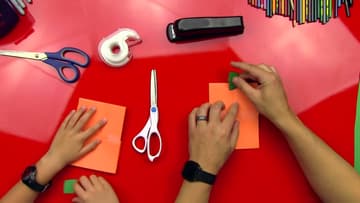
6. Tape the Stem Inside the Center Fold of the Pumpkin
Open your orange book to the middle. Check that the last fold edges point down, toward the bottom of the pumpkin.
Tip: A tiny piece of tape is enough. A big piece makes the center too thick to staple.
7. Staple the Folded Paper Pumpkin Along the Center Crease
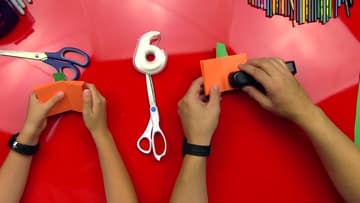
Line the stapler up on the center fold of the closed orange book, near the top. Push down hard and fast so the staple goes through every layer.
Tip: An adult on the stapler saves jams. The staples must sit right on the fold or the pumpkin will not close into a ball.
8. Cut the Folded Paper Into a Rounded Pumpkin Shape
Hold the book with the stem pointing out. Cut off the top corner beside the stem, then round the side from the bottom all the way up toward the top.
Tip: Cut slowly through all the layers. Big smooth curves look better than lots of little snips.
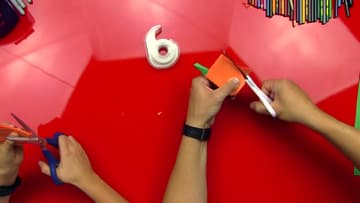
9. Open the Pages and Tape Them Into a Round 3D Pumpkin
Open the book. Take the outside page on one side and the outside page on the other, pinch them together near the bottom and tape them.
Tip: If the pages spring open, add a second small piece of tape near the top by the stem.
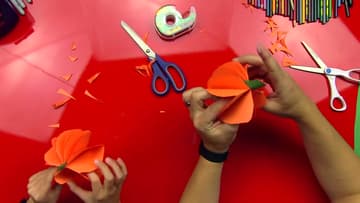
10. Curl a Green Paper Vine Around a Pencil and Tape It to the Pumpkin
Cut a long, thin sliver from the green paper, thick at one end and skinny at the other. Hold the thick end on a pencil and wind the strip round it, then slide it off.
Tip: Make two or three vines per pumpkin if you like. Kids love this part.