How to Make a Thanksgiving Centerpiece

CraftsEasy12:459 stepsBrowse more →
The finished result: How to Make a Thanksgiving Centerpiece

By CraftingStepByStepPublished

Based on a video by Flowers by the Bunch.

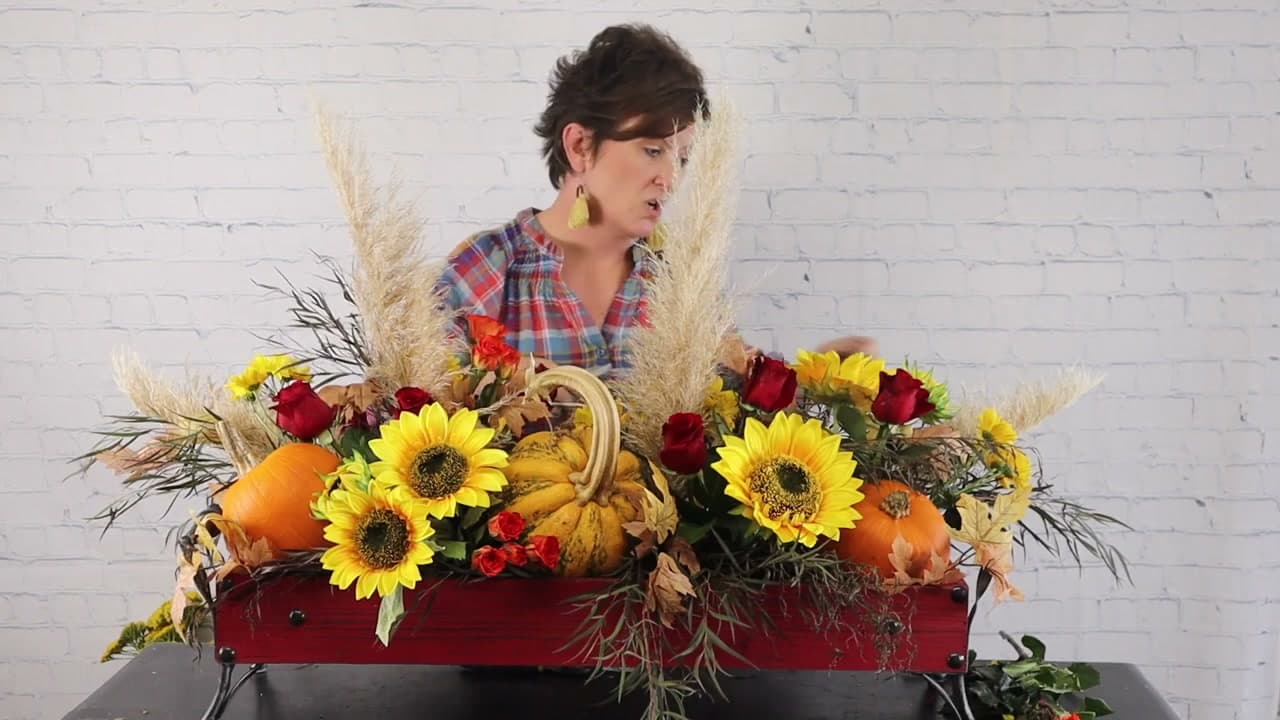
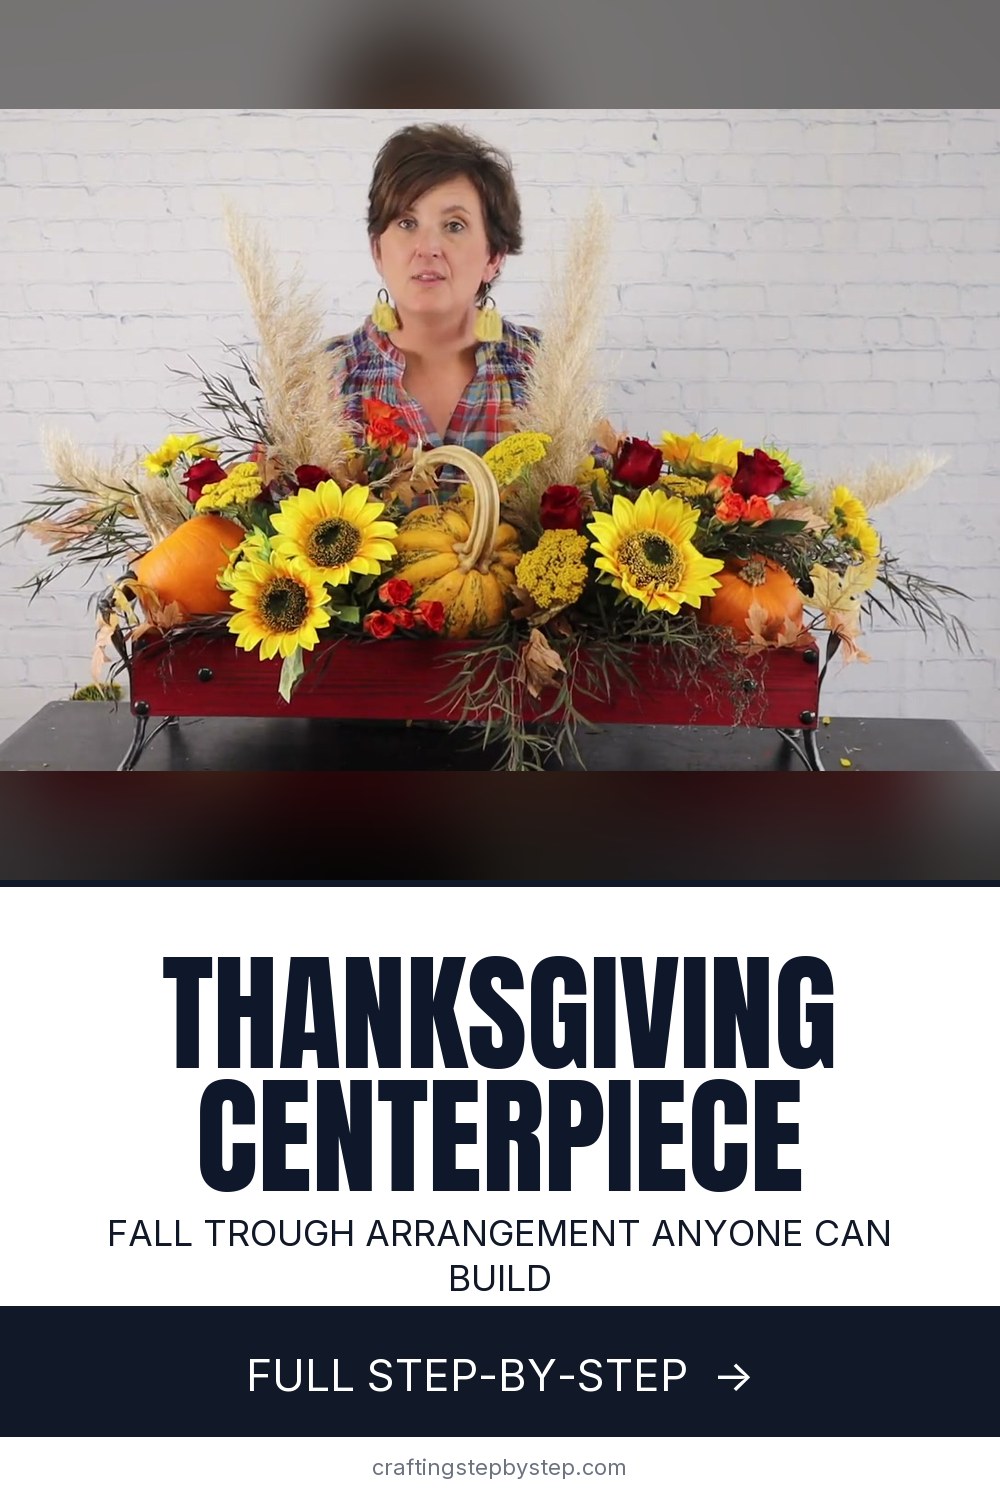
A long, low fall arrangement for a Thanksgiving table, built on soaked floral foam in a trough container. It is a mix of fresh and artificial, which is the reason it works: the artificial sunflowers and leaves carry the shape and the colour, and the handful of fresh roses and daisies do the part your guests actually lean in to look at.

This follows the method used by Flowers by the Bunch. The build order is the useful part - pumpkins first, then foliage, then dried texture, then big blooms, then small ones. Work in that sequence and nothing has to be forced in past something else.

Nothing here needs floristry training. If you can push a stem into a block of foam you can build this.

Step-by-Step Guide

9 steps · about 13 minutes.Check off each step as you go and your progress saves automatically.

1

Step 1: Soak the Foam and Set the Container

1:10
Step 1: Soak the Foam and Set the Container - How to Make a Thanksgiving Centerpiece

Soak two blocks of fresh floral foam in water until they sink, then set them into a long low container.

A trough like this is built to disappear - by the time the arrangement is finished you will not see it at all. It does not need to be a nice one. This is a discount-store find.

Watch this step

Tip

Let the foam sink on its own rather than pushing it under. Forced foam traps dry pockets in the middle, and a stem that lands in one will not drink.

2

Step 2: Lay in the Pumpkins and Gourds

1:34
Step 2: Lay in the Pumpkins and Gourds - How to Make a Thanksgiving Centerpiece

Rest the pumpkins and gourds into the container over the foam, spacing them along its length.

The bulkiest things go in first. Place them now and everything after gets arranged around them; leave them until later and you will be forcing them into a finished design and crushing stems doing it.

Watch this step

Tip

Odd numbers and different sizes look better than a matched row. Put the biggest one off-centre rather than dead middle.

Used in this stepartificial fall pumpkins
3

Step 3: Cut and Tuck the Foliage

3:30
Step 3: Cut and Tuck the Foliage - How to Make a Thanksgiving Centerpiece

Cut your foliage stems with snips and push them into the foam, leaving them long and loose so they spill over the ends and the front edge of the container.

This is the layer that makes the arrangement look like it grew rather than like it was assembled. Mixing artificial stems with fresh is completely fine and nobody at the table will be able to tell.

Watch this step

Tip

Cut stems on an angle. More surface area for fresh stems to drink, and an angled tip slides into dense foam instead of crumbling it.

Used in this stepfloral snips
4

Step 4: Add the Dried Materials

5:00
Step 4: Add the Dried Materials - How to Make a Thanksgiving Centerpiece

Work in the dried elements next - pampas grass, dried hydrangea, seed heads, anything with texture and height.

These carry the arrangement above the rim and give it a silhouette. If you have hydrangeas going papery on the bush in the garden, cut those and use them here.

Watch this step

Tip

Dried stems are brittle. Make the hole in the foam with a bare skewer first, then slide the stem in, rather than driving the stem itself through.

Used in this stepdried pampas grass stems
5

Step 5: Place the Sunflowers

6:10
Step 5: Place the Sunflowers - How to Make a Thanksgiving Centerpiece

Cut the sunflower stems long, leaving about three flowers on each, and tuck them into the foam exactly as though they were fresh.

Sunflowers are the largest bloom in this design, so where they land sets the shape of everything else. Get these right before you add anything smaller.

Watch this step

Tip

Turn each flower head to face slightly outward and down. A sunflower staring straight up reads as stuck in rather than grown there.

6

Step 6: Tuck in the Autumn Leaves

7:35
Step 6: Tuck in the Autumn Leaves - How to Make a Thanksgiving Centerpiece

Push maple and autumn leaves in among the flowers, filling the awkward gaps that a flower head cannot reach.

The leaves are what make the whole thing read as fall rather than just yellow. Rust, deep orange and brown do more work here than another bloom would.

Watch this step

Tip

Slide a few leaves low and deep, right down near the container rim. Depth is what stops an arrangement looking flat from the front.

7

Step 7: Add the Fresh Roses and Water the Foam

8:40
Step 7: Add the Fresh Roses and Water the Foam - How to Make a Thanksgiving Centerpiece

Cut the red roses fairly short and push them deep into the soaked foam. Once they are in, top the container up with water.

Keep it watered and the fresh flowers will hold for days, which matters if you are building this a day or two before people arrive.

Watch this step

Tip

Short stems on the fresh flowers is deliberate - it sets them below the sunflowers and the pampas, so the eye travels down into the arrangement instead of skating across the top.

Used in this stepflower food packets
8

Step 8: Scatter the Yellow Daisies

10:00
Step 8: Scatter the Yellow Daisies - How to Make a Thanksgiving Centerpiece

Work the yellow daisies through the middle of the arrangement, scattering rather than clustering them.

You want the colour repeating along the whole length of the trough. A group of daisies in one spot reads as a mistake; the same daisies spread across three feet read as a design.

Watch this step

Tip

Stand back after every few stems. Colour balance is nearly impossible to judge from directly above the container.

Used in this stepfloral wire
9

Step 9: Finish with Spray Roses

10:50
Step 9: Finish with Spray Roses - How to Make a Thanksgiving Centerpiece

Add the orange spray roses last, using them to pull the colour of the pumpkins up into the flowers, then fill any last gaps.

Check it from the ends as well as the front. A table centerpiece gets looked at from every seat, and the side nobody built for is the side half your guests will be staring at.

Watch this step

Tip

Keep a few stems back. Something always wilts or shifts overnight and it is easier to patch one gap than to re-cut a whole new stem on the day.

Keep going

How to Make a Pinata

Products Used

The Checklist

How to Make a Thanksgiving Centerpiece

Tools
3
Materials
10
Steps
9
Video
13 min

Tools we recommend

Your Guide

Flowers by the Bunch

As an Amazon Associate we earn from qualifying purchases. Links on this page may be affiliate links - clicking them and buying doesn't change your price, but helps support CraftingStepByStep.

Tags

Sunday How-To

New crafts tutorials, every Sunday

One short email with the week's best step-by-step guides. Free, no spam, unsubscribe anytime.

Did this work for you?

What's next

Related collections

Curated theme pages that include this tutorial.

Weekly Digest

Liked this crafts tutorial?

Pick the categories you want to hear about. Weekly digest of new step-by-step tutorials. No spam, easy unsubscribe.

Send me tutorials about

We only email about new tutorials. Easy unsubscribe anytime.