How to Make Paper Mache Pumpkins

Paper CraftsEasy8:3210 stepsBrowse more →
The finished result: How to Make Paper Mache Pumpkins
Also in:Crafts

By CraftingStepByStepPublished

Based on a video by Cozy Craft Studio.

These pumpkins cost almost nothing. The form is a grocery bag stuffed with polyfill and tied with string, and once the paper mache dries you cut the stuffing out and use it again on the next one.

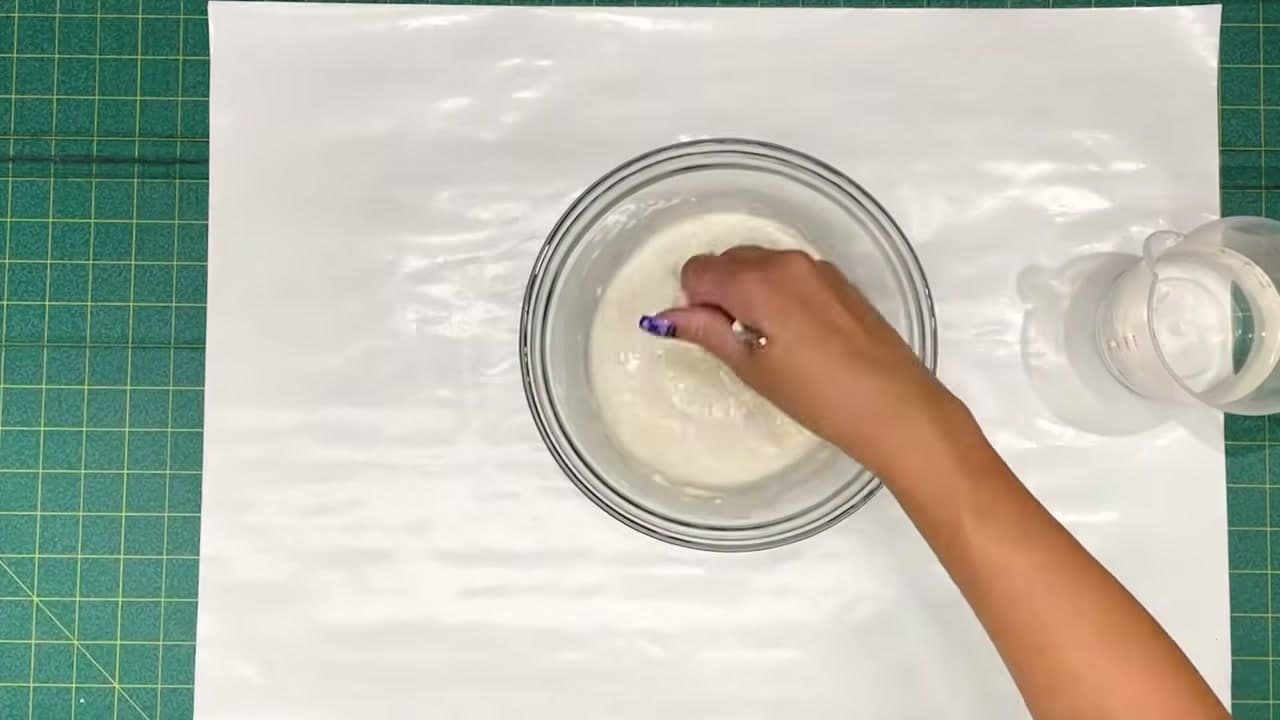
Catherine from Cozy Craft Studio uses a paste of water, glue and flour together rather than one or the other. There is no measuring involved - you are after something a bit thinner than pancake batter. The last trick is worth the price of admission: a final layer of paper towel instead of newspaper, which smooths out every sharp edge.

Step-by-Step Guide

10 steps · about 9 minutes.Check off each step as you go and your progress saves automatically.

1

Step 1: Stuff the Bag

0:30
Step 1: Stuff the Bag - How to Make Paper Mache Pumpkins

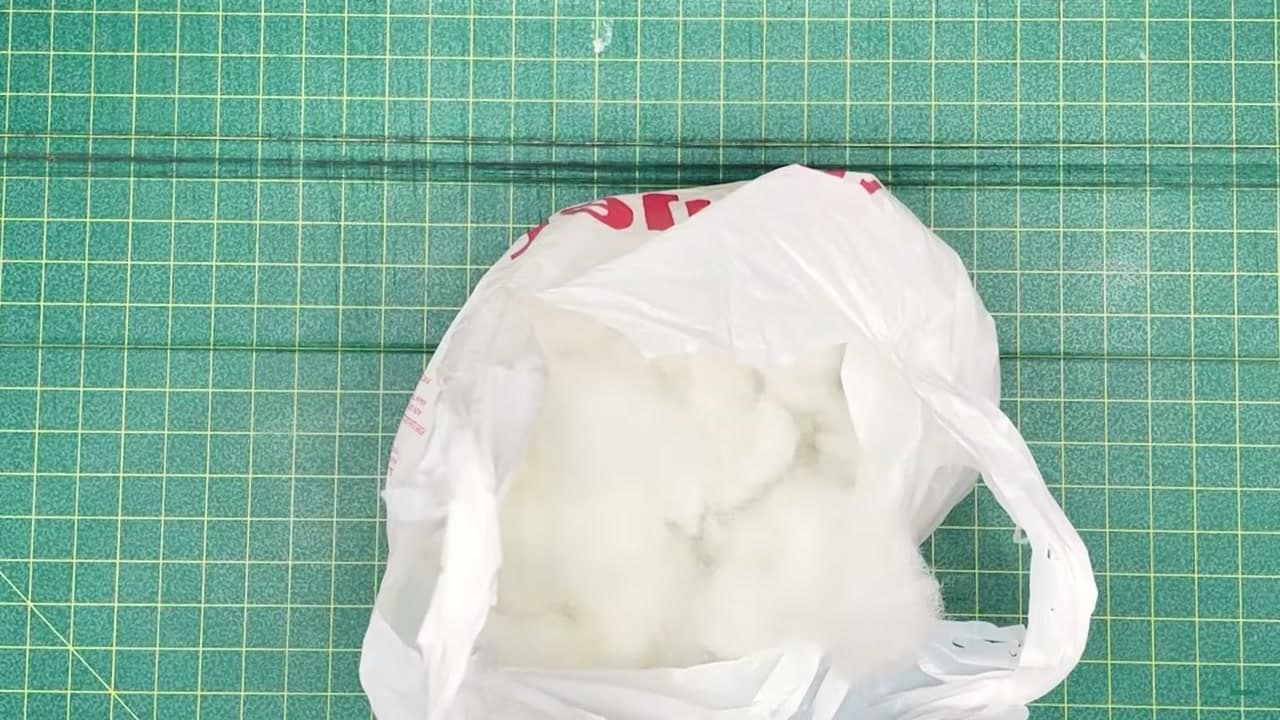
Push polyfill into a plastic grocery bag until it reaches the size of pumpkin you want. Fill it more for a big one, less for a small one.

Twist the bag closed and knot it low against the stuffing so the bundle stays tight and round.

Tip

You can leave the polyfill inside forever, but pulling it out later means you get it back for the next pumpkin.

Products used in this step

2

Step 2: Tie the Ribs

1:28
Step 2: Tie the Ribs - How to Make Paper Mache Pumpkins

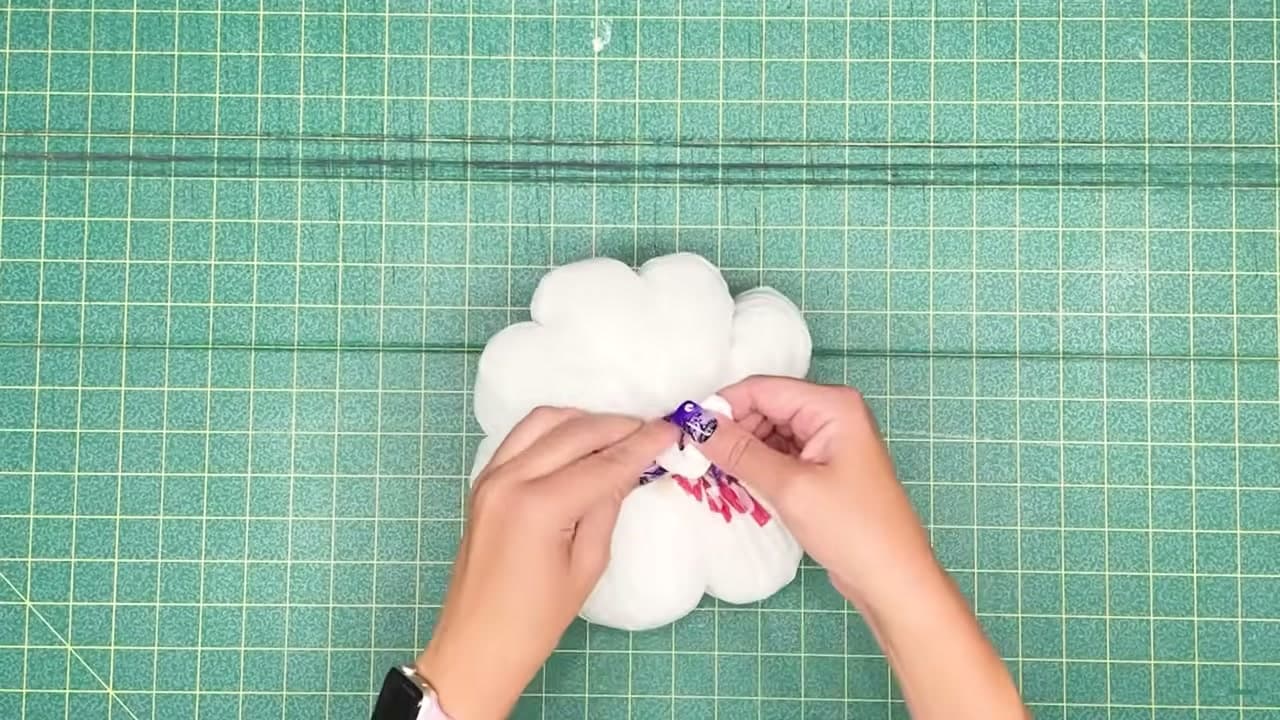
Run four lengths of string around the bundle, crossing underneath and pulling each one snug.

Space them evenly. Every string you add pulls a groove into the bag, and those grooves become the ribs that make the shape read as a pumpkin rather than a ball.

Products used in this step

3

Step 3: Shape the Stem

1:40
Step 3: Shape the Stem - How to Make Paper Mache Pumpkins

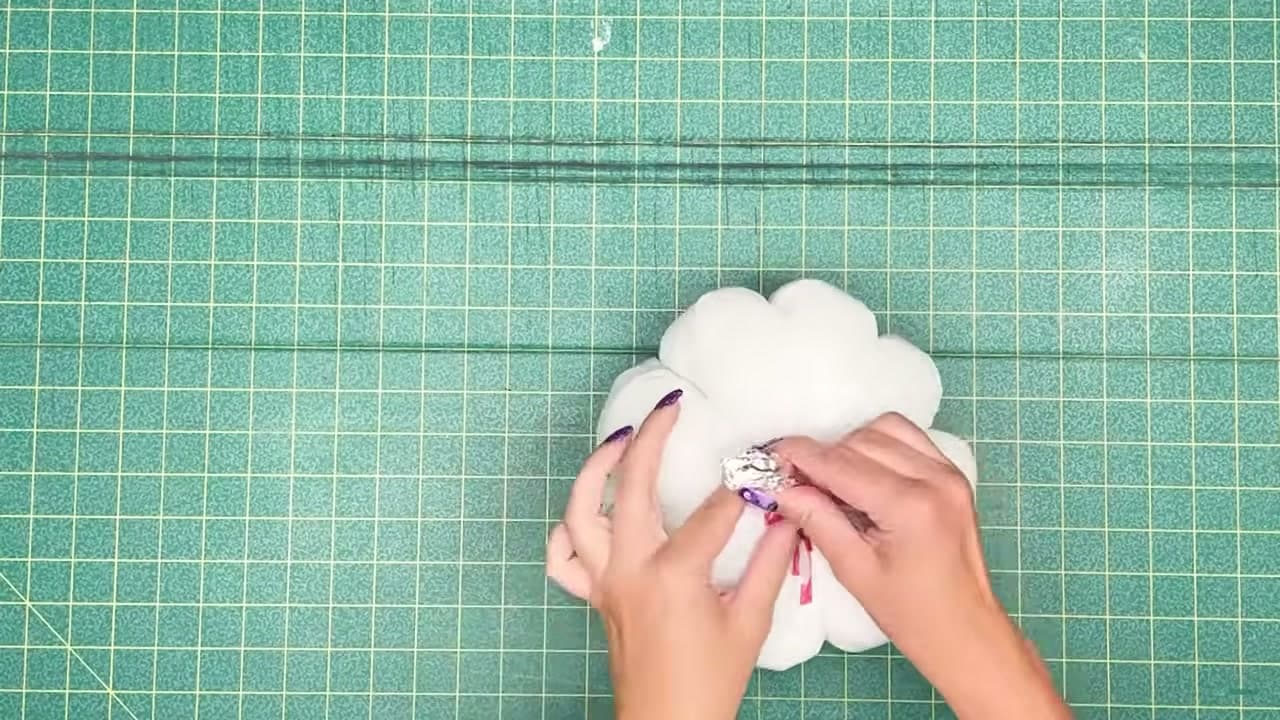
Twist the loose top of the bag up into a stalk. Wrap a piece of aluminium foil around it and squeeze it into the shape you want.

Foil holds whatever bend you give it, so a stem with a slight lean looks more natural than a straight one.

Products used in this step

4

Step 4: Tear the Paper and Mix the Paste

2:48
Step 4: Tear the Paper and Mix the Paste - How to Make Paper Mache Pumpkins

Tear newspaper into a decent pile of strips before you start. Once your hands are covered in paste you will not want to stop and tear more.

For the paste, stir together water, white glue and flour. Catherine does not measure any of it - you are aiming for a texture slightly thinner than pancake batter.

Tip

Water and glue alone works. So does water and flour. Using all three gives a paste that grabs well and still dries hard.

5

Step 5: Lay the First Layer

3:18
Step 5: Lay the First Layer - How to Make Paper Mache Pumpkins

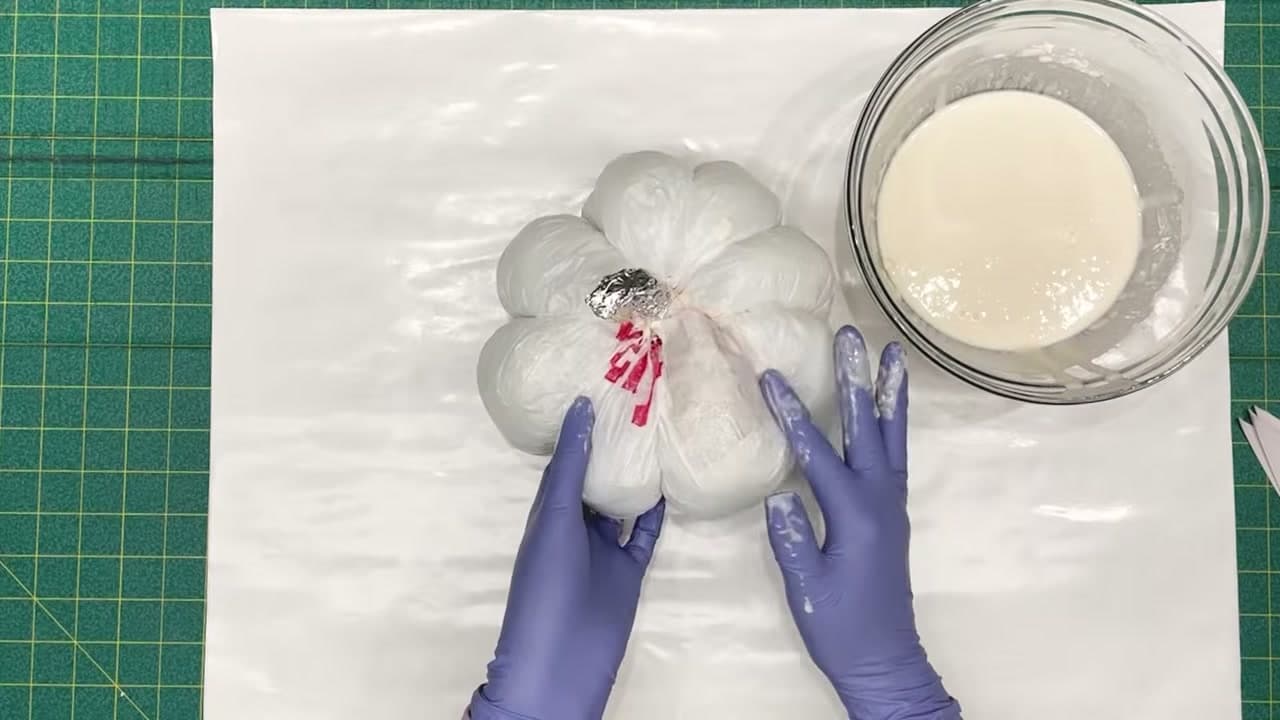
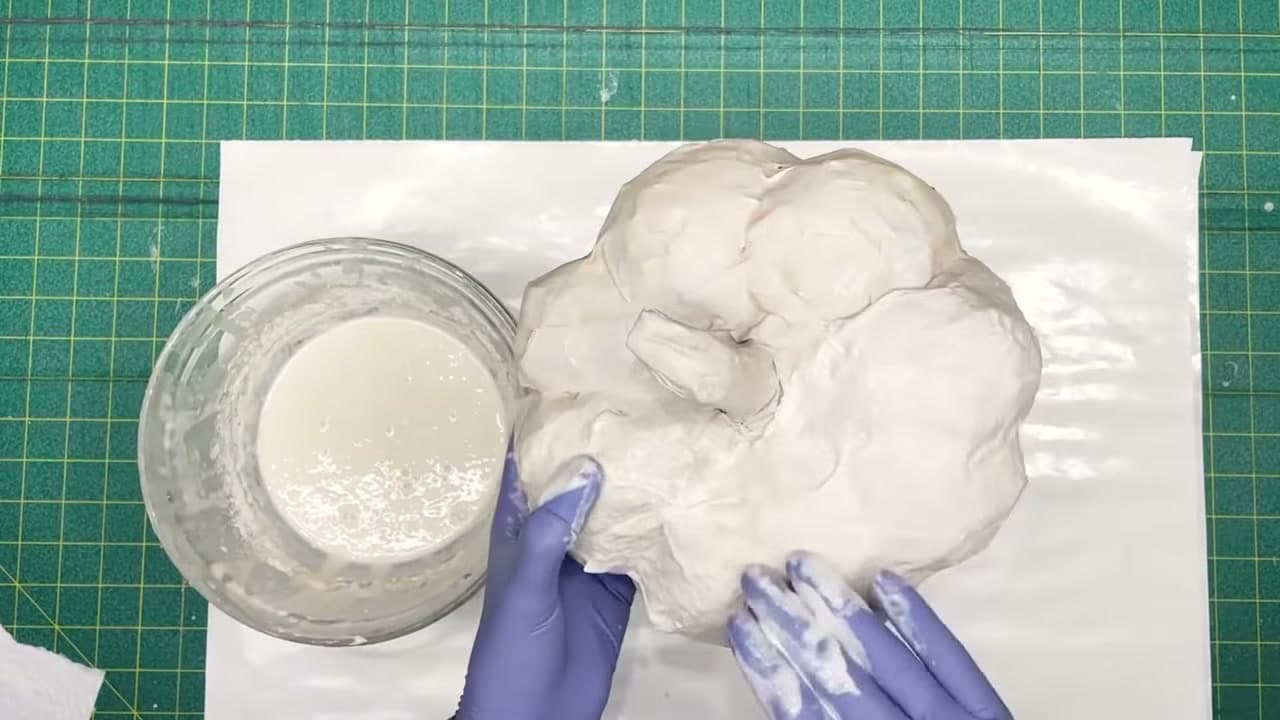
Cover your table first - freezer paper or newspaper both work. Dip a strip, pull the excess paste off between two fingers, and smooth it onto the form.

Press well down into the rib crevices. If you bridge over them the pumpkin shape disappears under the paper.

Tip

Gloves are optional but make cleanup much faster.

6

Step 6: Do the Bottom

4:18
Step 6: Do the Bottom - How to Make Paper Mache Pumpkins

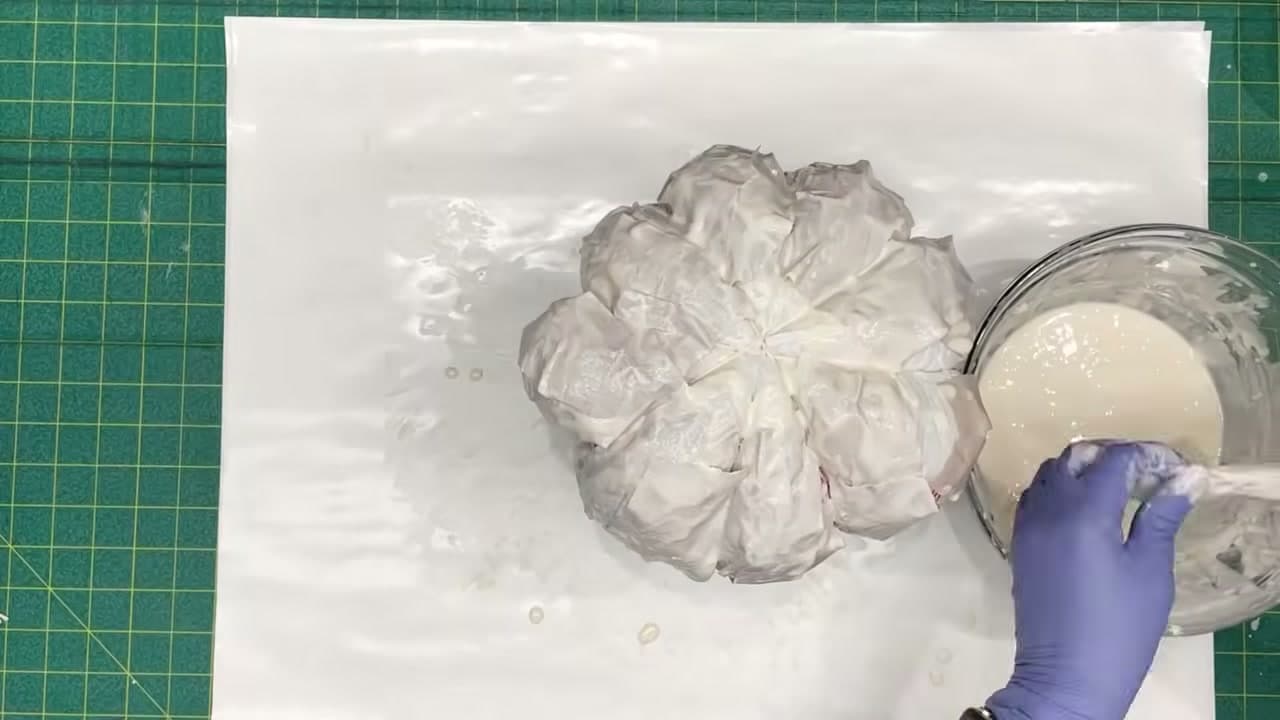
Let the top firm up a little, then turn the pumpkin over and cover the underside. Sitting it on a glass jar keeps it steady and off the table.

If you want the polyfill back, leave a small gap unpapered. Dry it upside down on the jar so that spot stays soft.

Products used in this step

7

Step 7: Pull the Stuffing Out

6:14
Step 7: Pull the Stuffing Out - How to Make Paper Mache Pumpkins

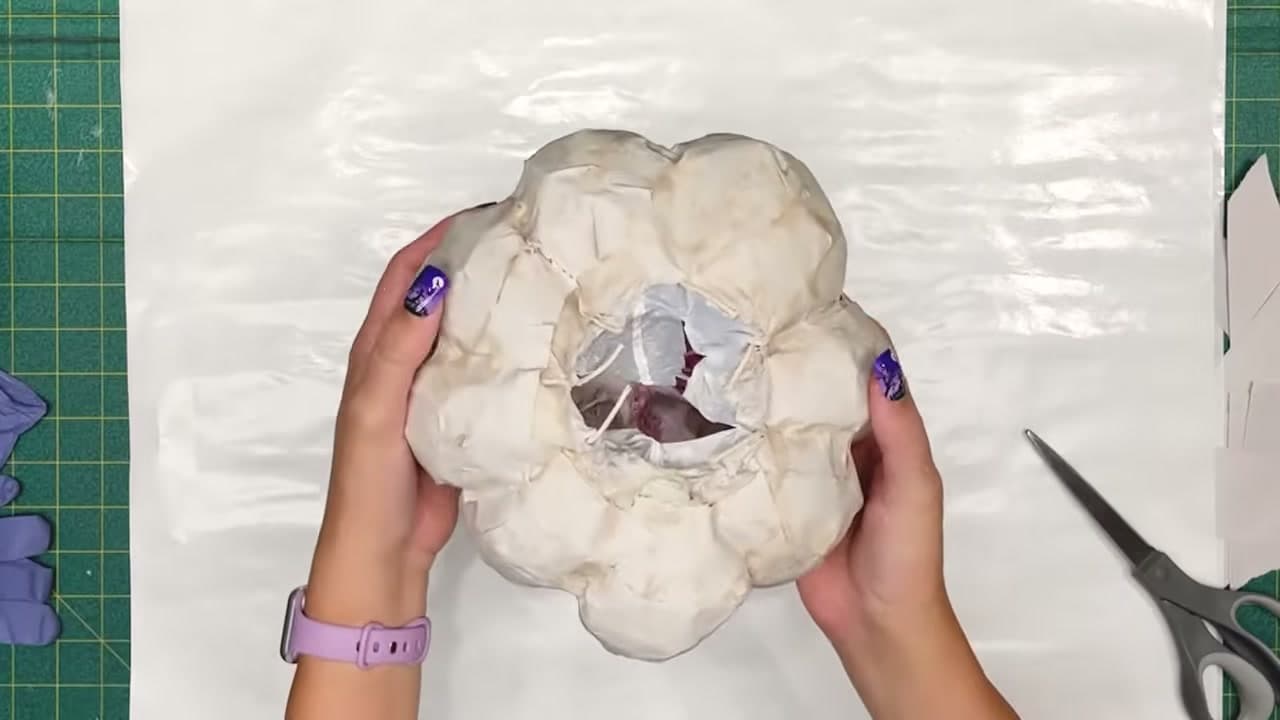
Add a second layer the same way as the first, then give it a couple of hours. Blot any wet paste near the opening with a paper towel so it does not soak the stuffing.

Snip the strings, cut the plastic back and pull the polyfill out through the gap. The shell stays flexible at this stage, so handle it gently.

Products used in this step

8

Step 8: Patch the Opening

6:28
Step 8: Patch the Opening - How to Make Paper Mache Pumpkins

Sit the hollow pumpkin back on the jar and tear some wider strips than you have been using.

Bridge the opening with them, smooth the edges down, and let it dry all the way through this time. No shortcuts here - a damp patch stays soft and dents later.

Products used in this step

9

Step 9: Smooth It With Paper Towel

7:08
Step 9: Smooth It With Paper Towel - How to Make Paper Mache Pumpkins

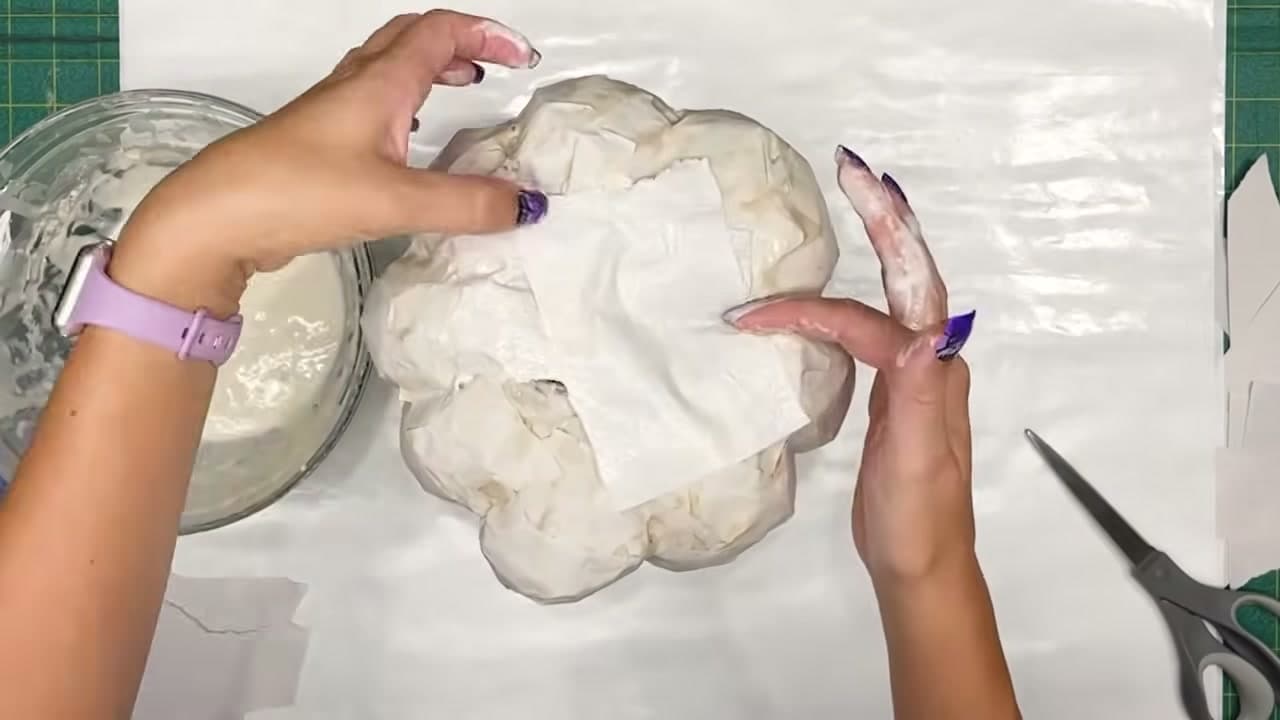
Dried paper mache leaves sharp ridges where the strips overlapped. Some people mix up paper mache clay to fix this; a layer of paper towel is easier and works nearly as well.

Tear the towel into small pieces, paste them on, and smooth every wrinkle out as you go.

Products used in this step

10

Step 10: Paint It

7:56
Step 10: Paint It - How to Make Paper Mache Pumpkins

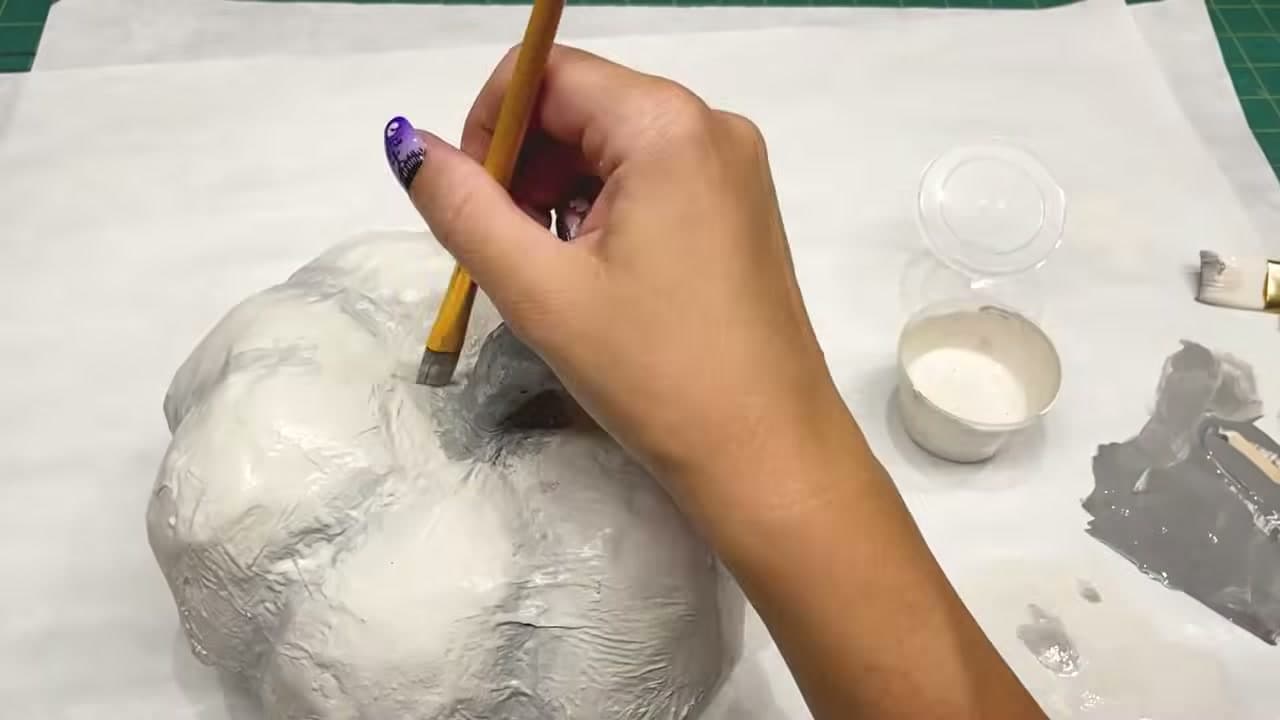
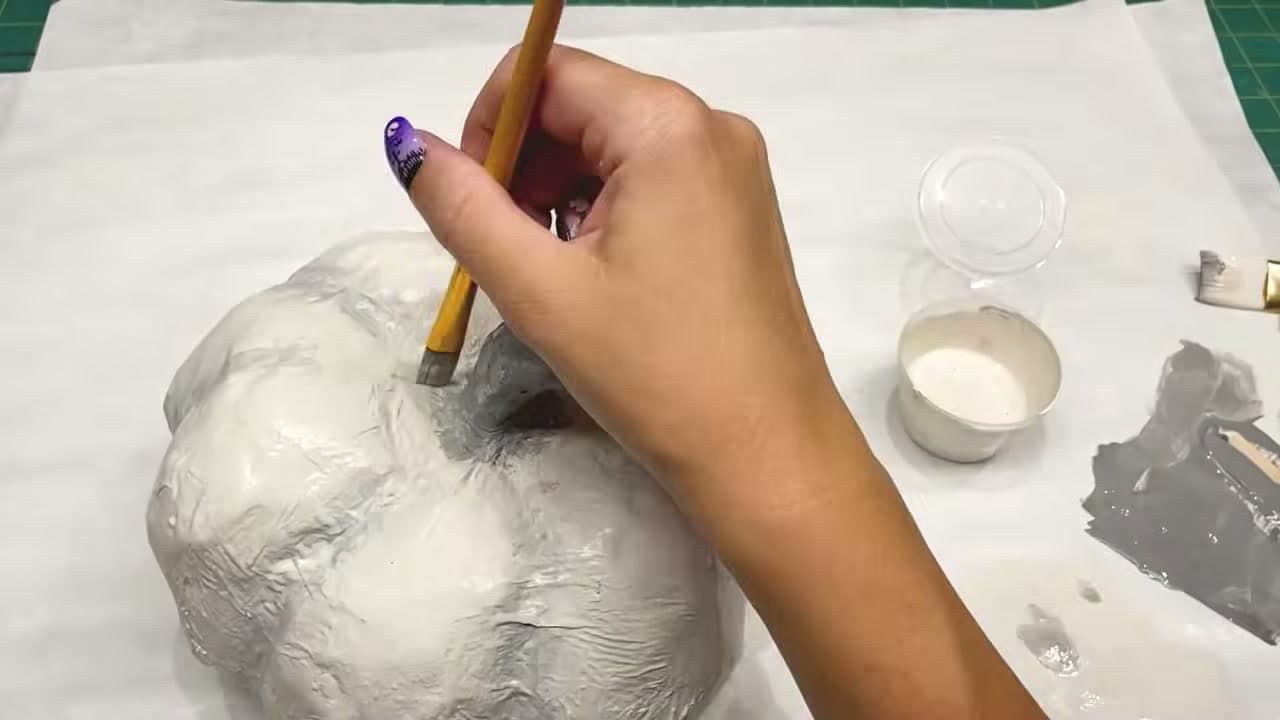
Once it is bone dry, paint it. Work the brush down into the ribs where the shadows fall, and give the stem a separate colour so it reads as a stem.

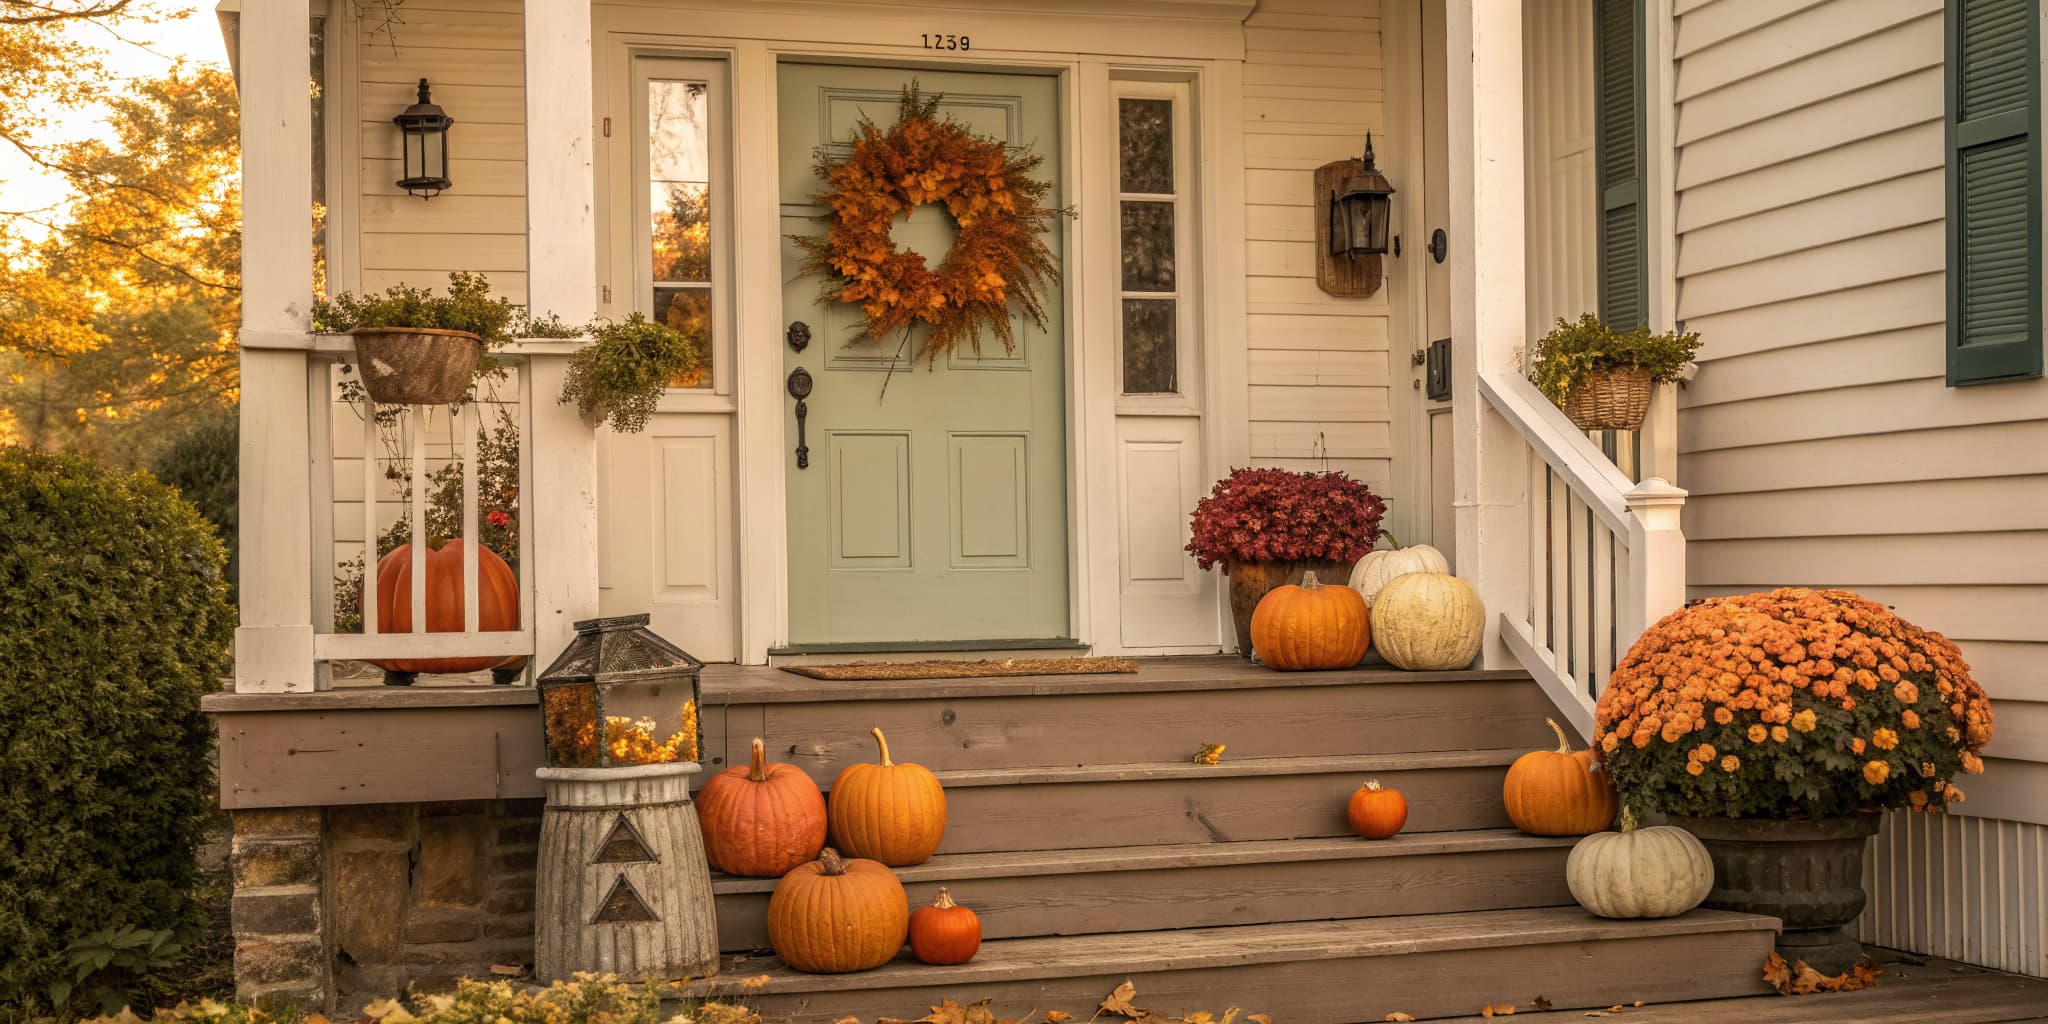
Traditional orange is the obvious choice, but a flat white or cream suits a lot of homes better and still says autumn.

Tip

Two thin coats beat one thick one - heavy paint pools in the grooves you worked hard to keep.

Keep going

How to Make Paper Pom-Poms (Tissue Paper, Step by Step)

Products Used

☐ The Checklist

How to Make Paper Mache Pumpkins

Tools
5
Materials
9
Steps
10
Video
9 min

Tools we recommend

Your Guide

Cozy Craft Studio

As an Amazon Associate we earn from qualifying purchases. Links on this page may be affiliate links - clicking them and buying doesn't change your price, but helps support ShowMeStepByStep.

Tags

Sunday How-To

New paper crafts tutorials, every Sunday

One short email with the week's best step-by-step guides. Free, no spam, unsubscribe anytime.

Did this work for you?

What's next

Related collections

Curated theme pages that include this tutorial.

Weekly Digest

Liked this paper crafts tutorial?

Pick the categories you want to hear about. Weekly digest of new step-by-step tutorials. No spam, easy unsubscribe.

Send me tutorials about

We only email about new tutorials. Easy unsubscribe anytime.