How to Make a Paper Envelope

Paper CraftsEasy5:488 stepsBrowse more →
Also in:Crafts

By CraftingStepByStepPublished

Based on a video by My Fun Place.

An envelope you fold yourself beats a store-bought one for anything handwritten. This version starts from a single sheet, uses no adhesive at all, and closes with a flap that slides into a pocket built from the earlier folds.

The method comes from My Fun Place on YouTube. Most of it is straightforward corner-to-center folding. Two steps need attention: the light center crease near the start, and the tuck about three-quarters of the way through where the corners go underneath rather than on top. Get those right and the envelope sits perfectly flat.

Any paper works. Printer paper is fine for a note, and patterned scrapbook paper turns the same folds into something worth keeping.

Step-by-Step Guide

8 steps · about 6 minutes.Check off each step as you go and your progress saves automatically.

1

Step 1

0:52
Step 1: Step 1

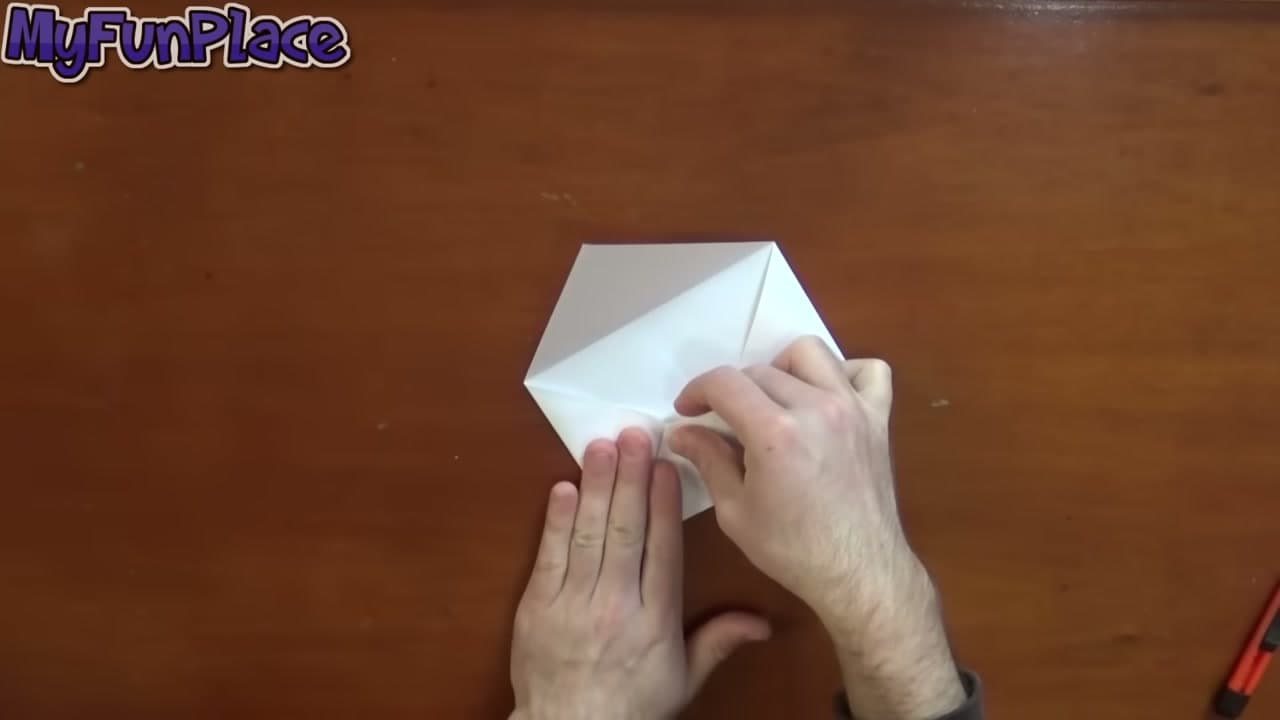
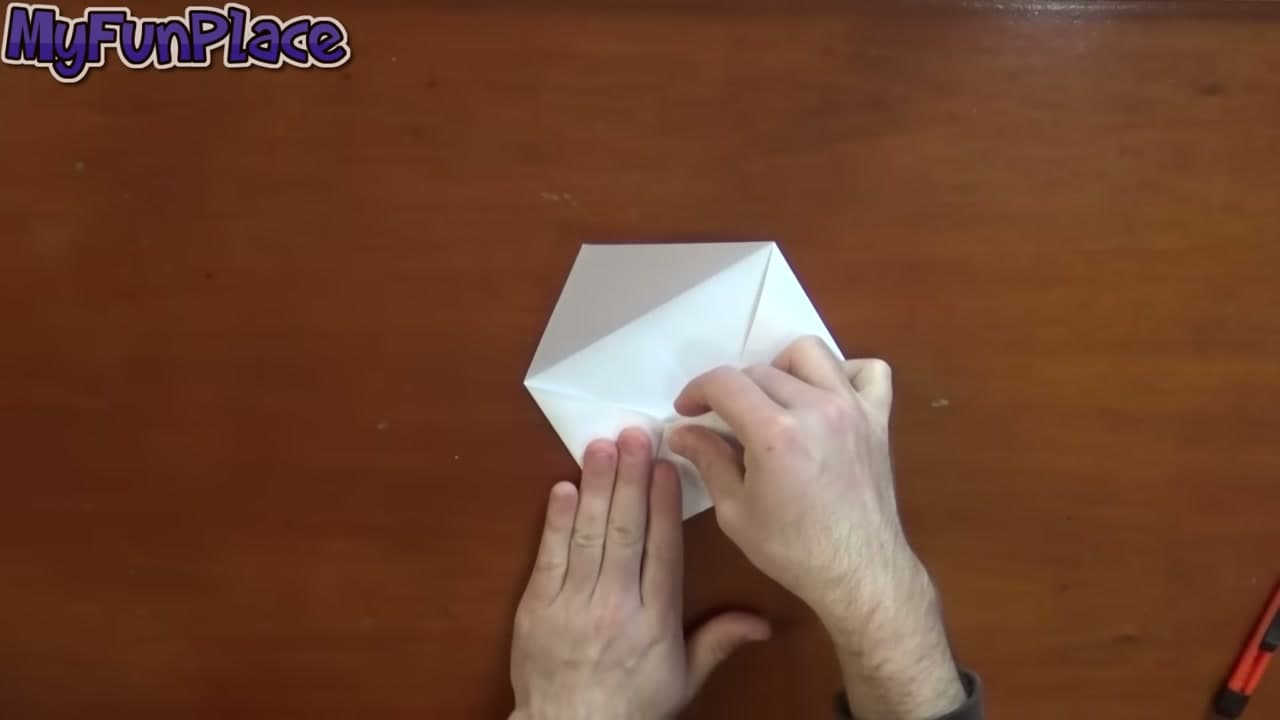
Grab a sheet of A4 or letter paper. Fold the top right corner across until the short edge lines up with the long edge, then flip the sheet and fold the leftover strip at the bottom. Trim that strip off with a craft knife or scissors. You are left with a clean square, which is what every fold after this depends on.

Tip

A4 and US letter are slightly different shapes, so the trimmed square comes out a different size. Either works - just do not mix sheet sizes partway through.
2

Step 2

1:08
Step 2: Step 2

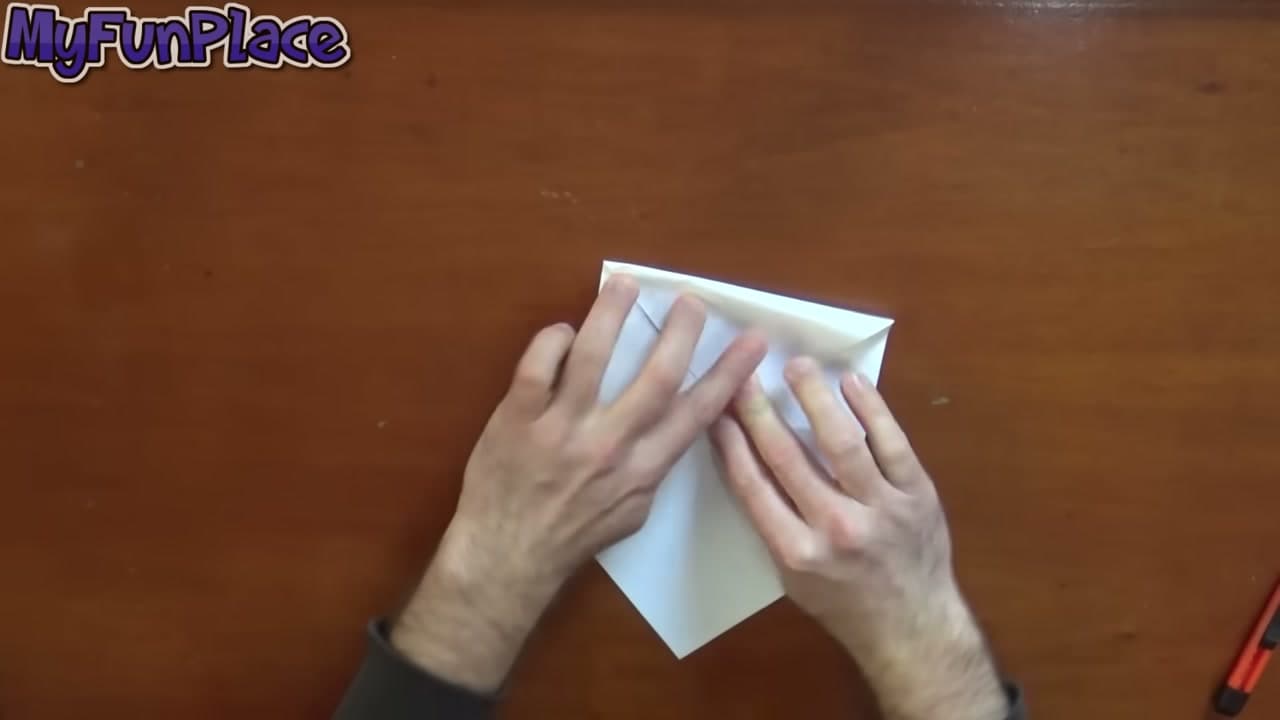
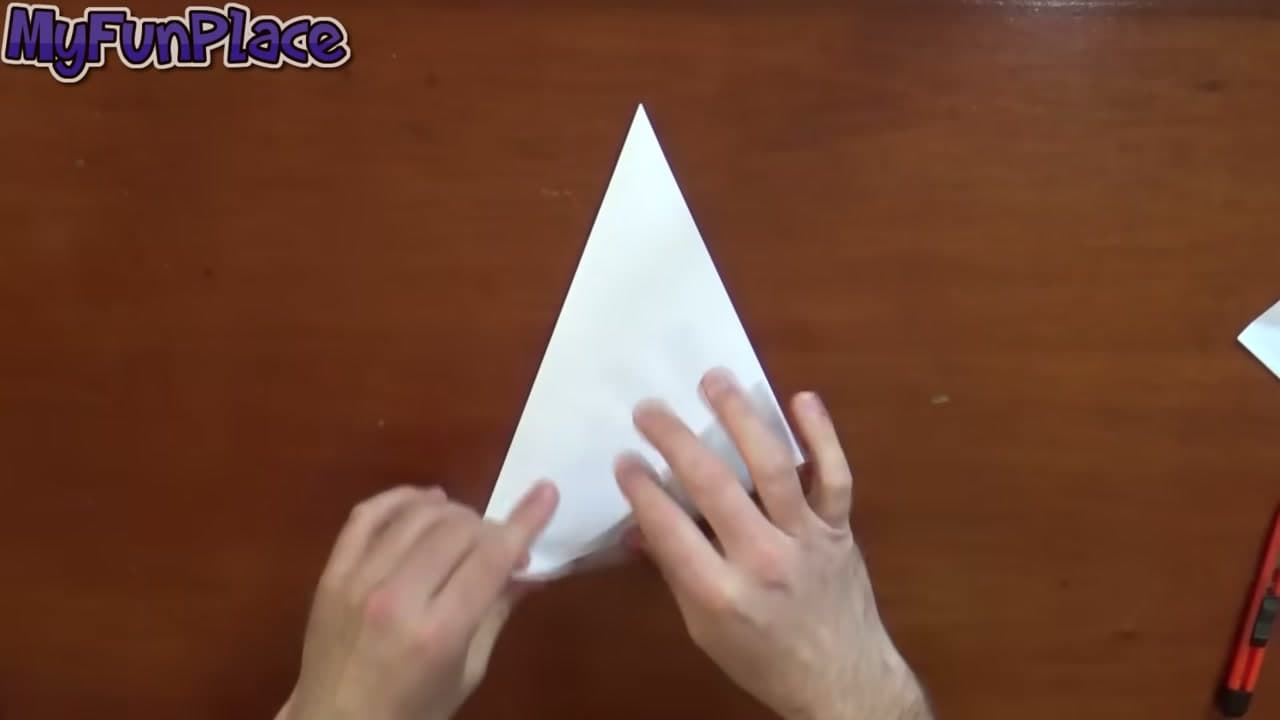
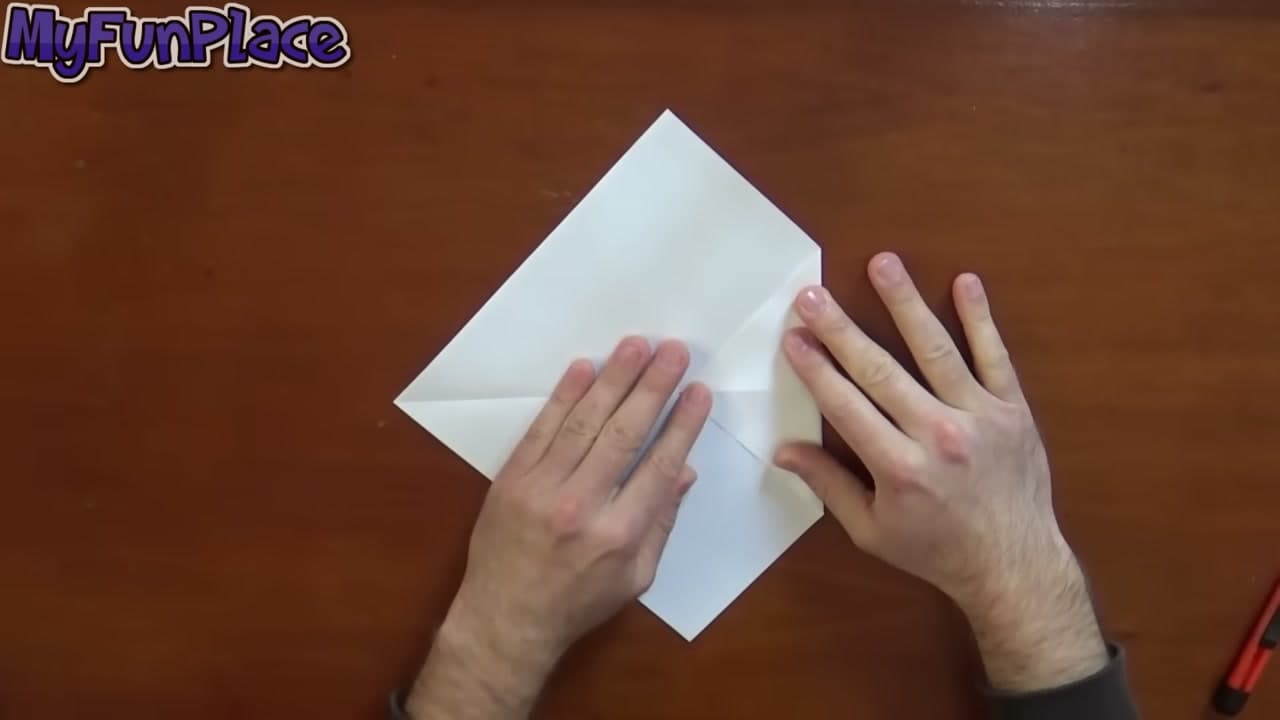
Bring the top corner down toward the bottom of the square, but do not press the whole thing flat. Pinch only the middle so you leave a short crease mark rather than a full fold. Open it back up. That little mark is the target line for the next two folds, so keep it light.

Tip

Press only the middle inch or so. A full crease here shows as an unwanted line across the front of the finished envelope.

Products used in this step

4

Step 4

2:00
Step 4: Step 4

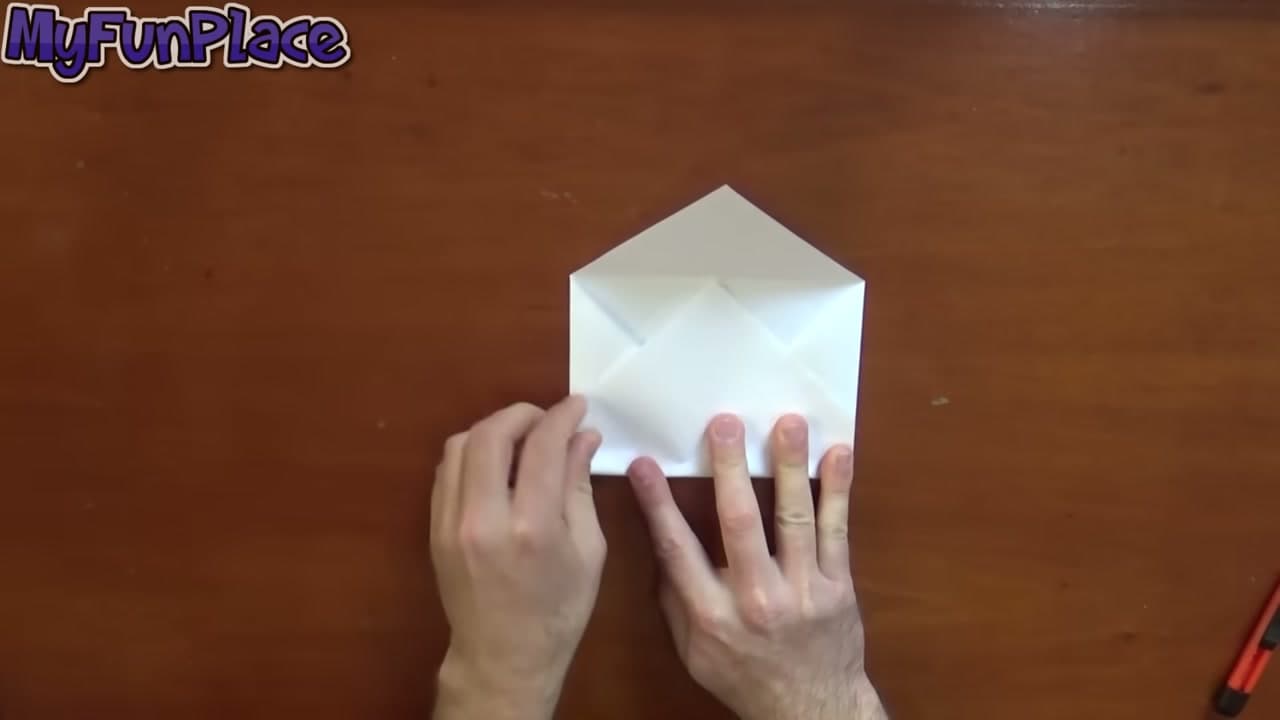
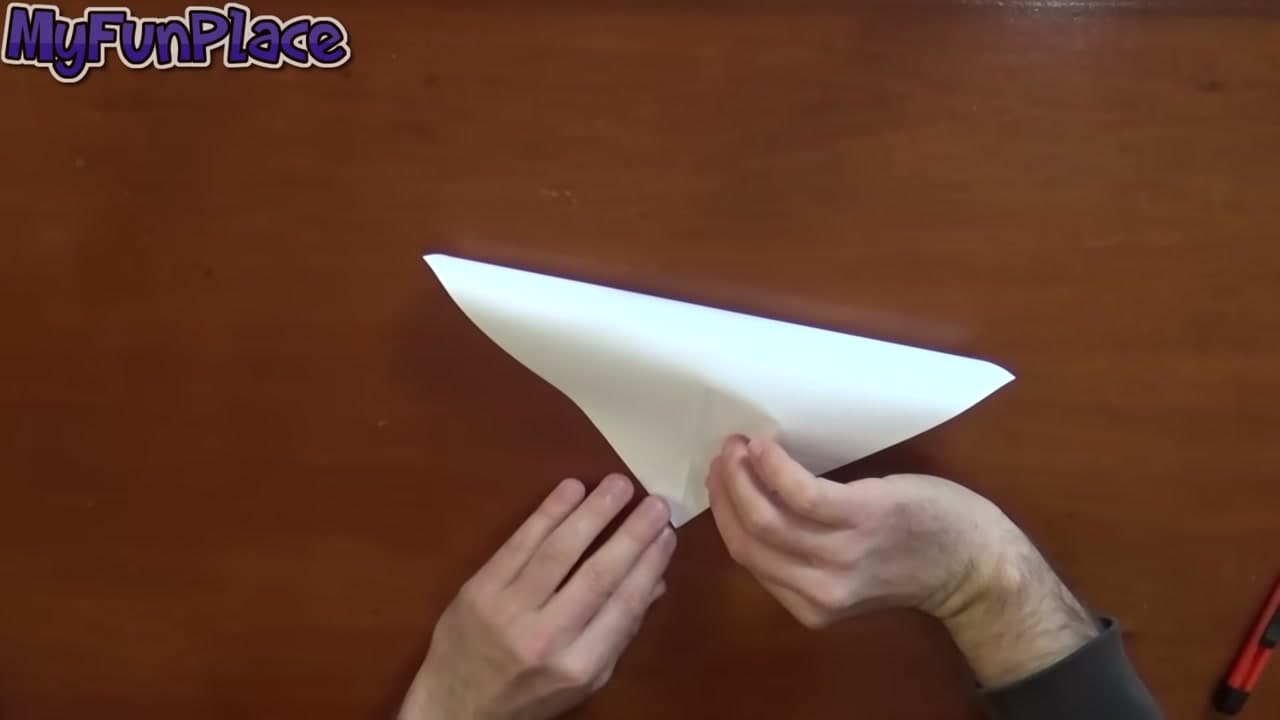
Flip the top corner down over the two side flaps you just made. Line the point up so it sits flat against the folds underneath. This is the back panel of the envelope taking shape.

Tip

If the point overshoots the bottom edge, your square was not quite square. Trim it and start again rather than fighting it.

5

Step 5

2:28
Step 5: Step 5

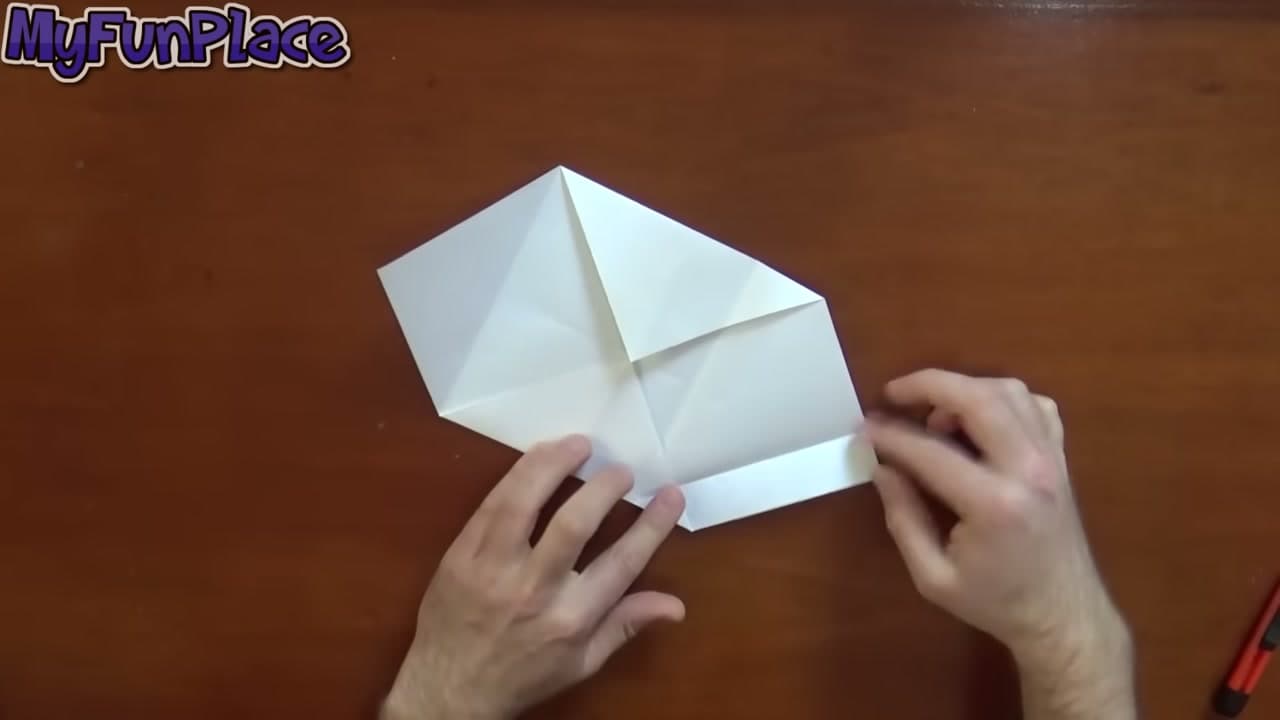
Fold the bottom corner up until it reaches the edge of the panel you folded down in the last step. Crease it firmly. You should now be looking at a wide, squat shape with a clear rectangle forming in the center.

6

Step 6

2:58
Step 6: Step 6

Fold the left corner in toward the center, then the right one the same way. Keep both folds even, since these become the visible side seams of the finished envelope. Run your thumbnail along each crease to sharpen it.

Products used in this step

7

Step 7

3:58
Step 7: Step 7

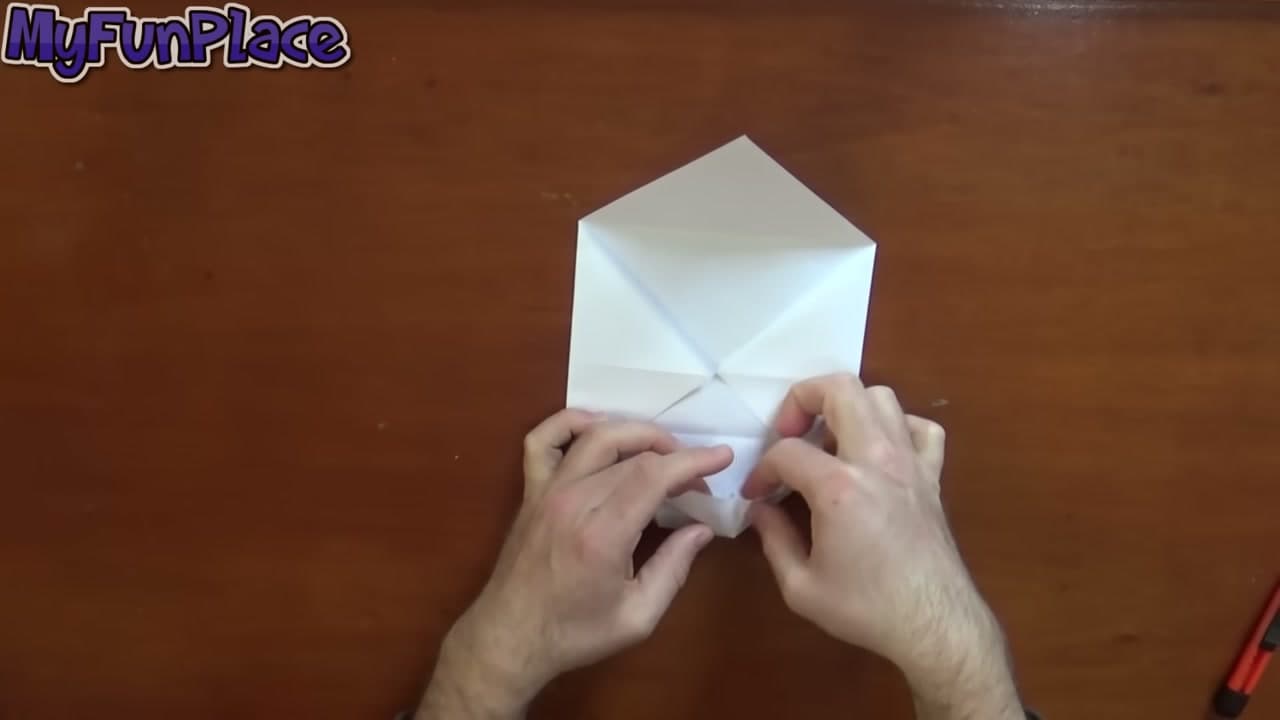
This is the fiddly one. Lift the right overlapping corner and slide it under the middle panel rather than leaving it sitting on top. Do the same on the left. Tucking instead of stacking is what keeps the envelope flat and stops the front from bulging.

Tip

Slide a fingernail under the corner to open a gap before pushing it through. Forcing it tears the layer.

8

Step 8

4:55
Step 8: Step 8

Fold the bottom section up to the middle. Notice the small pocket the earlier folds created along the edge. Slip the corner of the flap straight into that pocket, then repeat on the other side. No glue, no tape - the paper holds itself shut.

Tip

For a version that stays shut in the mail, add a small sticker or a spot of glue on the flap. The tuck alone is enough for hand delivery.

Products used in this step

Products Used

☐ The Checklist

How to Make a Paper Envelope

Tools
2
Materials
1
Steps
8
Video
6 min

Tools we recommend

Your Guide

My Fun Place

As an Amazon Associate we earn from qualifying purchases. Links on this page may be affiliate links - clicking them and buying doesn't change your price, but helps support ShowMeStepByStep.

Tags

Sunday How-To

New paper crafts tutorials, every Sunday

One short email with the week's best step-by-step guides. Free, no spam, unsubscribe anytime.

Did this work for you?

What's next

Related collections

Curated theme pages that include this tutorial.

Weekly Digest

Liked this paper crafts tutorial?

Pick the categories you want to hear about. Weekly digest of new step-by-step tutorials. No spam, easy unsubscribe.

Send me tutorials about

We only email about new tutorials. Easy unsubscribe anytime.