How to Make Stickers at Home

Paper CraftsEasy4:316 steps
Also in:Crafts

By CraftingStepByStepPublished Updated

Based on a video by Laurynn Ashley.

You don't need a printer, sticker paper, or a Cricut to make custom stickers. Two strips of packaging tape sandwich your doodles into a glossy, waterproof sticker that looks like it came from a sticker shop.

This walkthrough from Laurynn Ashley shows the basic taped-sticker method first, then a puffy-sticker variation that uses cardboard for dimension. Both use the same starting materials - paper, markers or colored pencils, packaging tape, scissors, and double-sided tape.

Plan on about 20 minutes from sketch to finished stickers. The hardest part is drawing the doodles; the tape sandwich and cutting take maybe 5 minutes total.

Step-by-Step Guide

1

Step 1: Draw and color your doodles on paper

0:30
Step 1: Step 1: Draw and color your doodles on paper

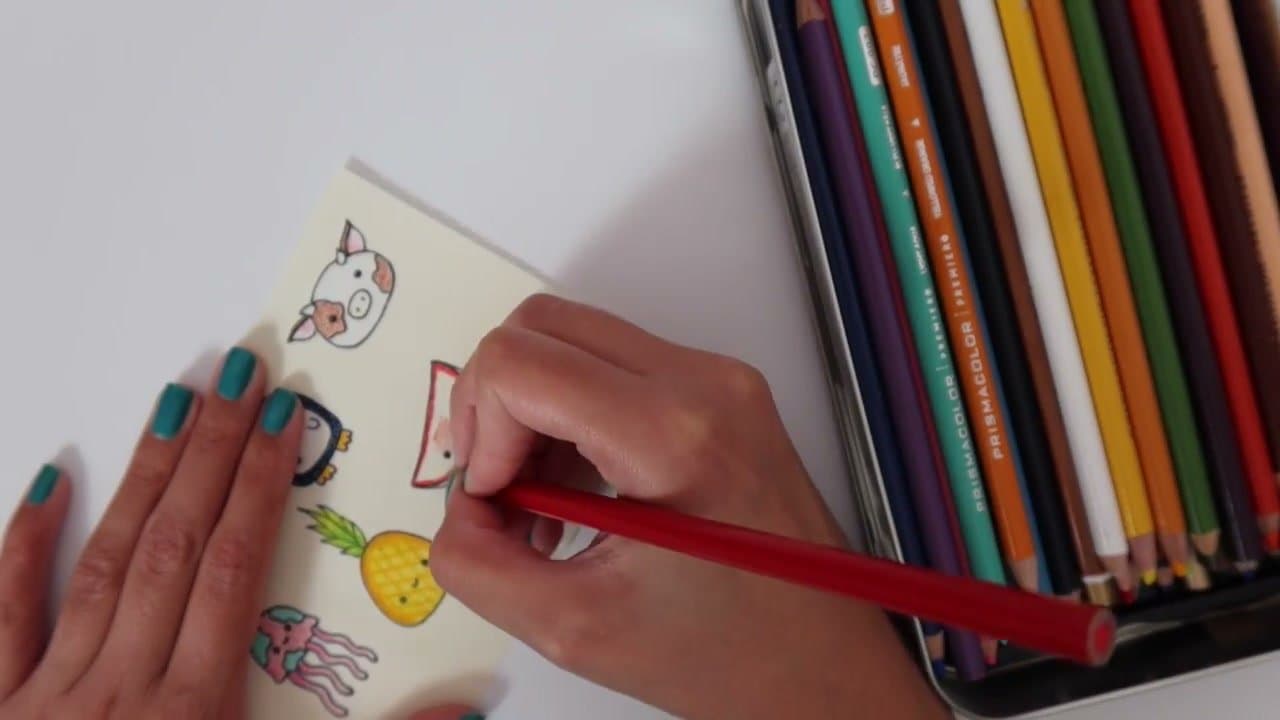
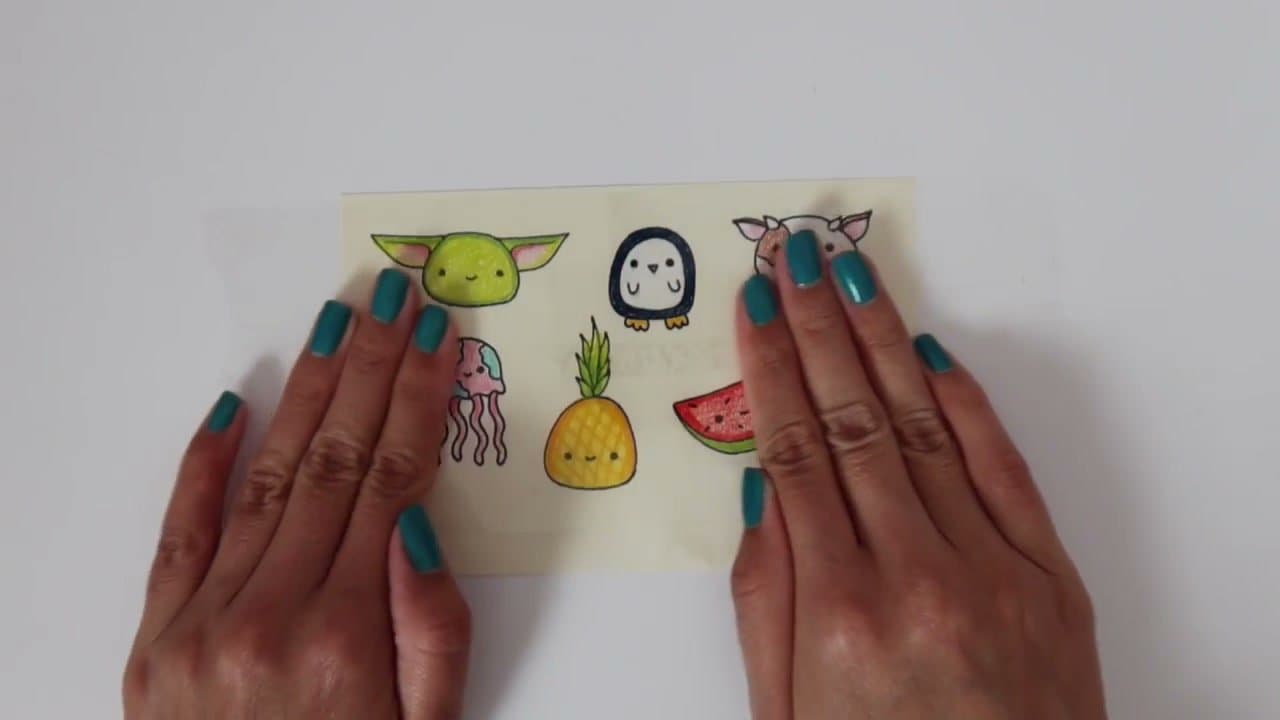
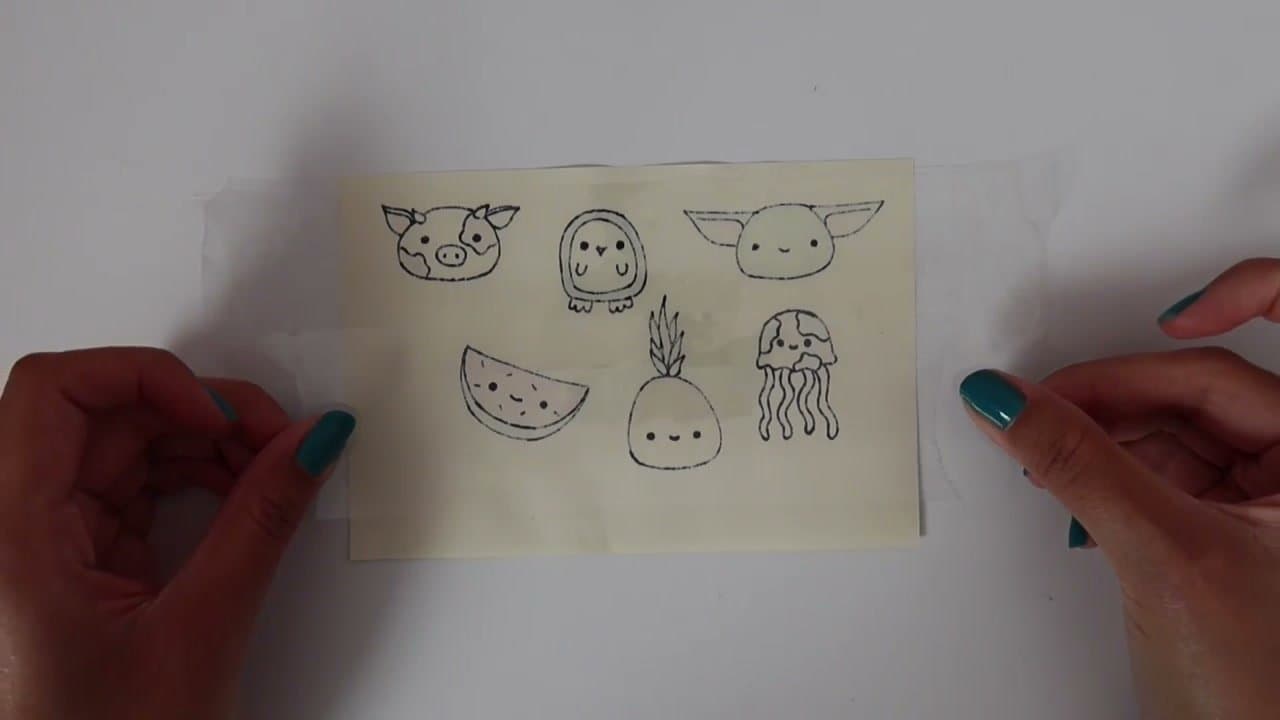
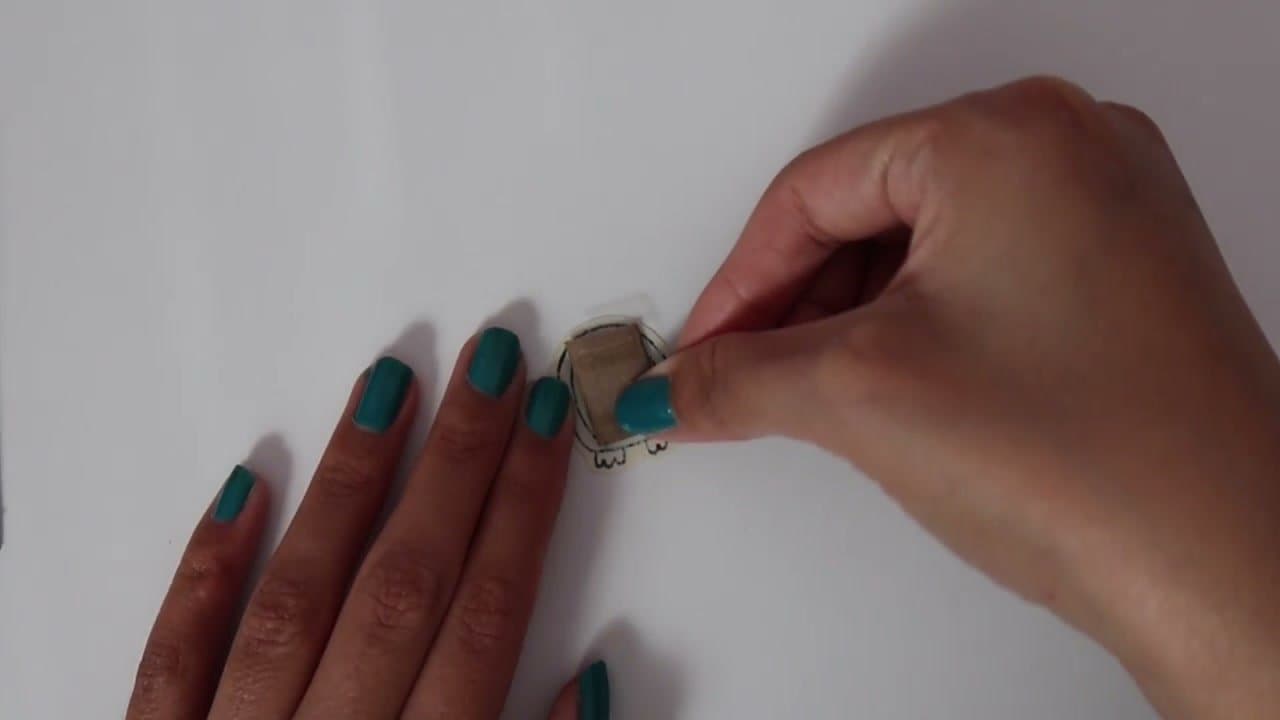
Sketch your sticker designs on plain printer paper using a pencil or pen. Cute animals, food, plants, characters - anything you can draw works. Keep each doodle small (1-2 inches across) so the finished sticker is sticker-sized.

Color the doodles in with markers, colored pencils, or whatever you have on hand. Outlined-and-colored designs hold up best - the sticker tape sandwich is glossy, so vibrant color underneath shows through clearly.

Tip

Avoid waxy crayons or oil pastels - they don't adhere well under packaging tape and can smudge.

2

Step 2: Cover the front with packaging tape

1:00
Step 2: Step 2: Cover the front with packaging tape

Cut a strip of clear packaging tape long enough to cover all your doodles. Lay the tape sticky side down across the entire front of your design and press firmly with your fingers to adhere it.

Smooth out any air bubbles with your fingernail or the edge of a credit card so the tape sits perfectly flat. Bubbles look ugly under the gloss and can lift the tape over time.

Tip

Any clear tape works - regular Scotch tape, packing tape, even wide washi tape. Packaging tape is the best because it's wider so you cover more doodles in one strip.

Products used in this step

3

Step 3: Flip and tape the back

1:10
Step 3: Step 3: Flip and tape the back

Turn the paper over and add another strip of packaging tape across the back, same way - sticky side down. Smooth out the bubbles. Now your doodles are sealed between two layers of glossy clear tape.

Both sides of the paper now have a shiny finish. The double-sided lamination is what makes the stickers waterproof and durable enough to survive on water bottles and laptops.

4

Step 4: Cut out each sticker

1:20
Step 4: Step 4: Cut out each sticker

Use scissors to cut out each doodle from the taped sheet. You can cut right along the edge of your design or leave a small white border around it - both look great, just be consistent within a set.

The sealed tape gives the stickers a smooth, glossy plastic feel just like store-bought ones. Cut slowly around curves so the edges stay clean.

Tip

Sharp small scissors (embroidery or nail scissors) work better than full-size craft scissors for tight curves on small doodles.

Products used in this step

5

Step 5: Add a double-sided tape backing

1:35
Step 5: Step 5: Add a double-sided tape backing

Flip each sticker over and stick a small piece of double-sided tape on the back. Don't peel off the protective layer until you're ready to use the sticker. The protective layer keeps the stickers from sticking to each other in storage.

This turns your laminated doodle into a real peel-and-stick sticker that adheres to laptops, water bottles, journals, and notebooks. The bond isn't permanent - you can peel and reposition once or twice.

Tip

For permanent stickers (won't peel up), swap the double-sided tape for a thin layer of Mod Podge brushed on the back. It dries clear and bonds harder.

6

Step 6: Try the puffy sticker variation

2:20
Step 6: Step 6: Try the puffy sticker variation

To make a puffy sticker, cut a small piece of cardboard to roughly match the size of your doodle. Sandwich the cardboard between the laminated doodle and the back layer of double-sided tape - so it goes: sticker → cardboard → double-sided tape.

The cardboard adds dimension so the sticker pops up off the surface when applied. Same materials, totally different look. Pair regular flat stickers with a few puffy ones for a more dynamic sticker collection.

Tip

Thin chipboard from a cereal box works great - thicker corrugated cardboard gives too much puff and makes the sticker hard to apply flat.

Products Used

Your Guide

Laurynn Ashley

As an Amazon Associate we earn from qualifying purchases. Links on this page may be affiliate links - clicking them and buying doesn't change your price, but helps support ShowMeStepByStep.

Tags

Related Tutorials