How to Make a Paper Envelope
Source: My Fun Place • Full tutorial: www.craftingstepbystep.com/paper-crafts/how-to-make-a-paper-envelope
- Difficulty
- Easy
- Hands-on time
- About 15 minutes
- Makes
- 1 paper envelope

Tools
- craft knife or scissors
- bone folder or the back of a spoon
Materials
- 1 sheet of A4 or US letter paper
Steps
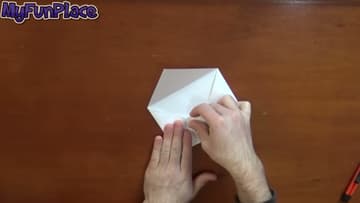
1. Make the Diagonal Fold and Trim the Printer Paper to a Square
Grab a sheet of A4 or letter paper. Fold the top right corner across until the short edge lines up with the long edge, then flip the sheet and fold the leftover strip at the bottom.
Tip: A4 and US letter are slightly different shapes, so the trimmed square comes out a different size. Either works - just do not mix sheet sizes partway through.
2. Pinch a Light Center Crease in the Paper Square
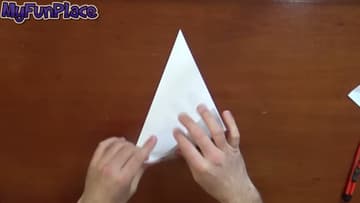
Bring the top corner down toward the bottom of the square, but do not press the whole thing flat. Pinch only the middle so you leave a short crease mark rather than a full fold.
Tip: Press only the middle inch or so. A full crease here shows as an unwanted line across the front of the finished envelope.
3. Fold Both Side Corners In to the Center Crease
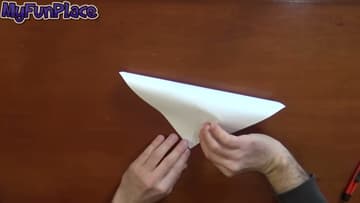
Take the right corner and fold it in so the point meets that center crease. Press along the fold.
Tip: If the two folded edges overlap instead of meeting, the center pinch drifted off the middle. Open them out and redo the pinch.
4. Fold the Top Corner Down Over the Side Flaps
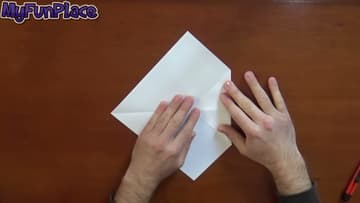
Flip the top corner down over the two side flaps you just made. Line the point up so it sits flat against the folds underneath.
Tip: If the point overshoots the bottom edge, your square was not quite square. Trim it and start again rather than fighting it.
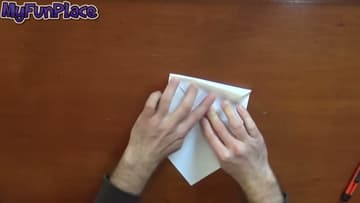
5. Fold the Bottom Corner Up to the Folded Edge
Fold the bottom corner up until it reaches the edge of the panel you folded down in the last step. Crease it firmly.
Tip: Crease this one hard with a bone folder or the back of a spoon. A soft fold here is what makes the finished envelope spring open instead of lying flat.
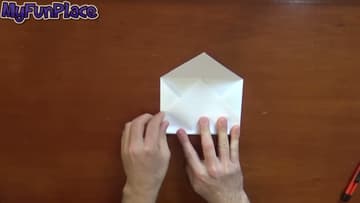
6. Crease the Left and Right Corners Into the Side Seams
Fold the left corner in toward the center, then the right one the same way. Keep both folds even, since these become the visible side seams of the finished envelope.
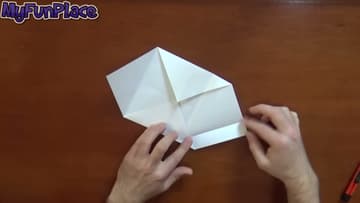
7. Tuck the Corner Flaps Under the Middle Panel
This is the fiddly one. Lift the right overlapping corner and slide it under the middle panel rather than leaving it sitting on top.
Tip: Slide a fingernail under the corner to open a gap before pushing it through. Forcing it tears the layer.
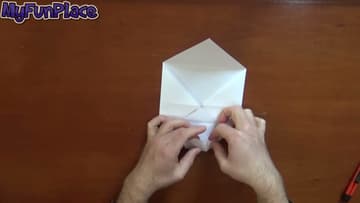
8. Slip the Flap Into the Pocket to Lock the Envelope Shut
Fold the bottom section up to the middle. Notice the small pocket the earlier folds created along the edge.
Tip: For a version that stays shut in the mail, add a small sticker or a spot of glue on the flap. The tuck alone is enough for hand delivery.