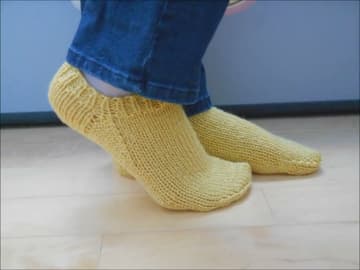
How to Knit Socks
Source: PleasantSeas • Full tutorial: www.craftingstepbystep.com/knitting/how-to-knit-socks
- Difficulty
- Medium
- Hands-on time
- About 12 hours
- Cost
- About $18 to $28
- Makes
- 1 pair of knitted socks

Tools
- double pointed knitting needle set
- knitting stitch markers
- blunt tapestry needle
- scissors
- sock blockers
Materials
- self-patterning sock yarn
Steps
1. Cast On 42 Stitches Across Three Double Pointed Needles
Cast on 42 stitches and divide them evenly, 14 on each of three double pointed needles. Lay the needles in a triangle and check that the cast-on edge runs round the inside without twisting before you join.
Tip: A stretchy cast-on matters on a sock because it has to go over your heel. The long tail cast-on on a needle one size up is enough.
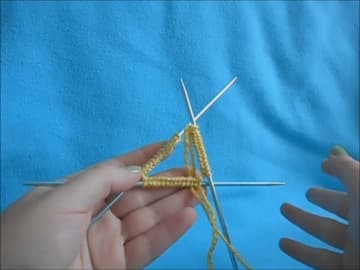
2. Knit the Ribbed Sock Cuff in the Round
Place a stitch marker to mark the start of the round and work knit one, purl one all the way round. Repeat for 7 rounds.
Tip: Keep the working yarn snug as you move from one needle to the next. That changeover is where ladders form.
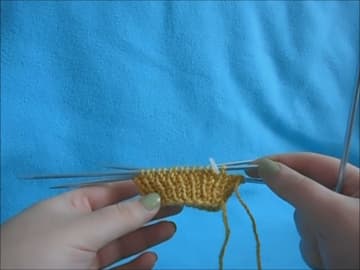
3. Work the Heel Flap Back and Forth on Half the Stitches
Knit across 21 stitches, then leave the other 21 resting on a needle for the top of the foot. Turn and work only the heel stitches back and forth: slip the first stitch purlwise, purl across, turn, slip the first stitch, knit across.
Tip: Always slip the first stitch of every row. The chain edge it makes is what you pick up from in step five.
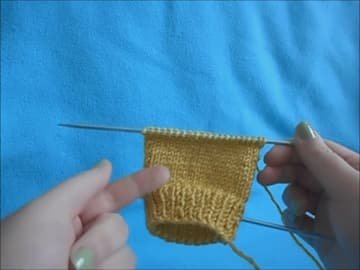
4. Turn the Heel With Short Rows
The heel turn uses decreases to cup the bottom of the flap. Knit 14, slip slip knit, turn.
Tip: The gap between worked and unworked stitches is your guide. Each decrease always spans that gap.
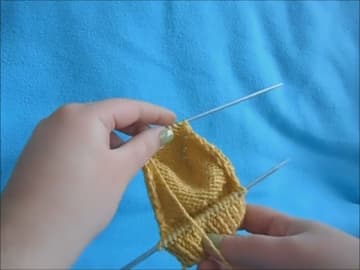
5. Pick Up the Gusset Stitches Along the Heel Flap
Knit across the remaining heel stitches, then pick up and knit one stitch in each slipped chain loop down the side of the flap, 12 in all. Knit across the 21 instep stitches, then pick up 12 more up the other side.
Tip: Pick up one extra stitch in the corner where the flap meets the instep, then knit it together with its neighbour next round. It closes the hole.
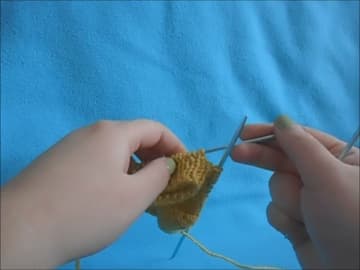
6. Decrease the Gusset to Shape the Sock Instep
On the next round, knit to three stitches before the instep, knit two together, knit one. Knit across the instep.
Tip: Two stitches go every other round. Count at the end of each decrease round so you know exactly when to stop.
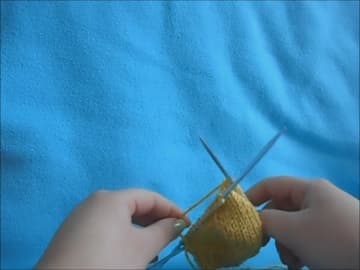
7. Knit the Foot of the Sock in Plain Rounds
Now it is just knitting. Work every round plain until the foot measures about 7 inches from the back of the heel, or two inches less than the full length of the wearer's foot.
Tip: Measure along the sole with the sock lying flat, not stretched. Stretched measurements always come out short.
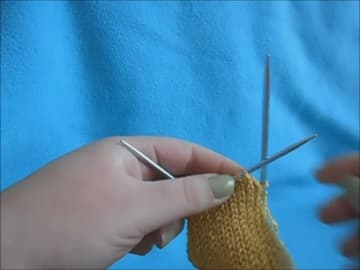
8. Decrease for the Toe of the Sock
Knit one plain round. On the next, decrease at both sides of the foot: knit two together and knit one before each side edge, knit one and slip slip knit after it.
Tip: Match the decreases to where the gusset decreases sat and the toe lines up with the sides of the foot.
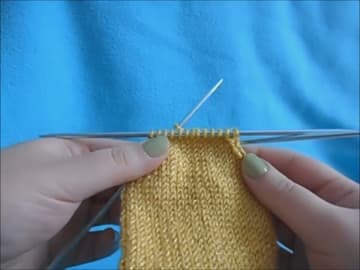
9. Draw the Toe Closed and Weave In the Yarn Tail
Cut the yarn with a long tail and thread it on a tapestry needle. Pass it through all 10 live stitches, slip them off the needles, and pull tight to gather the toe.
Tip: Weave the tail in on the diagonal. Straight up and down, it pulls out in the wash.
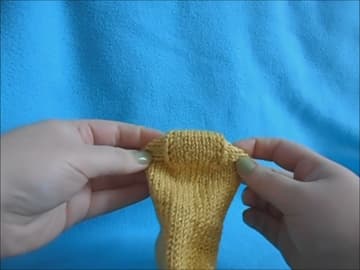
10. Try On the Finished Knit Ankle Socks
Put it on. The heel should sit snug on the back of your foot and the cuff should hold without sliding down.
Tip: Wash hand-knit socks on a wool cycle and dry them flat. Sock blockers help them keep their shape.