How to Knit Fair Isle Stranded Colorwork for Beginners

The finished result: How to Knit Fair Isle Stranded Colorwork for Beginners
  • Difficulty: Medium
  • 9 steps

You tapped Save

Save this project for later

We'll email you a link, no password.

How to Knit Fair Isle Stranded Colorwork for Beginners

  • Your saved projects in one list
  • Your ticked steps on any device

Check your inbox for an email from us. Not there? Look in your spam folder.

Print

Steps written out by Crafting Step by Step from Jessica McDonald's video (opens YouTube) (17:50). Published .

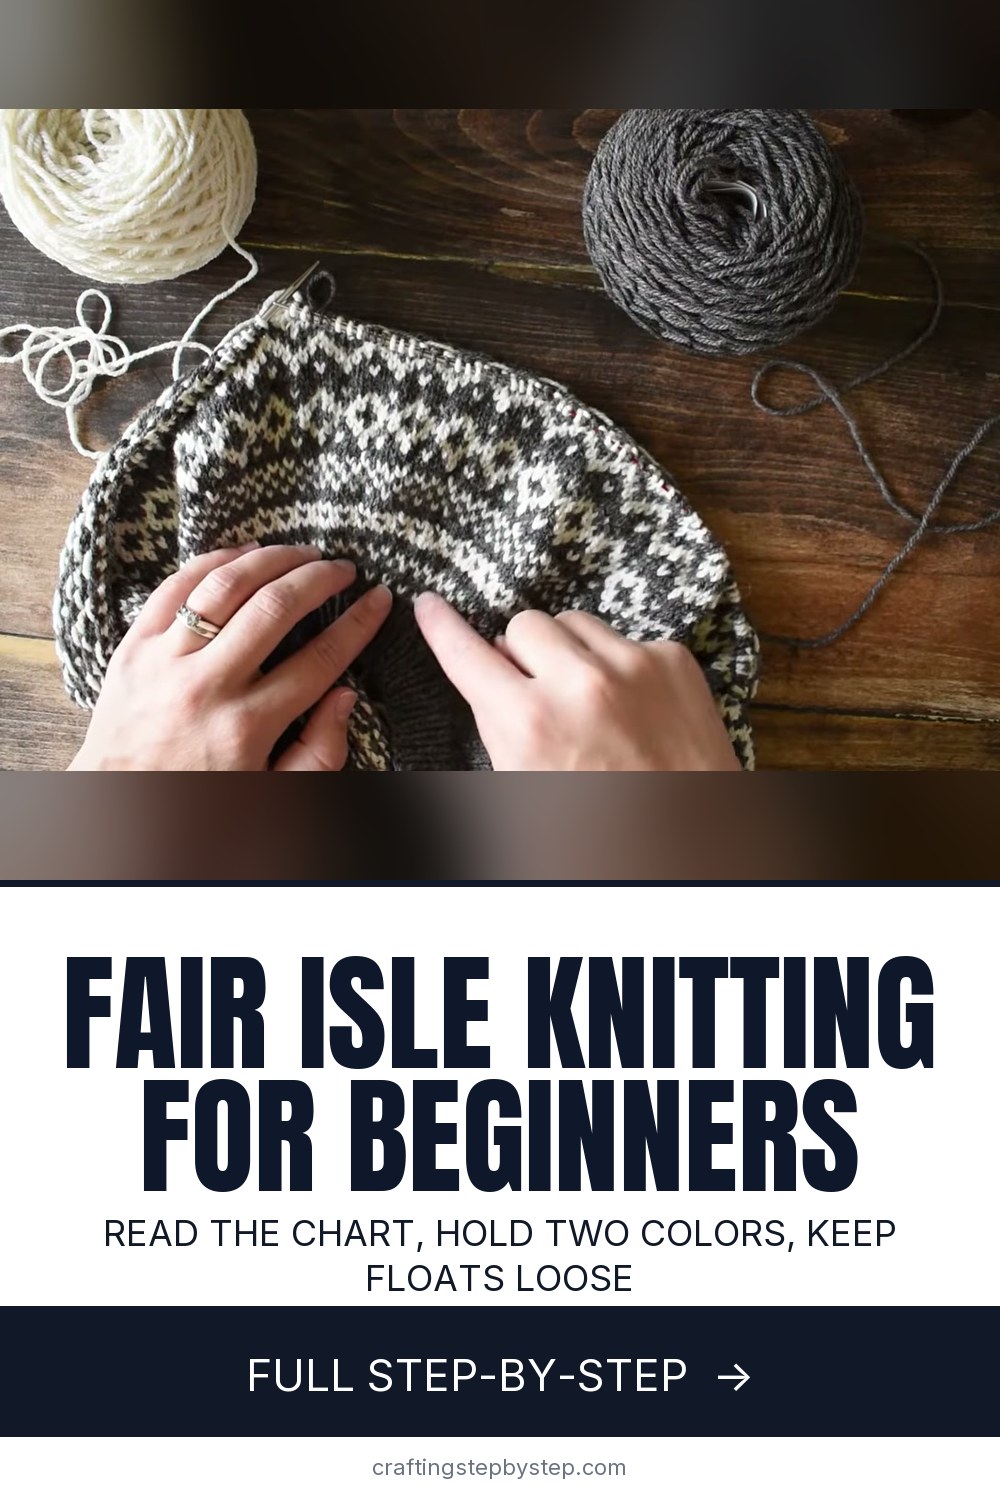
Fair Isle knitting uses two colors in the same round to make a pattern. You knit with one color and carry the other across the back until you need it again. Jessica McDonald teaches it on the yoke of her Blizzard sweater, a design made for knitters who have never tried colorwork. The repeats are short, the increases sit in plain rounds, and the floats never run longer than three stitches. That makes it a kind first project.

Fair Isle vs stranded colorwork

The names get used for the same thing. Stranded colorwork is the method: two strands, one worked and one carried. Fair Isle is the traditional style from the Shetland islands, with small repeating motifs and only two colors in any round. Intarsia is different. It uses separate blocks of color with no strands carried behind.

How to read a colorwork chart

Each square is one stitch and each row is one round. Read from the bottom up, and read each row from right to left, which is the direction you knit. The key tells you what each square means. On a yoke chart you may see gray squares or an X marked no stitch. Those columns fill in once an increase round adds the stitches. If keeping track is hard, put a stitch marker between every repeat for the first few rounds.

Color dominance

When you hold two yarns, one sits a little lower on the back of the work. That color shows slightly bolder on the front. Jessica holds the contrast in her left hand so the white motif pops against the brown. Which color is dominant matters less than keeping it the same. Switch hands halfway and the motif changes where you switched.

Floats and tension

Most beginner colorwork trouble comes from floats that are too tight. The fabric puckers and loses its stretch. Spread the stitches on your right needle before every color change, and the float behind them gets the length it needs. Floats that are too loose show as baggy stitches, but blocking fixes far more than you might expect. Jessica's advice is plain: your first piece will not be perfect, so wet block it and do better on the next one.

Picking yarn for Fair Isle

Use a woolly, slightly grippy yarn. Wool strands cling together and hide small tension bumps. Slick superwash yarns, cotton and acrylic show every uneven stitch. Pick two colors with strong contrast. Photograph them in black and white. If they look like the same gray, the pattern will disappear.

Fixing a wrong color stitch

No need to rip back. Clip a removable marker on the stitch, keep knitting, then cover it with one duplicate stitch in the right color when you weave in ends.

Where to go from here

Yokes are knit in the round, so start with how to knit in the round if that is new. The increase round uses make one left, covered in how to increase in knitting. How to read a knitting pattern helps with the written parts. A colorwork band on a simple hat makes a good first project. Finish with how to block knitting.

Free printable

Print the steps and supply list for this project

One page you can take to the table. Free with a free account, no password.

Get the free printable

What you'll need

Free, for this project

Get this checklist by email

  • All 8 tools and materials, with tick boxes
  • A link to print all 9 steps on paper, to keep by you while you craft

No password. The whole tutorial stays free on this page.

Quick answer

How to knit Fair Isle stranded colorwork: read the chart, hold two colors, join yarn, and keep floats loose so the fabric lies flat. A medium project. You need 8 things, including wool wash, circular knitting needles and stitch markers. The 9 steps start with read the Fair Isle Colorwork Chart From the Bottom Right, mark Your Row on the Colorwork Chart With a Pen and hold One Yarn Color in Each Hand for Stranded Knitting.

Step-by-step guide

9 steps, about 18 minutes. Tap a picture to jump to that step. Your progress saves automatically.

Tick each step off as you go.

  1. Step 1: Read the Fair Isle Colorwork Chart From the Bottom Right

    Watch this step · 0:57

    A colorwork chart is a grid. Each square is one stitch, and each row is one round. Start at the bottom row and read it from right to left, the same way your needles travel. Then move up a row. The key tells you which shade each square stands for. Jessica's Blizzard chart opens with a six stitch repeat that you knit all the way around.

    Tip:

    Fold the chart so only the part you are knitting shows. There is less to look at.

    Back to all steps

  2. Step 2: Mark Your Row on the Colorwork Chart With a Pen

    Watch this step · 2:00

    Lay a pen, a ruler or a strip of paper across the chart right above the round you are working. That hides everything ahead and keeps your eye on one row. Check off each round as you finish it and slide the pen up. A magnetic board and strip does the same job, but a pen you already own works fine.

    Tip:

    Your phone or a sticky note works too. Anything that blocks the rows above.

    Back to all steps

  3. Step 3: Hold One Yarn Color in Each Hand for Stranded Knitting

    Watch this step · 2:56

    Hold the main color in your right hand and throw it, English style. Drape the contrast color over your left index finger and pick it, continental style. One color in each hand saves you from dropping and grabbing yarn on every stitch. Whichever hand you choose for each color, keep it the same for the whole project. That keeps the color dominance even.

    Tip:

    If two hands feels awkward, a knitting thimble yarn guide holds both strands on one finger.

    Back to all steps

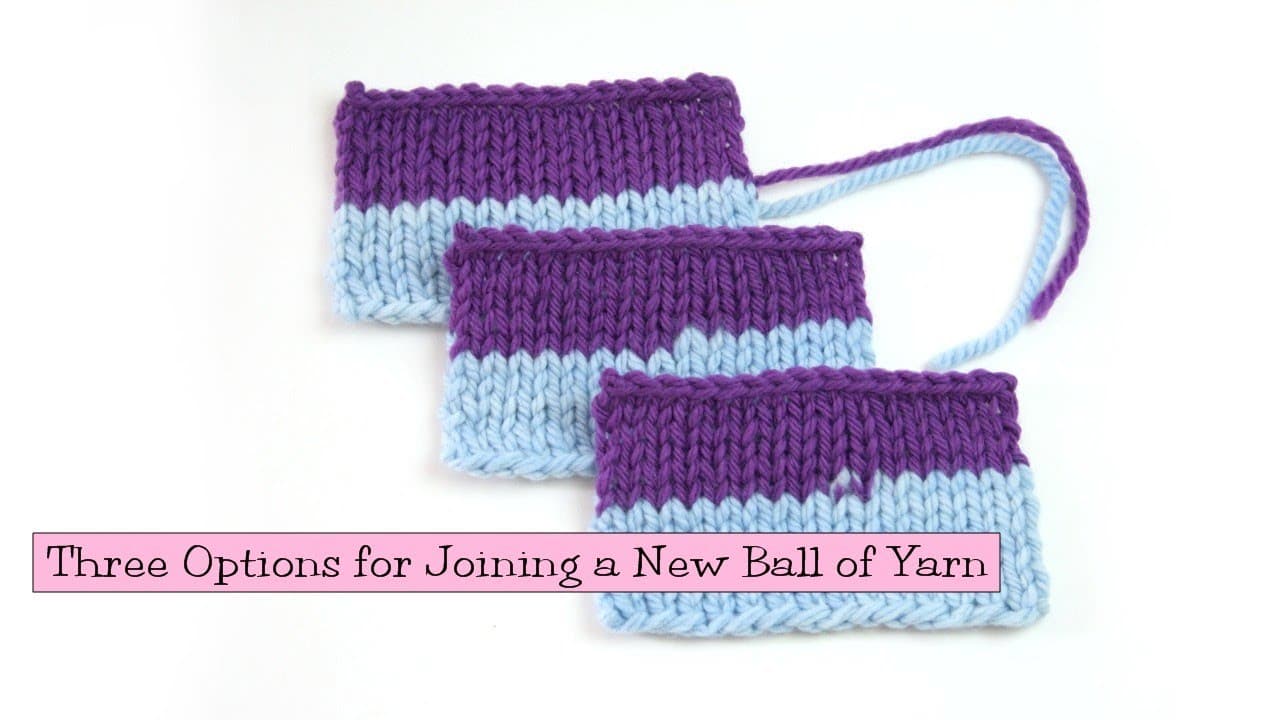
  4. Step 4: Join the Contrast Yarn and Knit the First Colorwork Round

    Watch this step · 4:28

    Leave a six inch tail of the contrast color for weaving in later. Hold it against the work with your right hand for the first stitch or two so it snugs into place. Then follow row one of the chart. On the Blizzard yoke it is brown, white, brown, white all the way round. Knit one stitch past the round marker first so the marker cannot slip off.

    Tip:

    A stitch marker at every repeat helps you spot a mistake within a few stitches, not a whole round later.

    Back to all steps

  5. Step 5: Check the Floats on the Back of the Stranded Colorwork

    Watch this step · 5:04

    Fold the work and look inside. The strands running behind the stitches are floats. Each one carries a color across stitches knit in the other color. They should lie flat against the fabric, not pulling it into puckers and not hanging in loops. Every so often, spread the stitches on your needle to give the floats enough length. Puckered fabric means your floats are too tight.

    Tip:

    Your first colorwork piece will not have perfect tension. Wet blocking evens out most of it.

    Back to all steps

  6. Step 6: Work the Colorwork Increase Round in the Main Color Only

    Watch this step · 9:20

    Some rounds on a yoke chart add stitches. On Blizzard they are worked in the main color only: knit three, make one left, all the way round. To make one left, lift the bar between stitches with the left needle from front to back, then knit into the back of it. Leave the contrast yarn hanging. There is no need to cut it for one or two rounds.

    Tip:

    Gray or X squares on a chart mean no stitch yet. They fill in once the increase round adds those stitches.

    Back to all steps

  7. Step 7: Pick the Contrast Yarn Back Up for the Next Colorwork Round

    Watch this step · 10:40

    When the chart switches back to two colors, pick up the contrast yarn where you left it and drape it over your left finger again. Move the main color back to your right hand. The stitch where the contrast waited will look loose. Give the strand a gentle tug to snug it, or leave it until you weave in ends. Then carry on following the chart.

    Tip:

    Knit a wrong color stitch? Clip a removable marker on it and fix it later with one duplicate stitch.

    Back to all steps

  8. Step 8: Spread the Stitches to Keep Longer Colorwork Floats Loose

    Watch this step · 14:10

    Longer floats need more care. On a round of three white and three brown, knit the first stitch of the new color, then spread the stitches on the right needle out to their full width. That gives the float behind them enough length. Knit the rest of that color block and spread again before switching back. Bunched stitches make a tight float and a bumpy fabric.

    Tip:

    Floats longer than five stitches snag easily. Most beginner patterns keep them short, so check before you start.

    Back to all steps

  9. Step 9: Stretch the Fair Isle Yoke to Check the Float Tension

    Watch this step · 15:45

    Every few rounds, stop and spread out the work you have done. Pull it gently sideways. Good stranded fabric stretches without any spot binding up, and lies flat when you let go. If it feels tight, loosen up on the next rounds. When the yoke is finished, soak it and lay it flat to dry. Blocking relaxes the stitches and evens out small tension slips.

    Tip:

    Use a wool wash for the soak. The wool blooms and fills in small gaps between the colors.

    Back to all steps

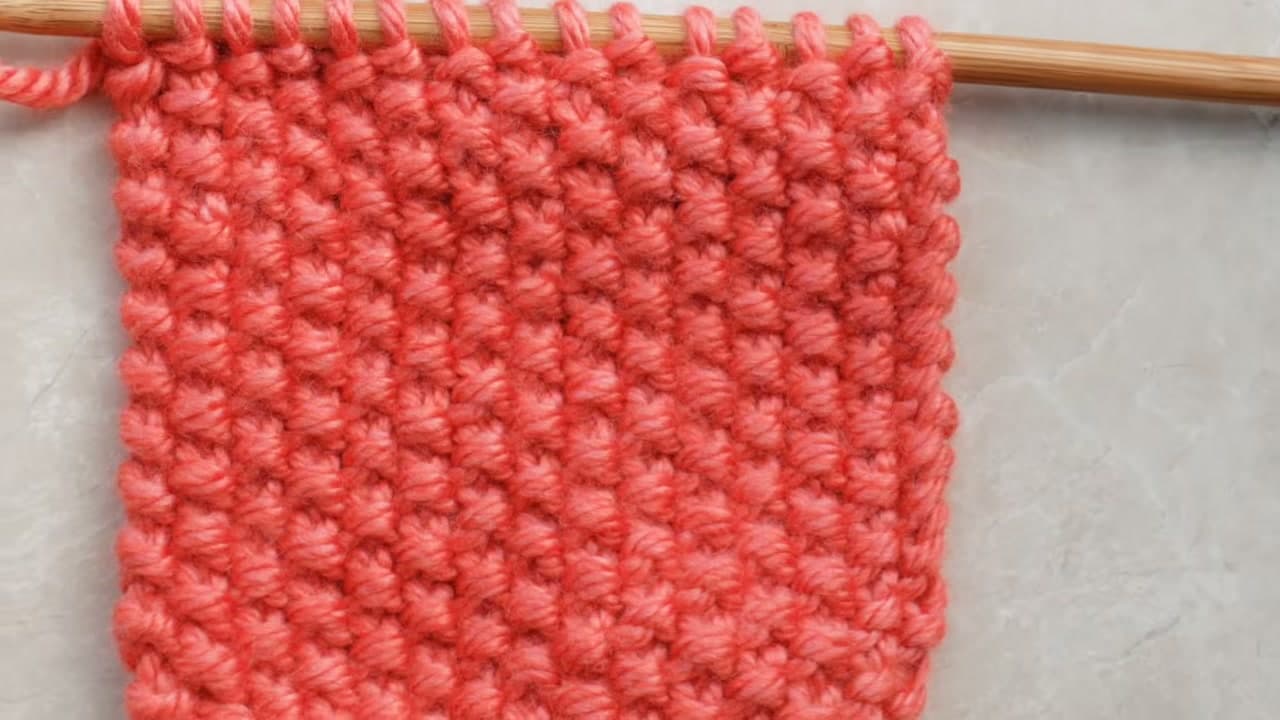
How to Knit Seed Stitch

Keep going

How to Knit Seed Stitch

Keep going with knitting

More on this topic, picked for this project.

You reached the last step

Save this project to come back to it

Your ticked steps, the free printable and your other saved makes, together in My Projects. Free, no password.

You tapped Save

Save this project for later

We'll email you a link, no password.

How to Knit Fair Isle Stranded Colorwork for Beginners

  • Your saved projects in one list
  • Your ticked steps on any device

Check your inbox for an email from us. Not there? Look in your spam folder.

Free printable

Printable sheet and shopping list for this project

The bonus is hidden until you sign up.

Free with a free account, no password. Every step above stays open to everyone.

Products Used

The Checklist

How to Knit Fair Isle Stranded Colorwork for Beginners

Tools
5
Materials
3
Steps
9
Video
18 min

Tools we recommend

As an Amazon Associate we earn from qualifying purchases. Links on this page may be affiliate links - clicking them and buying doesn't change your price, but helps support Crafting Step by Step.

Tags

The Crafter's Weekly

New knitting tutorials, every Sunday

One short email with the week's best step-by-step guides. Free, no spam, unsubscribe anytime.

Did this work for you?

What's next

Related collections

Curated theme pages that include this tutorial.

Similar tutorials

Hand-picked next reads based on the one you just finished.

Liked this knitting tutorial?

Pick the crafts you want to hear about. One email every Sunday with new step-by-step tutorials. No spam, easy to unsubscribe.

Get more like this in your inbox

Weekly digest. Pick the categories you want. Unsubscribe anytime.

Send me tutorials about

We only email about new tutorials. Easy unsubscribe anytime.