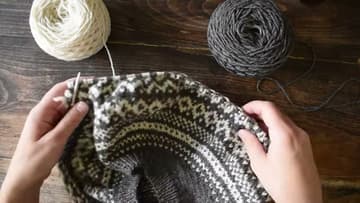
How to Knit Fair Isle Stranded Colorwork for Beginners
Source: Jessica McDonald • Full tutorial: www.craftingstepbystep.com/knitting/how-to-knit-fair-isle
- Difficulty
- Medium

Tools
- circular knitting needles
- stitch markers
- pen or chart keeper
- tapestry needle
- scissors
Materials
- wool yarn in a main color
- wool yarn in a contrast color
- wool wash
Steps
1. Read the Fair Isle Colorwork Chart From the Bottom Right
A colorwork chart is a grid. Each square is one stitch, and each row is one round.
Tip: Fold the chart so only the part you are knitting shows. There is less to look at.
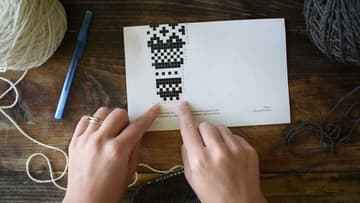
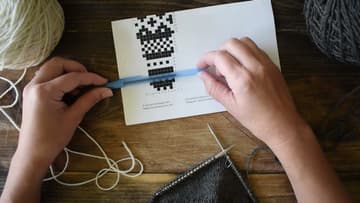
2. Mark Your Row on the Colorwork Chart With a Pen
Lay a pen, a ruler or a strip of paper across the chart right above the round you are working. That hides everything ahead and keeps your eye on one row.
Tip: Your phone or a sticky note works too. Anything that blocks the rows above.
3. Hold One Yarn Color in Each Hand for Stranded Knitting
Hold the main color in your right hand and throw it, English style. Drape the contrast color over your left index finger and pick it, continental style.
Tip: If two hands feels awkward, a knitting thimble yarn guide holds both strands on one finger.
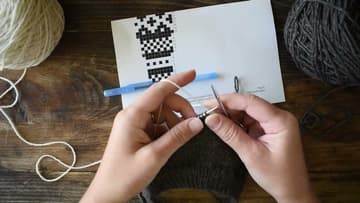
4. Join the Contrast Yarn and Knit the First Colorwork Round
Leave a six inch tail of the contrast color for weaving in later. Hold it against the work with your right hand for the first stitch or two so it snugs into place.
Tip: A stitch marker at every repeat helps you spot a mistake within a few stitches, not a whole round later.
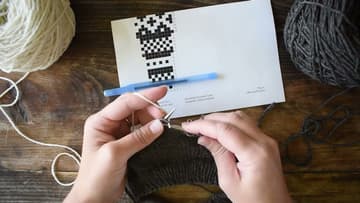
5. Check the Floats on the Back of the Stranded Colorwork
Fold the work and look inside. The strands running behind the stitches are floats.
Tip: Your first colorwork piece will not have perfect tension. Wet blocking evens out most of it.
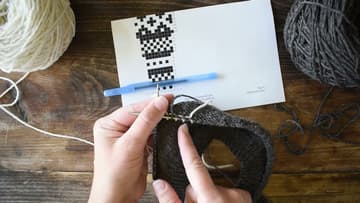
6. Work the Colorwork Increase Round in the Main Color Only
Some rounds on a yoke chart add stitches. On Blizzard they are worked in the main color only: knit three, make one left, all the way round.
Tip: Gray or X squares on a chart mean no stitch yet. They fill in once the increase round adds those stitches.
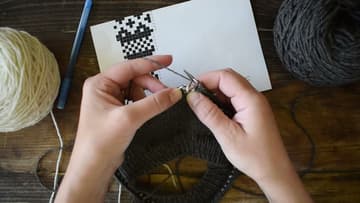
7. Pick the Contrast Yarn Back Up for the Next Colorwork Round
When the chart switches back to two colors, pick up the contrast yarn where you left it and drape it over your left finger again. Move the main color back to your right hand.
Tip: Knit a wrong color stitch? Clip a removable marker on it and fix it later with one duplicate stitch.
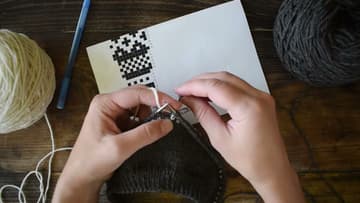
8. Spread the Stitches to Keep Longer Colorwork Floats Loose
Longer floats need more care. On a round of three white and three brown, knit the first stitch of the new color, then spread the stitches on the right needle out to their full width.
Tip: Floats longer than five stitches snag easily. Most beginner patterns keep them short, so check before you start.
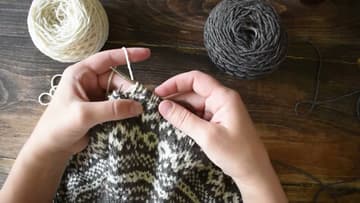
9. Stretch the Fair Isle Yoke to Check the Float Tension
Every few rounds, stop and spread out the work you have done. Pull it gently sideways.
Tip: Use a wool wash for the soak. The wool blooms and fills in small gaps between the colors.