The shell stitch looks fancy, but it comes down to one small repeat you do over and over. You work several stitches into the same spot to make a little fan, skip a couple of stitches, anchor it, and go again. Once the rhythm clicks, it flies.
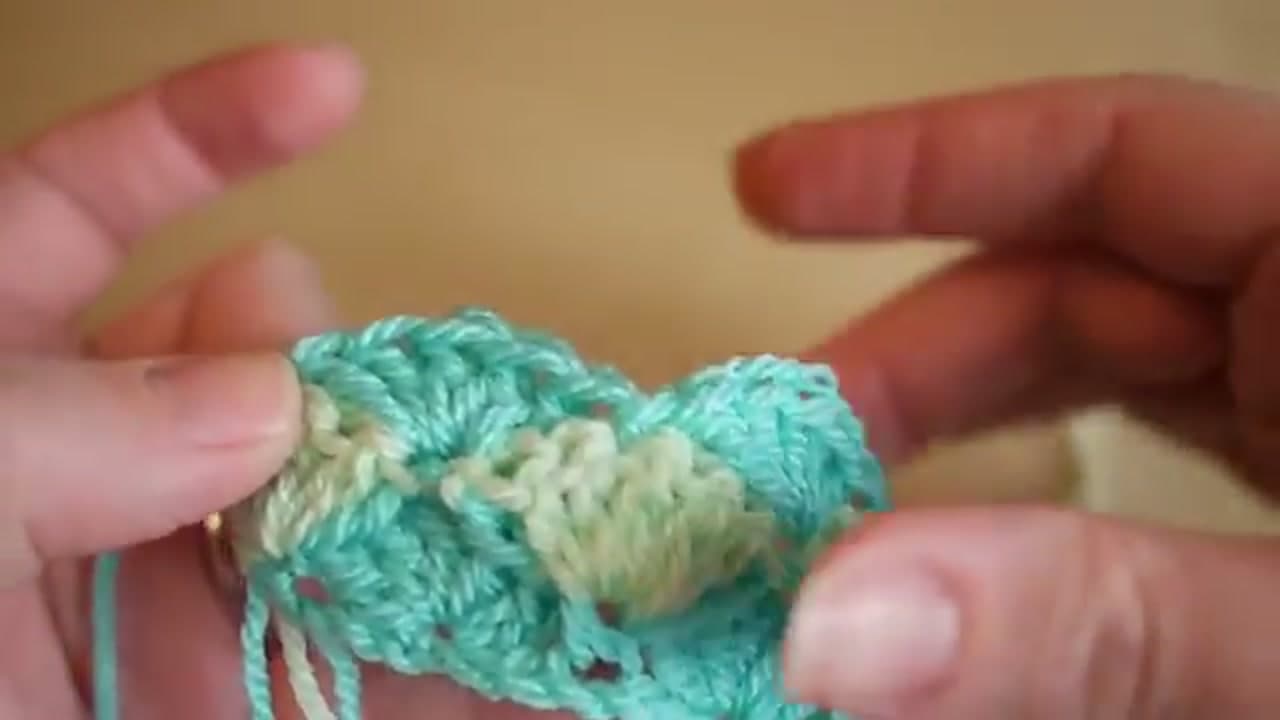
This tutorial follows Bella Coco, whose close up hands-and-hook footage makes the stitch easy to copy. The step by step photos below are shot close up for the same reason: the whole stitch lives in where the hook goes.
New to crochet? How to crochet a magic ring pairs well with this one.
What you need
- Worsted or DK weight yarn - smooth, solid, light in color
- A 4mm to 5mm crochet hook
- Scissors and a tapestry needle for the ends
- A stitch marker to flag the start of each repeat
A shell is five stitches crowded into one hole, so fuzzy or dark yarn hides the structure right where you need to read it.
What a crochet shell stitch actually is
A shell is several double crochet stitches - written dc in a US pattern - worked into one stitch or chain space. Their bases share one point, so the tops have nowhere to go but sideways and spread into a fan.
Five dc is the standard shell and the one used here, but the count is not fixed. Three gives a tight scallop. Seven gives a wide open fan with more drape. Read the repeat before you assume five.
Bella Coco works in UK terms, where this stitch is a treble, tr. A UK treble is the same stitch as a US double crochet: same yarn over, same height, different word. Reading a crochet pattern covers the rest of the shorthand - ch chain, st stitch, sk skip.
Crochet shell stitch blankets
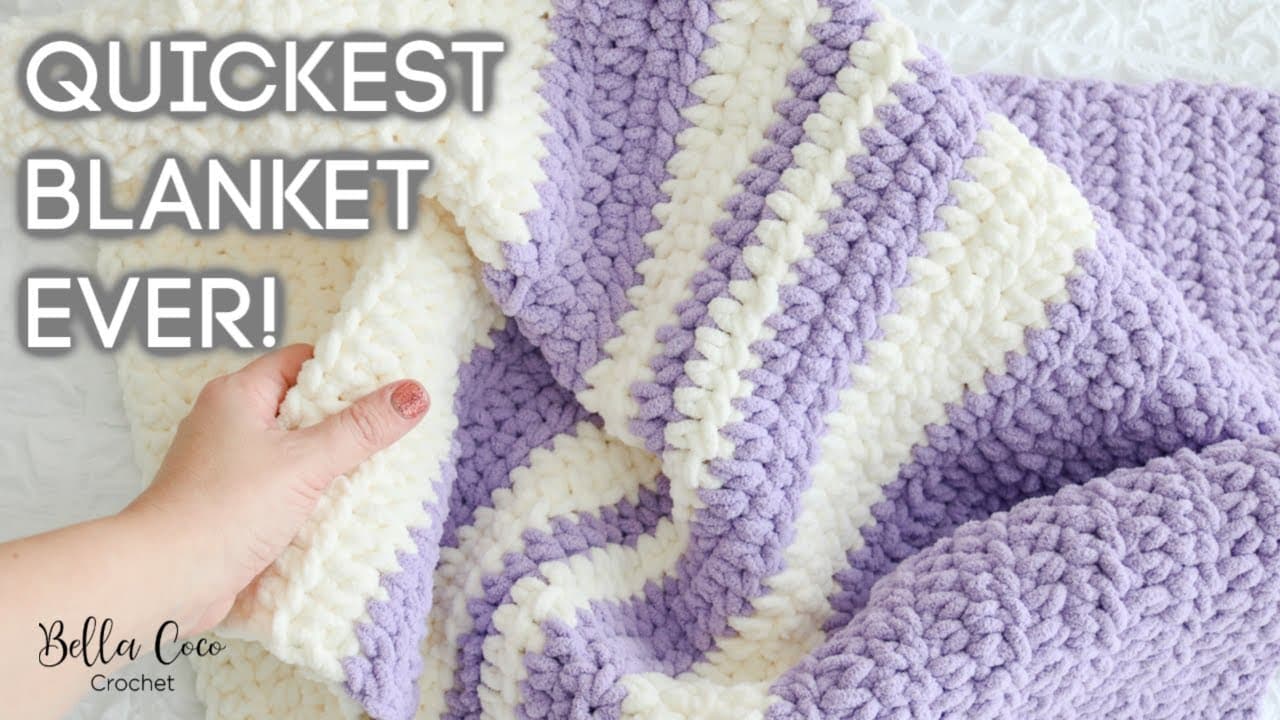
Blankets are what most people come to this stitch for. Each fan is five tall stitches, so a throw grows in evenings, the fabric stays soft and open, and the scalloped edge finishes itself without a border. Work a few rows per color and the shells stack into soft stripes with the join hidden at the row edge. Our crochet blanket tutorial covers sizing and yarn quantity.
Counting and spacing the repeat
The arithmetic is the hard part here, not the hook work. One repeat eats six chains: skip two, five dc into the next, skip two, one dc to anchor. That is why the foundation chain wants a multiple of six plus one, the spare chain being the anchor at the far end.
Get the skips wrong and the fabric tells on you. Too few and the shells crowd, so the row bunches and the piece cups. Too many and it sags open between the fans. When you lose your place, count one shell rather than the whole row - a shell holding four or six dc is where the drift started.
Shell stitch or bobble stitch?
Both stack several dc into one stitch, but a shell leaves the tops open so they fan flat, while a bobble draws them together so the cluster pops off the surface - see how to crochet the bobble stitch for that one.
Common shell stitch problems
Wavy or ruffled edges. Almost always a missed skip, which adds width the row below cannot support. Count back to the last shell holding exactly five dc and rip to there.
Shells drifting sideways. After row 1, the shell goes into the anchor space below and the anchor dc goes into the center stitch of the shell below. Stack a shell on a shell and the columns lean further every row.
Stepped side edges. Full shells at both ends push the edge out. Most patterns start and end a row with a half shell - two or three dc instead of five - to keep the sides straight.
Lumpy fans. The first dc of a shell comes out short because the yarn is still tight from the skip. Pull that first loop up level with the others.