How to Crochet a Tote Bag (Easy Beginner Market Bag)

CrochetEasy9:348 stepsBrowse more →
Also in:Fiber Arts

By CraftingStepByStepPublished

Based on a video by Kamryn Cain.

This is Kamryn Cain's easy everyday crochet tote bag, and it's about as beginner-friendly as a bag pattern gets. The whole thing uses one stitch, the double crochet, so if you can make that, you can make this. You'll chain a base, work the sides in the round, shape a pair of straps, and join them into a tote you can actually carry.

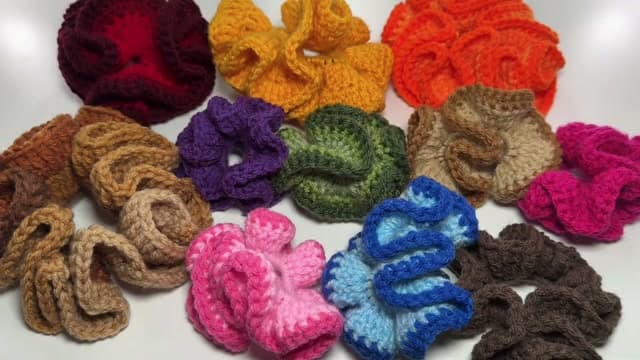
If you've never crocheted before, it helps to be comfortable with a couple of basics first. Practicing your magic ring and working through a granny square both build the tension and stitch-reading habits that make this bag come together smoothly. Neither is required, but they make the rounds feel familiar.

Kamryn used 100% cotton yarn and a 5mm hook, and the finished bag runs about 9 to 10 inches deep with roughly 30-inch straps for a shoulder carry. Everything is adjustable. Add chains for a wider bag, work more rounds for a deeper one, and stop the straps sooner for a hand-held version. Follow along step by step and you'll have a tote by the end.

Step-by-Step Guide

1

Step 1: Chain 30 for the Base of the Bag

0:31
Step 1: Step 1: Chain 30 for the Base of the Bag

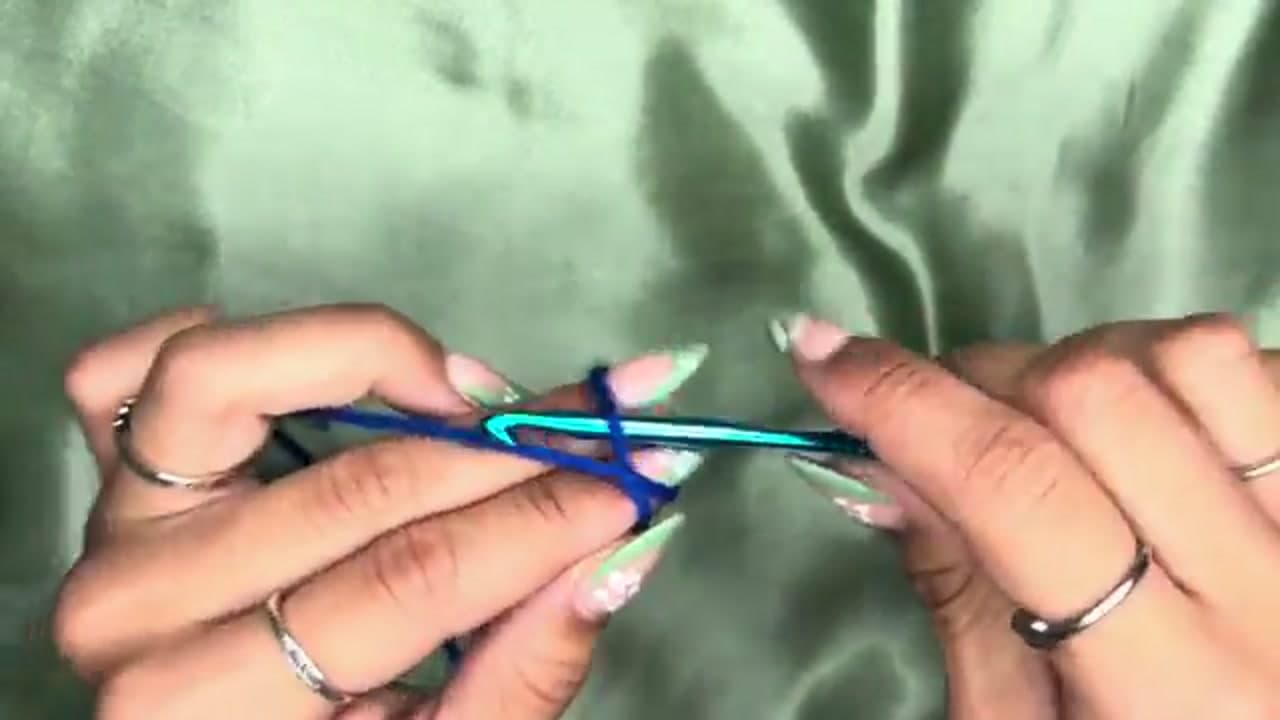
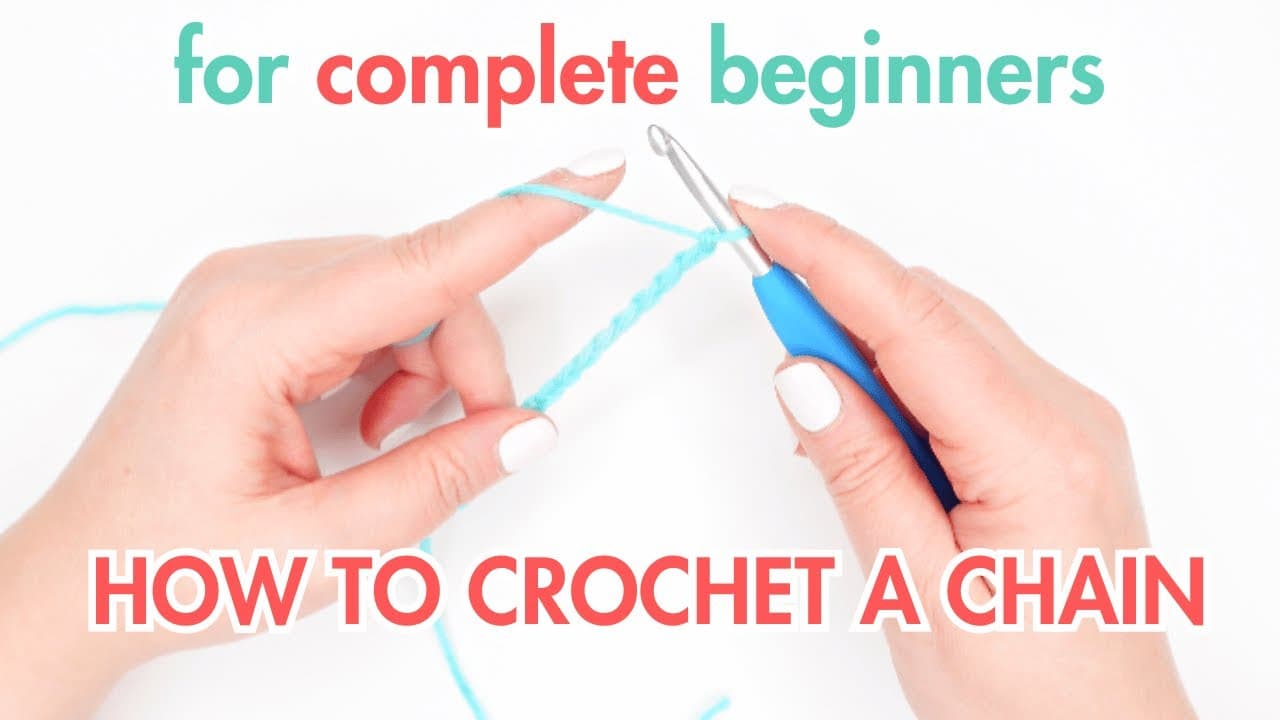
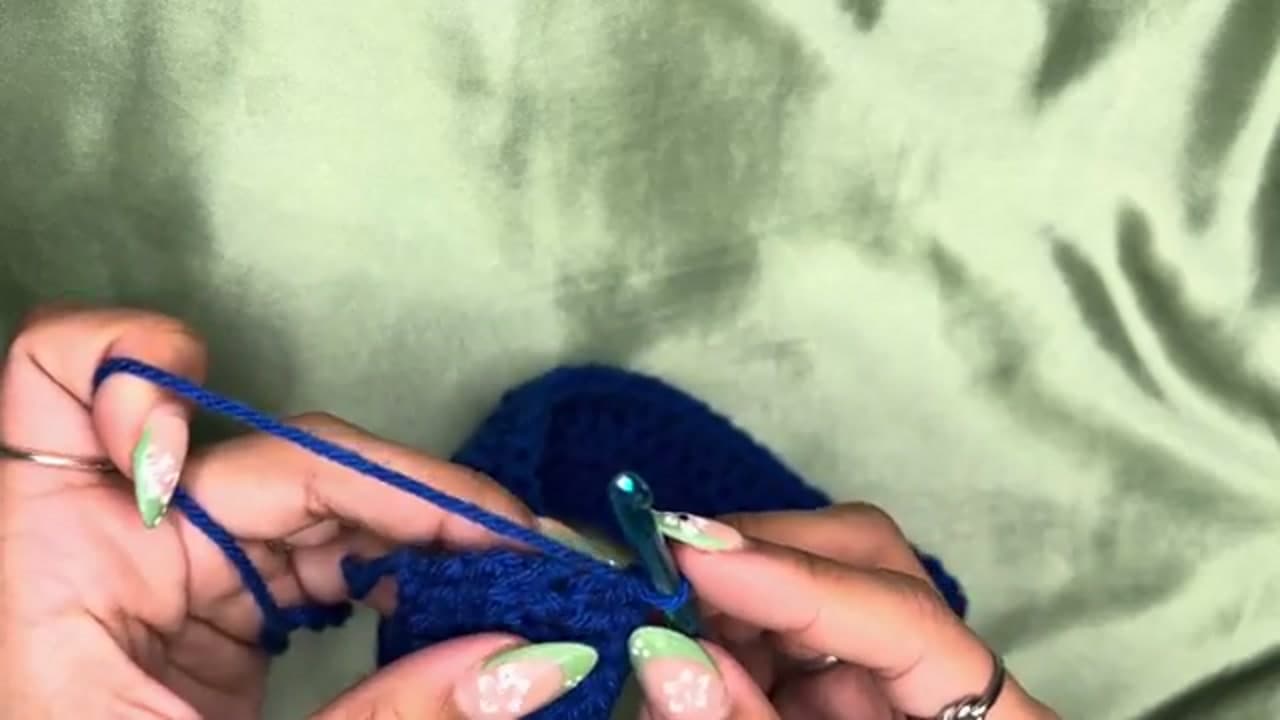
Grab your 5mm hook and make a slip knot, then chain 30. That chain sets the width of your tote, so if you want a wider or narrower bag, just add or drop a few chains. Thirty is a good size for an everyday market bag.

Keep your tension loose and even here. A foundation chain that's too tight makes the first row a pain to work into, so let the stitches breathe a little.

Tip

Watch this step If you're brand new to reading your stitches, count your chains twice before you move on. It's the one place a miscount throws off the whole width.
2

Step 2: Work Three Rows of Double Crochet

0:58
Step 2: Step 2: Work Three Rows of Double Crochet

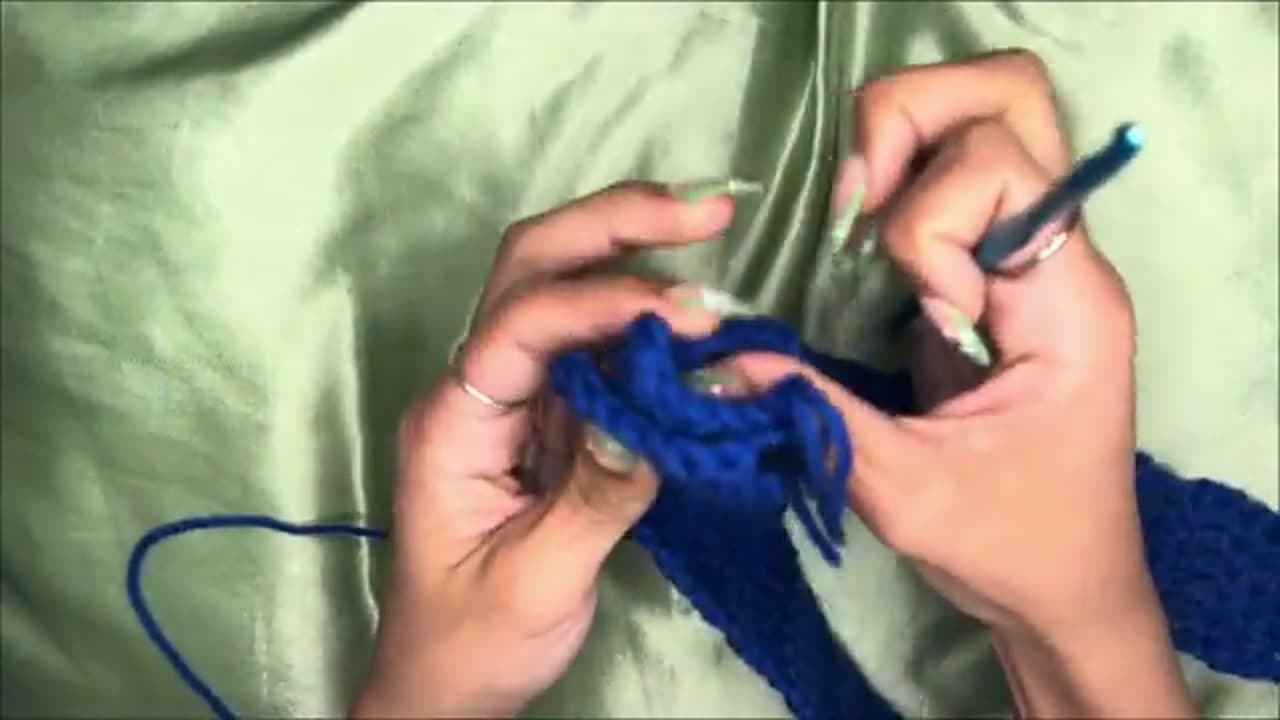
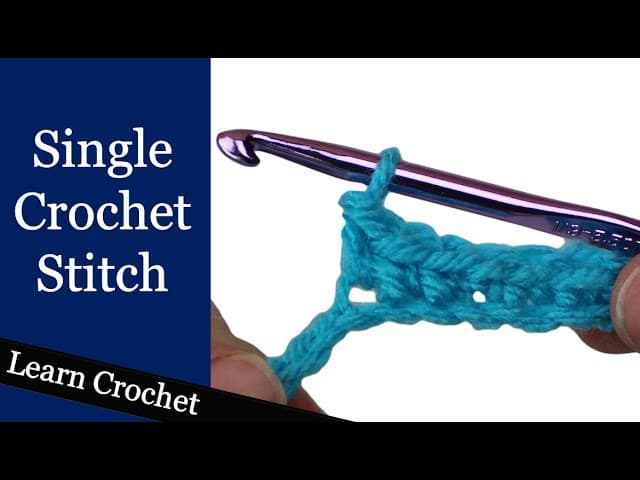
Chain one more, turn your work, and double crochet all the way across the chain. When you reach the end, chain two, turn, and work another full row of double crochets. Do that one more time so you end up with three rows total.

This little rectangle is the bottom of your bag. Working it flat first gives the tote a proper base instead of a rounded pouch, which is what keeps it sitting upright when you set it down.

Tip

Watch this step The chain-two at the start of each row counts as your turning chain, not a stitch. Skipping the very first stitch under it is what keeps your edges straight.

3

Step 3: Start Building the Sides

1:36
Step 3: Step 3: Start Building the Sides

Now you turn the corner. Work three double crochets into the short end of your base by dropping the hook into any gaps you can find, one near the last stitch, one in the middle, one just before the edge. Then double crochet into the first chain and keep going down the long side.

Don't stress about landing in the exact same spot on both ends. The maker of this pattern guesstimates and it comes out fine. You're just building up the walls of the bag around the base.

Tip

Watch this step Stitch markers help a lot here. Drop one in the first stitch of the round so you always know where your bag walls begin.

4

Step 4: Crochet the Body in the Round

2:52
Step 4: Step 4: Crochet the Body in the Round

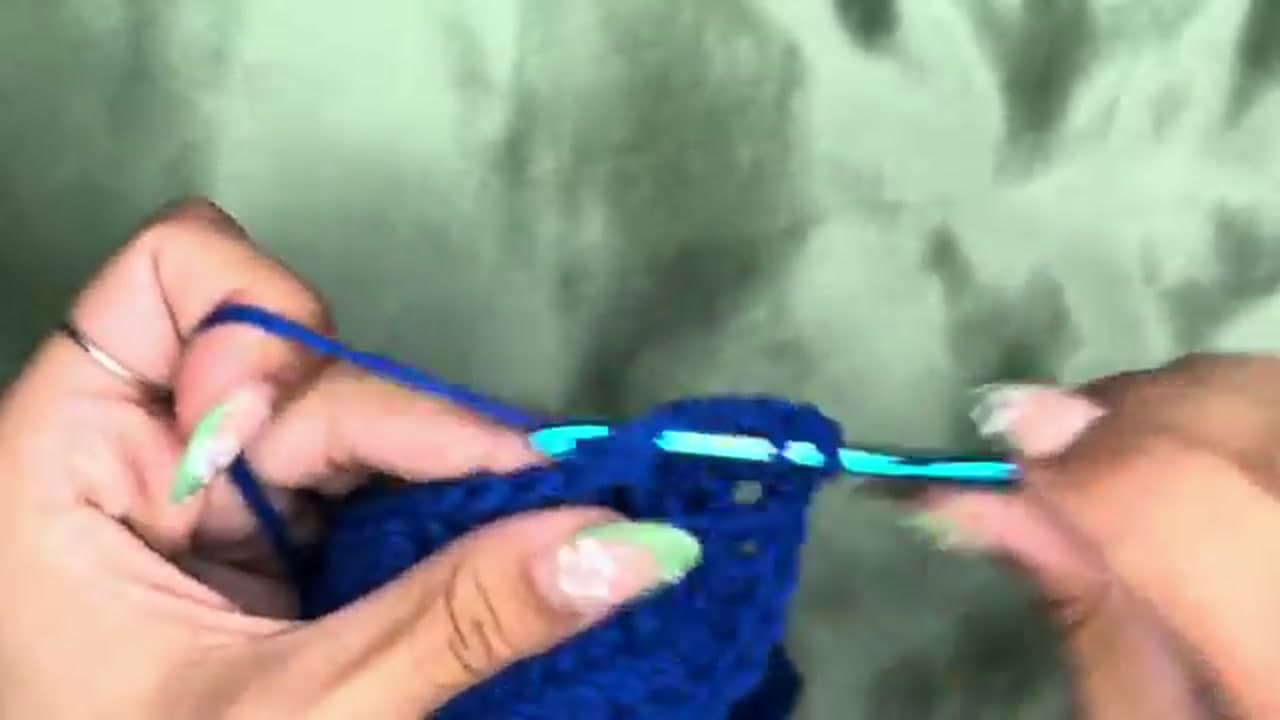
Once you've worked around the base, keep going. Double crochet around and around the bag with no slip stitches and no chains between rounds. You're just spiraling up, stitch after stitch, and the sides grow taller as you go.

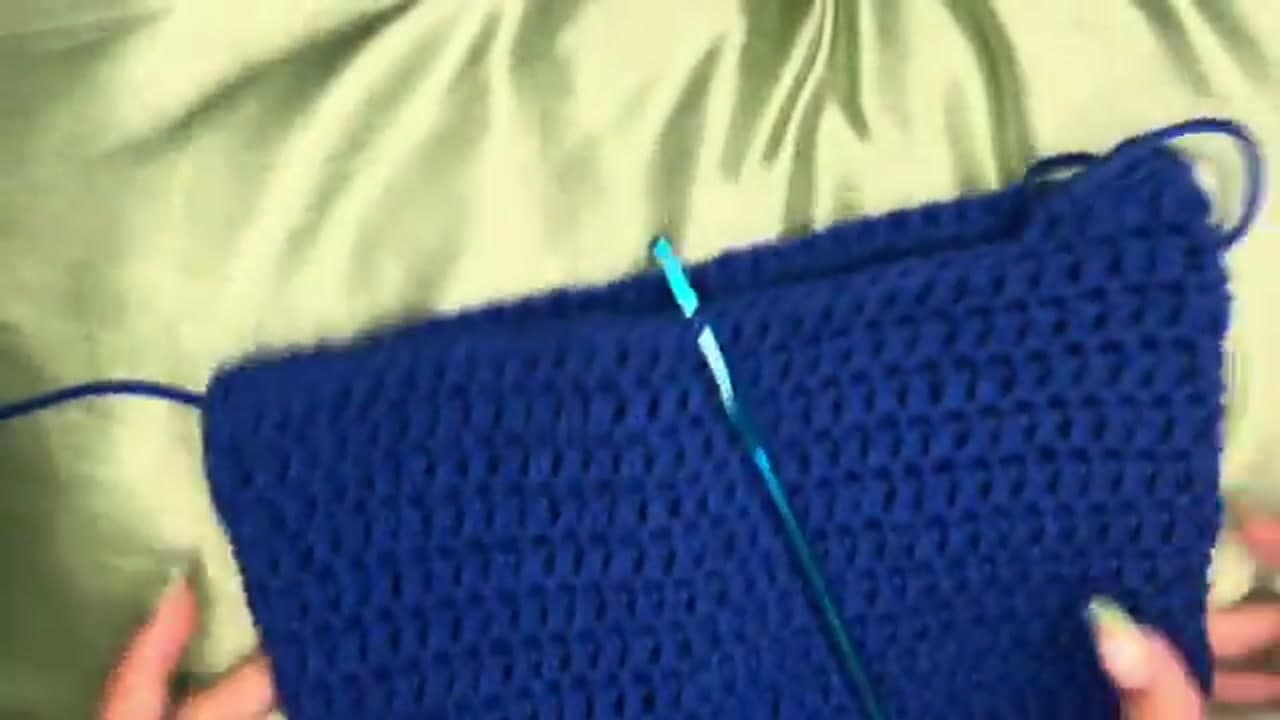
The pattern maker did about 20 rounds for roughly 9 to 10 inches of height. Work fewer rounds for a small pouch or more for a deep grocery tote. Try it against your body every so often to check the depth.

Tip

Watch this step Working in a continuous spiral is easy to lose your place in. A stitch marker moved up each round tells you exactly where one round ends and the next begins.

5

Step 5: Find the Middle and Mark Your Straps

3:30
Step 5: Step 5: Find the Middle and Mark Your Straps

Fold the bag flat and find the center stitch across the top. From that middle mark, count six stitches over, then one more, and that seventh stitch is where the first strap begins. Work your double crochets around until you reach it, then chain two and turn.

Taking a minute to measure here pays off. Straps that start at even points on both sides sit level when the bag hangs, so the tote doesn't lean to one shoulder.

Tip

Watch this step Slide a stitch marker into that seventh stitch on both sides before you start the strap. It saves you from recounting later when your hands are full of yarn.

6

Step 6: Crochet and Shape the Straps

4:18
Step 6: Step 6: Crochet and Shape the Straps

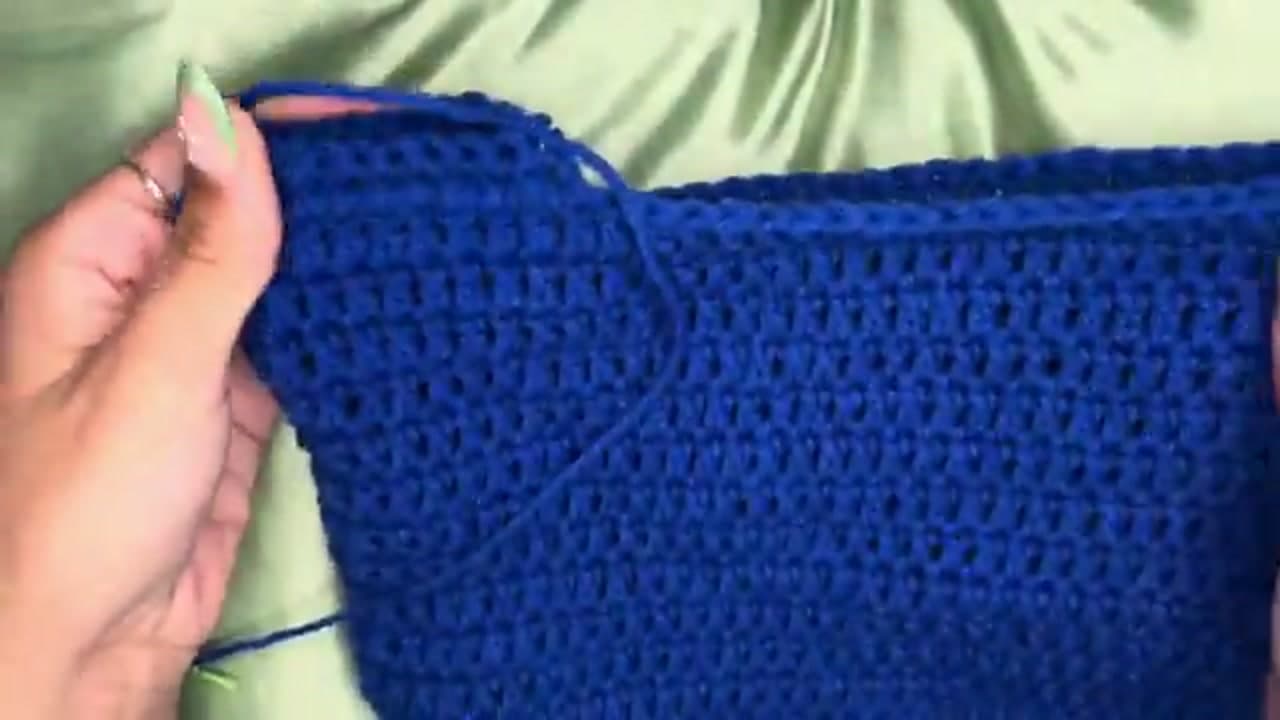
Work 20 double crochets across for the strap, then start tapering. On each new row, skip the first stitch and work into the second, crochet across, and decrease again at the end by working the last two stitches together. Keep decreasing on both edges until you're down to six stitches wide.

Once you hit six stitches, stop decreasing and just work straight rows until the strap reaches about 15 inches. That's half a strap. Repeat the whole thing on the other side so both handles match.

Tip

Watch this step A strap around 30 inches total gives you a comfy shoulder carry. Want a shorter hand-held bag? Stop the straight rows sooner before you join them.

7

Step 7: Connect the Two Straps

7:25
Step 7: Step 7: Connect the Two Straps

Hold the two strap ends together, then flip them so the inside faces out. That way the seam disappears when you turn the bag right-side out. Slip stitch through both layers, going into each pair of stitches to lock the handle closed.

You can use a darning needle to sew the ends together if that feels steadier, but a row of slip stitches is quick and holds well. Chain one and cut your yarn when the join is done.

Tip

Watch this step Give the join a firm tug once it's connected. The handle carries all the weight, so you want that seam snug before you trust it with a load of groceries.

8

Step 8: Weave In the Ends and Finish

8:10
Step 8: Step 8: Weave In the Ends and Finish

Thread each loose tail onto your darning needle and run it through random stitches around the bag so it hides in the fabric. Weave in a few directions, then snip the tail close so nothing pokes out. Do this for every loose end.

That's the whole bag. You've turned a few skeins of cotton into an everyday tote you can throw over your shoulder for the market, the beach, or a coffee run. Tag the creator if you make one so she can see your version.

Tip

Watch this step Weaving ends in two or three directions keeps them from working loose in the wash. For a cotton bag you'll actually use, that extra minute matters.

Products Used

☐ The Checklist

How to Crochet a Tote Bag (Easy Beginner Market Bag)

Tools
4
Materials
2
Steps
8
Video
10 min

Your Guide

Kamryn Cain

As an Amazon Associate we earn from qualifying purchases. Links on this page may be affiliate links - clicking them and buying doesn't change your price, but helps support ShowMeStepByStep.

Tags

Free printable

Get the Crochet Cheat Sheet

Every basic stitch on one printable page. No spam, one-click unsubscribe.

Did this work for you?

What's next

Related collections

Curated theme pages that include this tutorial.

Weekly Digest

Liked this crochet tutorial?

Pick the categories you want to hear about. Weekly digest of new step-by-step tutorials. No spam, easy unsubscribe.

Send me tutorials about

We only email about new tutorials. Easy unsubscribe anytime.