How to Crochet a Granny Stripe Blanket (Beginner)

CrochetEasy25:009 stepsBrowse more →
Also in:Crafts

By CraftingStepByStepPublished Updated

Based on a video by The Loopy Lamb.

If you made a granny square in the 70s or 80s and never went back, this is the project that will pull you back in. The granny stripe is the same cluster of three double crochets you remember, but worked in rows instead of squares. No joining, no weaving in dozens of color tails, no math. You just keep going until the blanket is the size you want.

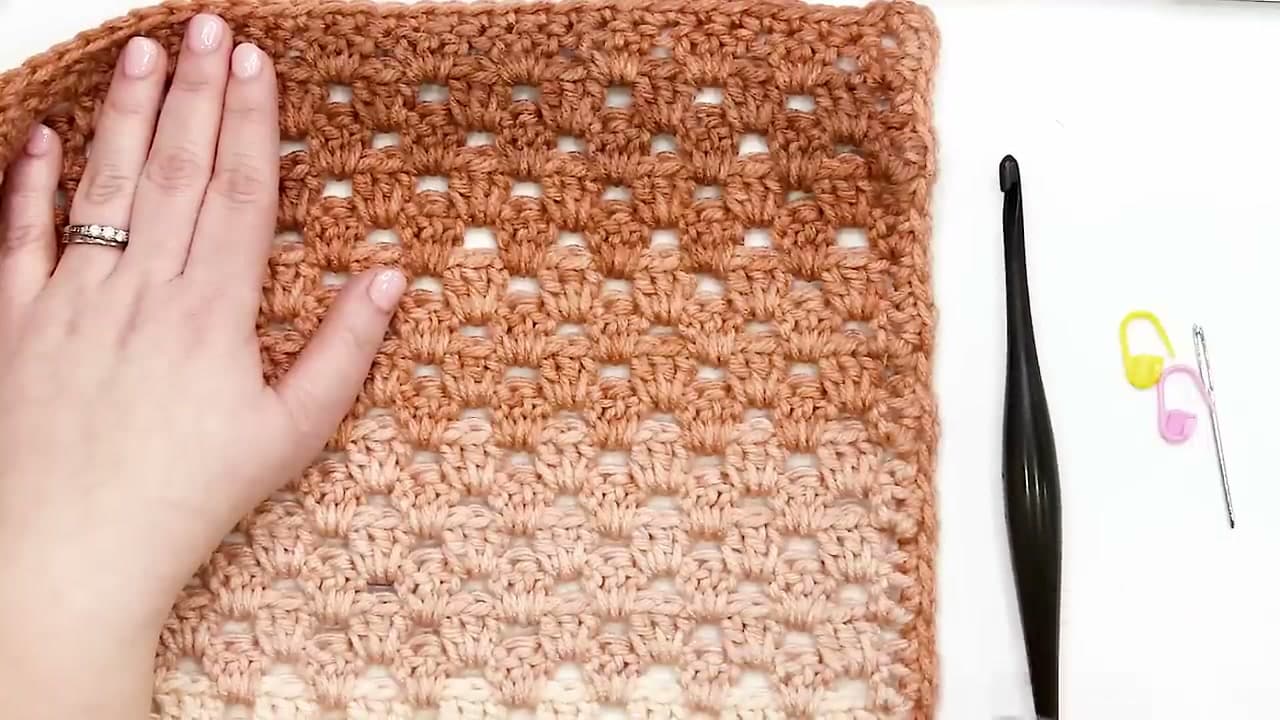
Ashley Parker from The Loopy Lamb walks through every row for a medium throw size, and her free blog pattern includes 14 different size charts so you can scale it to a lapghan, a twin, or even a queen. The version in the video uses Caron Jumbo Ombre in Sepia, which is self-striping yarn. The stripes happen on their own as you work, so you do not have to learn color changes on your first stripe project. If you want bolder, more controlled stripes later, that color-change tutorial is waiting for you.

Be honest about scale before you cast on. A throw of about 30 by 39 inches is a weekend-evenings project. A queen takes weeks. The good news is the stitch is so simple you can crochet during a movie without watching your hands. Grab a 6 mm hook, two skeins of ombre yarn, a tapestry needle, and let's get into it.

If granny stripes feel like a leap, start with the essential crochet supplies list and warm up on the foundation chain and the double crochet first - those are the only two skills this blanket asks of you. Need more starter ideas? See easy crochet projects for beginners.

Step-by-Step Guide

1

Step 1: Gather supplies and pick your size

0:56
Step 1: Step 1: Gather supplies and pick your size

Pull together a 6 mm (J/10) crochet hook, about 1,092 yards (two skeins) of Caron Jumbo Ombre worsted-weight yarn, a tapestry needle, two or three stitch markers, and a pair of scissors. Ashley uses the color Sepia, which is a warm brown-to-cream gradient. Any ombre cake will give you the same self-striping effect.

The throw she demonstrates finishes at about 30 by 39 inches once the border is on. Her free blog pattern covers 14 sizes from baby to queen, so check the chart before you start if you want a different finished measurement. For another simple blanket option, see how to crochet a blanket.

Tip

If you can't find the Caron yarn, any worsted-weight ombre cake (Lion Brand Mandala, Red Heart Roll With It, Premier Sweet Roll) gives the same self-striping look on a J hook.
2

Step 2: Make a foundation chain of 86

2:17
Step 2: Step 2: Make a foundation chain of 86

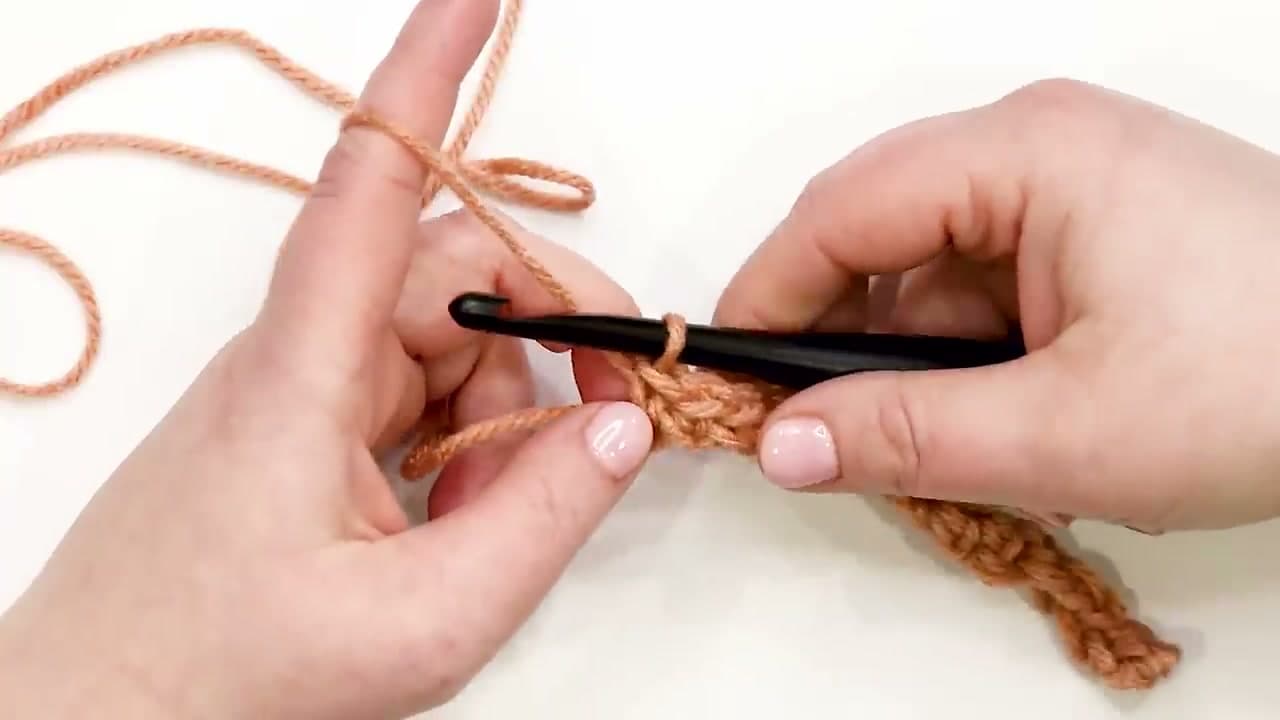
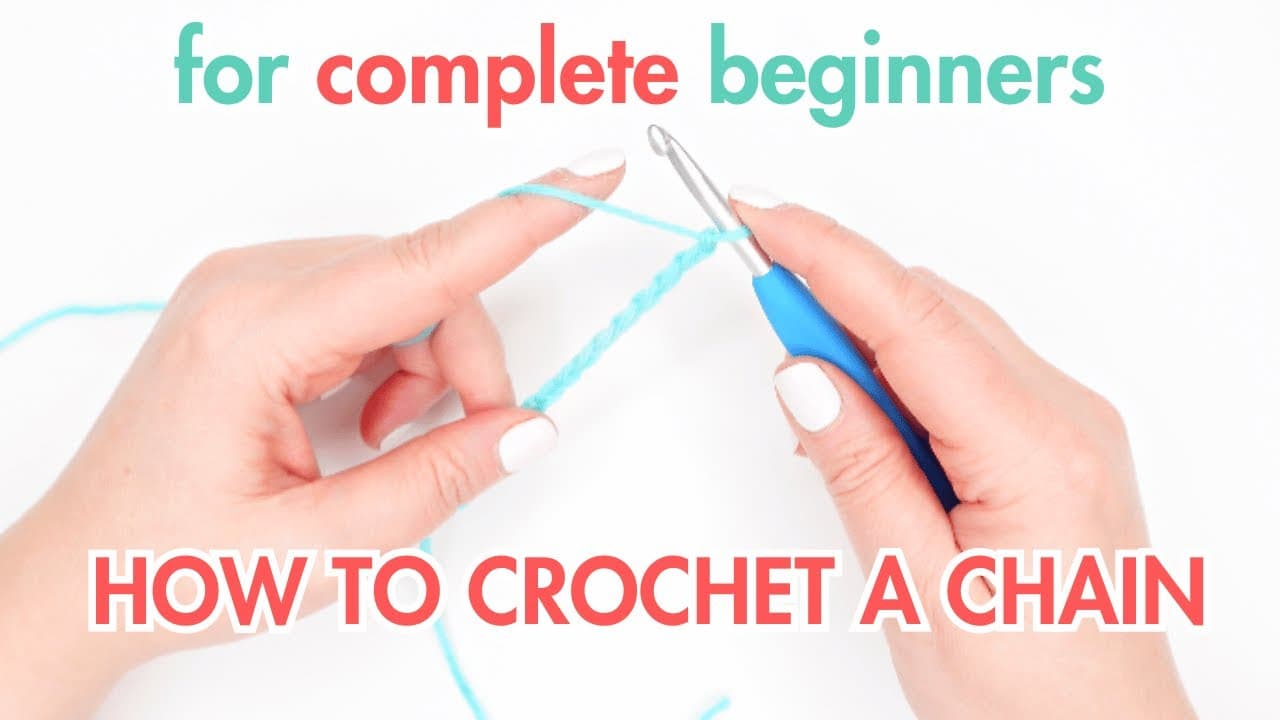
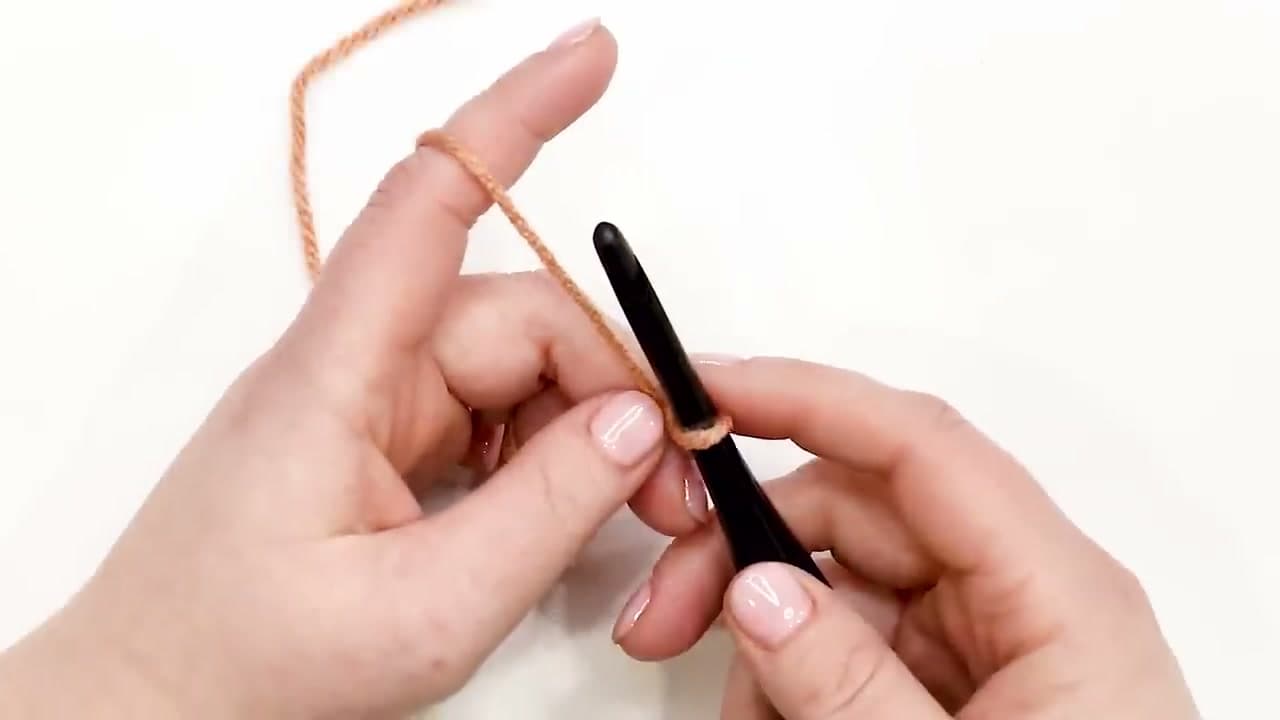
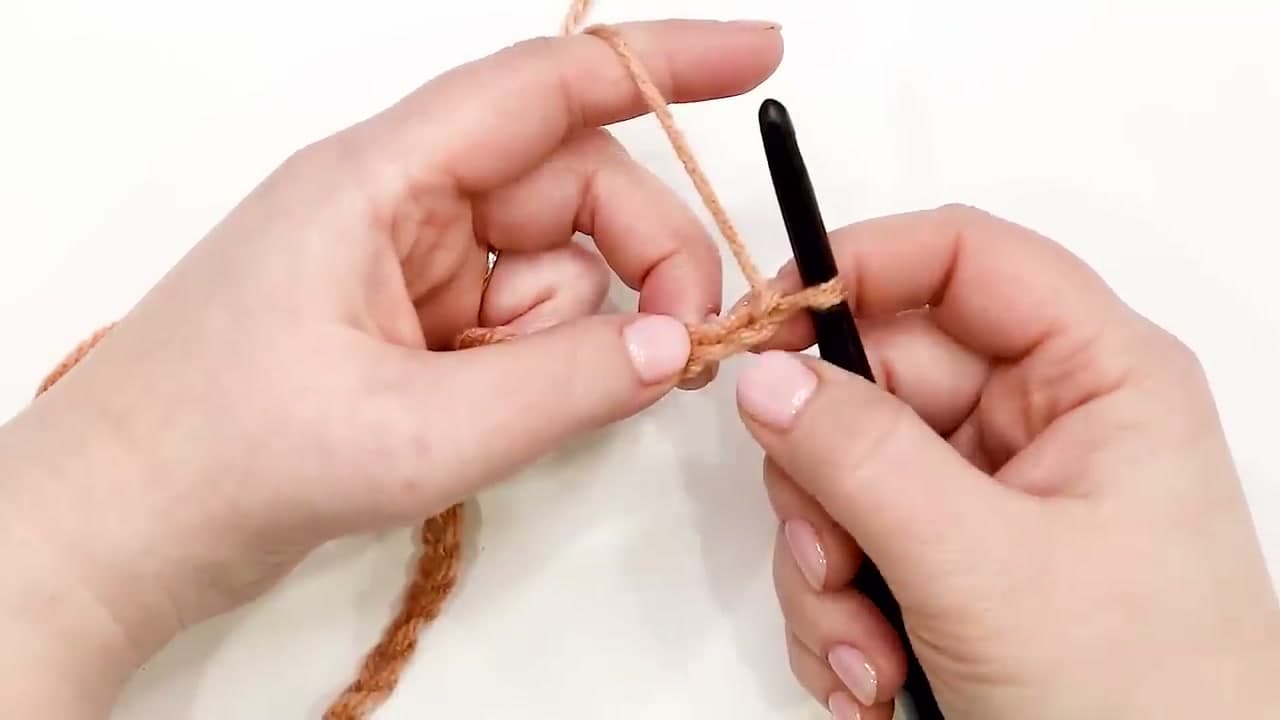
Start with a slip knot on your hook. Yarn over and pull through the loop. That's one chain. Repeat until you have 86 chains for the medium throw. Different size? Use any multiple of 3 plus 2 - so 26, 29, 32, 35 and so on - to keep the stitch math working.

The loop on your hook never counts as a chain, only the finished Vs lying flat. If your chain feels tight, loosen up. Tight foundation chains fight you in Row 1. For a refresher on the stitch itself, see the foundation chain tutorial.

Tip

Count your chains twice. An extra or missing chain throws the cluster pattern off and you'll see it for 75 rows.

3

Step 3: Work Row 1 in single crochet

3:15
Step 3: Step 3: Work Row 1 in single crochet

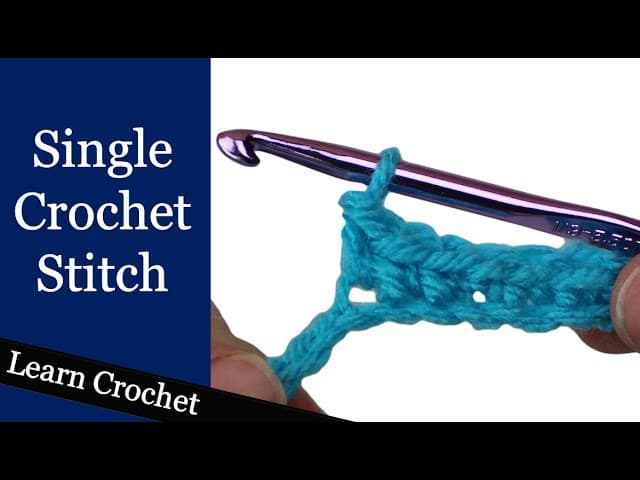
Skip the very first chain. Insert your hook into the second chain from the hook. Yarn over, pull up a loop, yarn over again, and pull through both loops on the hook. That's your first single crochet.

Work one single crochet into every remaining chain. When you finish, you should have 85 stitches if you started with 86 chains - one less stitch than chains. This row is the flat foundation everything else builds on. If single crochet is brand new, watch the single crochet basics first.

Tip

Mark every 20 stitches with a stitch marker while you work. It saves recounting at the end of the row.

Products used in this step

4

Step 4: Set up the granny stripe pattern in Row 2

4:10
Step 4: Step 4: Set up the granny stripe pattern in Row 2

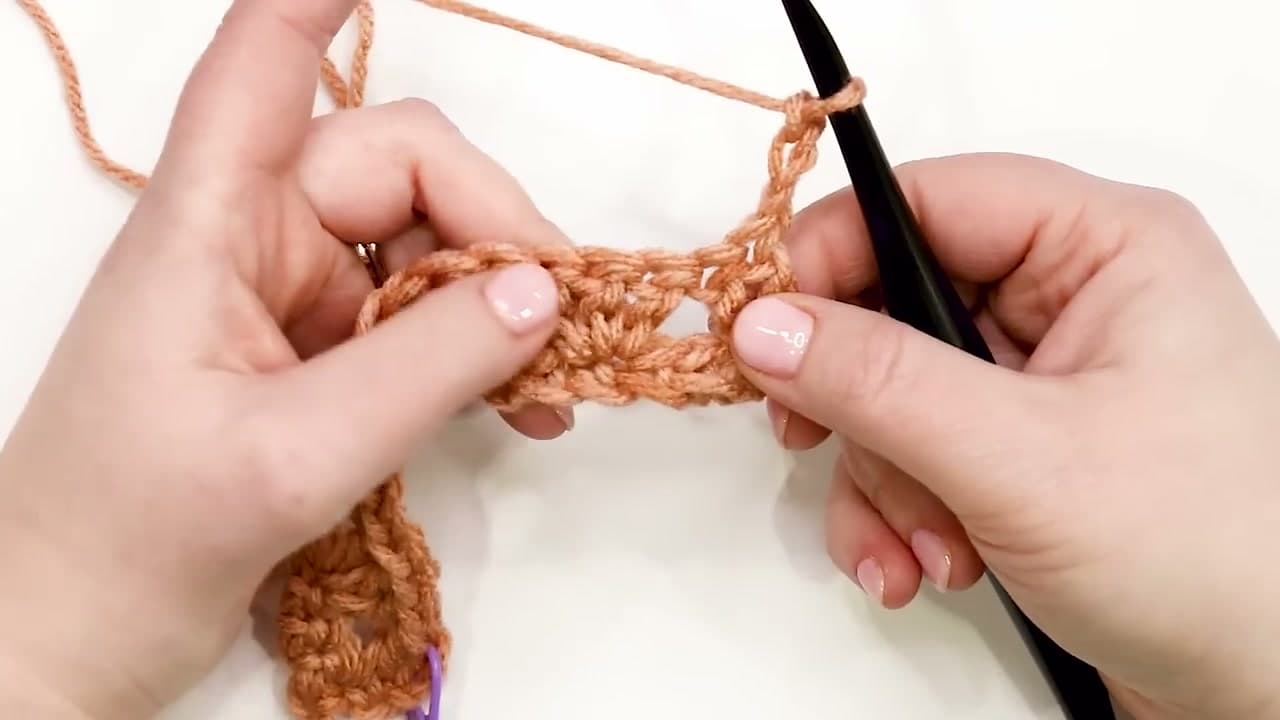
Chain 3 and turn. Pop a stitch marker into the top of that chain-3 so you can find it later. The chain-3 counts as a double crochet, so you already have your first stitch of the row.

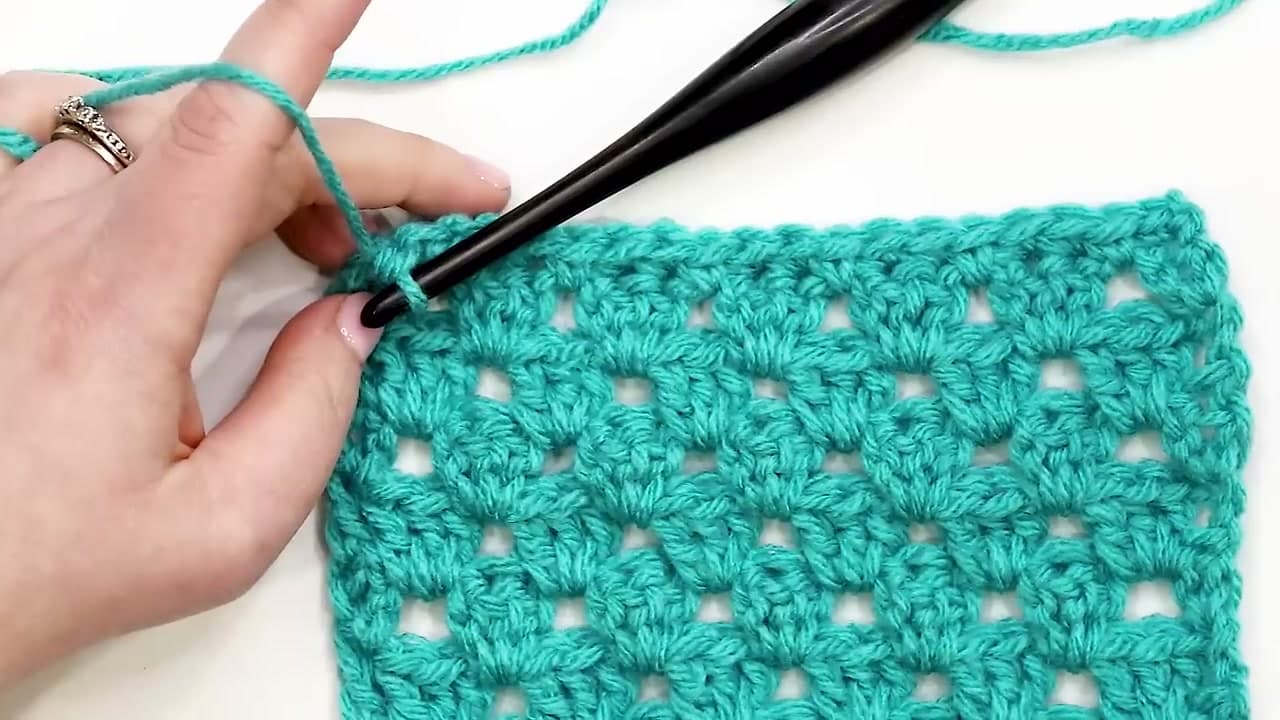
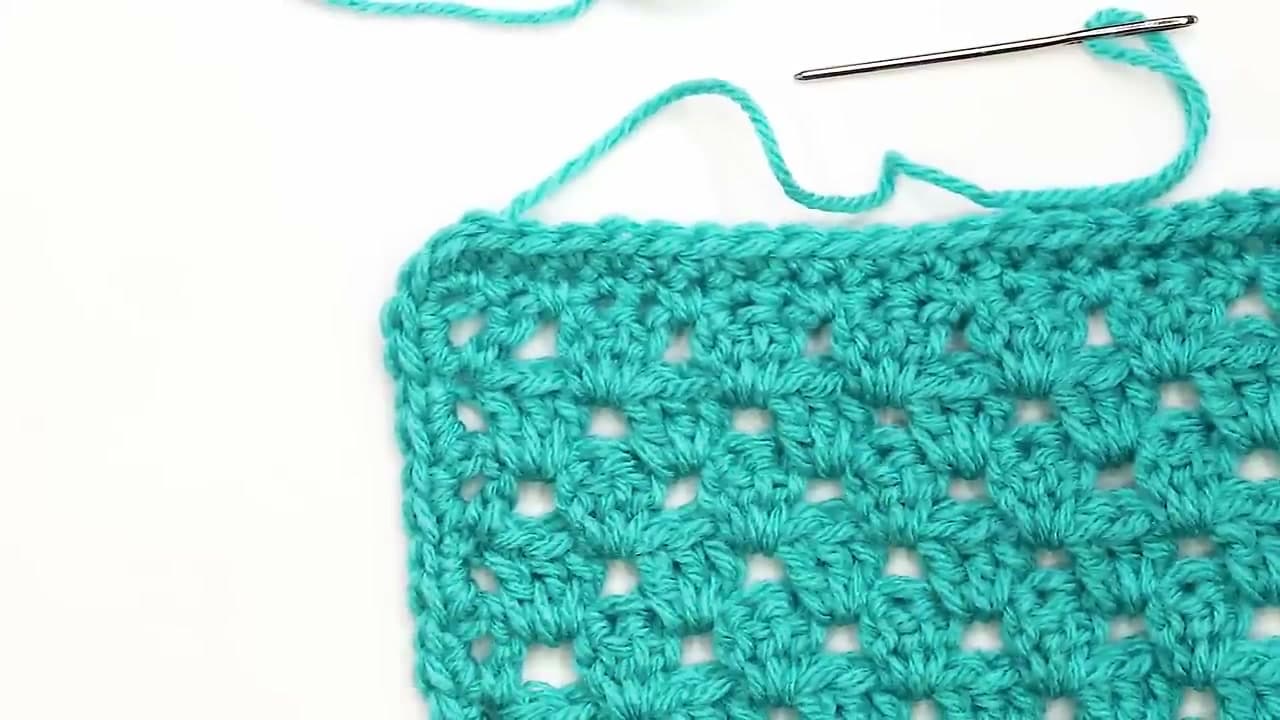
Work one double crochet into the first stitch right under the turning chain. Then skip two stitches and work a granny cluster - three double crochets all into the same stitch - into the third. Skip two more, cluster into the next third stitch. Keep that skip-two, cluster-into-third pattern across.

When you have three stitches left, skip the two and work 2 double crochets into the last stitch. For the throw, you should end Row 2 with 27 clusters and four double crochets (two at each edge).

Tip

The skipped stitches stay underneath the clusters. Do not undo them or try to work into them on the next row - the gaps are what create the granny look.

5

Step 5: Work Row 3 between the clusters

9:15
Step 5: Step 5: Work Row 3 between the clusters

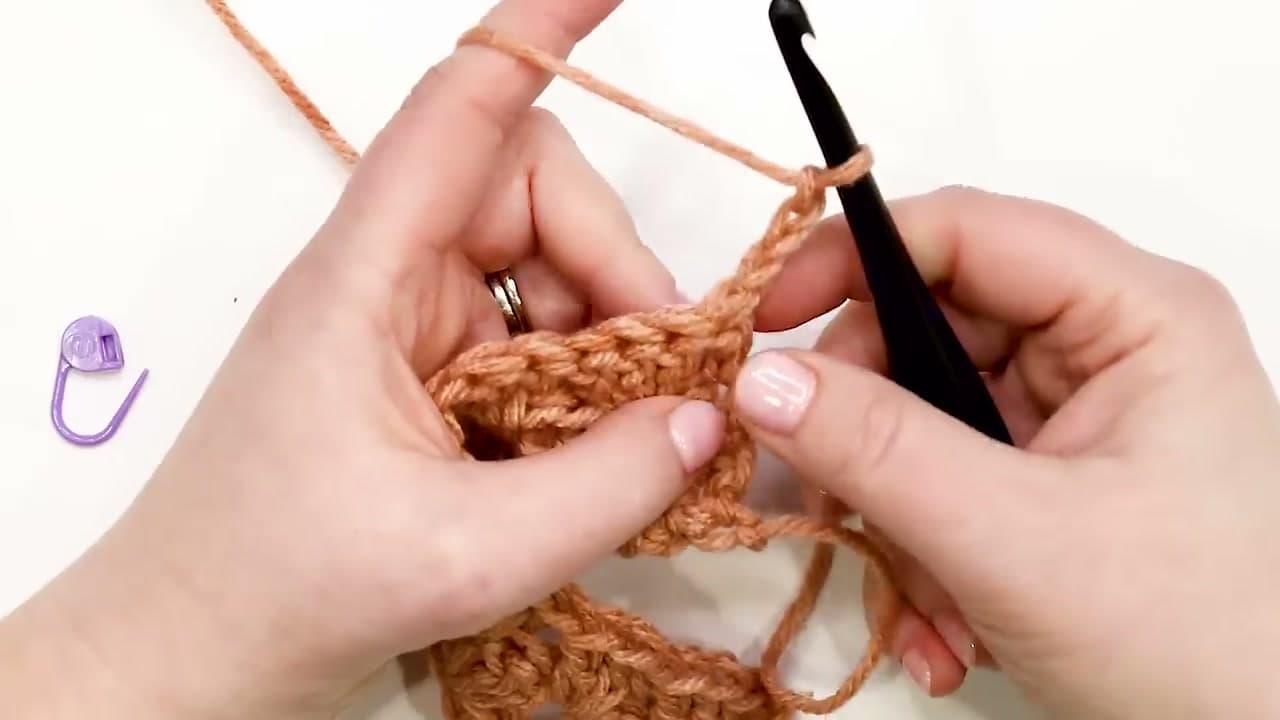
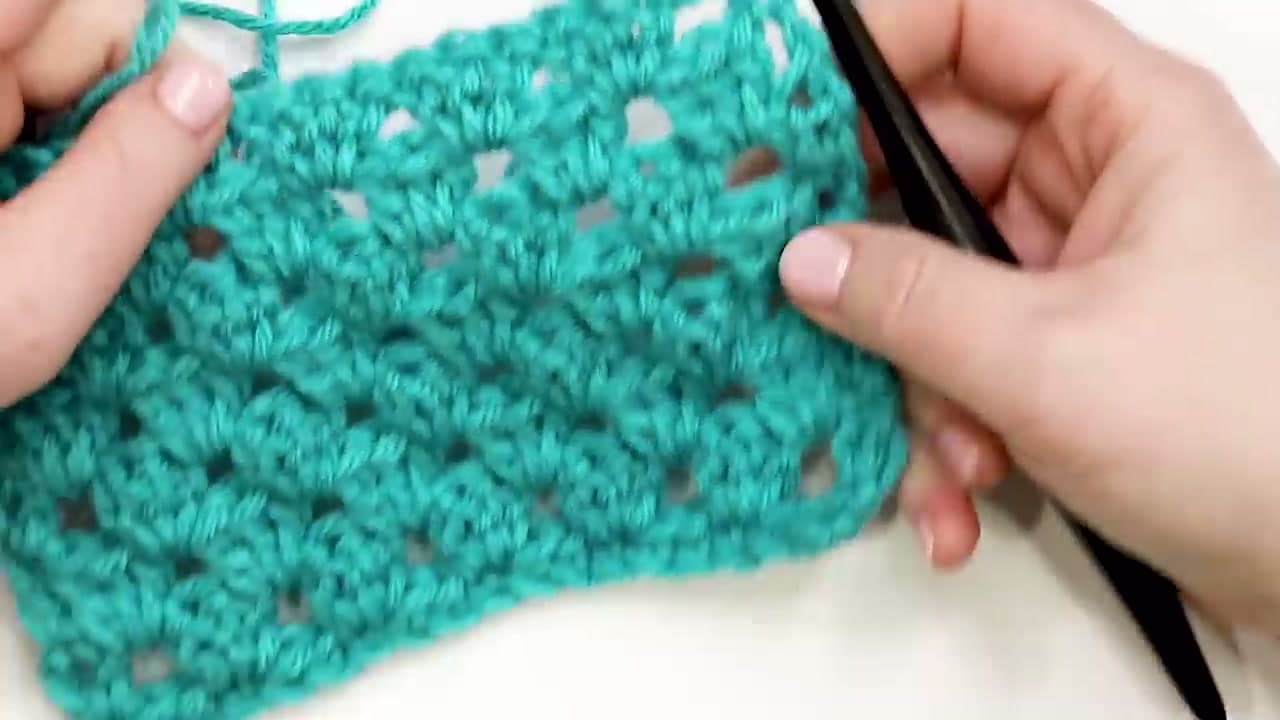
Row 3 is where the pattern finally looks like itself. Chain 3, turn, then work your first granny cluster into the gap between the edge double crochet and the first cluster of Row 2. You're working into spaces now, not into stitch tops.

Skip the cluster and work the next 3-dc cluster into the gap between the next two clusters. Keep skipping clusters and dropping new clusters into the spaces all the way across. End the row with one double crochet into the top of the previous row's turning chain (this is where that stitch marker pays off).

Tug gently on the work as you go - opening up those spaces a little is what gives granny stripe its light, lacy feel.

Tip

If a cluster feels crowded, your hook is going into the wrong gap. Lay the work flat and count clusters. The pattern is always: skip one cluster, drop one cluster.

6

Step 6: Work Row 4 and repeat rows 3-4 to size

13:20
Step 6: Step 6: Work Row 4 and repeat rows 3-4 to size

Row 4 is Row 3 with mirrored edges. Chain 3, turn, double crochet into the first stitch, then cluster into each gap across, and finish with 2 double crochets in the top of the previous turning chain instead of a single double.

From here it's just Row 3, Row 4, Row 3, Row 4. For the throw you keep alternating until you've worked Rows 5 through 74. That sounds like a lot, but the stitch is so repetitive it's a great movie project.

This is where the self-striping yarn quietly does its job. The Caron Jumbo Ombre slowly shifts from sepia to cream as you crochet, so you get clean stripes without ever cutting yarn. If you want bolder stripes - blue, white, navy, white - swap to four to six solid colors and learn how to change colors in crochet at the end of every other row instead.

Tip

If you have to put the project down, look at your edges. Odd rows finish with one double crochet, even rows finish with two. That tells you where you left off.

7

Step 7: Lock the top edge with Row 75

16:00
Step 7: Step 7: Lock the top edge with Row 75

After your last even-numbered row, chain 1 and turn so the right side faces you. Work one single crochet into every stitch across the top. For the stitches that sit right before each cluster, you can either dip down into the actual stitch or wrap your single crochet around the post - both look fine, pick whichever you like.

Don't forget the very last single crochet into the top of the chain-3 turning chain from the previous row. That edge stitch holds the corner square.

This single-crochet finishing row gives the top edge of the blanket the same firm border you'll add to the sides next. See more on single crochet if you skipped Step 3.

Tip

Working in the back loop only for this row gives a subtle ridge that hides any small tension differences.

Products used in this step

8

Step 8: Add the single-crochet border

18:30
Step 8: Step 8: Add the single-crochet border

The border is what turns this from a piece of fabric into a blanket. At the end of Row 75 you're already in the corner, so work 2 more single crochets into that same stitch to make a 3-stitch corner.

Turn the work to follow the natural curve down the side. Along the long sides, work 2 single crochets around each chain-3 turning chain or double crochet post. When you reach the foundation corner, work 3 single crochets to round it.

Across the bottom, work one single crochet into each foundation chain loop. Turn the next corner with 3 single crochets, then work up the second long side the same way you did the first.

Back at the top, switch to 2 double crochets per stitch along the final top edge so it visually matches the chunkier bottom of the blanket. The whole border takes about 30-40 minutes and makes the difference between "crocheted thing" and "finished blanket." If you want fancier border options later, the basic blanket guide covers shell and picot edges.

Tip

Stretch the blanket flat every quarter or so as you border. It's easier to fix a corner that's pulling in now than to redo a whole side later.

9

Step 9: Fasten off with the invisible finish

23:10
Step 9: Step 9: Fasten off with the invisible finish

Cut your working yarn leaving a 6-to-8 inch tail. Pull the tail all the way through the last loop on the hook to lock the stitch. Thread the tail onto a tapestry needle.

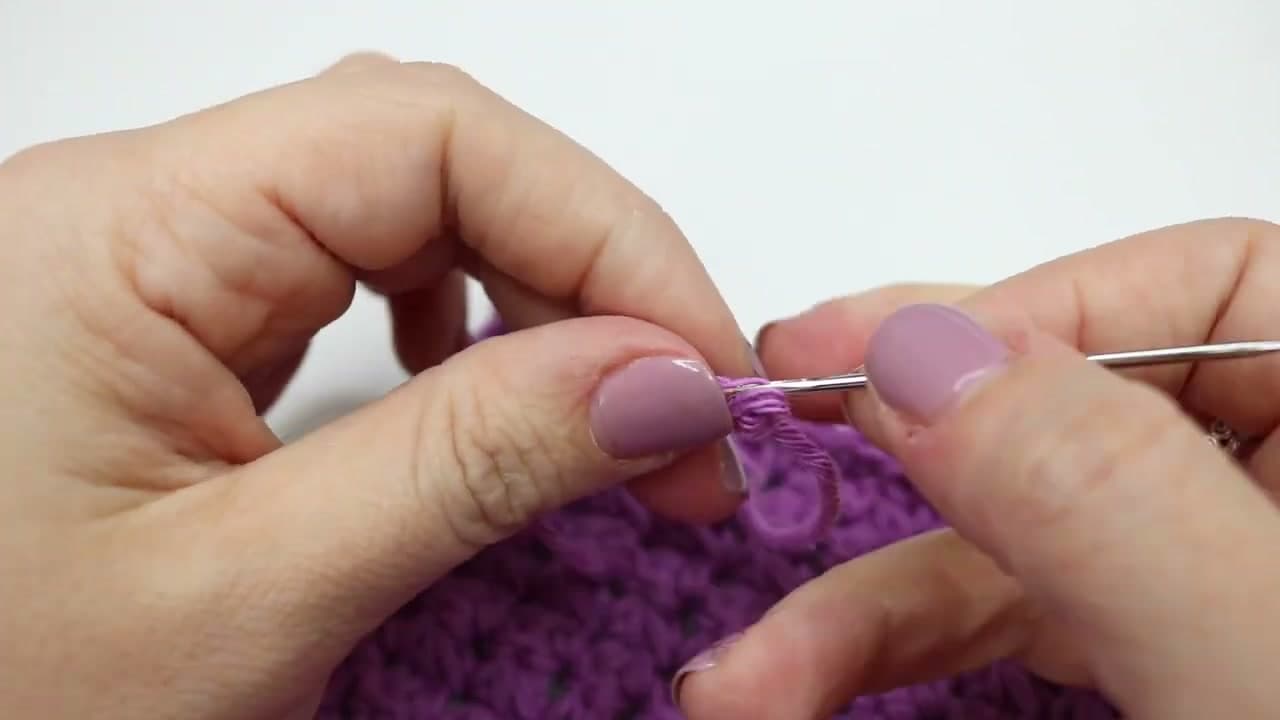
For the invisible join, skip the first stitch of the border. Insert the needle front-to-back through the next stitch. Pull the yarn through. Then take the needle down through the back loop only of the very last stitch you made. This recreates the look of one extra stitch instead of leaving the usual slip-stitch bump.

Weave the tail in across the back of the blanket - in and out of three or four stitches in one direction, then back in the other to lock it. Do the same with the starting tail at the foundation chain. For more on this finishing skill, see fasten off and weave in ends.

Tip

Block the finished blanket once if you want crisp edges. A light steam from the iron (not pressing, just hovering) opens the clusters and squares up the corners.

Products Used

☐ The Checklist

How to Crochet a Granny Stripe Blanket (Beginner)

Tools
5
Materials
2
Steps
9
Video
25 min

Your Guide

The Loopy Lamb

As an Amazon Associate we earn from qualifying purchases. Links on this page may be affiliate links - clicking them and buying doesn't change your price, but helps support ShowMeStepByStep.

Tags

What's next

Related collections

Curated theme pages that include this tutorial.

Weekly Digest

Liked this crochet tutorial?

Pick the categories you want to hear about. Weekly digest of new step-by-step tutorials. No spam, easy unsubscribe.

Send me tutorials about

We only email about new tutorials. Easy unsubscribe anytime.