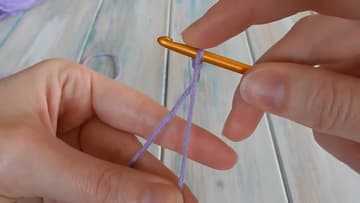
How to Make a Slip Knot for Crochet
Source: HappyBerry Crochet • Full tutorial: www.craftingstepbystep.com/crochet/how-to-make-a-slip-knot
- Difficulty
- Easy
- Hands-on time
- About 10 minutes

Tools
- 4mm (G) crochet hook
- scissors
Materials
- DK / light worsted yarn (weight 3)
Steps
1. Pick Your Yarn and Hook
DK or light worsted yarn in weight 3 with a 4mm (G) hook is the easiest pairing to learn on. The yarn is thick enough to see what your hands are doing and thin enough to move smoothly.
Tip: Avoid fuzzy or novelty yarn for your first attempts. It snags on the hook and hides the shape of the knot.
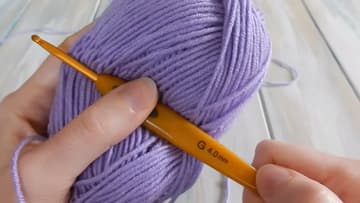
2. Drape the Tail Over Your Fingers
Lay the tail end of the yarn across your four fingers with the short end in front, and hold it there with your thumb. The tail is the loose end coming off the ball.
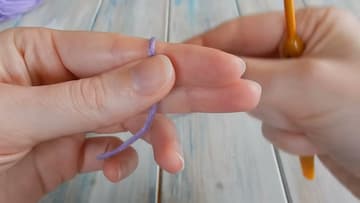
3. Wrap the Working Yarn Around Two Fingers
Take the yarn still attached to the ball and wrap it once around your top two fingers. Keep the wrap loose.
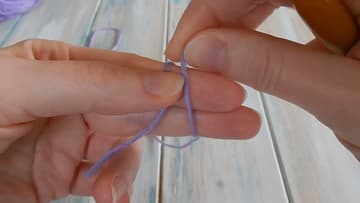
4. Turn Your Fingers and Cross the Yarn
Turn your hand over and cross the working yarn over the tail so you can see a clear X. Pinch the crossing point between two fingers to hold it.
Tip: Spread the X out before you go any further. A big obvious cross makes the next two steps easy.
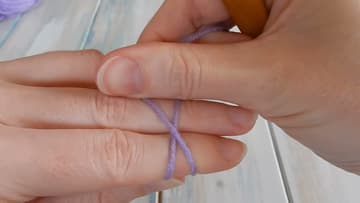
5. Slide the Hook Under the First Strand
Bring your hook in and slide it underneath the first strand of the cross, the one lying closest to you. The hook goes under one strand only at this stage.
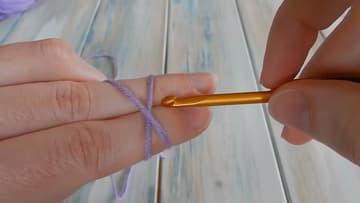
6. Hook the Second Strand and Pull It Through
Twist the hook down, catch the strand running over the top, and draw it back underneath the first one. You now have a loop of the working yarn sitting on your hook with the tail still wrapped around your fingers.
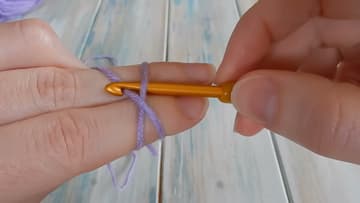
7. Slip Your Fingers Out and Pull the Tail
Hold the loop against the hook with your thumb so it cannot slide off, then let everything else go and slide your fingers free. Pull the tail end and watch the loose wraps collapse into a small neat knot underneath your hook.
Tip: If the loop falls off the hook, do not start over. Push the hook back through the open loop and carry on.
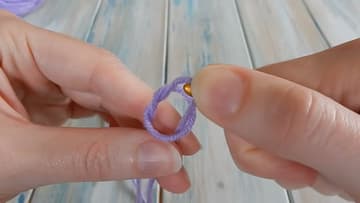
8. Snug the Knot Up to the Hook
Pull the working yarn, the strand going back to the ball, to slide the knot up to the hook. Aim for a loop that moves freely along the shaft without falling off.
Tip: Test it by sliding the loop up and down the hook once. That is the tension you want for every stitch that follows.