How to Crochet a Unicorn (Beginner Amigurumi)

CrochetMedium18:378 stepsBrowse more →
Also in:Fiber Arts

By CraftingStepByStepPublished

Based on a video by Little Crochet Farm.

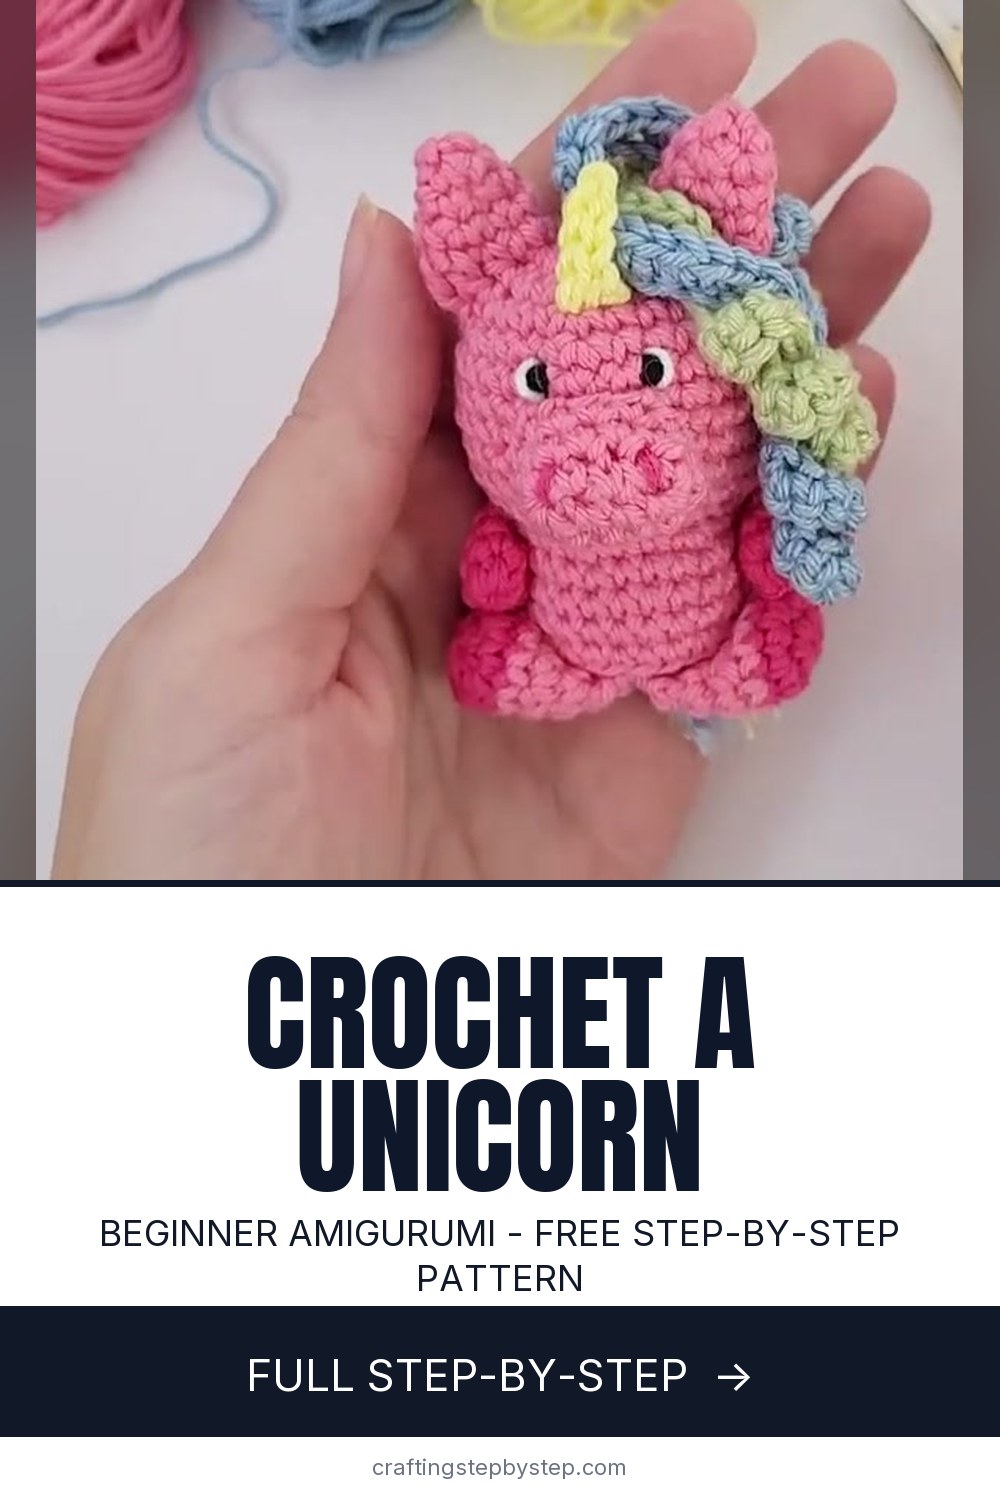
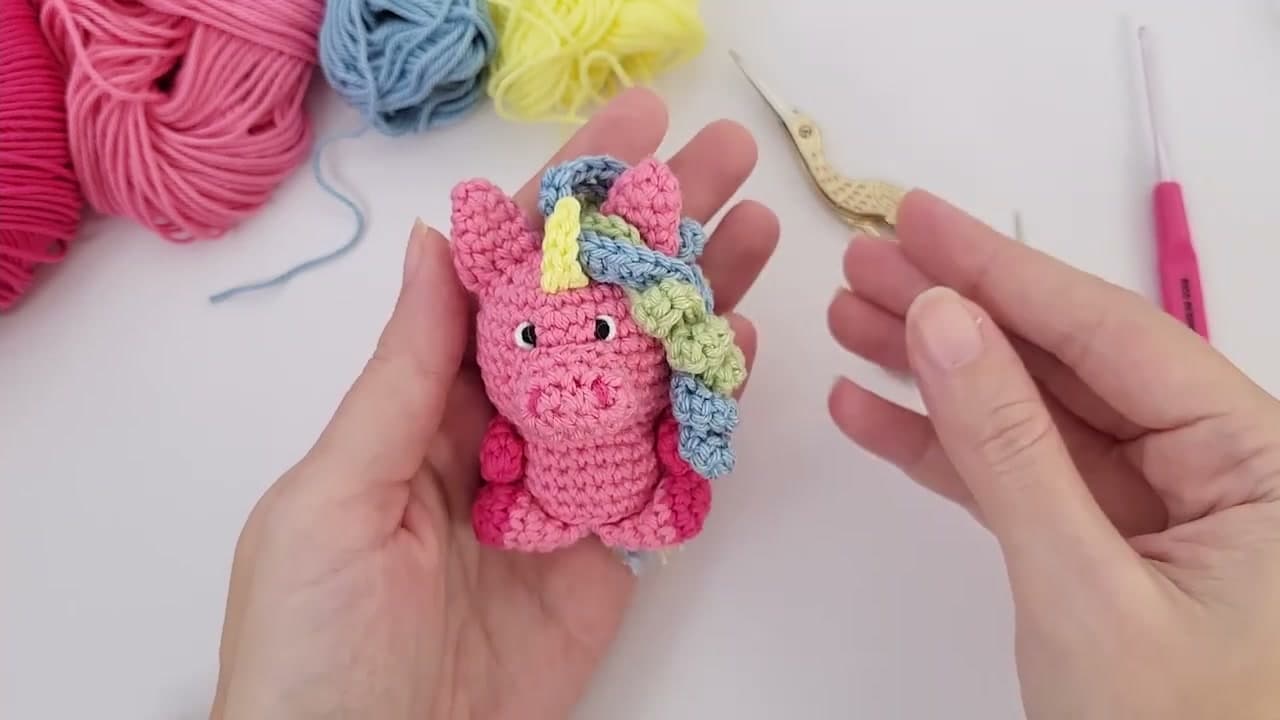
This little pink unicorn works up fast, and it packs a lot of charm into a palm-sized plush. Ana from Little Crochet Farm walks through the whole thing in the round, so there are no seams to fuss over until you assemble the pieces at the end.

You crochet the head and body as one stuffed shape, add a snout, then make a rainbow mane, a tiny horn, and a curly tail. The eyes are embroidered rather than glued, which keeps the toy safe for little hands. If you have made a granny square but never a stuffed toy, this is a friendly place to start.

New to working in the round? Warm up with how to crochet a magic ring and the basics in how to crochet amigurumi first. Once your unicorn is done, keep the animal collection going with a crochet lion or a crochet bear.

Step-by-Step Guide

8 steps · about 19 minutes.Check off each step as you go and your progress saves automatically.

1

Step 1: Crochet the Snout and Small Pieces

1:00
Step 1: Step 1: Crochet the Snout and Small Pieces

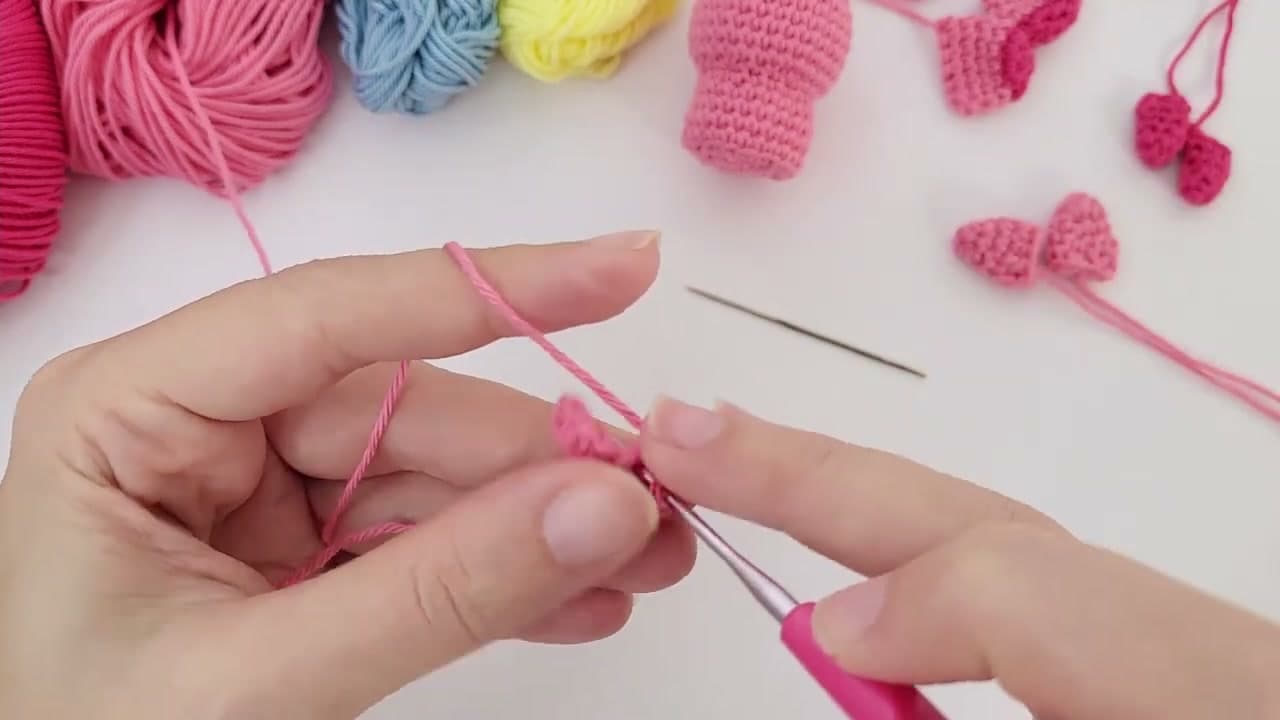
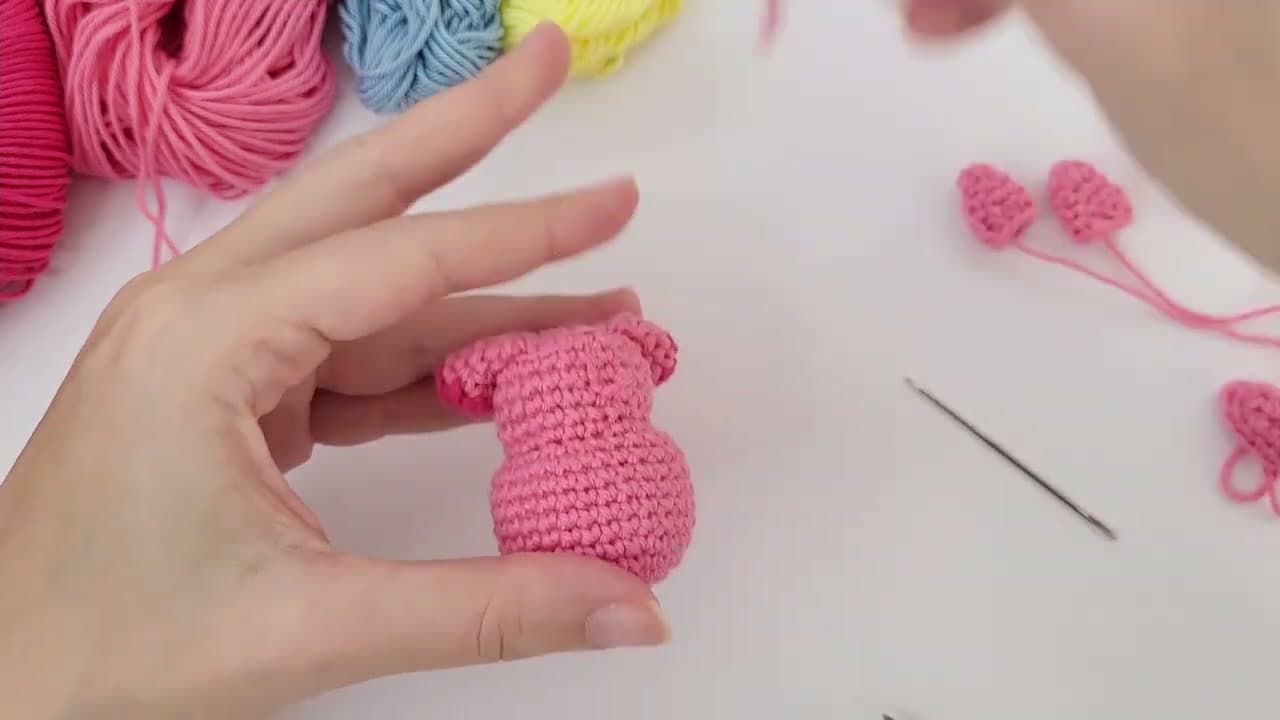
Start with a magic ring in pink yarn and single crochet around to build the snout. Ana keeps everything small and tight so the stuffing will not peek through. You are making several little parts here: the snout, two ears, and four short legs. Work each one in the round and pull your first-round loop snug so there is no hole in the center. Keep a stitch marker in the first stitch of each round so you always know where the round begins.

Tip

Watch this step and count your stitches out loud on the first two rounds. Amigurumi mistakes almost always start there.
2

Step 2: Shape and Stuff the Body

5:00
Step 2: Step 2: Shape and Stuff the Body

The head and body are worked as one rounded shape. You increase near the bottom to widen it, crochet straight for the middle, then decrease toward the top to close it in. Ana uses invisible decreases so the seam line stays smooth. Before you close the last few rounds, push in polyester fiberfill a little at a time. Firm is good, but do not overstuff or the stitches will spread and show gaps. Shape it in your hands as you go so it sits upright.

Tip

Watch this step to see how much fiberfill she adds. Stuff in small pinches, not one big wad.

3

Step 3: Sew On the Snout

9:00
Step 3: Step 3: Sew On the Snout

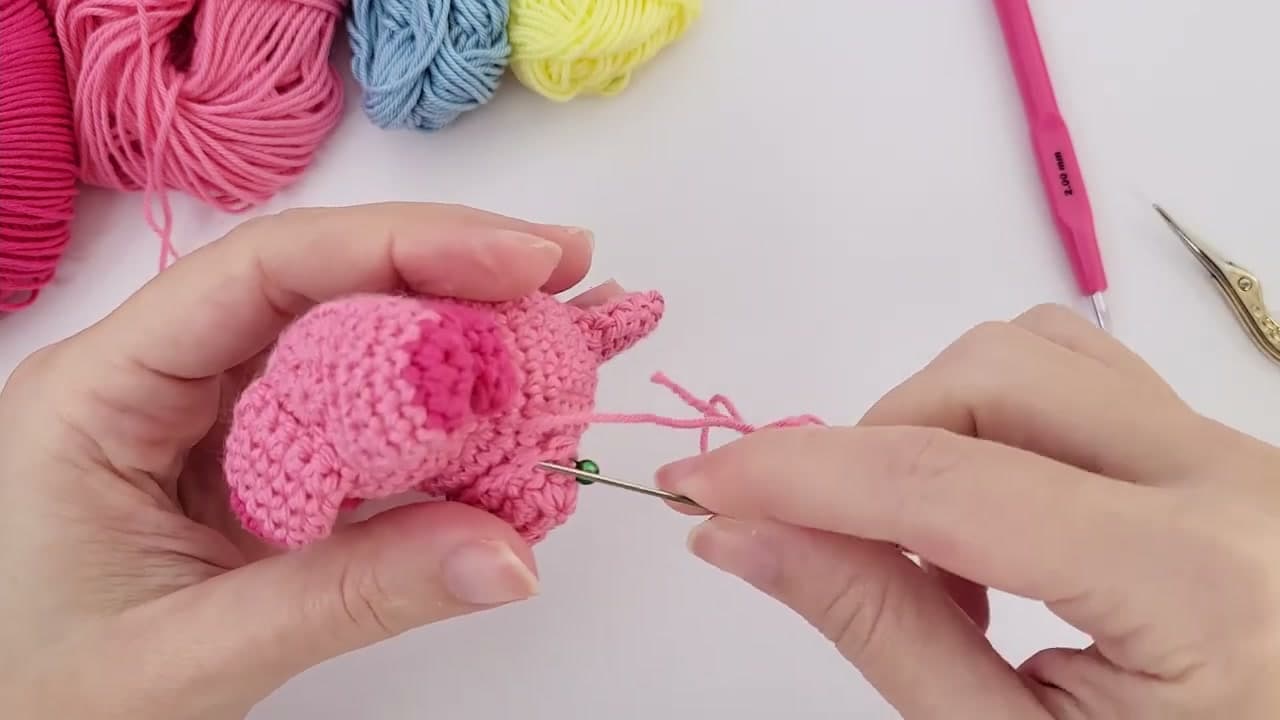
Position the snout on the front of the head and pin it in place so it sits level. Thread a tapestry needle with a long tail of pink yarn and whipstitch around the edge, catching one loop from the snout and one from the head each pass. Go all the way around, and add a small pinch of stuffing behind it before you close the last stitches so the muzzle stays plump. Weave the tail inside when you finish so no ends show.

Tip

Watch this step to see the whipstitch angle. Pin first, sew second. It saves a lot of unpicking.

4

Step 4: Crochet the Rainbow Mane

10:50
Step 4: Step 4: Crochet the Rainbow Mane

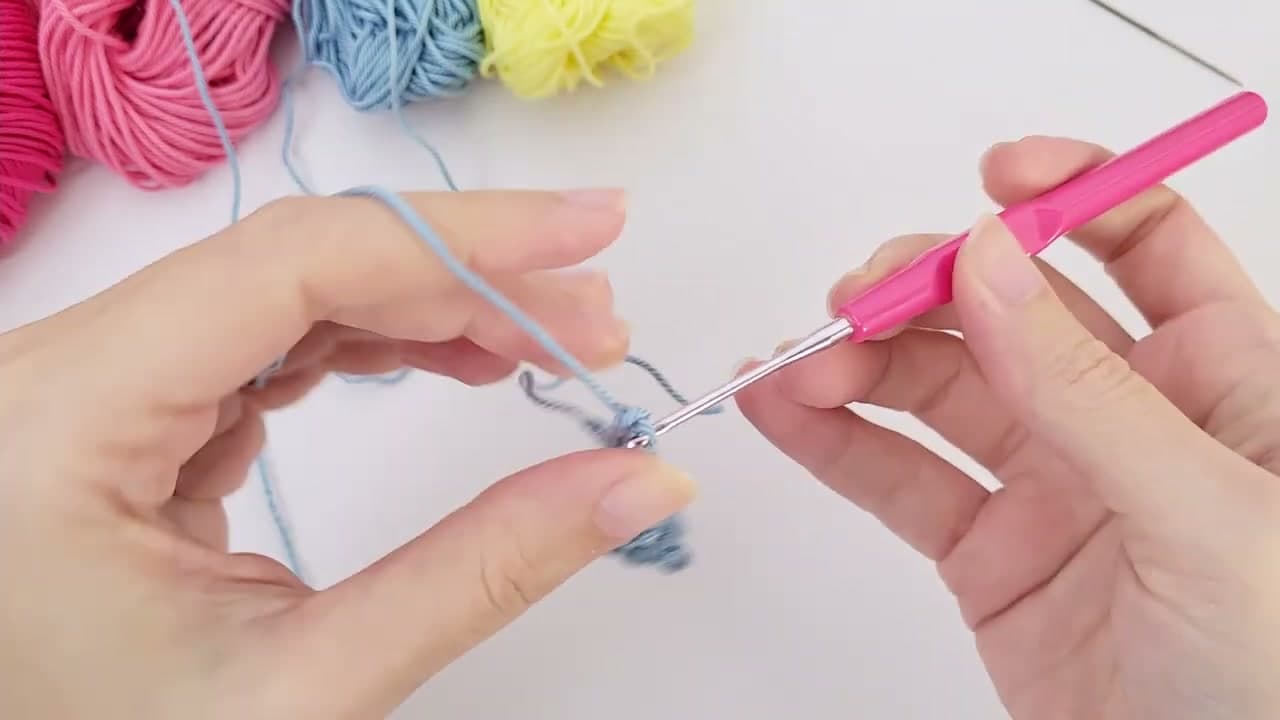
The mane is a long strip that curls on its own. You chain a base row, then work several stitches into each chain so the strip twists into ruffly waves. Ana changes colors along the way, moving through blue, green, yellow, and pink to get that rainbow look. Keep your tension even so the curl is consistent. Make the strip long enough to run from between the ears down the back of the head. Leave a good tail for sewing.

Tip

Watch this step to see how many stitches go into each chain. More stitches means a tighter, curlier mane.

5

Step 5: Crochet the Horn

11:50
Step 5: Step 5: Crochet the Horn

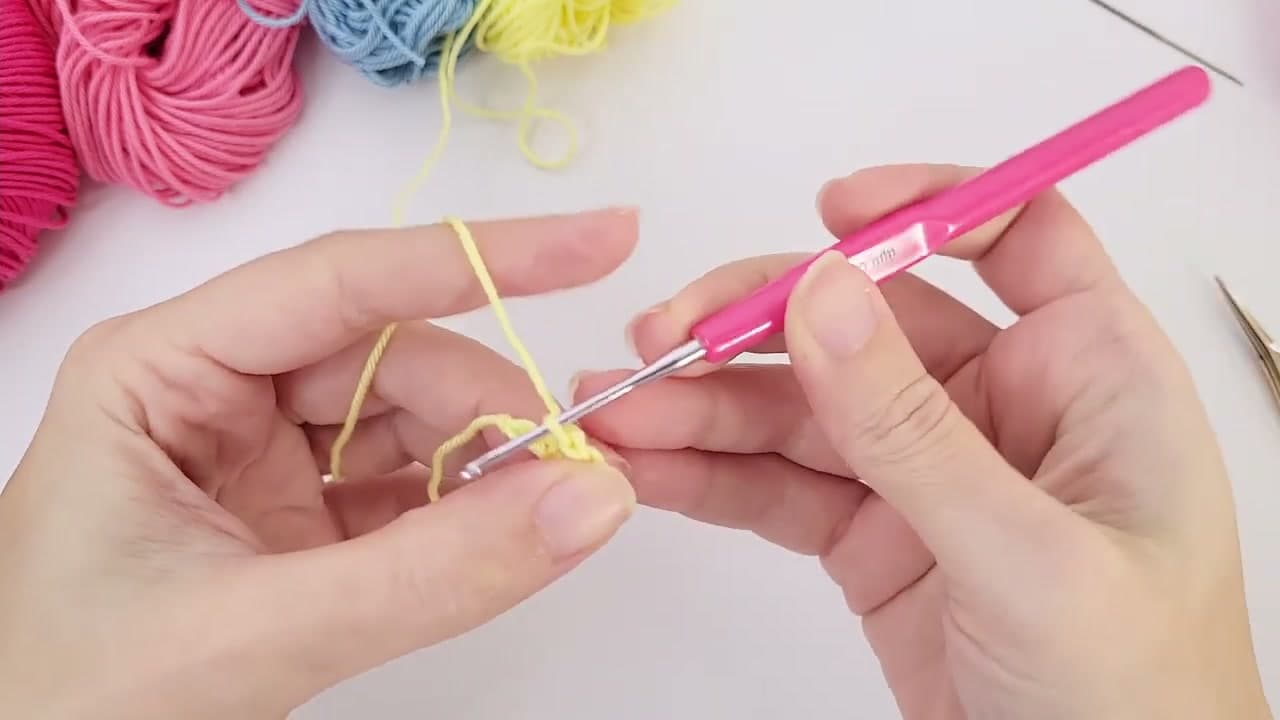
The horn is a small cone worked in yellow yarn. Start with a magic ring, then increase gently every couple of rounds so it grows into a point. Because it is tiny, you may not need to stuff it. If you want it to stand up straight, tuck in a wisp of fiberfill or leave a firm yarn tail inside. Fasten off and keep a long tail so you can sew it to the top of the head in the next step.

Tip

Watch this step for the increase spacing. A slow taper gives you a cleaner point than one big jump.

6

Step 6: Attach the Mane and Horn

14:10
Step 6: Step 6: Attach the Mane and Horn

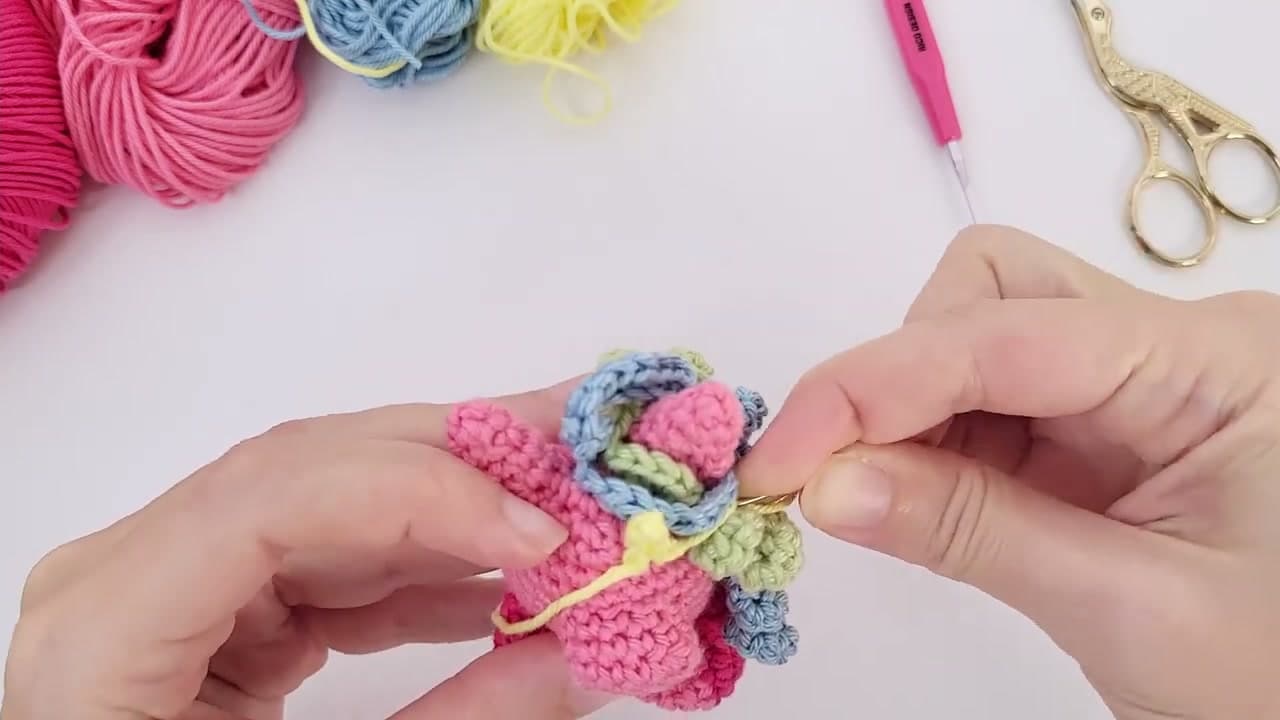
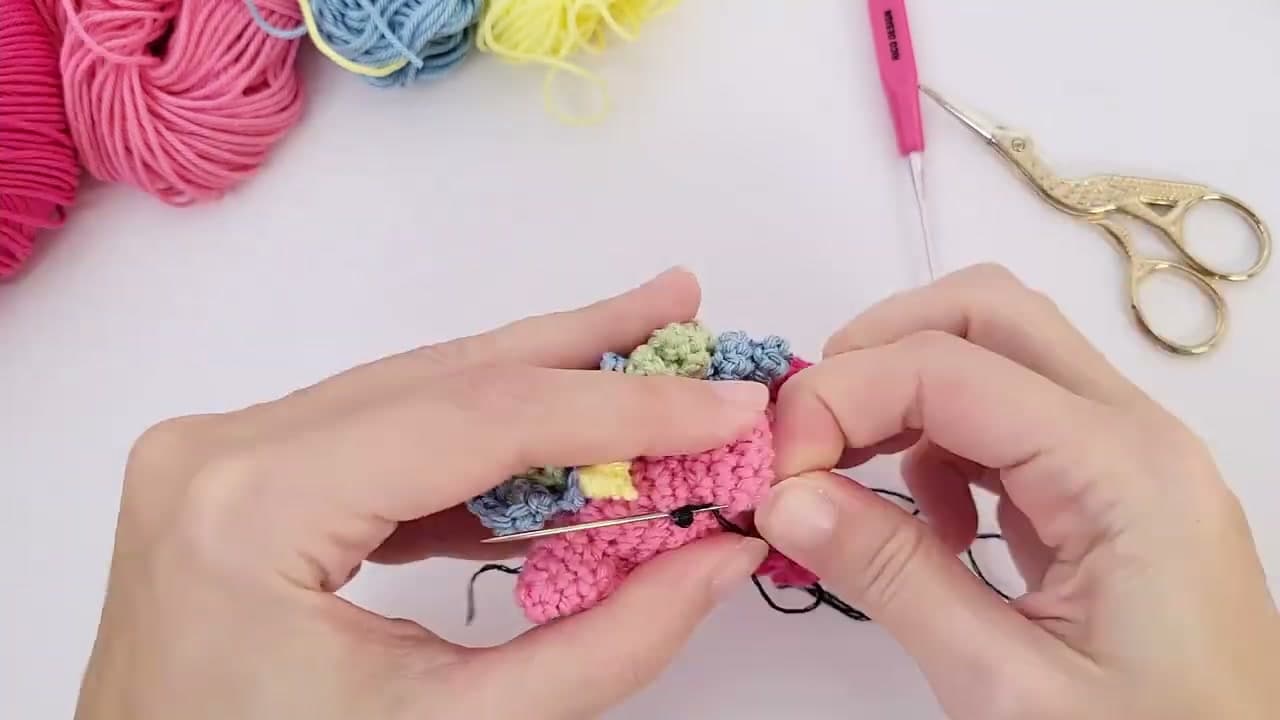
Set the horn between where the ears will go and pin it upright. Lay the curly mane just behind it and pin along the back of the head. Sew the horn base down first, working small stitches all the way around so it does not lean. Then stitch the mane in place, tacking it every few waves so it hugs the head instead of flopping. Take your time here. This is the moment the plush starts to look like a unicorn.

Tip

Watch this step to see where she anchors the mane. Tacking it in a few spots keeps the curls from drooping.

7

Step 7: Embroider the Eyes and Face

16:00
Step 7: Step 7: Embroider the Eyes and Face

Instead of safety eyes, Ana embroiders the face with black yarn, which is safer for babies and toddlers. Bring the needle up where you want each eye, make a few short vertical stitches stacked side by side to build a small oval, then pull the yarn to the back and knot it inside. Add two tiny nostrils on the snout the same way. A little pink yarn or a dab of blush gives the cheeks a rosy glow. Keep the two eyes evenly spaced so the face looks friendly.

Tip

Watch this step and mark the eye spots with pins before you stitch. Symmetry is what makes the face look cute.

8

Step 8: Add the Tail and Finish

18:23
Step 8: Step 8: Add the Tail and Finish

Give your unicorn a curly tail to match the mane. Cut a few short lengths of the rainbow yarn, fold them, and pull them through the back of the body with your needle to make a little tassel, or crochet a short curled strip like the mane. Secure the tail, weave in any loose ends, and give the whole plush a gentle shape with your hands. That is it. You have a finished pink unicorn with a rainbow mane, a yellow horn, and a sweet embroidered face.

Tip

Watch this step to see the finished unicorn from every side. Weave ends in well so the toy holds up to play.

Products Used

☐ The Checklist

How to Crochet a Unicorn (Beginner Amigurumi)

Tools
4
Materials
6
Steps
8
Video
19 min

Tools we recommend

Your Guide

Little Crochet Farm

As an Amazon Associate we earn from qualifying purchases. Links on this page may be affiliate links - clicking them and buying doesn't change your price, but helps support ShowMeStepByStep.

Tags

Free printable

Get the Crochet Cheat Sheet

Every basic stitch on one printable page. No spam, one-click unsubscribe.

Did this work for you?

What's next

Related collections

Curated theme pages that include this tutorial.

Weekly Digest

Liked this crochet tutorial?

Pick the categories you want to hear about. Weekly digest of new step-by-step tutorials. No spam, easy unsubscribe.

Send me tutorials about

We only email about new tutorials. Easy unsubscribe anytime.