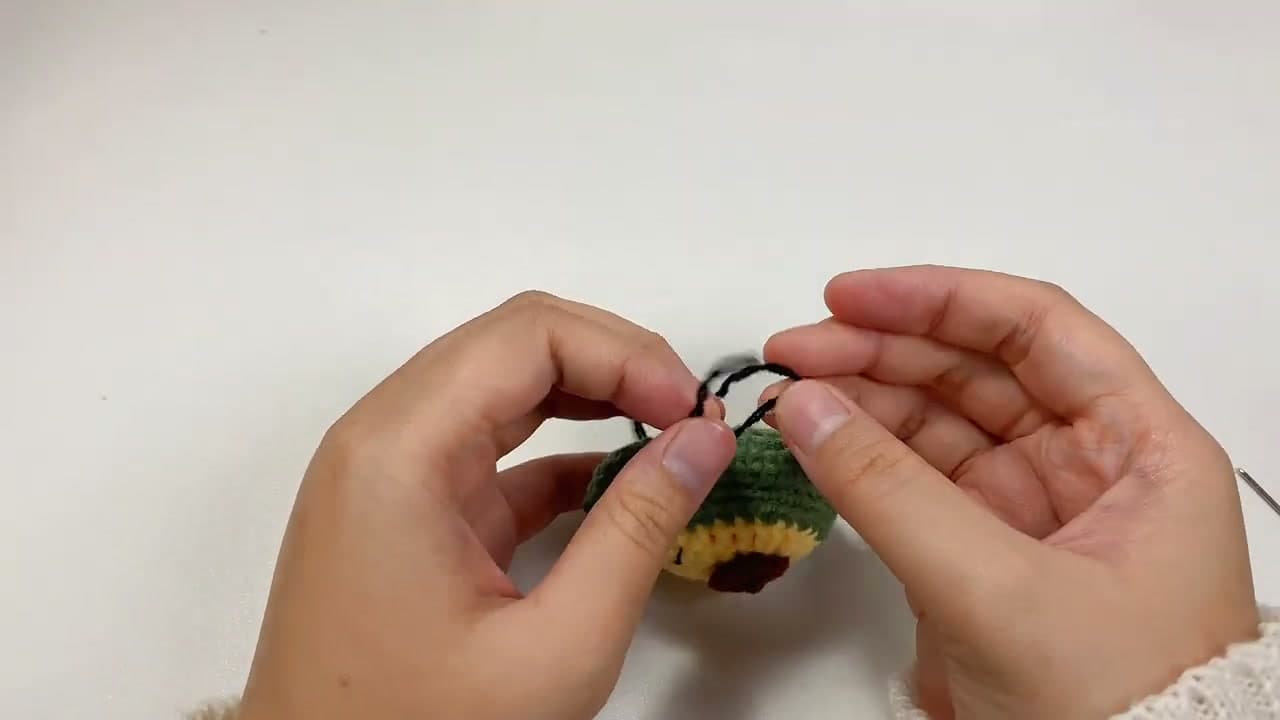
How to Crochet an Avocado (Easy Amigurumi, Step by Step)

CrochetEasy18:227 stepsBrowse more →

By CraftingStepByStepPublished

Based on a video by Betty’s.Crochi.

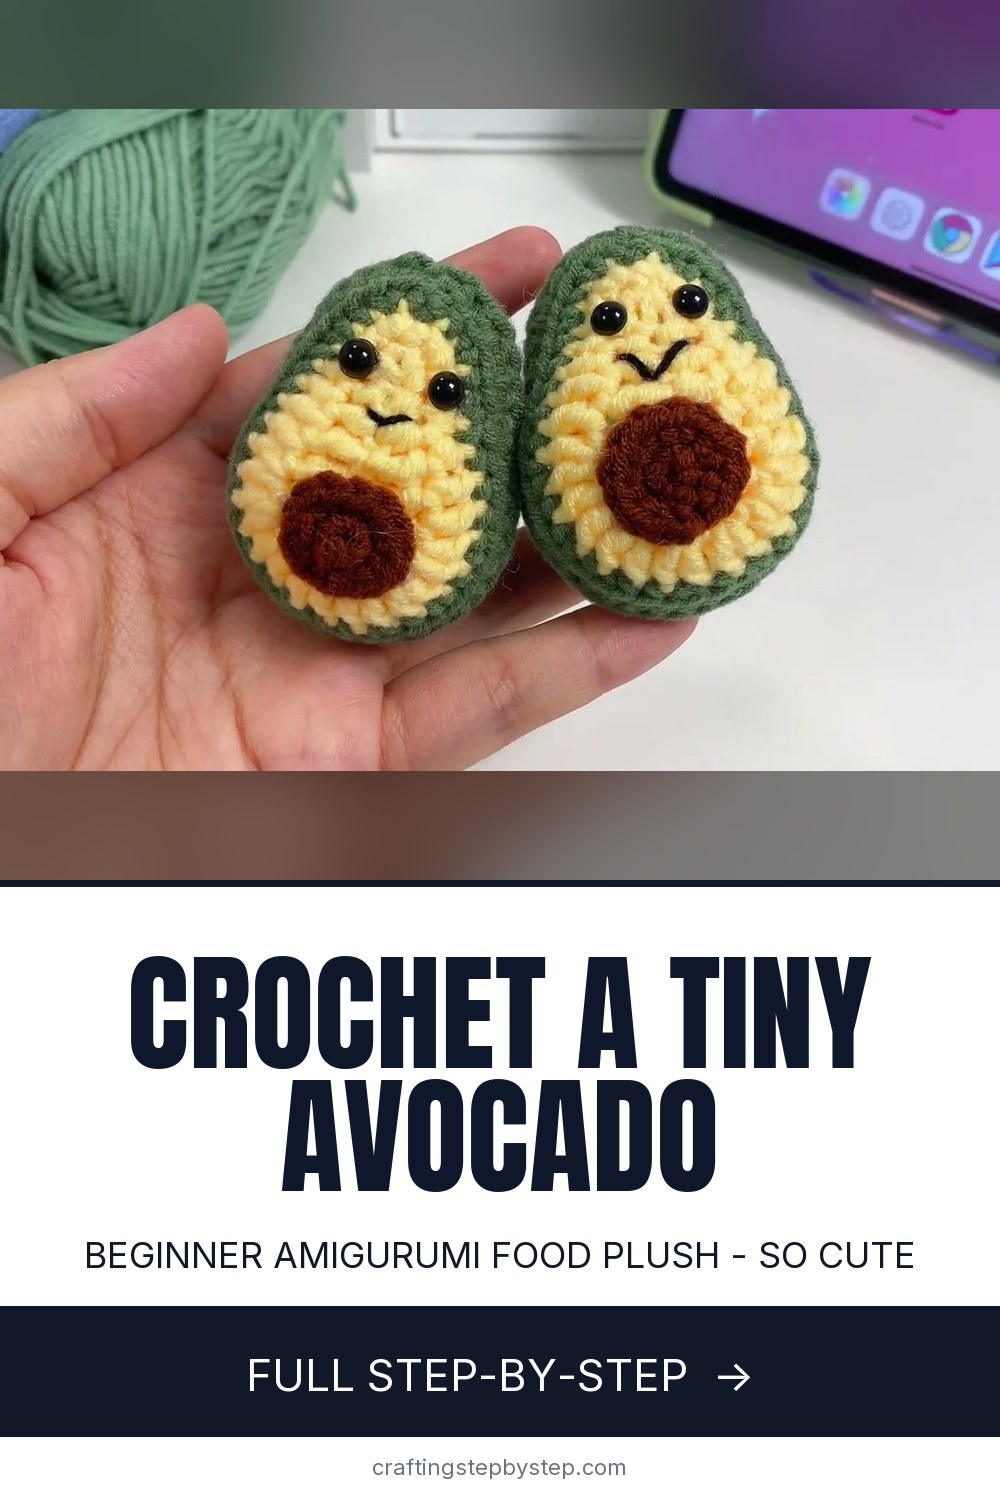
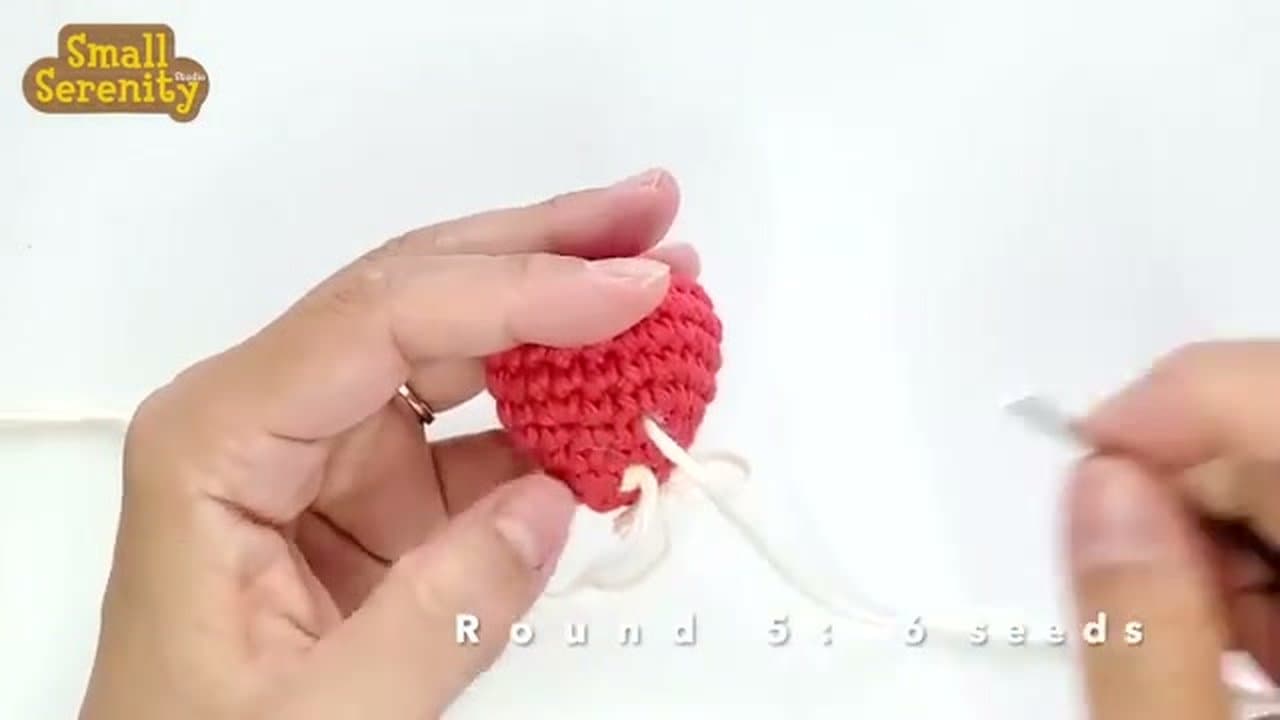
A crochet avocado is one of the friendliest food plushes you can start with. There are no legs, no ears, and no fiddly assembly - it is basically two flat halves sewn back to back with a little pit in the middle. Betty's.Crochi walks through the whole make in real time with the stitch counts printed right on screen, so you can follow along even if you have never made an amigurumi before.

The shaping trick is in the very first color. Instead of a plain circle, the flesh is worked back along a short chain using a mix of single crochet, half double, and double crochet. Taller stitches in the middle and shorter ones at the tips are what give the piece its fat teardrop shape. If the start feels unfamiliar, it helps to be comfortable with how to single crochet first, and the pit is a tiny magic ring so a quick refresher there is worth it too.

Once the flesh and skin are done, the rest is sewing, stuffing, and a face. Weave in your ends as you go so the inside stays tidy. This is a great gateway into crochet amigurumi in general, and if you catch the food-plush bug, the same back-to-back method scales to other fruit like a crochet strawberry.

Step-by-Step Guide

7 steps · about 18 minutes.Check off each step as you go and your progress saves automatically.

1

Step 1: Slip Knot and Foundation Chain

0:35
Step 1: Step 1: Slip Knot and Foundation Chain

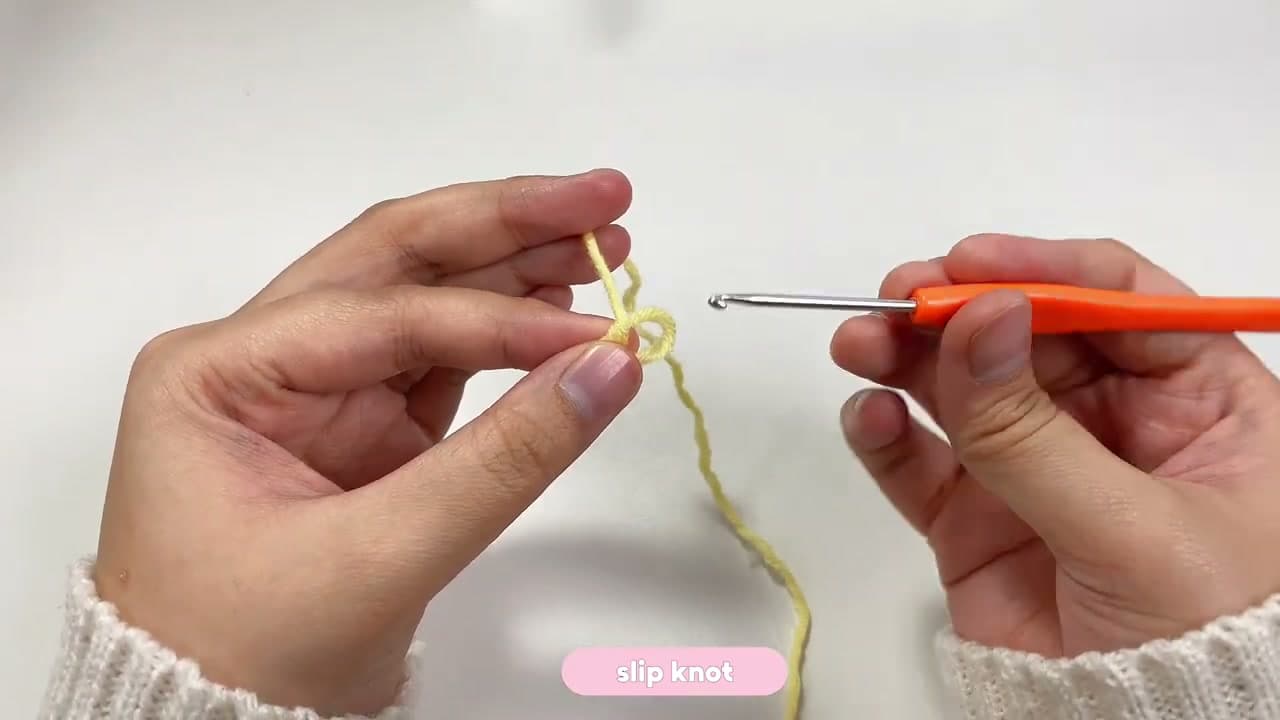
Everything starts in your light-green flesh yarn. Make a slip knot, slide it onto the hook, and chain seven. This little chain is the spine that the flesh grows around, so it sets the length of the finished avocado.

Keep the chain loops even and relaxed. If you pull them tight, the oval fights you later and wants to curl instead of lying flat. Loose and tidy beats fast and tight here.

Tip

Watch this step A 2.5mm or 3mm hook with cotton yarn keeps the stitches tight so no stuffing peeks through the finished flesh.
2

Step 2: Work the First Row of Flesh

2:55
Step 2: Step 2: Work the First Row of Flesh

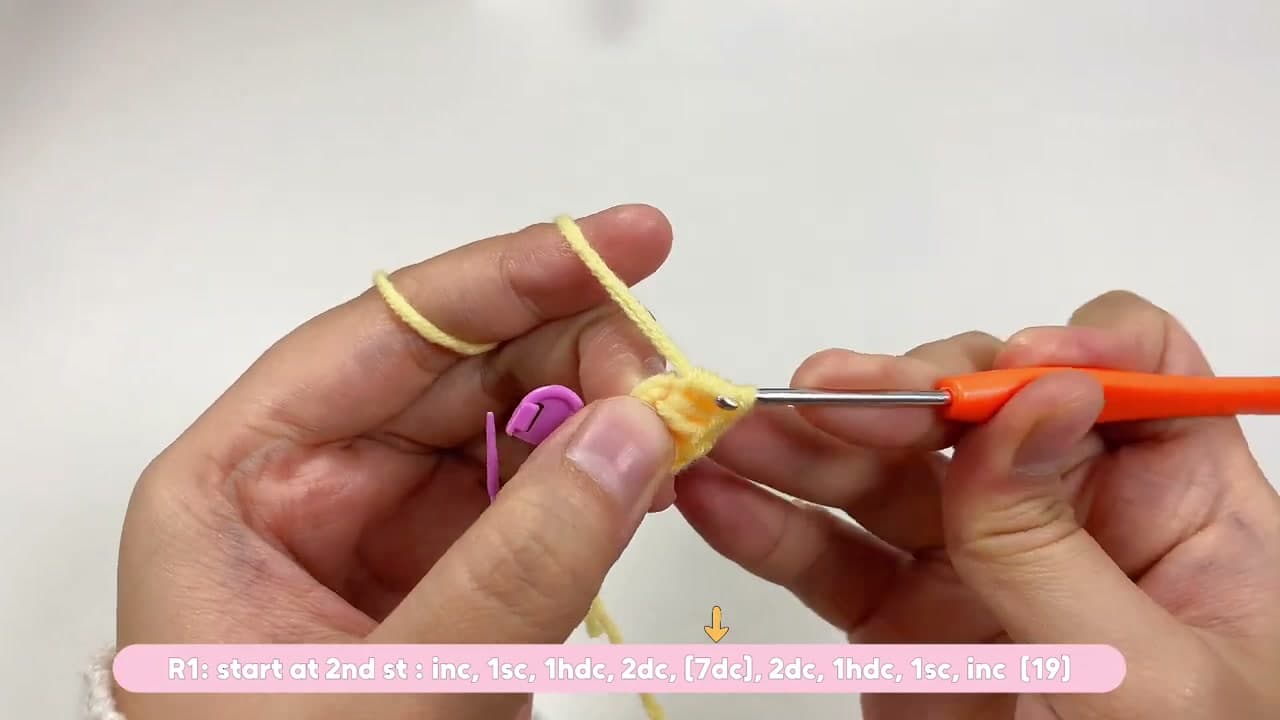
Turn and work Round 1 back along the chain, following the stitch pattern on screen: increases, single crochet, half double, then doubles through the middle, and back down to shorter stitches at the far end. Those taller center stitches are doing the shaping.

Do not worry about the shape looking odd yet. It will read as lumpy until you have a full round on. Keep a stitch marker in the first stitch so you always know where the round begins.

Tip

Watch this step Pause the video on each caption and count your stitches before moving on. The counts in brackets are the running total for that round.

3

Step 3: Build Up the Flesh Oval

5:00
Step 3: Step 3: Build Up the Flesh Oval

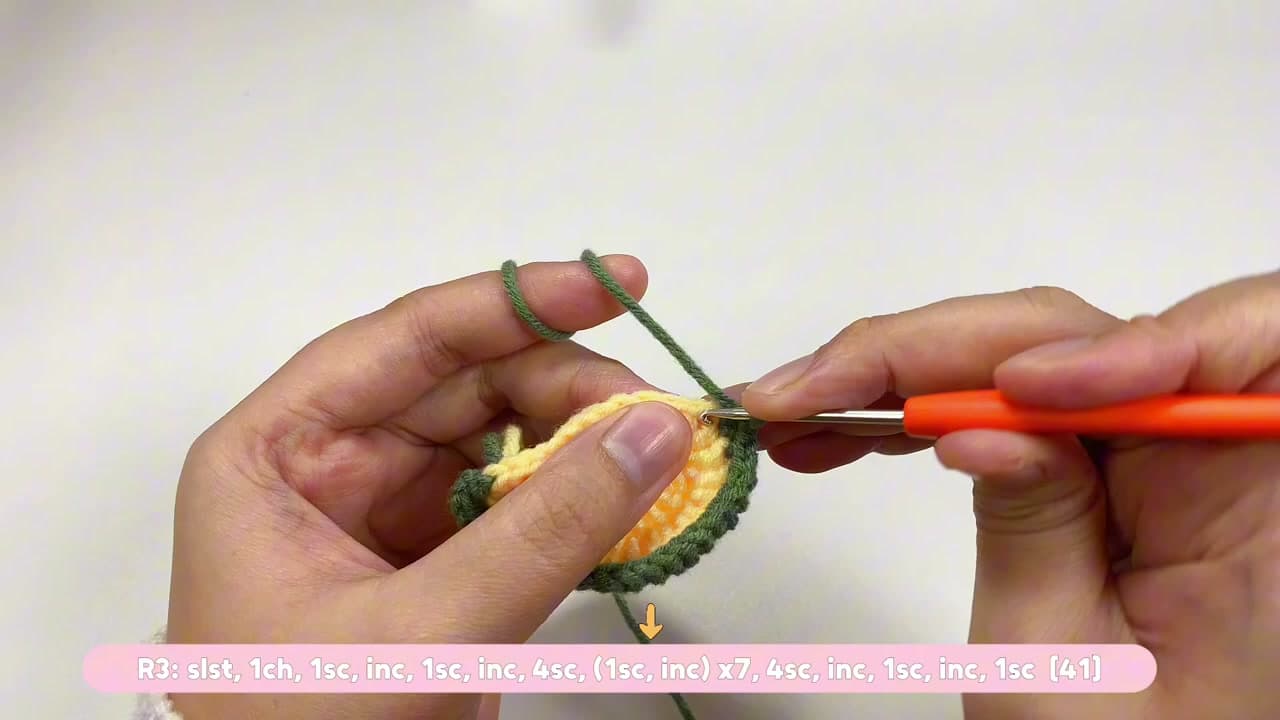
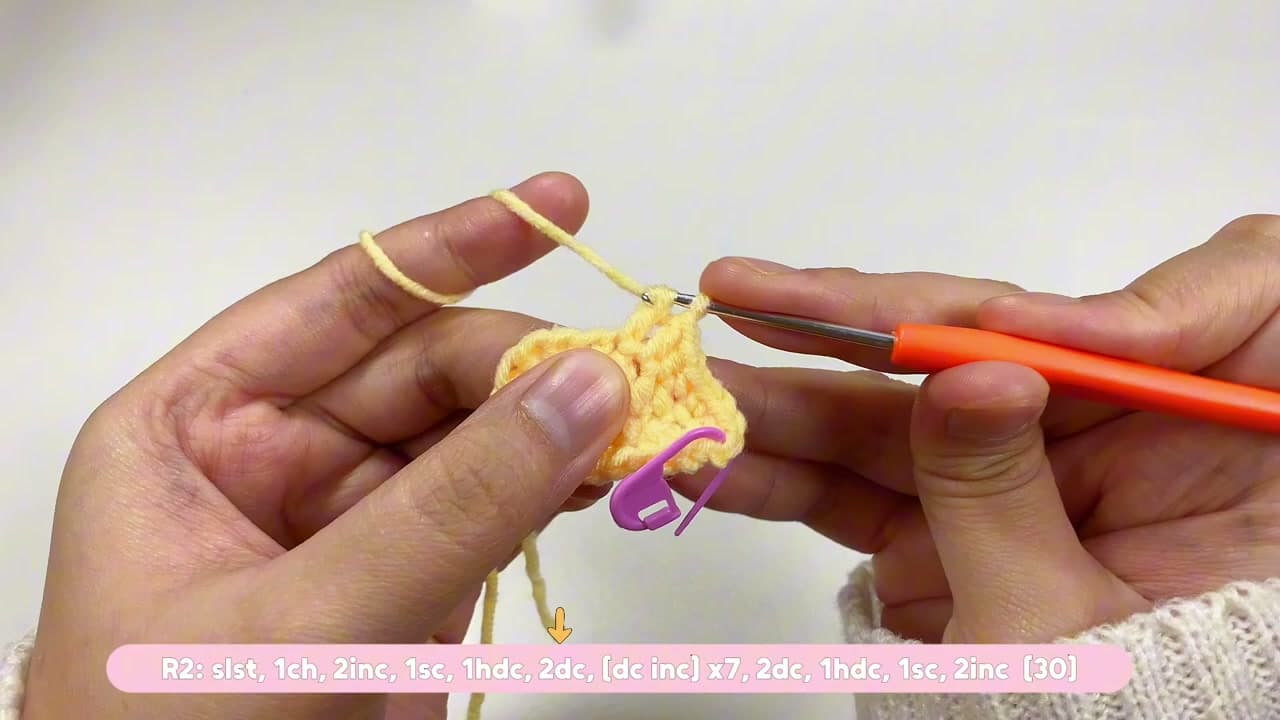
Carry on with the next couple of rounds, working the increases where the notes point them out. Round 2 and Round 3 widen the oval and give the flesh a fuller, more rounded outline. The whole piece stays flat like a wafer.

By the end of these rounds you should have a solid light-green teardrop. Lay it on the table and check the outline against the finished avocado before you change to the skin color.

Tip

Watch this step If one end looks pointier than the other, that is correct. An avocado half is wider at the base and narrower toward the stem end.

4

Step 4: Add the Dark-Green Skin

10:00
Step 4: Step 4: Add the Dark-Green Skin

Now join the dark-green skin yarn at the edge of the flesh and crochet a border round all the way around the oval. This green rim is the avocado skin, and it frames the pale flesh the way a real cut avocado does.

Work the skin stitches snug against the light-green edge so the color change stays crisp. A tidy line here is what sells the halved-avocado look, so take it slowly around the curves.

Tip

Watch this step Carry the flesh-color tail along the top of the row and crochet over it. That saves you weaving in one more end at the finish.

5

Step 5: Sew the Halves and Stuff

14:40
Step 5: Step 5: Sew the Halves and Stuff

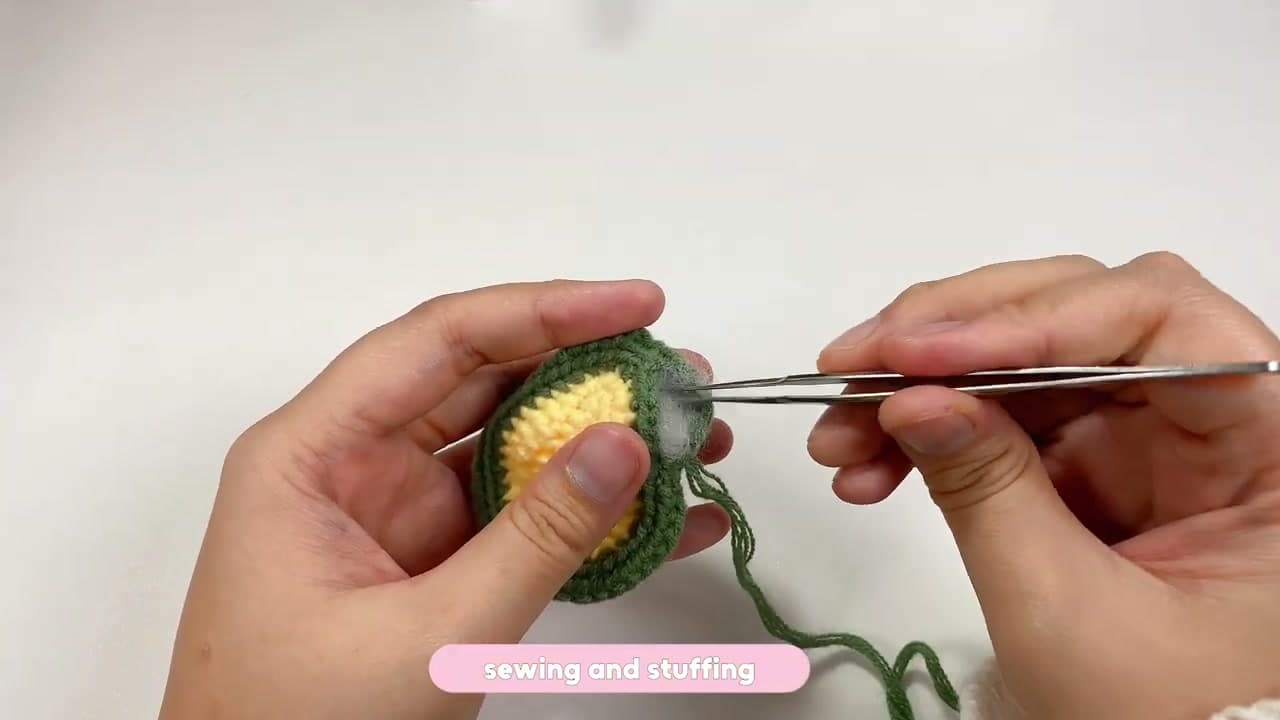
Make a second green piece the same size for the back, then hold the two halves together with the flesh facing out. Thread a tapestry needle and whip stitch around the edge to join them.

Before you close the last few stitches, tuck small pinches of fiberfill inside. Do not overstuff. You want the avocado soft and a little plump, not stretched tight, so the front stays flat enough to show off the flesh.

Tip

Watch this step Push the stuffing in with the blunt end of a hook or a chopstick to reach the narrow stem end evenly.

6

Step 6: Make and Set the Pit

16:20
Step 6: Step 6: Make and Set the Pit

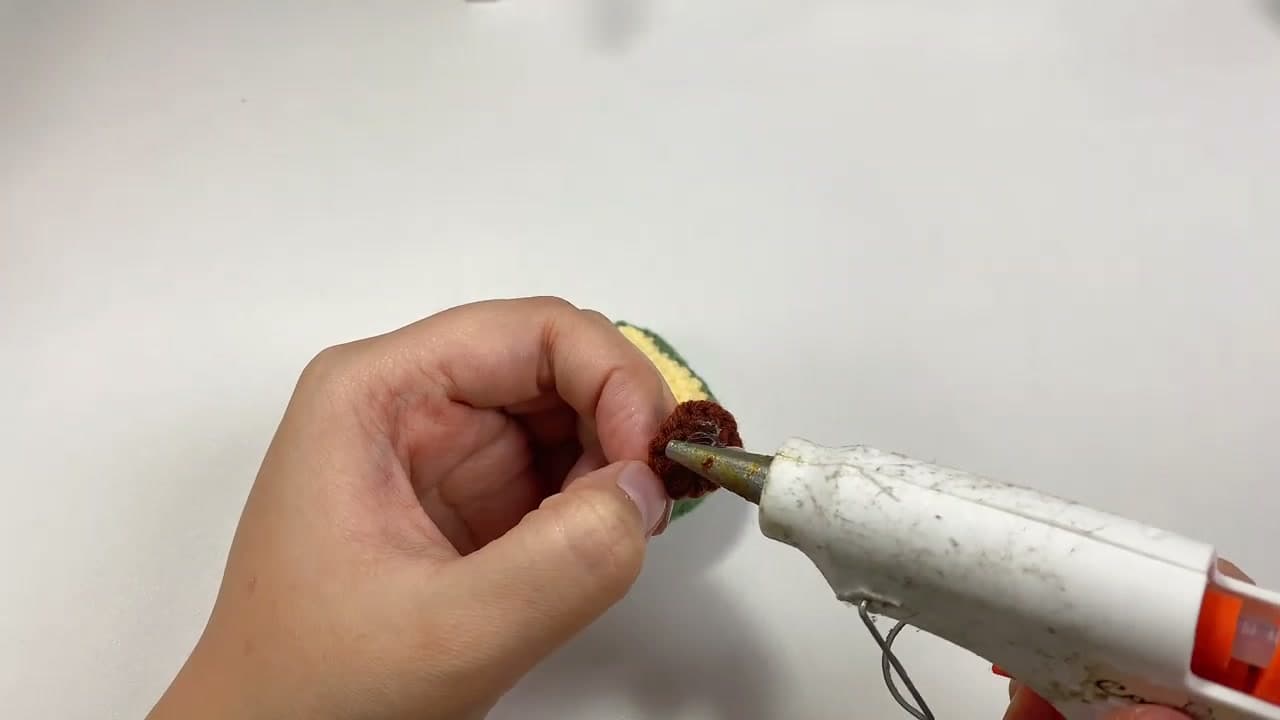
The pit is a small brown circle. Start it in a magic ring, work a couple of rounds of increases, and stop once you have a firm little disc about the size of a coin.

Place the pit low and slightly off-center on the flesh, the way a real avocado stone sits. Once you are happy with the spot, fix it down. That brown center is the detail that turns a green blob into an avocado.

Tip

Watch this step Sewing the pit on with a running stitch around the edge holds up to handling better than glue if this plush is for a child.

7

Step 7: Add the Face and Finish

17:45
Step 7: Step 7: Add the Face and Finish

Last touch is the face. Thread a length of black yarn and stitch two small eyes near the top of the flesh, then run a short curved line underneath for a little smile. Keep the stitches tiny so the face stays cute rather than busy.

Weave in every loose tail so nothing works its way out later. Give the whole avocado a gentle squish to settle the stuffing, and your plush is done.

Tip

Watch this step Mark the eye spots with two pins first and step back to check them. Even spacing is what gives the face its friendly look.

Products Used

☐ The Checklist

How to Crochet an Avocado (Easy Amigurumi, Step by Step)

Tools
4
Materials
5
Steps
7
Video
18 min

Tools we recommend

Your Guide

Betty’s.Crochi

As an Amazon Associate we earn from qualifying purchases. Links on this page may be affiliate links - clicking them and buying doesn't change your price, but helps support ShowMeStepByStep.

Tags

Free printable

Get the Crochet Cheat Sheet

Every basic stitch on one printable page. No spam, one-click unsubscribe.

Did this work for you?

What's next

Related collections

Curated theme pages that include this tutorial.

Weekly Digest

Liked this crochet tutorial?

Pick the categories you want to hear about. Weekly digest of new step-by-step tutorials. No spam, easy unsubscribe.

Send me tutorials about

We only email about new tutorials. Easy unsubscribe anytime.