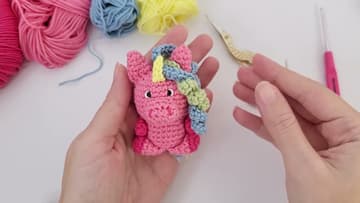
How to Crochet a Unicorn (Beginner Amigurumi)
Source: Little Crochet Farm • Full tutorial: www.craftingstepbystep.com/crochet/how-to-crochet-a-unicorn
- Difficulty
- Medium
- Hands-on time
- About 4 hours 30 minutes
- Cost
- About $10 to $20
- Makes
- 1 crochet unicorn
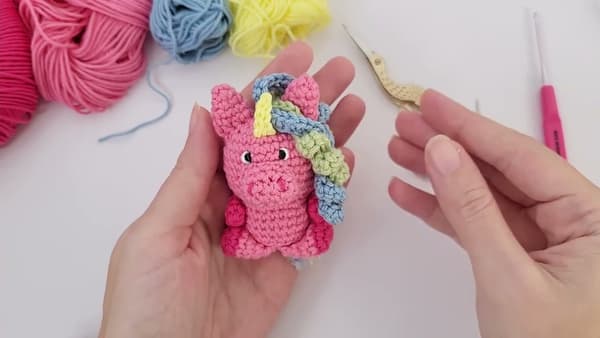
Tools
- 3.5mm crochet hook
- tapestry needle
- stitch markers
- small scissors
Materials
- pink worsted weight yarn
- white worsted weight yarn
- rainbow yarn for the mane
- yellow yarn for the horn
- black yarn for the eyes
- polyester fiberfill stuffing
Steps
1. Crochet the Snout and Small Pieces
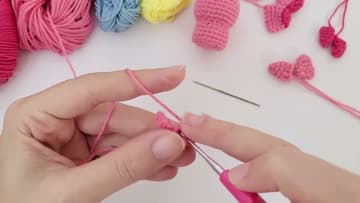
Start with a magic ring in pink yarn and single crochet around to build the snout. Ana keeps everything small and tight so the stuffing will not peek through.
Tip: Watch this step and count your stitches out loud on the first two rounds. Amigurumi mistakes almost always start there.
2. Shape and Stuff the Body
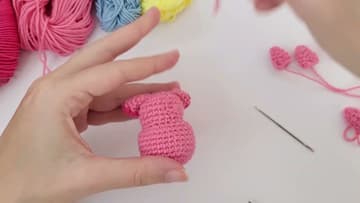
The head and body are worked as one rounded shape. You increase near the bottom to widen it, crochet straight for the middle, then decrease toward the top to close it in.
Tip: Watch this step to see how much fiberfill she adds. Stuff in small pinches, not one big wad.
3. Sew On the Snout
Position the snout on the front of the head and pin it in place so it sits level. Thread a tapestry needle with a long tail of pink yarn and whipstitch around the edge, catching one loop from the snout and one from the head each pass.
Tip: Watch this step to see the whipstitch angle. Pin first, sew second. It saves a lot of unpicking.
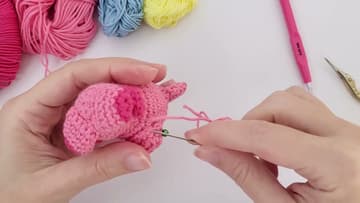
4. Crochet the Rainbow Mane
The mane is a long strip that curls on its own. You chain a base row, then work several stitches into each chain so the strip twists into ruffly waves.
Tip: Watch this step to see how many stitches go into each chain. More stitches means a tighter, curlier mane.
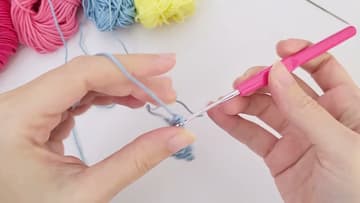
5. Crochet the Horn
The horn is a small cone worked in yellow yarn. Start with a magic ring, then increase gently every couple of rounds so it grows into a point.
Tip: Watch this step for the increase spacing. A slow taper gives you a cleaner point than one big jump.
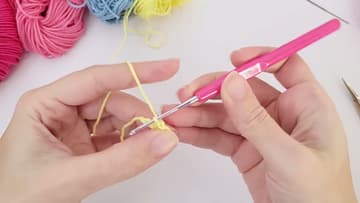
6. Attach the Mane and Horn
Set the horn between where the ears will go and pin it upright. Lay the curly mane just behind it and pin along the back of the head.
Tip: Watch this step to see where she anchors the mane. Tacking it in a few spots keeps the curls from drooping.
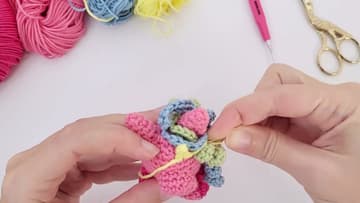
7. Embroider the Eyes and Face
Instead of safety eyes, Ana embroiders the face with black yarn, which is safer for babies and toddlers. Bring the needle up where you want each eye, make a few short vertical stitches stacked side by side to build a small oval, then pull the yarn to the back and knot it inside.
Tip: Watch this step and mark the eye spots with pins before you stitch. Symmetry is what makes the face look cute.
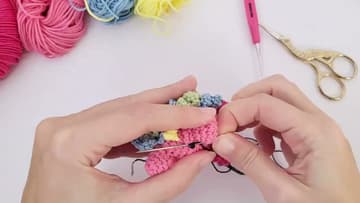
8. Add the Tail and Finish
Give your unicorn a curly tail to match the mane. Cut a few short lengths of the rainbow yarn, fold them, and pull them through the back of the body with your needle to make a little tassel, or crochet a short curled strip like the mane.
Tip: Watch this step to see the finished unicorn from every side. Weave ends in well so the toy holds up to play.